
DIY 2-Color Glasses or Cell Phone Case
If you are anything like me you miss calls while digging in your bag to find your phone, whether it’s a beach bag, handbag, backpack or tote. This handy case can be clipped to the handle, slipped inside the bag and you have your item ready to grab at a moment’s notice, whether it’s a cell phone, sunglasses or reading glasses. It keeps your valuable items from being scratched too.
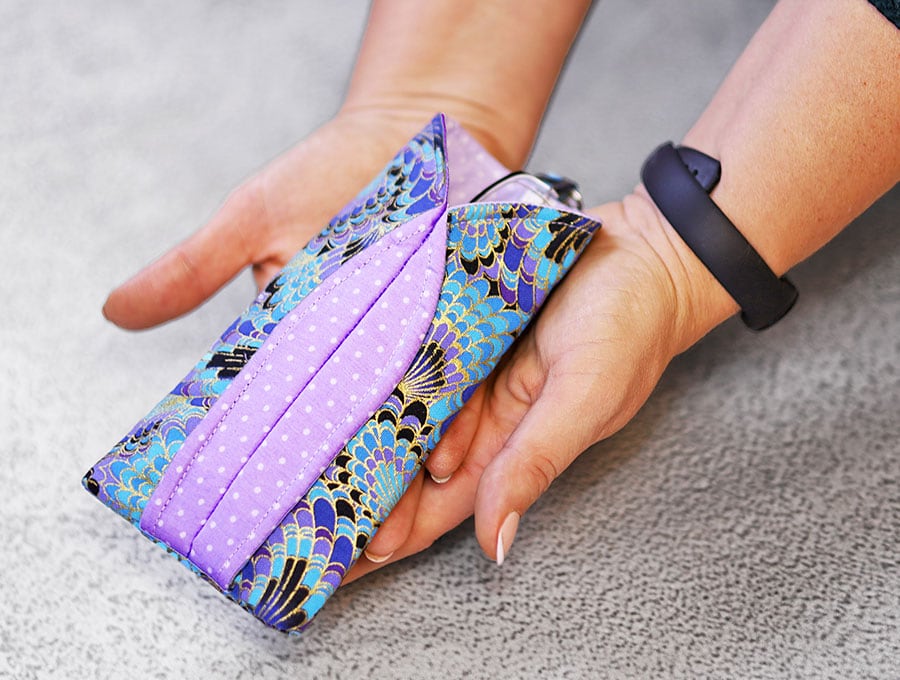
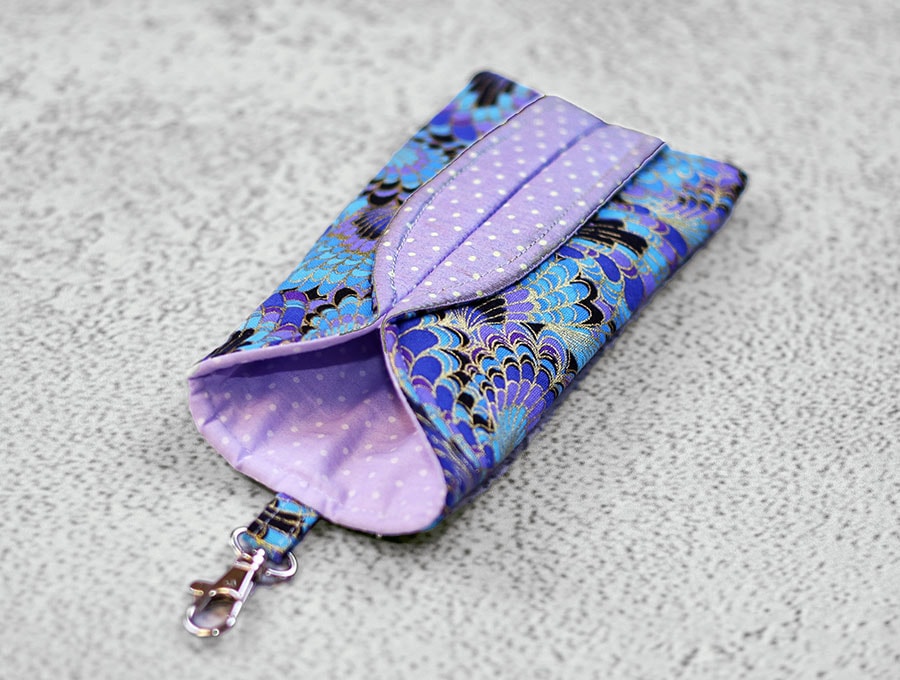
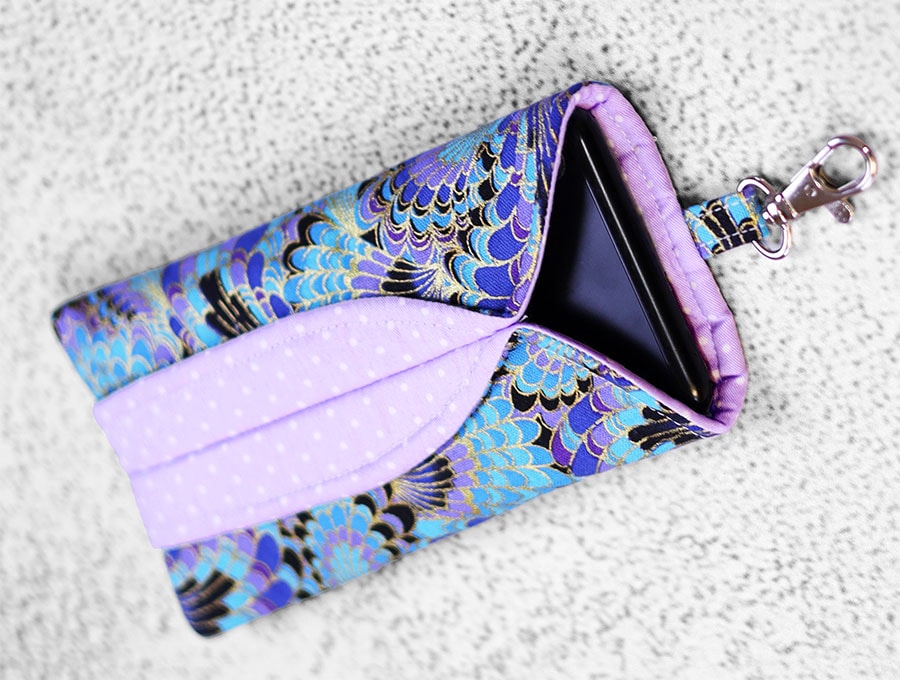
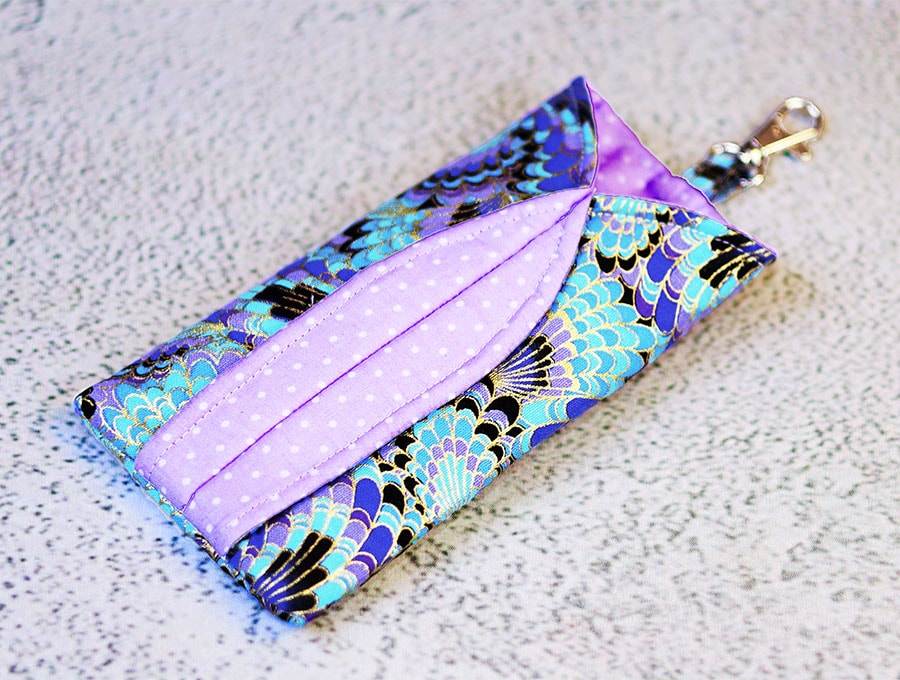
This case has easy slip in access to keeps glasses or a cell phone safe from scratches yet within easy reach. It’s an quick make and comes with a snap hook so you can attach it to your bag to make sure it stays put and you don’t have to rummage around to find the items it’s protecting.
Below you will find my step by step written tutorial with VIDEO instructions for all the visual learners.
We occasionally link to goods offered by vendors to help the reader find relevant products. Some of the links may be affiliate meaning we earn a small commission if an item is purchased.
Table of Contents
- 1 How to make the 2-color glasses or cellphone case
- 2 Supplies and tools
- 3 How to Sew a 2-color glasses case
- 3.1 2-color fabric glasses case VIDEO TUTORIAL
- 3.2 INSTRUCTIONS:
- 3.3 STEP 1:
- 3.4 STEP 2:
- 3.5 STEP 3:
- 3.6 STEP 4:
- 3.7 STEP 5:
- 3.8 STEP 6:
- 3.9 STEP 7:
- 3.10 STEP 8:
- 3.11 STEP 9:
- 3.12 STEP 10:
- 3.13 STEP 11:
- 3.14 STEP 12:
- 3.15 STEP 13:
- 3.16 STEP 14:
- 3.17 STEP 15:
- 3.18 STEP 16:
- 3.19 STEP 17:
- 3.20 STEP 18:
- 3.21 STEP 19:
- 3.22 STEP 20:
- 3.23 STEP 21:
- 3.24 STEP 22:
- 3.25 STEP 23:
- 3.26 STEP 24:
- 3.27 STEP 25:
- 3.28 STEP 26:
How to make the 2-color glasses or cellphone case
Supplies and tools
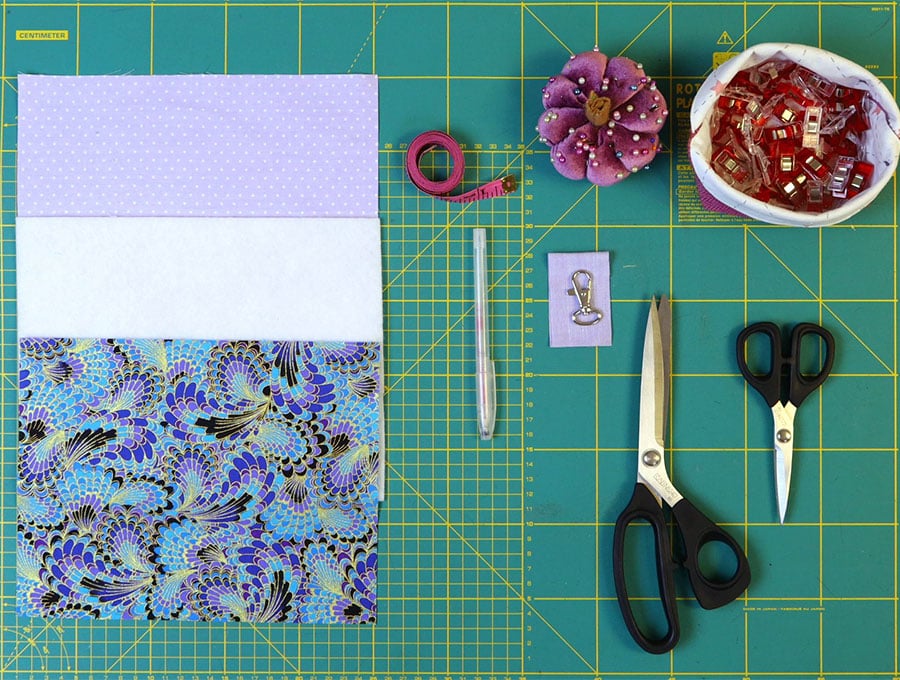
- fabric – 2 pieces of woven cotton (one main, one lining)
- fusible batting or interfacing
- matching thread
- scissors (or rotary cutter and a cutting mat)
- ruler or measuring tape
- iron and ironing board
- sewing clips or pins
DOWNLOAD: … [Free pdf file] pattern coming soon
Follow us for free patterns & tutorials! [easy-profiles]
How to Sew a 2-color glasses case
Watch the diy soft two color glasses case video first and then follow the written step by step instructions below.
Please enjoy and don’t forget to Like and SUBSCRIBE over on YouTube to be kept up to date with new videos as they come out.
2-color fabric glasses case VIDEO TUTORIAL
INSTRUCTIONS:
STEP 1:
Cut your fabric as follows:
1 piece of cotton lining 7 ½ x 9 ½ inches (19 x 24 cm)
1 piece of outer cotton fabric 7 ½ x 9 ½ inches (19 x 24 cm)
1 piece of fusible batting 7 ½ x 9 ½ inches (19 x 24 cm)
1 piece of binding 1 ½ x 5 inches (4 x 13 cm)
1 handle from outer cotton fabric 1 ½ x 1 ½ inches (4 x 4 cm)
STEP 2:
Cut a circle 8 3/8 of an inch (22 cm) in diameter. To get the right size use a mathematical compass on a piece of paper with the radius set to 4 ¼ inches (11 cm) to draw a circle, or find a plate or pot lid that is closest to the diameter you need and draw around it. Cut out the circle to use as your pattern.
STEP 3:
Place the batting with the fusible (sticky or knobby) side up and over it line up the outer cotton fabric, right side up. Press with an iron on the cotton fabric to fuse the batting. Set aside.
STEP 4:
Place the handle piece wrong side up on your ironing pad. Fold in half, wrong side inside, and press, then open out and press each side in to meet the center fold.
STEP 5:
Fold the handle piece in half again and press, then place a pin to keep the edges together.
STEP 6:
Stitch on each side of the long sides of the handle piece as close to the edges as possible.
STEP 7:
Fold over the handle piece in half, slip the snap hook onto it, and pin the ends.
STEP 8:
Take the outer piece with batting attached and fold in half – wrong sides inside and cut a tiny v notch into each end of the fold.
STEP 9:
Open out and pin the raw edges of the handle tab, with snap hook attached, to the raw edge of the outer, placing the center of the handle ends over one of the notches and pinning in place. The snap hook will be facing into the main part of the fabric.
STEP 10:
Stitch across the end of the handle to attach to the outer and batting, backtacking to make sure it is secure.
STEP 11:
Place the lining piece, wrong side up on your worktop. Take the circle you cut as a pattern and line up the left edge with the fabric and the top of the pattern in line with the top of the fabric. Draw around the curve. You will notice it does not reach all the way across the fabric, so stop at the top and move the pattern across a bit so the edge of the circle lines up with the right-hand side and keep drawing – you will have a deep inverted U shape.
STEP 12:
Place the lining right side down over the right side of the outer, lining up the flatter part of the curve at the top with the V-notch and handle. Pin in place.
STEP 13:
Stitch from the bottom left-hand corner around the curve and down the other side to the bottom right corner using a ¼ inch (6 mm) seam allowance. Make sure to backstitch over the handle to make sure it is securely attached.
STEP 14:
Cut away the extra fabric outside the seam allowance.
STEP 15:
Use your scissors to make small v notches around the curve so the fabric will lie flat when turned. Always be careful not to cut too close to the stitch line.
STEP 16:
Turn the item the right way out, using a turning tool to press out the seams and give the item a quick press with your iron.
STEP 17:
Top stitch around the outside of the curved shape ¼ of an inch (6 mm) from the edge. Do not stitch across the bottom.
STEP 18:
Place the item with the outer side facing upwards on your work top. Measure ¾ of an inch (2 cm) from the right-hand side at the bottom and make a mark, then move up the about 2 inches (5 cm) and make another mark ¾ of an inch (2 cm) from the side, before the fabric starts curving inwards. Join the two marks with a ruler, going all the way up to the end of the fabric.
STEP 19:
Fold the item in half, right sides outward, line up the edges and pin.
STEP 20:
Stitch down the line you drew, backtacking at the start and finish.
STEP 21:
Flatten out the sides so the lining shows at the front, then turn the item inside out and pin so the seam you just stitched is at the center of the v notch you cut in Step 8.
STEP 22:
Take you small binding piece and place it with one of the long raw edges in line with the raw edge of the glasses case, wrong side up, and pin in place.
STEP 23:
Stitch the binding to the case using a ¼ inch (6 mm) seam allowance.
STEP 24:
Turn the raw edges of the ends in, then fold the binding up to meet the edge of the case before folding again over the end of the case and clipping in place.
STEP 25:
Stitch along the top fold of the binding as close to the edge as possible.
STEP 26:
The case is now ready to use for a cell phone, your reading glasses or your sunglasses.
Please don’t forget to give us a like if you enjoyed this tutorial, and remember, if you subscribe you get all our latest tutorials first!
Do you like this? Pin for later:
Wanna be friends? Click HERE and follow me on Pinterest
RELATED: