")
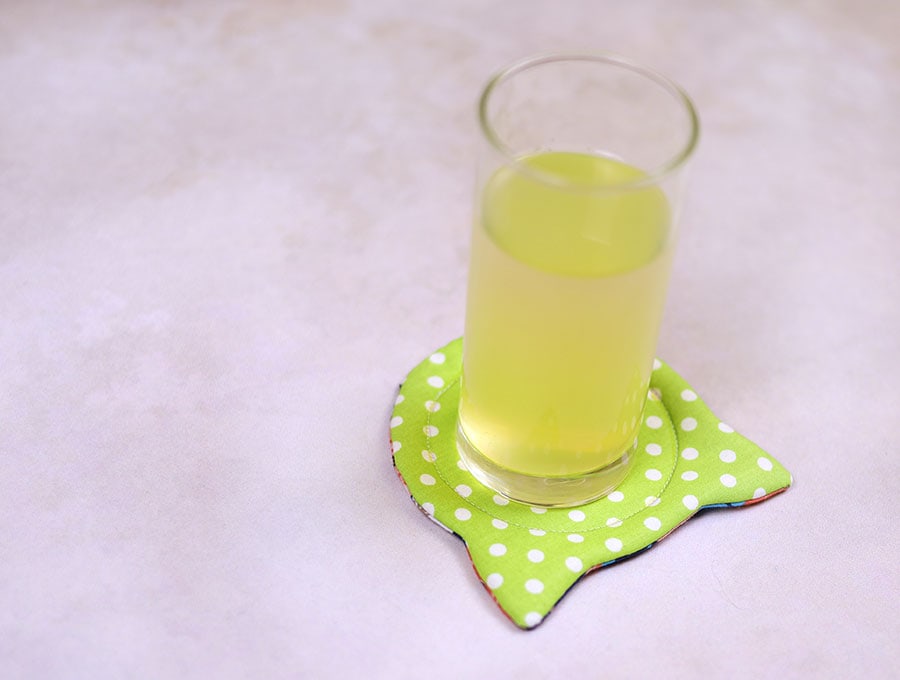
DIY Cat Coaster (with Free pattern)
Sew these cute fabric Cat coasters in a matter of minutes! Use my free cat coaster pattern and whip up a bunch for yourself and to give to friends and family.
It’s a quick and easy projects even for a complete beginner!
Below you will find my step by step written tutorial with VIDEO instructions for all the visual learners.
We occasionally link to goods offered by vendors to help the reader find relevant products. Some of the links may be affiliate meaning we earn a small commission if an item is purchased.
Table of Contents
How to make a cat coaster
Supplies and tools
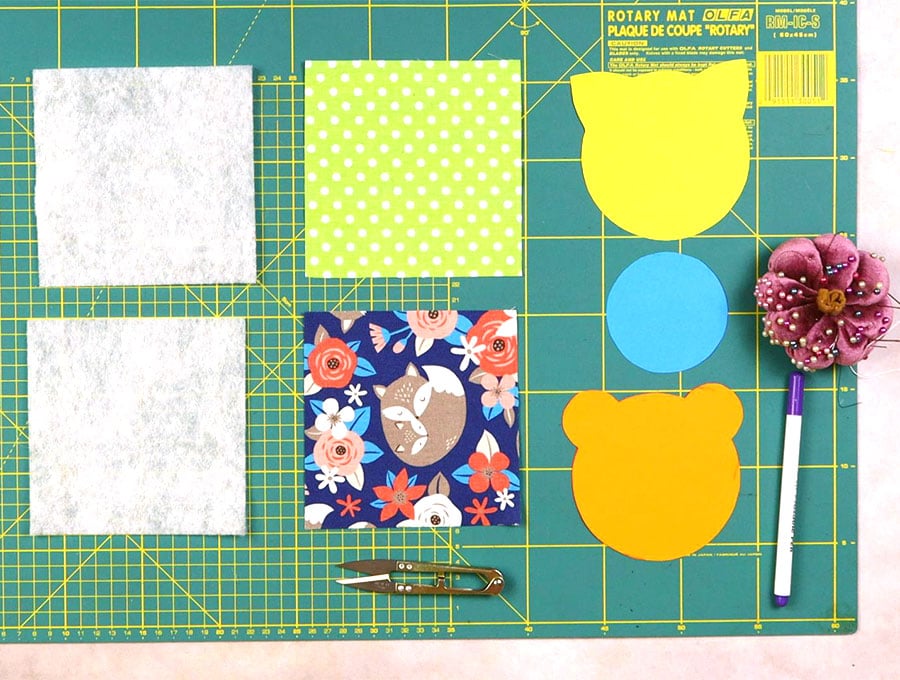
- fabric – 2 pieces of 100% tightly woven cotton (one main, one lining) – 5 x 5″ (14 x 14cm) each
- fusible batting – (2 pieces) 5 x 5″ (14 x 14cm) each
- matching thread
- scissors (or rotary cutter and a cutting mat)
- ruler or measuring tape
- iron and ironing board
- sewing clips or pins
DOWNLOAD: cat coaster template [Free pdf file]
make sure to download the pattern on your computer and NOT to print it directly from the browser!
Follow us for free patterns & tutorials! [easy-profiles]
How to Sew a Cat Coaster
Watch the diy fabric cat coaster video first and then follow the written step by step instructions below.
Please enjoy and don’t forget to Like and SUBSCRIBE over on YouTube to be kept up to date with new videos as they come out.
Cat Coaster VIDEO TUTORIAL
Fabric Cat Coater INSTRUCTIONS:
STEP 1:
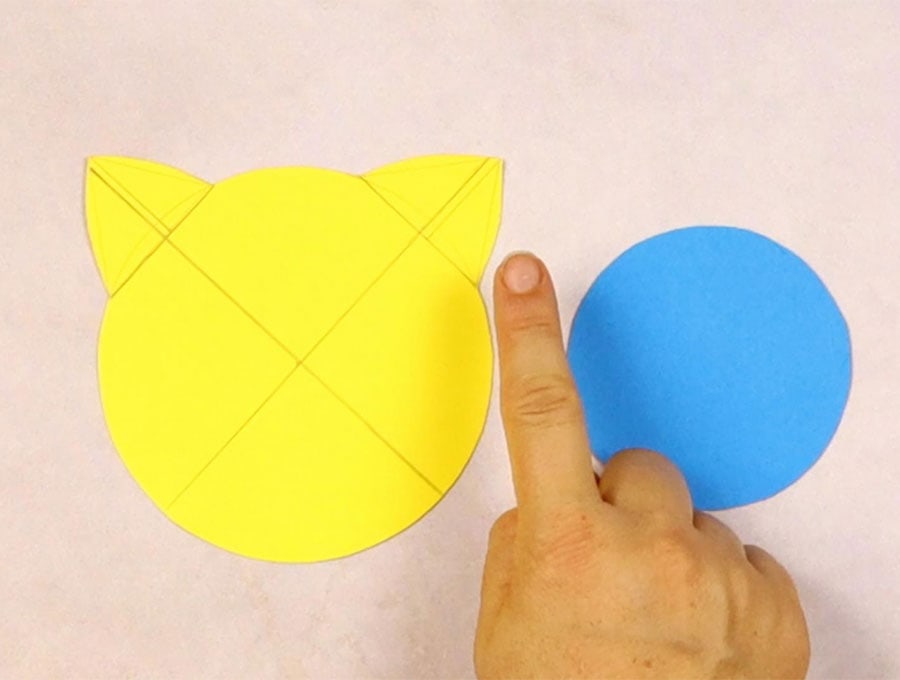
Download and print the free cat coaster template (above). Print at 100% (no scaling) on US letter or A4 paper. Trim the excess paper. You will now have 2 pattern pieces. One with the cat outline and one circle for stitching the inner circle.
PRO tip: if you don’t have a printer, worry not! Watch how to draw your own template at the end of the video, at about 5:07
STEP 2: Layer the fabrics
Place the 2 batting pieces on top of each other, then the backing piece right side up and finally place the main fabric piece with the right side down. Pin everything together
STEP 3:
Place the cat coaster pattern on top of the stack and use a fabric marker to draw around the template. Mark a 1.5″(4cm) opening at the bottom.
STEP 4:
Stitch around the line you drew, backstitching at the beginning and end. Make sure to leave the turning gap unstitched
STEP 5:
Turn the stack with the backing pieces up and use a small pair of scissors to carefully cut just outside the stitch line.
STEP 6:
Trim the excess fabric about 1/4″ from the stitch line, leaving a bit more fabric at the turning gap.
STEP 7:
Take a handsewing needle and thread and make a line of running stitch along the gap of the backing fabric, just 1/8″ (3mm) away from it. Place the paper cat template on top and pull the thread to gather the fabric at the gap.
Fingerpress along the cat template.
Now do a line of running stitch catching both fabric and batting, tie off the thread and cut it off.
Fingerpress the main fabric along the gap.
STEP 8:
clip all around the seam allowance to allow the fabric to lay flat later. Make notches on both side of the base of the ears and clip the ears.
STEP 9:
turn the cat coaster right side out, rolling out the seams. Pin the gap and press the coaster
STEP 10:
handstitch the gap closed using either whip stitch or a ladder stitch
STEP 11:
Place the circle template in the center of the cat coaster and draw around it using a fabric marker
STEP 12:
stitch around the circle you drew. Clip the threads and the DIY cat coaster is ready!
Make a bunch of these cute cat (kitten) coasters to give. They will be well appreciated!
If you loved the bear, but could not make your own pattern, I’m posting the template below. It will stay here for a limited time (until I post a separate tutorial how to make the bear.
>>> RELATED:Bear coaster pattern (free PDF template)<<<