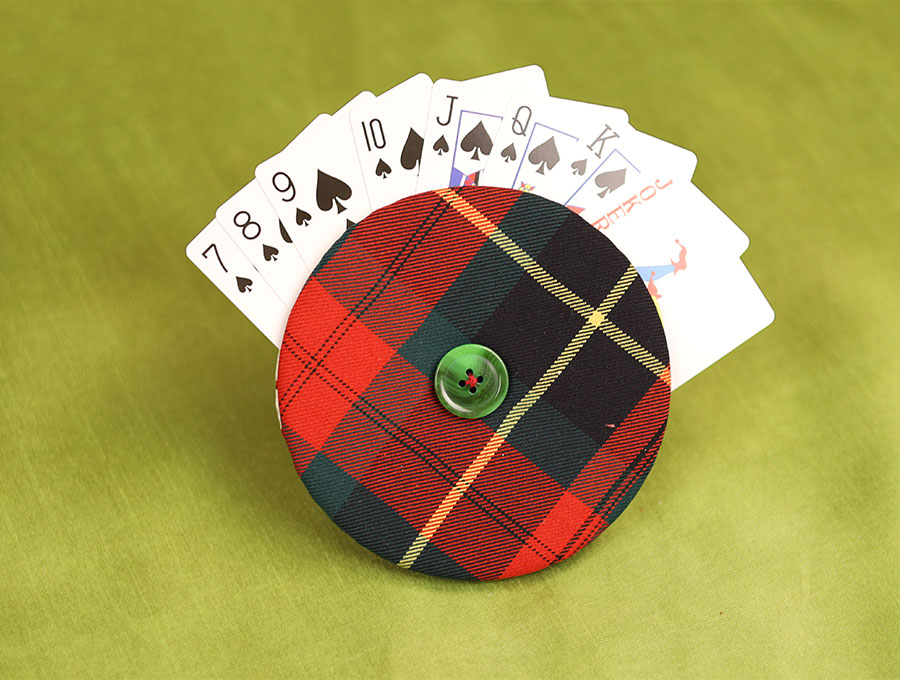
DIY Playing Cards Holder (with Free Pattern)
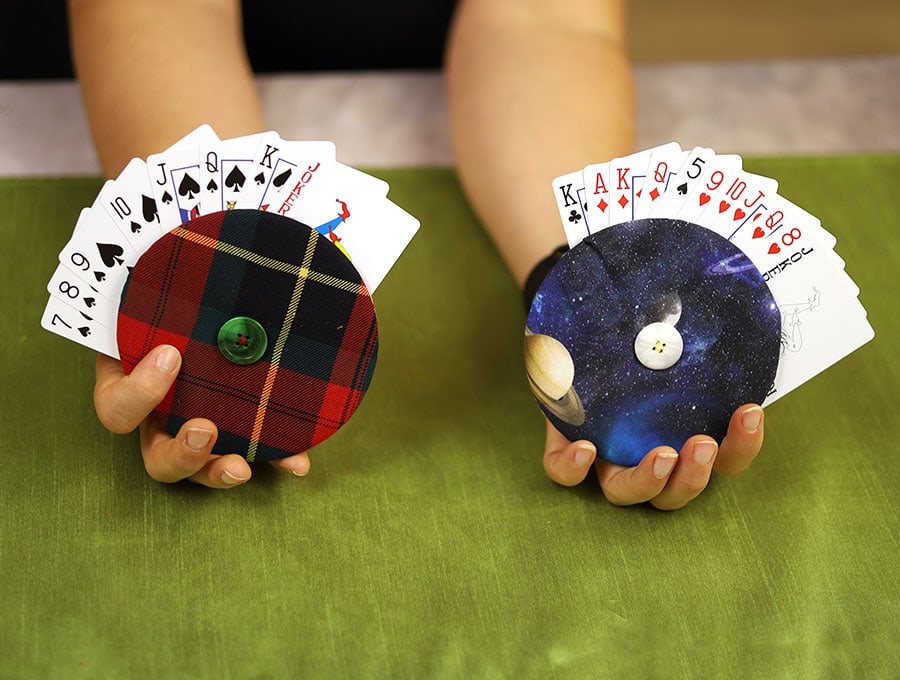
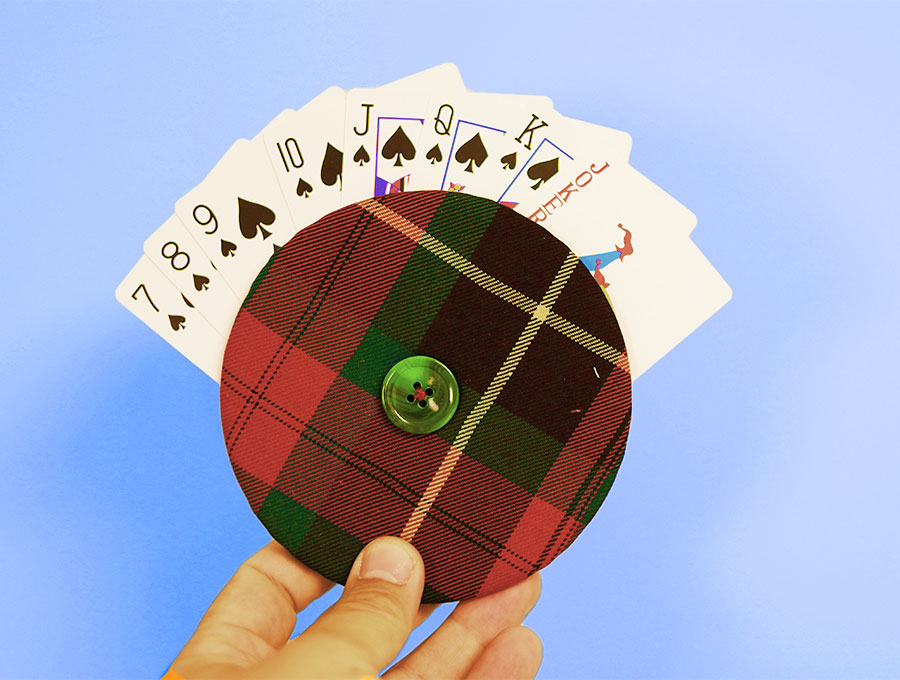
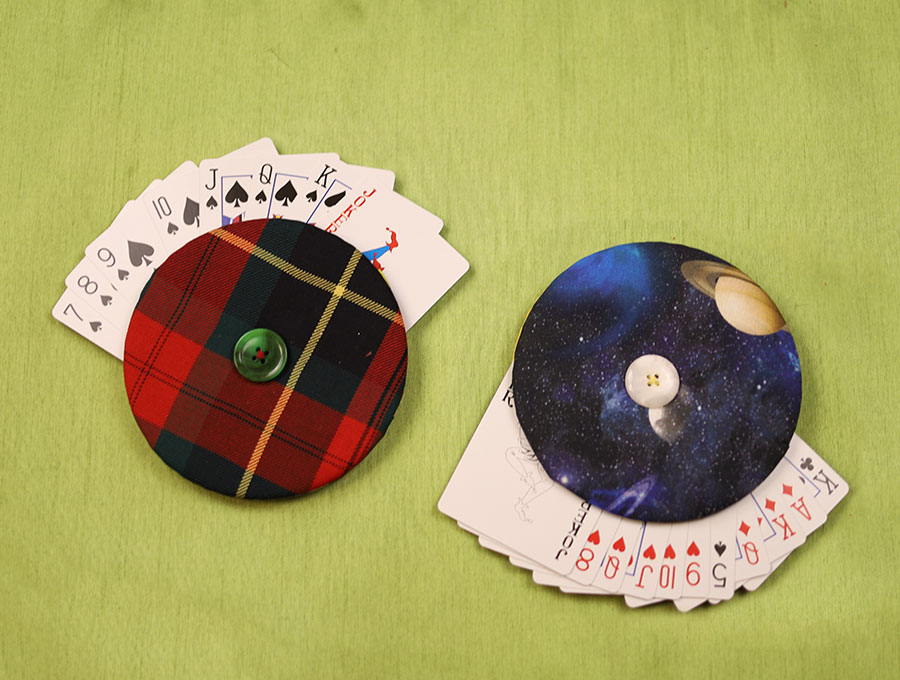
When you play scrabble you have a holder for the letters – so why don’t people have playing card holders? This playing card holder enables you to sort your cards without too much risk of dropping one – especially for children or the elderly. It also saves your playing cards from getting greasy with oils from people’s hands. Our step-by-step instructions show you exactly how to make these cute playing card holders, and best of all they reuse old tech – those CDs and DVDs that seem to be everywhere with no particular use anymore. Give them a new life, use up you scraps of fabric and get playing.
Watch our visuals to create a playing card holder which is an ideal present for the holidays. It’s so useful especially when playing cards with children on the elderly whose fine motor skills may not be too great. Our step-by-step instructions are clear and easy to follow, supported by the visuals. Held safely in place the cards can be screened from others eyes or placed face down on the table should a player need to move away for whatever reason during the game. What I love is that you are repurposing old tech like CDs and DVDs that no one seems to know what to do with anymore, and the small scraps of fabric in your stash, into something useful that will last for a number of years.
Below you will find my step by step written tutorial with VIDEO instructions for all the visual learners.
We occasionally link to goods offered by vendors to help the reader find relevant products. Some of the links may be affiliate meaning we earn a small commission if an item is purchased.
Table of Contents
How to make a playing cards holder
Supplies and tools
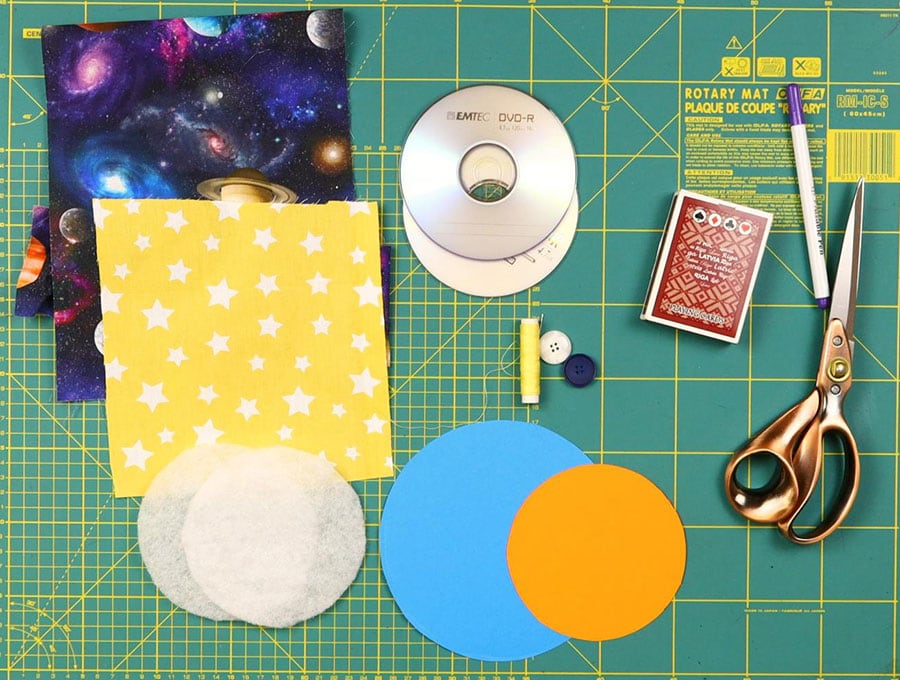
- 2 old CDs or DVDs (standard size, not the mini ones)
- 2 pieces of batting cut to the size of the CDs
- 2 pieces of cotton fabric 7 x 7 inches (18 x 18 cm) for covering
- 2 flat buttons to match or contrast with the fabric – your choice
- matching thread
- scissors (or rotary cutter and a cutting mat)
- ruler or measuring tape
- sewing clips or pins
- Mathematical compass – optional
DOWNLOAD: Playing Cards Holder Template [Free pdf file]
Follow us for free patterns & tutorials! [easy-profiles]
How to Sew a playing card holder
Watch the diy plaing cards holder video first and then follow the written step by step instructions below.
Please enjoy and don’t forget to Like and SUBSCRIBE over on YouTube to be kept up to date with new videos as they come out.
Plaing Cards Holder VIDEO TUTORIAL
INSTRUCTIONS:
STEP 1:
Create the pattern for the holder by placing a CD or DVD on a piece of A5 paper and tracing around the edge. Cut out the circle. Use this paper circle as a pattern to cut two pieces of batting.
STEP 2:
To create the larger circle, place the cut-out circle on a piece of A4 paper – making sure the circle edges are equally distant from the sides and top. Secure with a couple of tiny pieces of masking tape so it doesn’t move when you are measuring.
STEP 3:
Take your tape measure and measure 1 inch (2.5 cm) all around the edge, making marks at intervals then joining them up in a small circle – or you can use a mathematical compass to draw the larger circle. Remove the smaller circle and tape.
STEP 4:
Cut out the larger circle, then place it over the two pieces of fabric you are going to use, draw around the pattern and cut out the two circles.
STEP 5:
To create a gather set your machine to straight stitch and the stitch length to the maximum – on most machines it will be 4 or 5. The top tension should be set to minimum, then stitch around the circles ¼ inch (6 mm) in the from the edge, leaving a tail of around 5 inches (13 cm) when you start and when you finish. These tails of thread will help you gather the fabric later.
STEP 6:
Place the two stitched circles wrong side up on your worktop and over each of them place a smaller circle of batting, followed by the CD or DVD. Make sure they are equidistant from the edges.
STEP 7:
Gently pull on the thread at the back, where you started, to create a gather halfway round the circle. Even out your gathers until you are satisfied, then pull on the back thread where you finished and gather the other half of the circle. Adjust as needed so the circle is neatly gathered.
Knot the ends together, tying two knots with the tails of thread then clip off the extra thread.
STEP 8:
Thread a hand-sewing needle with a matching or contrasting thread, pull the threaded part through until you have two equal lengths and make a knot in the cotton thread. This gives you double the strength of cotton.
STEP 9:
When you pull through the first stitch into the center of the CD/DVD leave a tail of cotton about three inches long, then continue stitching through the first button and pulling the thread to the other side, then attach the second button on the other side. Make sure you have at least three stitches through the holes in each button to secure it firmly.
STEP 10:
To end off, push the needle to the side of the button on the same side as where you left the tail when you started. Clip off the thread about 3 inches from where you ended and tie the two tails together with two knots, then clip off. The knots will be under the button and invisible.
Voila – you have a playing card holder that can be personalised with a person’s name on it, or the type of fabric or colour they enjoy.
Playing cards holder FAQs and tips:
Q: Can I substitute the buttons for something else?
A: If you don’t like the look of buttons you can still stitch the two halves together firmly as described without the buttons, then use a hot glue gun to glue a pretty shape in place in the centre – stars or hearts spring to mind in keeping with the playing card theme.
This tutorial for the playing card holder is ideal as a stocking filler! If you are feeling generous you could make a few for old age homes to assist people whose hands may be not so steady but who still love their card games! Liked this tutorial? Then please give us a like and share with sewists who have cardplaying friends. Join our thousands of subscribers so you don’t miss out on our easy tutorials. You know what to do – hit that subscribe button and become a part of the HelloSewing family.
Do you like this? Pin for later:
Wanna be friends? Click HERE and follow me on Pinterest
RELATED:

