
DIY Flower Shaped Pillow Tutorial
I just love these DIY flower shaped pillows as I can see them in kid’s nurseries in shades of cream and sand, or scattered in tints of pink across a lounge where the light from the garden streams in; as cushions for your caravan, your outside daybed, or in your bedroom to bring in a pop of color. You can make the flower-shaped pillow in any size you want. We have chosen to make one that is 21 inches (54 cm) across, which is fairly large, but you can adjust the size of the paper pattern by making it a couple of inches smaller. The fower shaped pillow pattern uses two buttons to give a plush buttoned effect to the cushion.
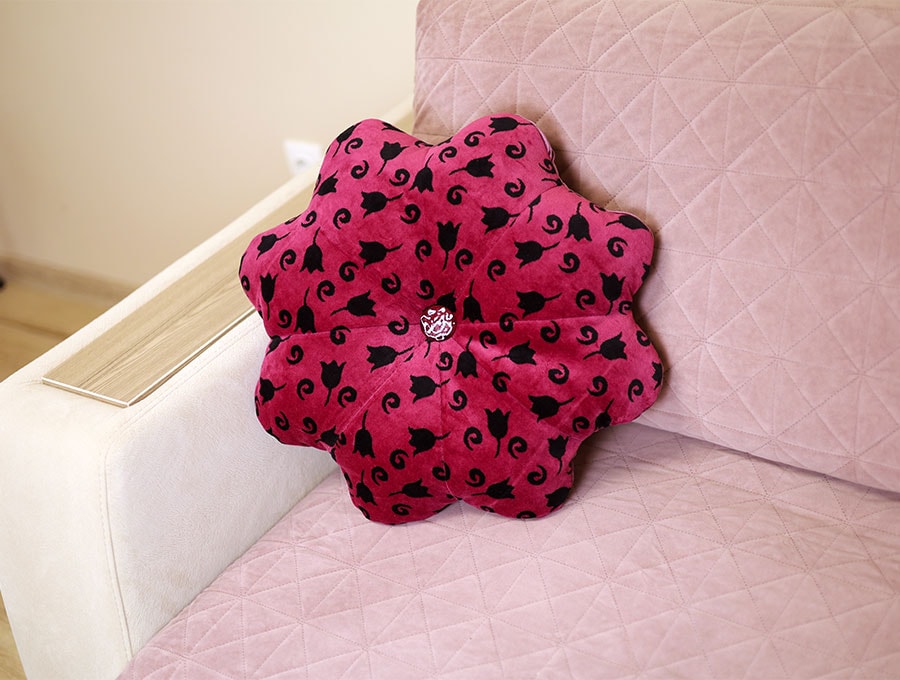
Watch our easy-to-follow visuals to see how you can make this gorgeous cushion in less than an hour. Once you have cut the pattern you will want to label and keep it filed because it’s a pattern you will use again and again. Imagine lovely pastel ginghams and spring prints for Easter, or red poinsettia colours with gold or silver buttons for the festive season.
Below you will find my step by step written tutorial with VIDEO instructions for all the visual learners.
We occasionally link to goods offered by vendors to help the reader find relevant products. Some of the links may be affiliate meaning we earn a small commission if an item is purchased.
Table of Contents
How to make a Flower Shaped Pillow
Supplies and tools
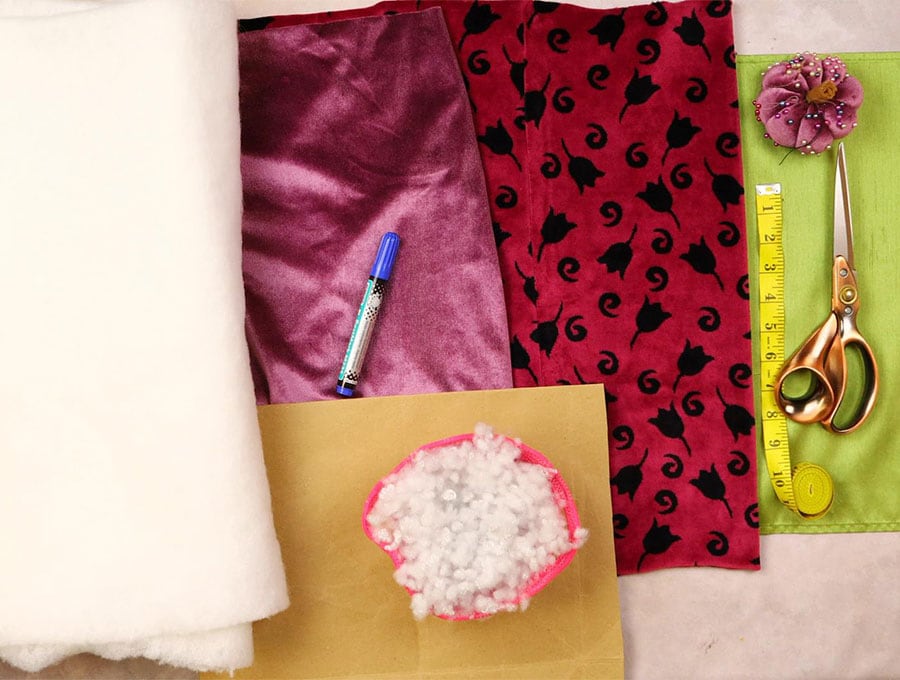
- main fabric: 2 x pieces of fabric – one for the front and one for the back 21 x 21 inches (54x 54 cm) – they can be different prints, or one print and one plain.
- lining fabric: 2 x pieces of lining 21 x 21 (54 x 54 cm) in white or cream – or a color as it doesn’t really matter as this will not be visible.
- batting: 2 x pieces of medium thickness batting 21 x 21 inches (54x 54 cm)
- 2 large decorative buttons – 1″ (2.5cm) or bigger
- Paper to cut the pattern 18 x 9 inches (46 x 23 cm) If making a smaller cushion reduce the paper pattern proportionately
- matching thread
- scissors (or rotary cutter and a cutting mat)
- ruler or measuring tape
- iron and ironing board
- sewing clips or pins
- Embroidery /hand stitching needle
- Pen or pencil to mark the pattern
- sewing machine
DOWNLOAD: pattern coming soon [Free pdf file]
Follow us for free patterns & tutorials! [easy-profiles]
How to Sew a flower shaped pillow
Watch the diy flower shaped pillow video first and then follow the written step by step instructions below.
Please enjoy and don’t forget to Like and SUBSCRIBE over on YouTube to be kept up to date with new videos as they come out.
DIY Flower Shaped Pillow VIDEO TUTORIAL
INSTRUCTIONS:
STEP 1:
Take your piece of paper of 46 x 23cm (18 inches by 9 inches) and fold in half on the long side, then fold the two layers of the bottom left corner towards the middle fold to meet the top right corner, creating a triangle.
STEP 2:
Measure 9 inches (23 cm) along the right hand side of the triangle and make a mark. Measure 9 inches (23 cm) along the fold on the right hand side and make a mark.
STEP 3:
Measure across from the one 9 inch mark to the other 9 inch mark and draw a line. Mark the middle of that line, then make a mark 10.5 inches (27 cm) from the bottom corner that cuts up through the middle point you just marked.
STEP 4:
Draw a curved line from the 9 inch (23 cm) mark to the 10.5 inch (27 cm) mark, then loop it down to the other 9 inch (23 cm) mark to create a petal. Our visuals will make this so easy to understand.
STEP 5:
Cut off the excess above the looped line, then open out the paper – you will have one half of an 8 petal flower.
STEP 6:
Take the 21 x 21 inch (54 x 54 cm) fabric for the front of the cushion and fold it in half, right side outwards. Pin the pattern to the folded fabric, lining up the straight edge of the pattern with the fold. Cut the fabric according to the pattern.
STEP 7:
Repeat the previous step with fabric for the back of the cushion.
STEP 8:
Place the pattern on the fold of the lining fabric, pin in place ten cut out the pattern. Repeat with the other piece of lining.
STEP 9:
Cut the batting in the same way you cut the lining and the main pieces.
STEP 10:
To assemble place the lining side right side down on your work top, on top of it place the piece of batting, ensuring the petals line up, then on top of that the piece for the back of the cushion. Make sure the petals all line up and pin the layers in place around the edges and in the middle to ensure they do not move as you quilt.
STEP 11:
Repeat the previous step with the front side of the cushion fabric, the batting and the lining.
STEP 12:
Increase your machine stitch to 3 and stitch along each petal line, so you have 8 petals in total, then stitch along the outer edge of each petal ¼ inch (6mm) from the edge. Do this for the front and the back of the cushion.
STEP 13:
Place the right hand sides of the cushion halves together and pin or clip in place after making sure the petals line up.
STEP 14:
Stitch around the edge of the cushion 3/8 of an inch (1 cm) in from the edge, leaving a 5-inch (13cm) gap on one of the petals to enable you to pull the cushion through the gap to turn it the right way out. Remember to backtack at the start and finish.
STEP 15:
Pull the cushion through the gap gently and once it is through use a chopstick or turning tool to push out the petals so the fabric sits flat and smooth.
STEP 16:
Start stuffing the cushion making sure to get the stuffing evenly spread into each petal then into the middle of the cushion. Make sure it is well stuffed and not too floppy, but not overstuffed either.
STEP 17:
Turn in the edge of the gap in line with the rest of the fabric – just be careful on the curve of the petal to make sure it matches the curve of the other petals – clip in place.
STEP 18:
For an invisible finish take a needle and thread in a matching colour to your fabric that. Is doubled and slip stitch the gap closed. Try to make your stitches invisible by catching the fabric just on the inside of the seam, and sliding the needle inside to get to the next point, just inside the fold on the opposite side.
STEP 19:
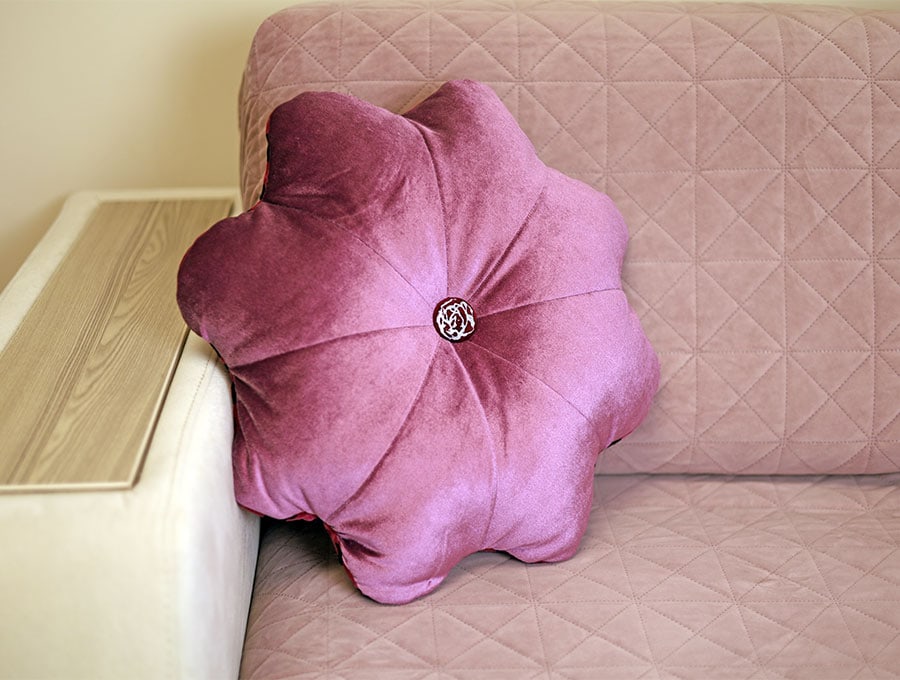
The last step is to attach the two buttons to give the cushion that deep buttoned effect. Make sure you thread is doubled then put the needle through from the center of one side to the center of the other side and pull to get the indentation in the middle, then stitch on the one button, winding the cotton around the shank after going through the holes a few times. End off the thread by making a loop and pulling the needle through the loop to form a knot a couple of times. Cut the thread then start afresh on the other side, making sure the two buttons are exactly on opposite sides of the cushion.
And you are done – the petal cushion can decorate an indoor or outdoor lounge or bed. Once you have done one you may want to do a whole garden of flower cushions – imagine some in fresh sunflower yellow with black buttons in the center, or a variety of cushions in shades of lilac – from a pale mauve to a deep violet. You may want to go with shades of pink, or have a variety of fresh colours. If you have used a washable fiber filling it will be easy to toss in the wash when the cushion needs it.
Please like and subscribe and also share this post with someone you know who would appreciate a beautiful flower cushion tutorial. I would love to see the results of this tutorial so please feel free to share your photos of how they turned out in our comments section.
Do you like this? Pin for later:
Wanna be friends? Click HERE and follow me on Pinterest
RELATED: