
DIY Pen Holder Bookmark for ANY Notebook, Journal, Book or Binder
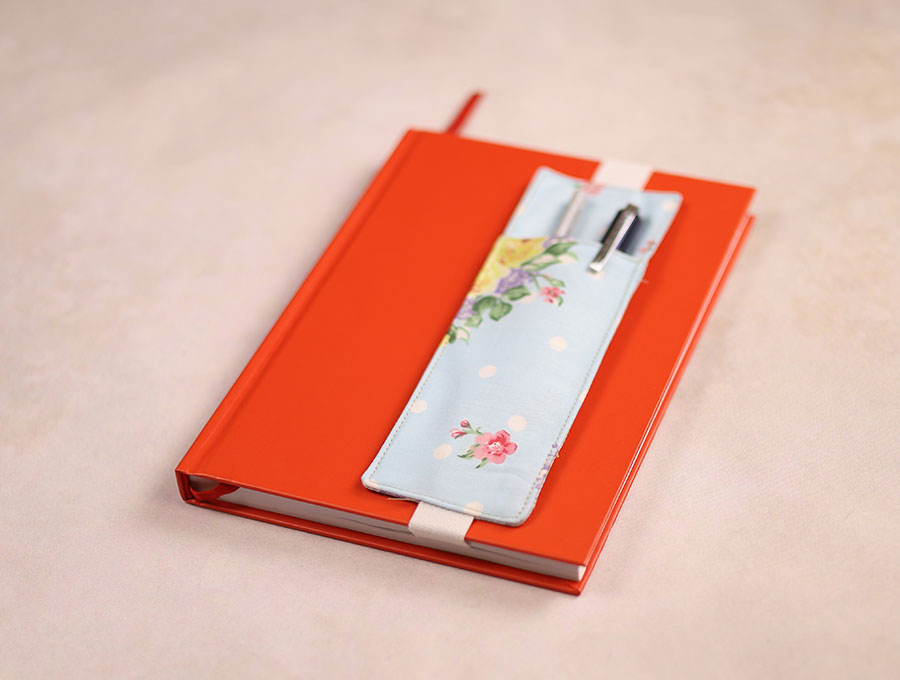
I’m not sure about you but I love having a notebook with the pen that attaches so I don’t have to search for a pen every time I use the notebook or journal. Enter the cutest way to use up really small and attractive scraps of material to create a pocket with a pen holder that slips over your diary, or notebook with an elastic so you know exactly which page to open up at.
This DIY Pen Holder Bookmark fits comfortably a couple of pens or a pen and a pencil. You can easily adjust the length of the elastic so it fits any notebook from an A5 to an A3 art journal and any size in between.
Below you will find my step by step written pen holder bookmark tutorial with VIDEO instructions for all the visual learners.
We occasionally link to goods offered by vendors to help the reader find relevant products. Some of the links may be affiliate meaning we earn a small commission if an item is purchased.
Table of Contents
How to make a Pen holder Bookmark

Supplies and tools
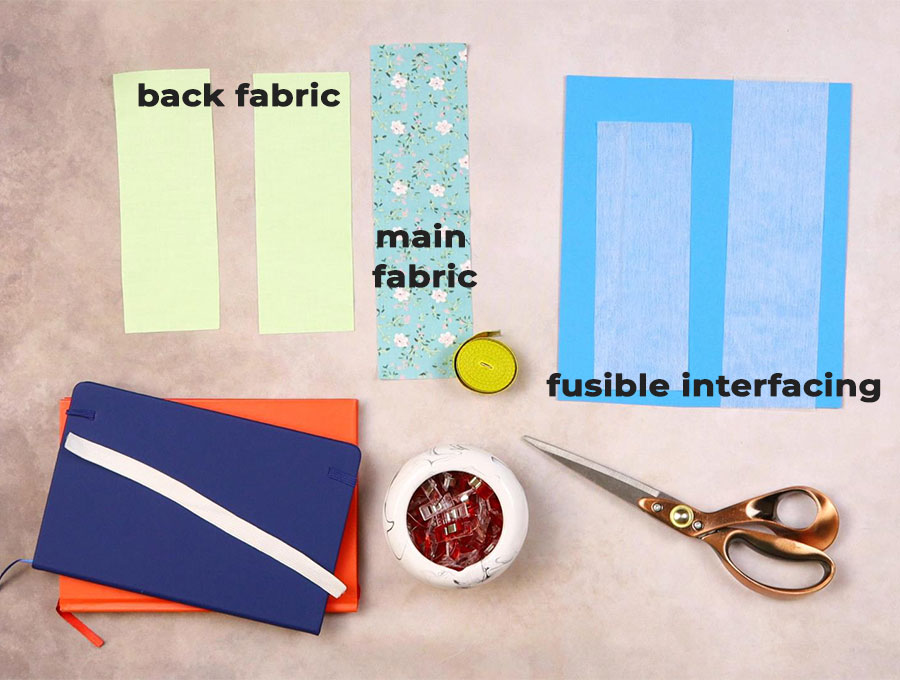
- fabric – 2 pieces of cotton fabric (one main, one lining)
- fusible interfacing
- matching thread
- scissors (or rotary cutter and a cutting mat)
- ruler or measuring tape
- iron and ironing board
- sewing clips or pins
DOWNLOAD: pen holder bookmark pattern [Free pdf file]
Follow us for free patterns & tutorials! [easy-profiles]
How to Sew a Pen Holder Bookmark
Watch the diy pen holder bookmark video first and then follow the written step by step instructions below.
Please enjoy and don’t forget to Like and SUBSCRIBE over on YouTube to be kept up to date with new videos as they come out.
Pen holder Bookmark VIDEO TUTORIAL
INSTRUCTIONS:
This DIY Pen Holder Bookmark has a finished size of 8 x 2.5 inches (20 x 6 cm).
You can easily adjust the length of the elastic so it fits any notebook from an A5 to an A3 art journal and any size in between.
What you need:
- Main fabric (patterned) – 1 piece of 11 x 3 inches (28 x 7.5cm) to make the front pocket
- Back fabric (plain) – 2 pieces of 8.5 x 3 inches (21.5 x 7.5cm) to make the backing.
- 1 piece of iron on interfacing 11 x 3 inches (28 x 7.5cm)
- 1 piece of iron on interfacing 8.5 x 3 inches (21.5 x 7.5cm)
- 1 piece of elastic cut to the size of the notebook for an A5 notebook it will be 9.5 inches (24cm) The color can be whatever matches the fabric – but keep in mind that black or any dark color does not show the dirt from constant use.
STEP 1:
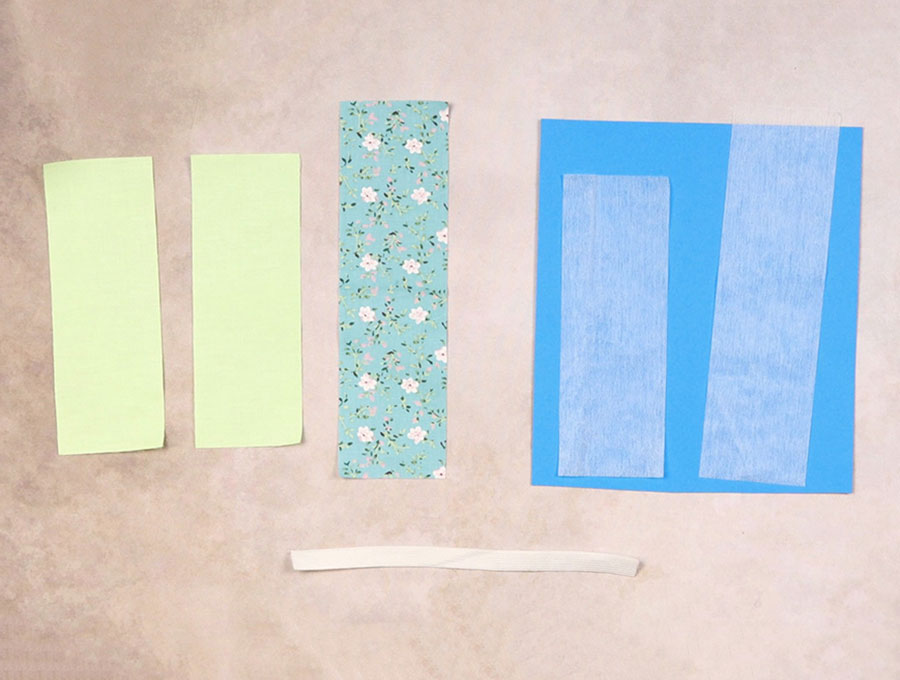
Cut your fabric and interfacing to size. Either use the supplied measurements or use the our free pen holder bookmark pattern.
Choose one of the small back fabric pieces and apply the iron-on interlining to the wrong side of the fabric according to the manufacturer’s instructions. Set aside.
STEP 2:
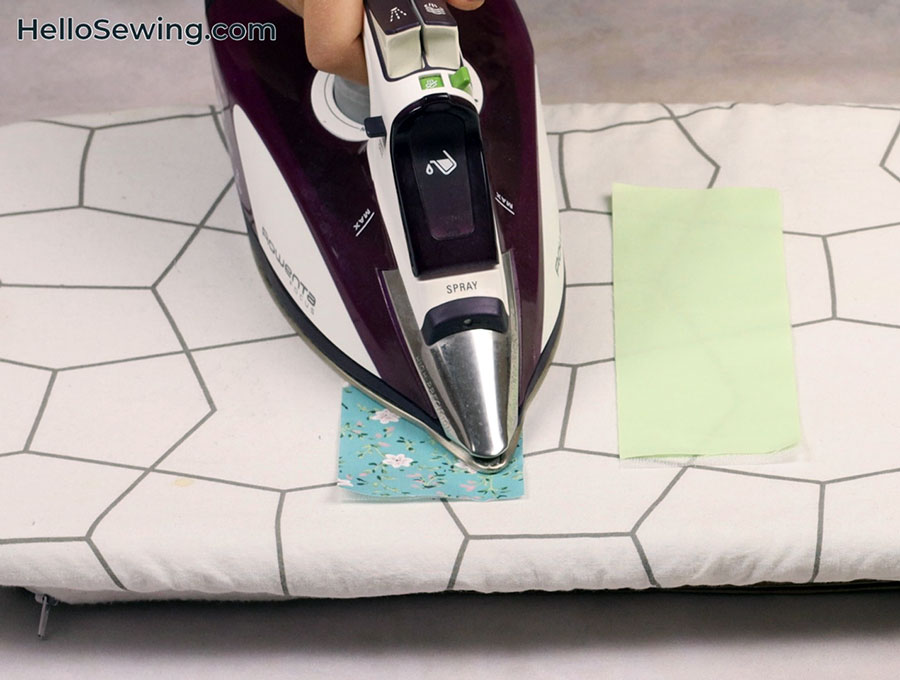
Take the the main fabric piece and one of the backing pieces and apply the iron on interlining to the back of the each one according to the manufacturer’s instructions.
STEP 3:
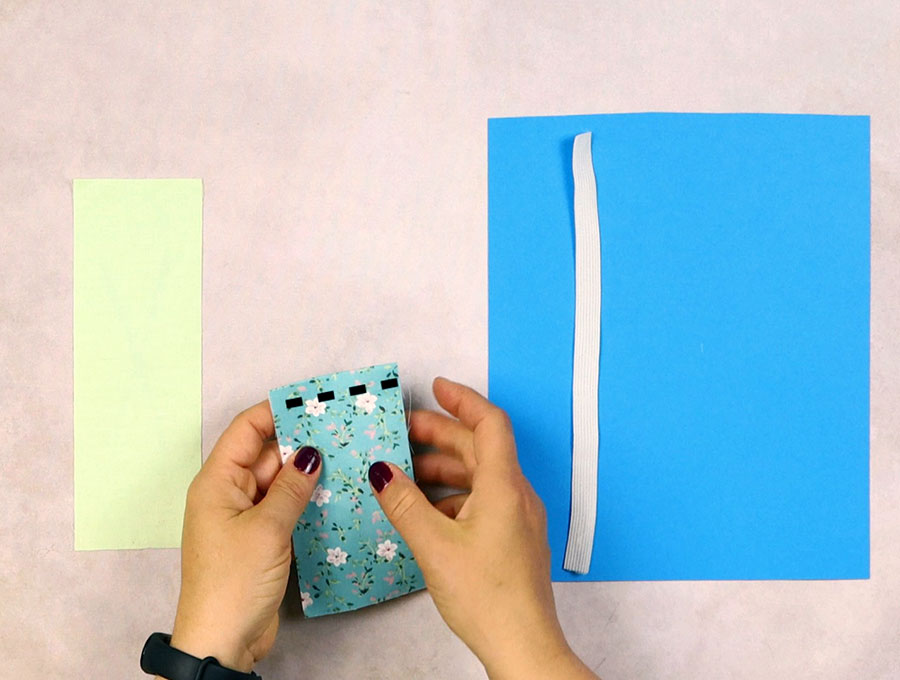
Fold the main fabric piece in half so the short side meets up with the other short side, and press in the fold with an iron.
Stitch along the fold 1/8″(3mm) from the top.
STEP 4:
Take the back piece with the iron-on interlining and fold in half along the short edge to find the middle. Either mark with a fabric pen or make a tiny notch to indicate the middle, and repeat on the other short edge.
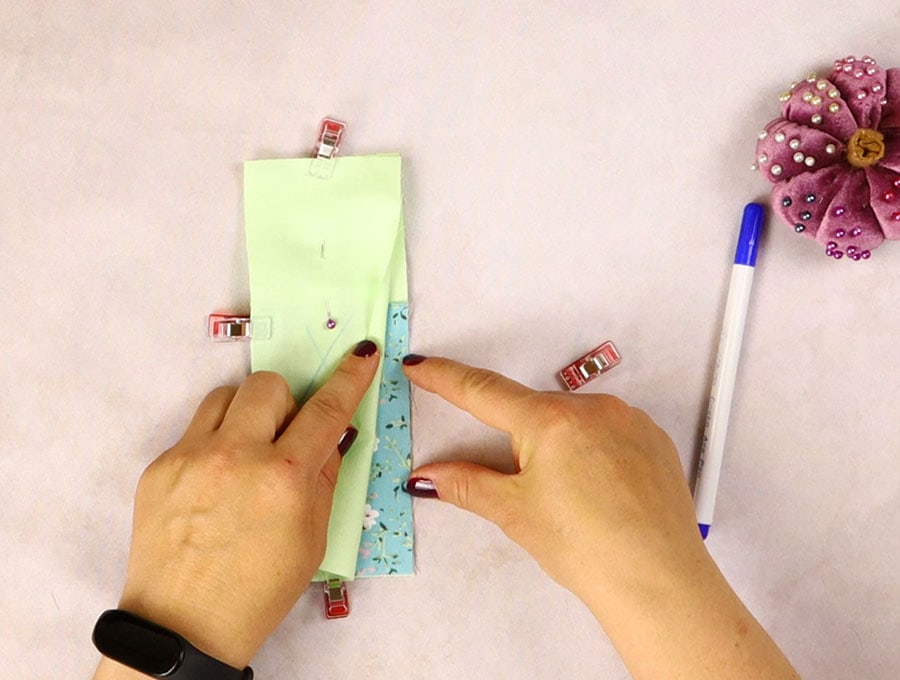
STEP 5:
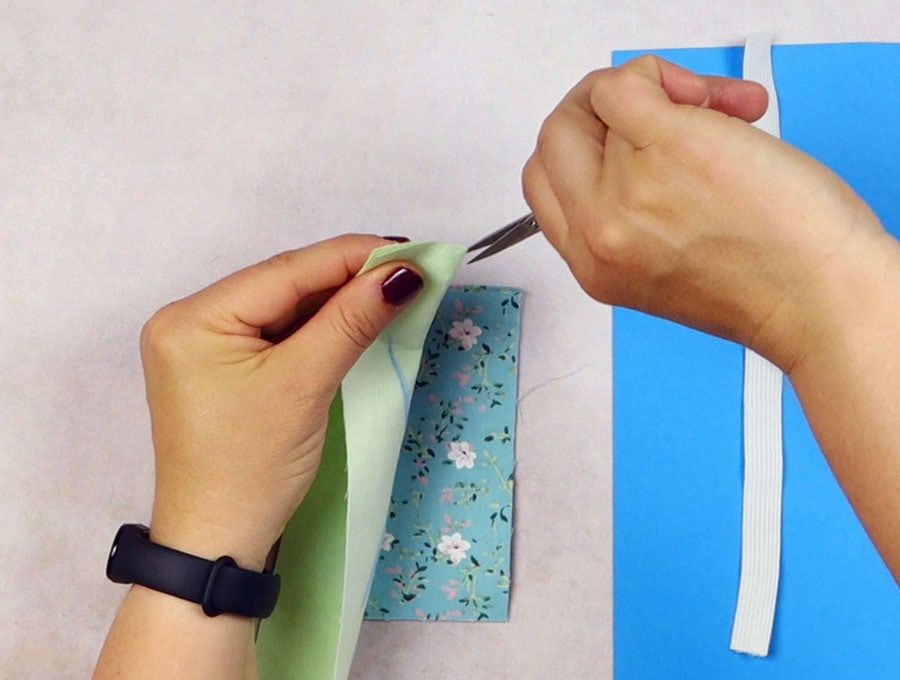
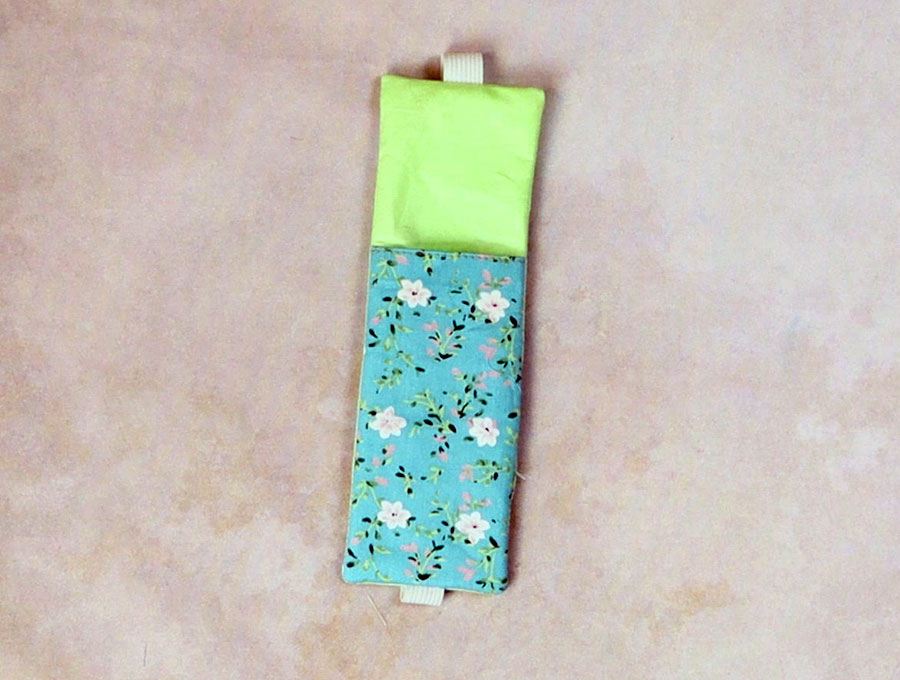
Lay this piece down on your worktop with the right side up.
Over it place the folded main fabric piece you pressed with an iron, making sure the raw edge lines up with the bottom raw edge of the back piece, and the fold is towards the middle of the base piece. Pin or clip in place.
STEP 6:
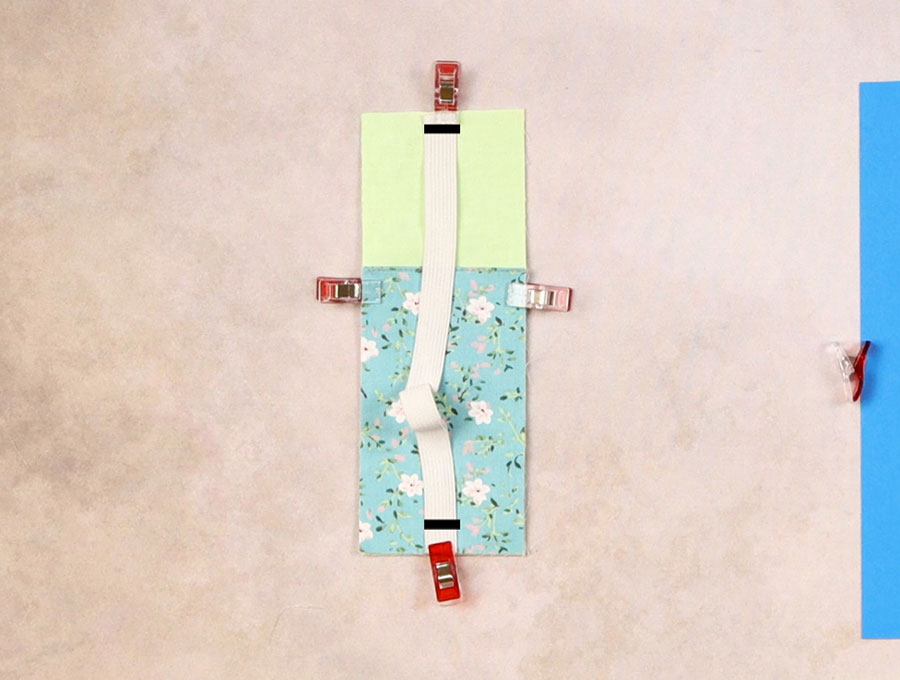
Take the elastic and lay one end over the middle of the short end, raw edge to raw edge of the fabric. Pin in place. Now take the other end of the elastic and line it up with the middle of the opposite end of the fabric and pin in place.
STEP 7:
Run a machine stitch across the ends of the elastic 1/8 of an inch (3mm) from the edge to ensure the elastic does not move. Repeat with the other end of the elastic.
STEP 8:
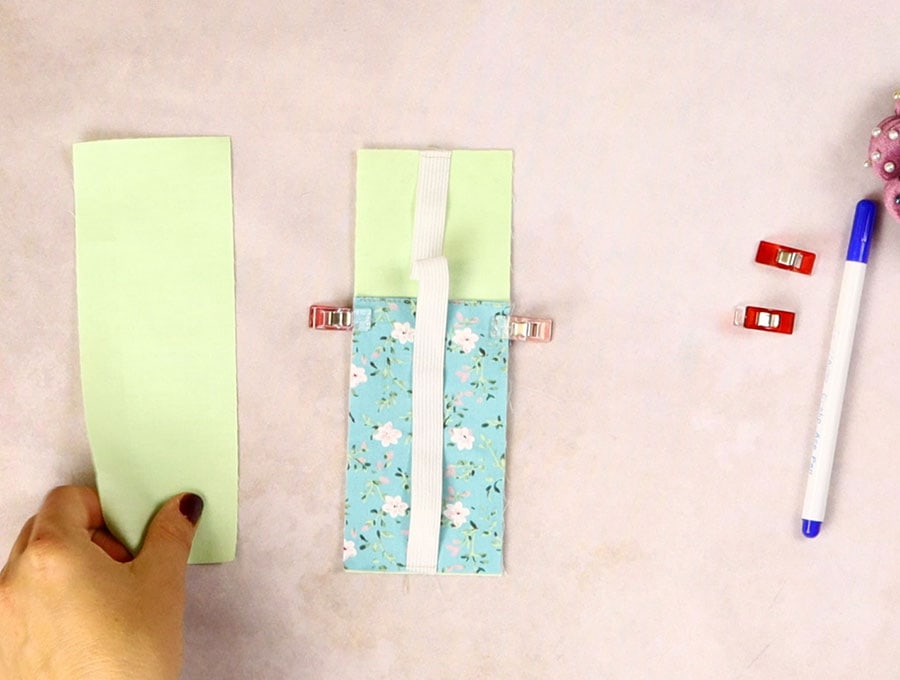
Place the other back piece fabric with the wrong side uppermost over the pieces you have already assembled.
Make sure the elastic will not get caught in the edge by tucking it towards the middle of the fabric then pin or clip all around the edge except for one 2 inch (5 cm) section on the side where the folded fabric is over the base layer – this will form the gap through which to turn the DIY pen holder bookmark. Mark the gap with pins.
STEP 9:
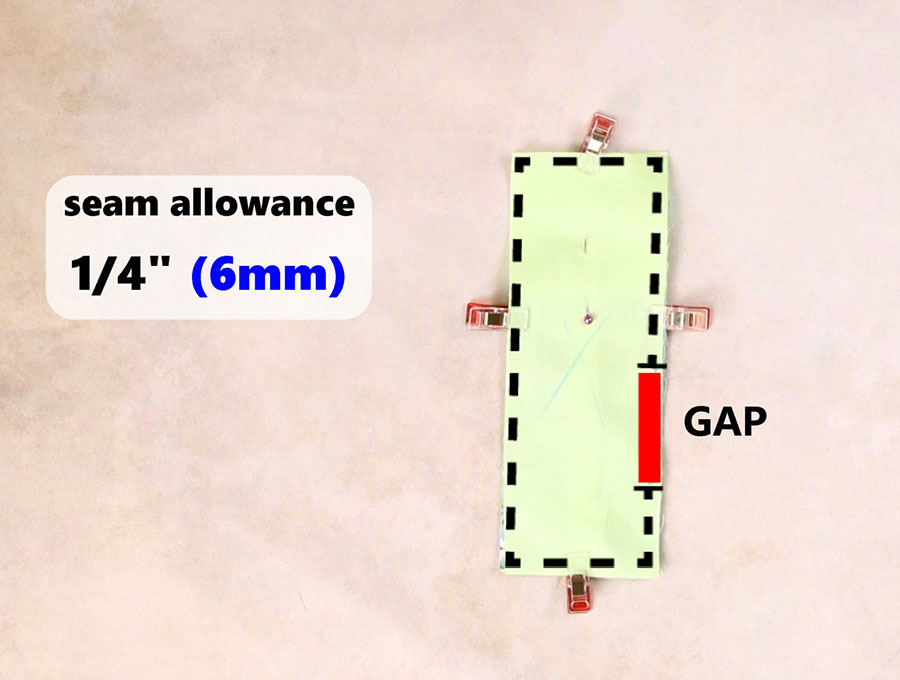
Stitch all around the edge of the DIY pen holder bookmark with a 1/4″(6mm) seam allowance, leaving the needle in the fabric at the corners and lifting the pressure foot, swinging at 90 degrees and then depressing the pressure foot to get a nice neat corner. Back tack at the start and finish of the gap.
STEP 10:
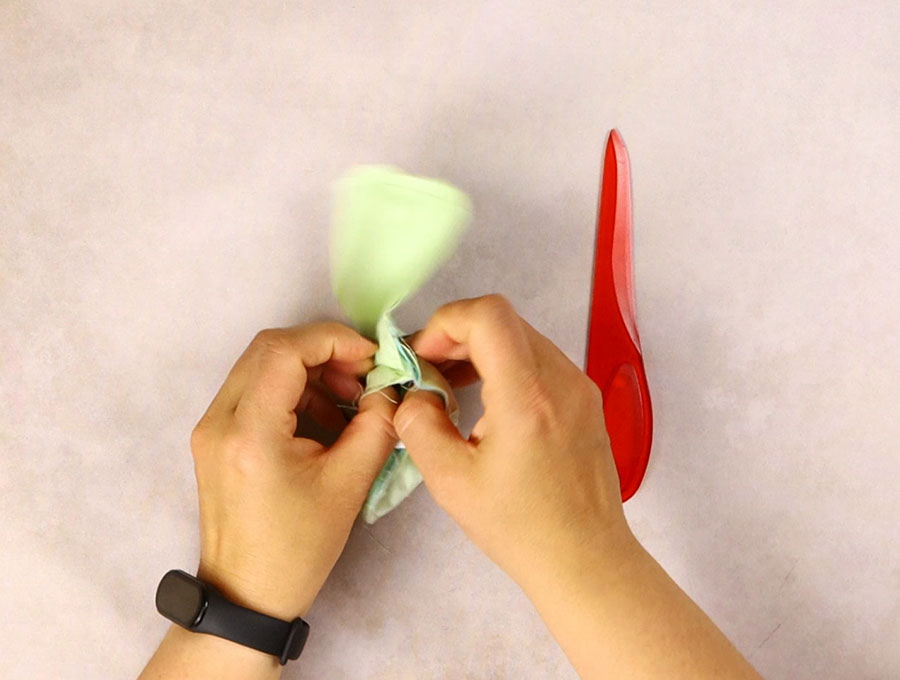
Trim off the excess fabric at the corners to make them lie flat, then turn the DIY pen holder bookmark though the gap, smoothing the edges of the seams and using a turning tool to push out the coroners neatly.
STEP 11:
Where the gap is turn the edges in making sure they are in line with the seam, then press the whole piece.
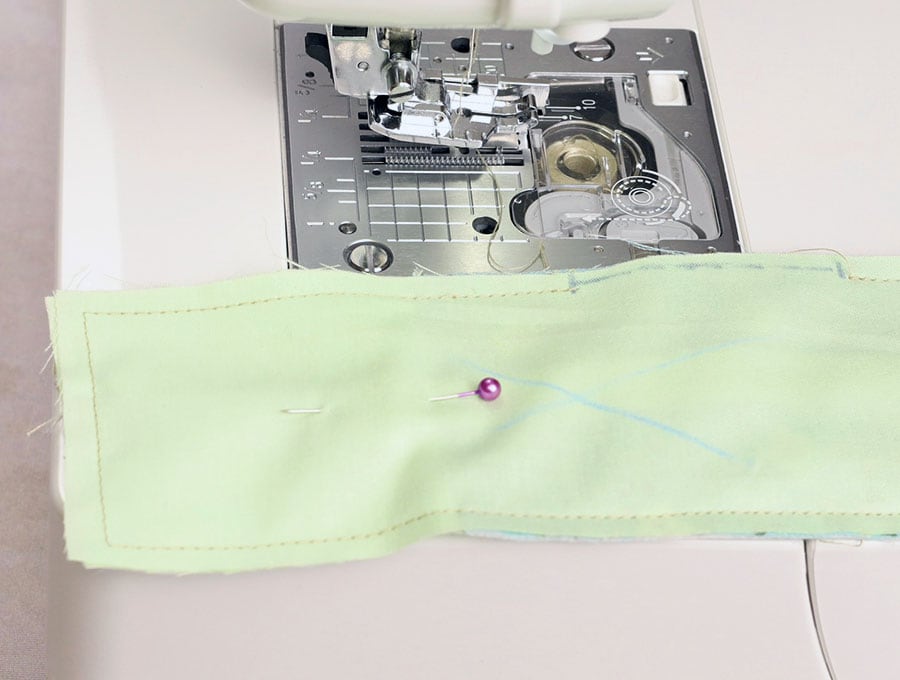
STEP 12:
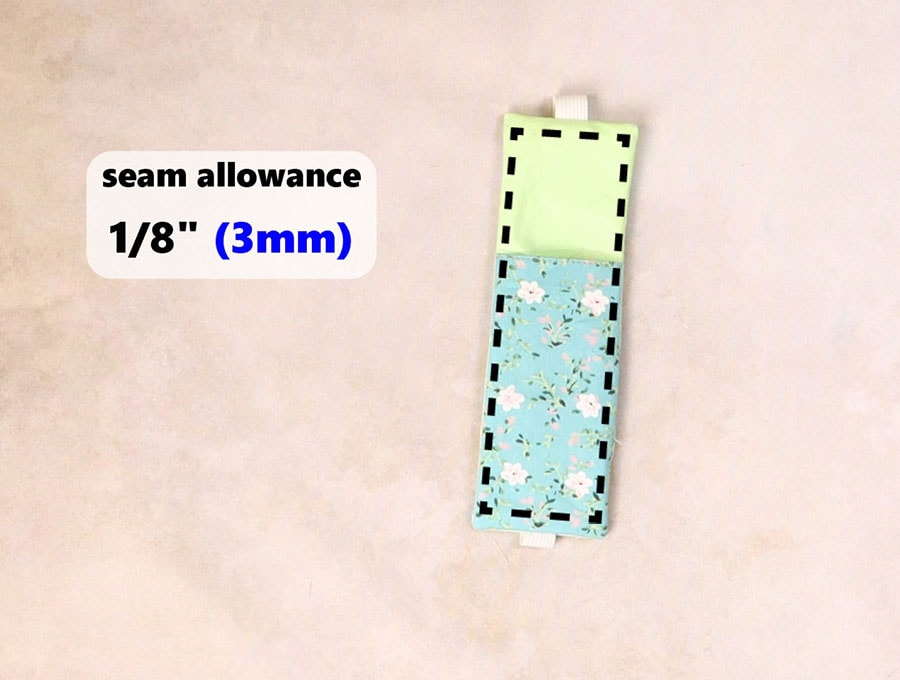
Run a line of stitching all around the edge of the DIY pen holder bookmark 1/8 of an inch (3mm) from the edge, leaving the needle in the fabric at the corners and lifting the pressure foot, swinging at 90 degrees and then depressing the pressure foot to get a nice neat corner. Back tack at the finish. Make sure when you stitch that the loop of elastic is out of the way so it does not accidentally get stitched in.
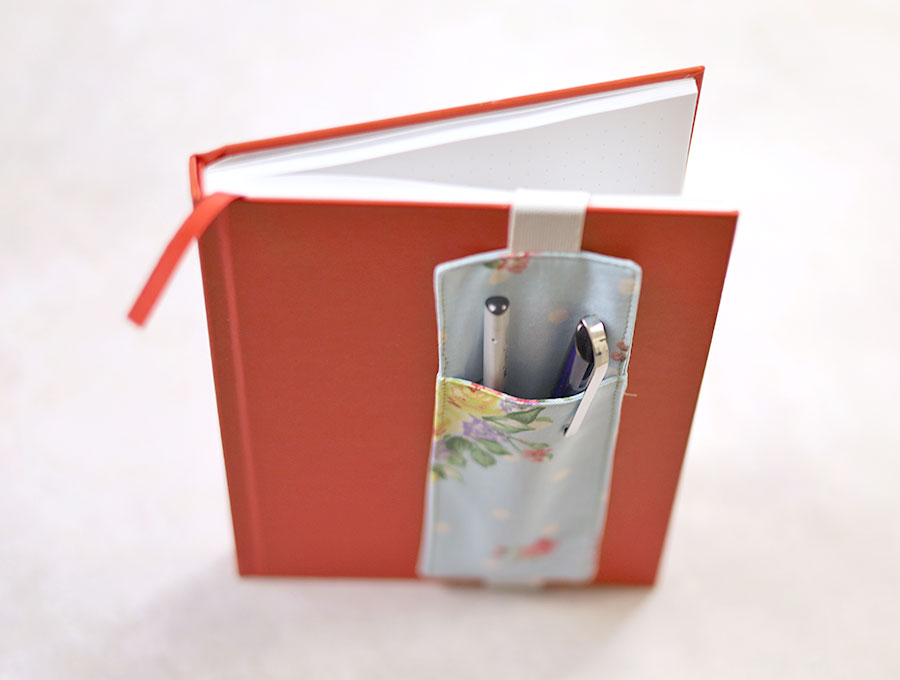
All that remains when you have finished the DIY pen holder bookmark is to attach it to a new notebook as a gift and fill with a pen and a pencil, or two different color pens. And there you have a beautiful thoughtful gift.
Pen Holder Bookmark FAQs and tips:
Q: How do I adjust the elastic size for various size notebooks?
A: The general rule is that you measure the length of the finished DIY pen holder bookmark which is 8 inches (20cm) and subtract that from 2 x the length of the notebook.
A5 is 8.5 inches (21.5cm) x2 = 17 inches (43cm) – 8 inches (21.5cm) = a 9 inch (23cm) piece of elastic
A4 is 12 inches (30cm) x 2 = 24 inches (60 cm) – 8 inches (21.5cm) = a 16 inch (40.6cm) piece of elastic
Q: Does my backing fabric have to be plain?
A: No it doesn’t – a stripe can work well with a pattern. Just ensure one color in the print is picked up in one color in the second print. If using a similar motif, for example circles, then choose one piece with slightly larger polka dots than the other piece.
Q: Should I use light or dark fabrics?
A: It is completely up to you but if you want to avoid washing the DIY pen holder bookmark too often then opt for darker fabrics rather than prints with a light background, which can get grubby easily.
If you enjoyed this tutorial then please like, share and subscribe. We have loads of ideas for using up small pieces from your fabric stash and turning them into something attractive and useful. Save on your gift-giving budget by using your sewing talents and surprising everyone with your creative gifts.
Do you like this? Pin for later:
Wanna be friends? Click HERE and follow me on Pinterest
RELATED: