
DIY Bunny Teether Ring Toy // Bunny Ear Teething Ring Sewing Pattern + VIDEO
A few minutes of your time, a little left over cloth, a teething ring and you’ll all set to make babies happy instead of niggly as they enjoy the sensory experience of the textures in the bunny teething ring toy. Plus, you’ll be setting them up for life with the benefits to jaws, lips and teeth provided by the exercise involved in using the teething ring.
Why do we give babies teething rings? Well there are a huge number of benefits.
Firstly we think of the obvious one of relief for the red and swollen gums as the teeth start pushing through and gums are sore. The teething ring acts as a massage and helps with the pain. But it doesn’t stop there.
Orofacial myofunctional therapy is an interdisciplinary health field that deals with teeth grinding, mouth breathing, obstructive sleep apnea and more. The myofunctional specialist will work on getting the different parts of the mouth area to work together properly – lips, teeth, jaw and tongue.
Now the teething ring boosts jaw strength, and tongue movement. This all helps in getting baby ready for speech and accepting solid food. If the tongue pushes forward against or between the teeth, known as tongue thrust, it affects the ability to swallow properly and later can lead to difficulty in producing certain sounds and can affect the way the teeth develop.
The teething ring also helps develop hand eye coordination as baby brings it to the mouth, as well as offering safe sensory exploration as baby explores the textures of the teething ring.
Below you will find my step by step written tutorial with VIDEO instructions for all the visual learners.
We occasionally link to goods offered by vendors to help the reader find relevant products. Some of the links may be affiliate meaning we earn a small commission if an item is purchased.
Table of Contents
How to make the bunny ear teether
Supplies and tools
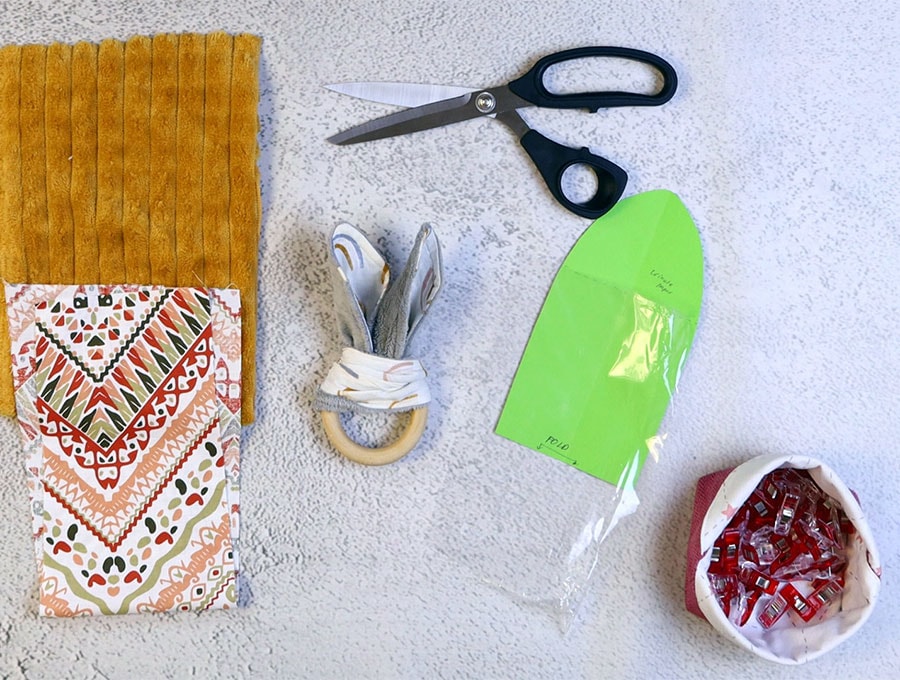
- fabric – woven cotton
- fabric – minky (you can substitute with flannel or bamboo cotton)
- crinkle paper
- wooden ring
- matching thread
- scissors (or rotary cutter and a cutting mat)
- ruler or measuring tape
- iron and ironing board
- sewing clips or pins
Follow us for free patterns & tutorials! [easy-profiles]
How to Sew a bunny teether ring toy
Watch the diy bunny teether ring toy video first and then follow the written step by step instructions below.
Please enjoy and don’t forget to Like and SUBSCRIBE over on YouTube to be kept up to date with new videos as they come out.
Bunny Ear Teether Ring Toy VIDEO TUTORIAL
INSTRUCTIONS:

NOTE: In the video we used some Minky fabric and some cotton fabric. If you are worried about Minky fabric since it is 100% polyester and may shed microplastic fibers, then substitute for organic cotton in a flannel or use a bamboo fabric when you make this teething ring. Although the baby is meant to suck on the teething ring itself, but you know babies, they may find chewing on the ear of the bunny a bit of fun too, so you want to be safe!
STEP 1:
Print out the bunny teether ring toy pattern at 100% (no scaling), then cut it out.
STEP 2:
Place the pattern edge marked FOLD on the fold of a piece of organic cotton, right sides inside. Pin in place, then cut around the edge.
STEP 3:
Open out the lining piece for the ears you just cut and place it right side down on a piece of Minky or organic cotton flannel which will form the outer part of the ears.
STEP 4:
Pin in place then cut out the shape.
STEP 5:
Take a piece of crinkle paper – it’s the stuff they put in kid’s toys and cat toys that provides an extra sensory experience through the crinkling sound when the fabric is moved. Fold it over the top 40 % of the bunny ear pattern – not quite half and a little more than a third of the way down. Pin to hold in place while you cut out the shape.
STEP 6:
Place the crinkle paper over the lining side of the ends of the bunny ear pieces and clip to hold in place.
STEP 7:
Mark a gap of around 2 to 3 inches (5 to 7.5 cm) on one side of the length a little away from the middle.
STEP 8:
Stitch around the edge ¼ of an inch (6 mm) from the edge, catching all three layers at the ends of the ears, and backtacking at either side of the gap.
STEP 9:
Finger press the edges of the gap open in line with the seam, and trim off any excess fabric around the shape.
STEP 10:
Pull the fabric through the gap and use a turning tool to press out the ends of the ears and make sure the seams lie flat.
STEP 11:
Turn the raw edges you finger pressed in so they are in line with the seam and pin.
STEP 12:
Give the ears a press on the lining side.
STEP 13:
Topstitch around the edge of the ears, including over the gap 1/8 of an inch (3 mm) from the edge.
STEP 14:
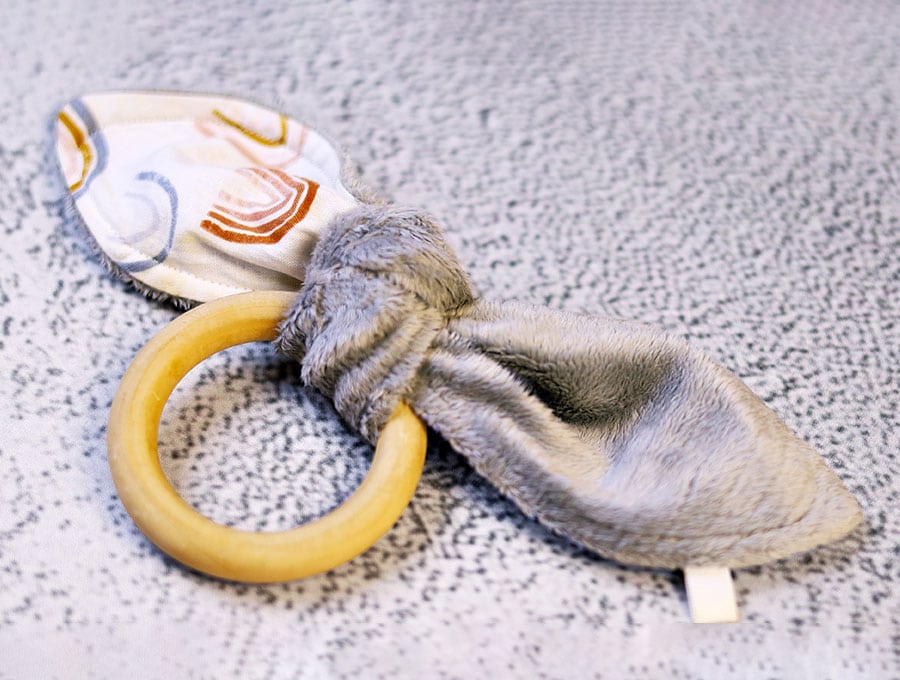
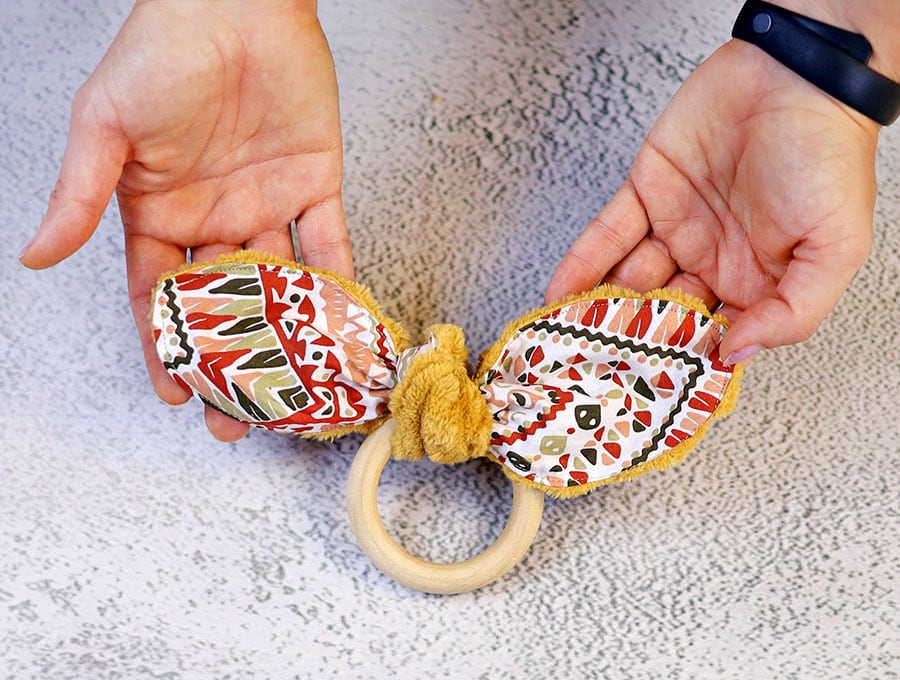
Take the bought teething ring that is 2 ¾ inches (7 cm) in diameter and fold the ears in half, then slip the ring over the folded edge, about halfway up, then thread the ends of the ears through the loop. Make sure the fabric is arranged well and pull tight so the ears sit snugly on the teething ring, with one side showing the lining ad the other side the outer of the ears.
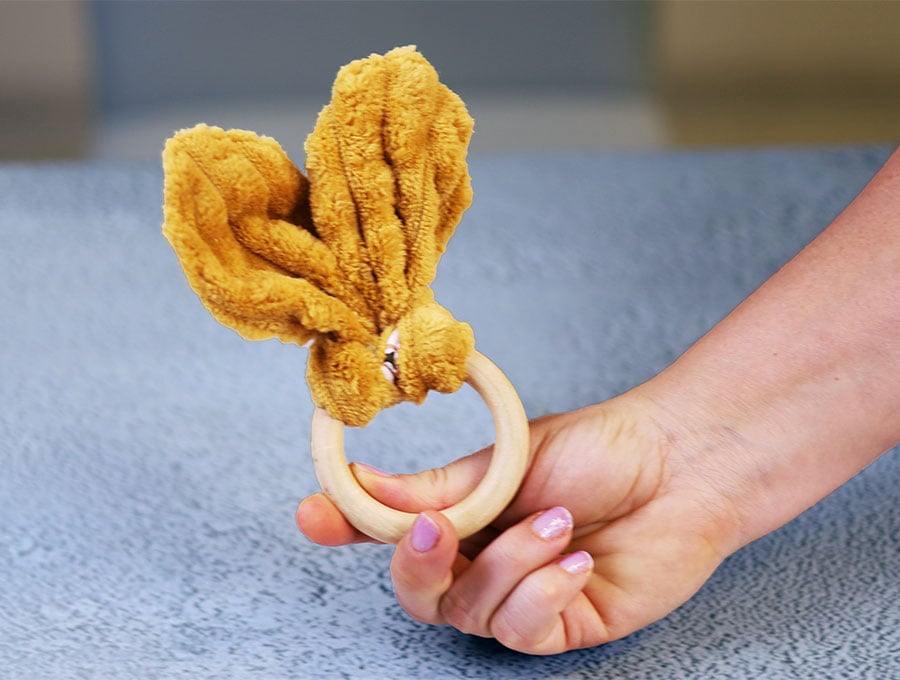
Hand to a baby and watch them enjoy all aspects, from the crinkle sound to the sensory exploration of the fabric ears and the actual teething ring itself – they may even try get their teeth into the knot itself.
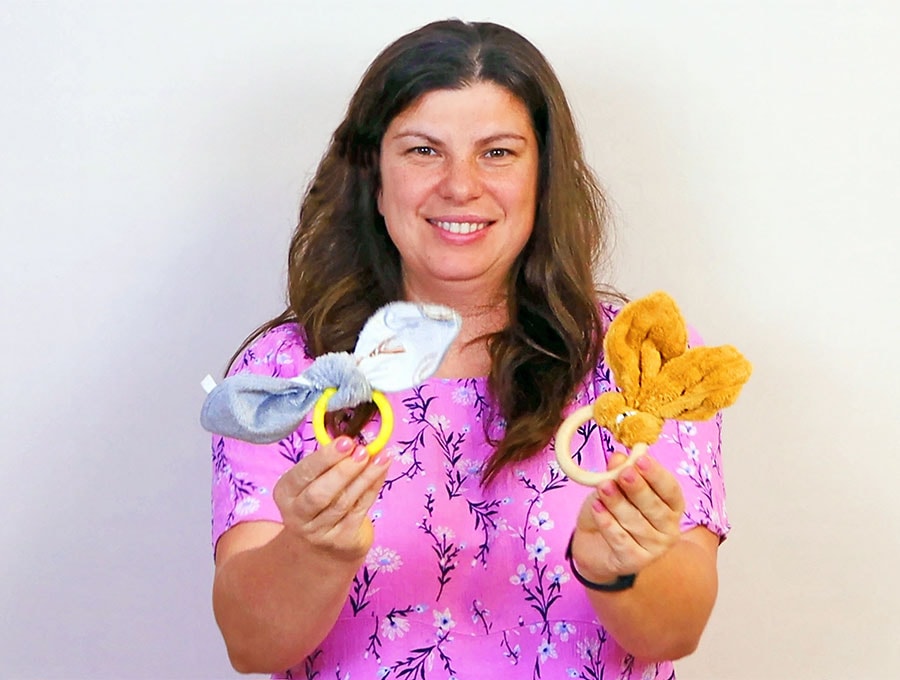
I would suggest making a couple of sets of ears, possibly in the same colorway – you know how babies can get attached to something and if it’s a different color or texture they are inconsolable. This way you can wash the ears when they have too much dribble on them and replace them with a fresh set and baby won’t know the difference. If you feel like it you can make a few different sets of ears and see which ones baby really takes to.
Loved this quick and easy project? Please give us a like and subscribe to have all the latest videos available as they go live on YouTube, then head over to HelloSewing.com for the free patterns and step-by-step instructions. Drop a photo in the comments section once you have subscribed so we can see the teething ring in action.
Do you like this? Pin for later:
Wanna be friends? Click HERE and follow me on Pinterest
RELATED: