
DIY Breakaway Lanyard // How to Sew a Fabric Safety Lanyard with Break Away Clasp
A breakaway lanyard is a safe option as it can prevent serious injuries should your lanyard be yanked by a person, or become entangled with an item you are working with. It takes just a few minutes to sew and will use those long narrow strips in your stash that you have been wondering how to use. The lanyard can be customized to team colours for events, or to personal interests, so let’s get the machine purring along as you create these safe breakaway lanyards.
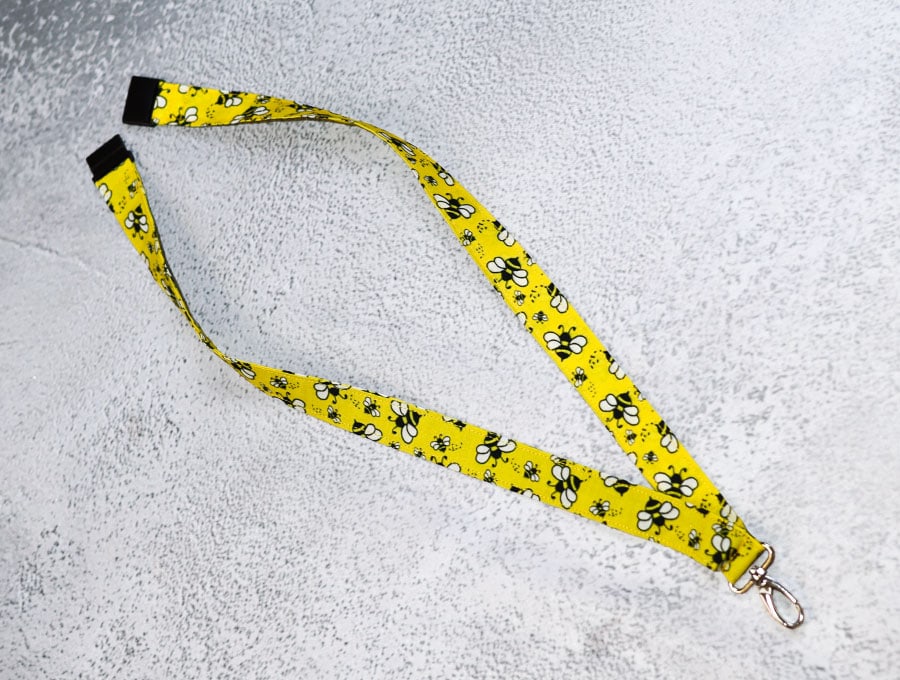
Did you know that in the UK it is illegal to use a lanyard that does not have a breakaway clasp? The reason is that if someone grabs you by the lanyard you are in danger, especially for nurses, those working in mental health institutions and corrections. Have you ever worn a lanyard that gets hooked onto something as you are bending or working with items, or even had a pet jumping up and hooking a paw into your lanyard? Then you need our lanyard with the breakaway clasp that is a breeze to make.
Now this isn’t any clasp. It requires a special clasp that releases under pressure – if your lanyard is hooked up it needs to auto release immediately for your safety. You don’t have time to reach around and find the part to pinch and release! Don’t make the mistake of buying quick release buckles as they are not auto release under pressure, these are two totally different items.
Below you will find my step by step written tutorial with VIDEO instructions for all the visual learners.
We occasionally link to goods offered by vendors to help the reader find relevant products. Some of the links may be affiliate meaning we earn a small commission if an item is purchased.
Table of Contents
How to make a breakaway safety lanyard
Supplies and tools
- fabric – quilting cotton or woven cotton with tight weave, polyester
- fusible interfacing
- matching thread
- scissors (or rotary cutter and a cutting mat)
- ruler or measuring tape
- iron and ironing board
- sewing clips or pins
- lobster clasp – 2cm or 2.5cm (3/4 or 1″) wide
- breakaway clasp – 2cm or 2.5cm (3/4 or 1″) wide
Follow us for free patterns & tutorials! [easy-profiles]
How to Sew a Breakaway Lanyard
Watch the diy safety lanyard with breakaway clasp video first and then follow the written step by step instructions below.
Please enjoy and don’t forget to Like and SUBSCRIBE over on YouTube to be kept up to date with new videos as they come out.
Breakaway fabric lanyard VIDEO TUTORIAL
MATERIALS:
This lanyard requires a breakaway clasp and a lobster swivel clasp of the same size to accommodate the width of your fabric lanyard. These can be 1 inch (2.5 cm) or 3/4 of an inch (2 cm). The lanyard I make in the video is 1 inch (2.5 cm) wide.
Where to find breakaway clasps? You may have to search for them but USA Lanyards (usalanyards.com) carries a complete line of plastic safety breakaway buckles designed as safety adapters, available for flat straps. You may also find breakaway buckles at large haberdashery outlets.
Instead of a breakaway you might consider using Velcro, but use only a small section so it does release easily under pressure.
INSTRUCTIONS:
STEP 1:
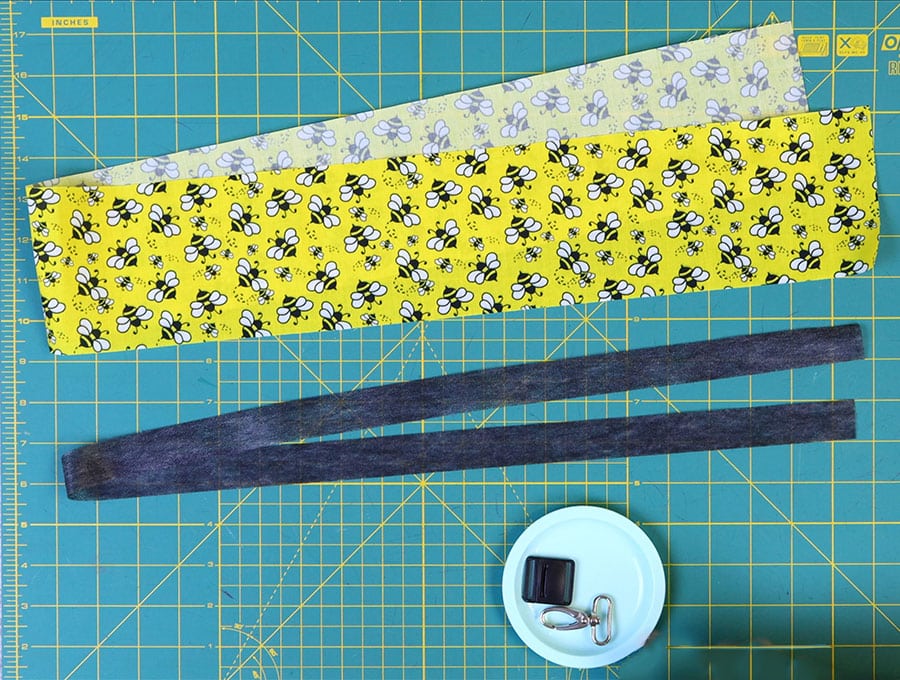
Cut your fabrics and prepare the hardware:
- Cut a piece of cotton fabric to 4 x 41 inches (10 x 104 cm).
- Cut a piece of fusible interfacing to 1 x 41 inches (2.5 x 104 cm).
Have your 1 inch (2.5 cm) lobster clasp and breakaway clasp ready.
STEP 2:
Fold the fabric piece in half along the length, lining up the raw edges neatly, wrong sides inside and press the center fold with an iron.
STEP 3:
Open up the fold and with the fabric right side down on your worktop, fold each side in towards the middle fold and press.
STEP 4:
Fold again so the two folded edges meet in the middle and press.
STEP 5:
Open up the fold, right side down on worktop and insert the fusible interfacing glue (sticky) side down on the second section of the fabric. Press with an iron to fuse the interfacing to the fabric.
Re-fold the fabric strip.
STEP 6:
Stitch down each long side of the lanyard fabric with a seam allowance of 1/8 of an inch (3 mm).
STEP 7:
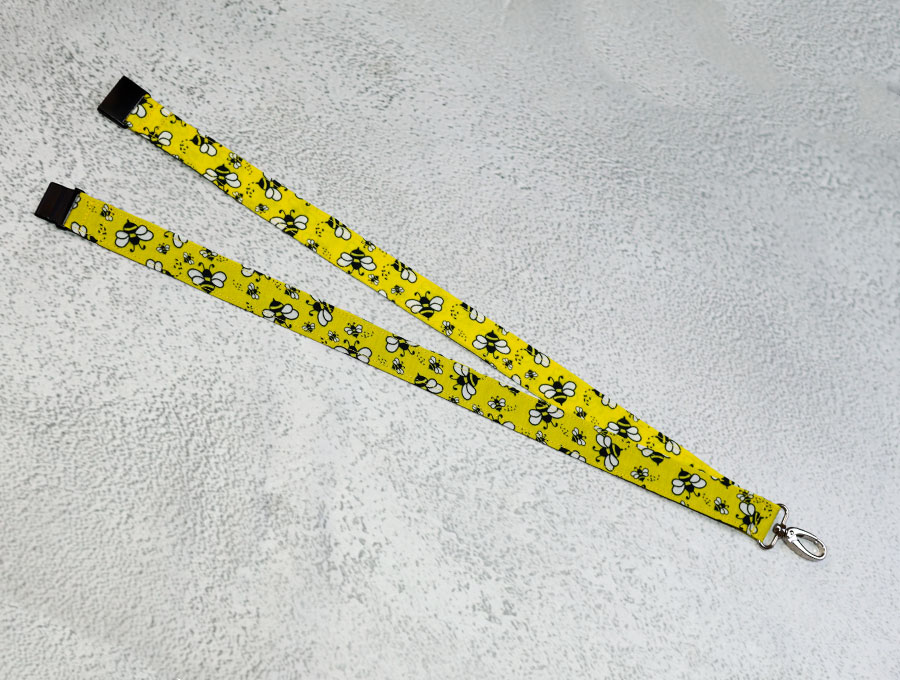
Slide the lobster clip onto the lanyard. If you don’t want the breakaway clip to be positioned exactly at the back of your neck – sometimes this may feel uncomfortable, then adjust the position of the lobster clasp so one side of the fabric is longer, meaning the breakaway clasp will be more to the side of the neck when you come to stitch it in position. Pin the two sides of the lanyard in place below the clasp.
STEP 8:
You can use a zipper foot to get close and stitch just below the bar of the lobster clasp to secure it, backtacking across the 1 inch (2.5 cm) width of the lanyard.
STEP 9:
Add one part of the breakaway clasp by placing an end of the lanyard through the bar and allowing an overlap of 1 inch (2.5 cm) and pin in place.
STEP 10:
Slide the other part of the breakaway clip onto the other end of the lanyard, over the bar and again allow an overlap of 1 inch (2.5 cm) before pinning in place. Do check that the clip connects and lies flat with both raw ends of the lanyard facing the back. Check twice, sew once!
STEP 11:
Try on the lanyard to see the lobster clasp lies flat and that the position of the breakaway clasp is correct, then stitch each of the raw edges using a zigzag stitch.
STEP 12:
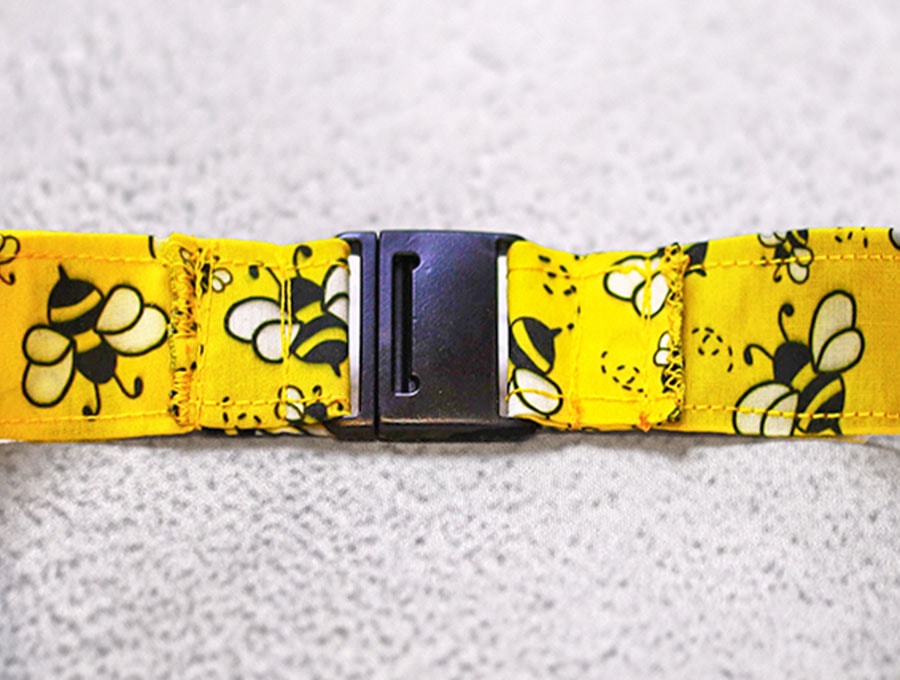
Stitch the breakaway clasp pieces in position using a straight stitch and backtacking over the width of the lanyard, using one line of stitching right near the zigzagged edge and another parallel to it just below the bar of the clip.
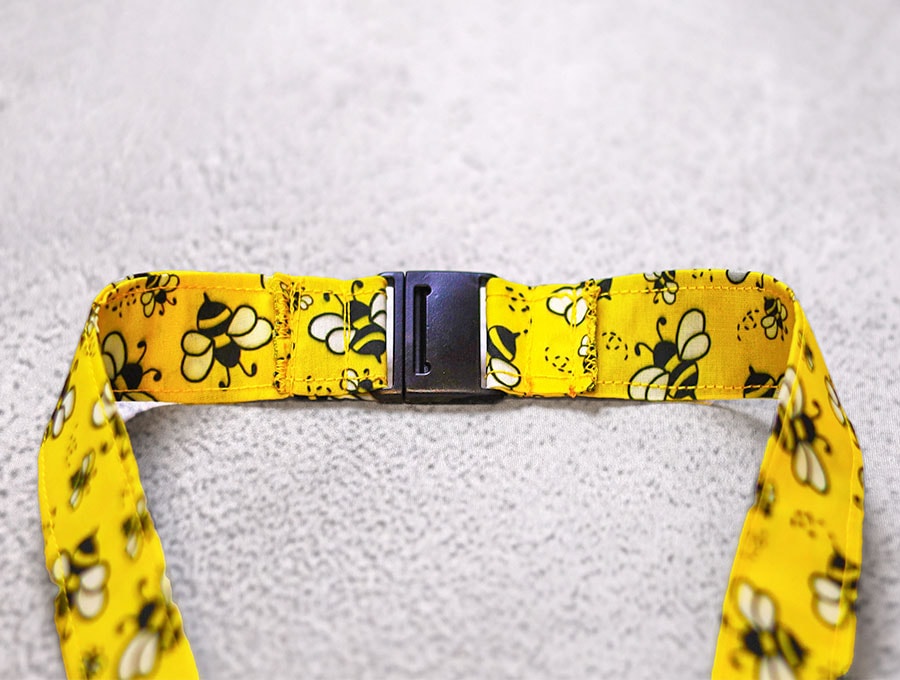
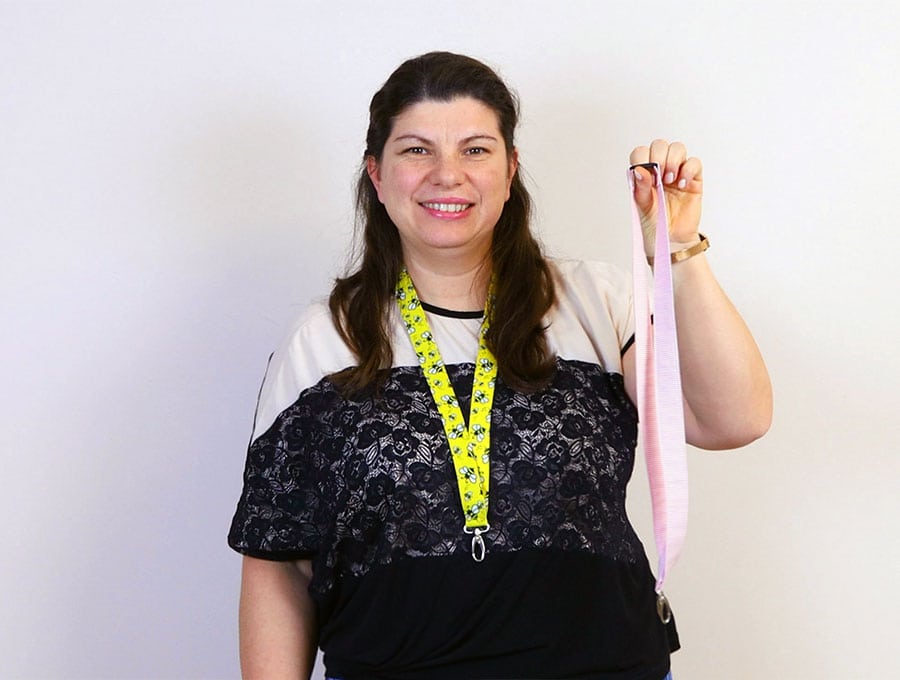
So easy! And you are done. This lanyard takes just a few minutes to complete. I love the fact that you can customize lanyards that you are making for an event with fabric to suit, so people have matching lanyards. You can use house colours if you are making for an inter-house school event in the UK or Australia so the officials for a house can be easily identified. In the US use team or club colours.
We love likes, so please remember to give us a thumbs up and subscribe for more useful tutorials on projects that are quick to make, and join our almost one hundred thousand similar minded sewists.
Do you like this? Pin for later:
Wanna be friends? Click HERE and follow me on Pinterest
RELATED: