
DIY Celtic Knot Headband Sewing Tutorial [VIDEO]
The intricacy of a Celtic knot has always fascinated people. Did you know the Celtic knot symbolizes eternity, love and inter-connection? I didn’t until I did some research into Celtic knots. Make one for those people who are special in your life – daughters, friends, moms, aunts, grandmothers and even for babies. The intricacy makes it visually appealing yet it is a quick and easy beginner-friendly project that can use up the smaller pieces in your stash. Make a Celtic knot headband with our instructions and give an enigmatic smile when you hear the comments: “However did you do that?” or “My that looks hard!”
Want to give a gift that has symbolic meaning? Then try the Celtic knot headband which can be made in a bandanna style, suited to both men and women, or as a ladies or baby’s headband. They are easy to make and carry a symbolic meaning of connection, love and eternity. We give the size for an adult Celtic knot headband – for a kid or a baby you would want to make the bands narrower and shorter. The Celtic knot headband is a delightful way to connect with Celtic heritage and create a meaningful item to wear.
Below you will find my step by step written tutorial with VIDEO instructions for all the visual learners.
We occasionally link to goods offered by vendors to help the reader find relevant products. Some of the links may be affiliate meaning we earn a small commission if an item is purchased.
Table of Contents
How to make the celtic knot headband
Supplies and tools
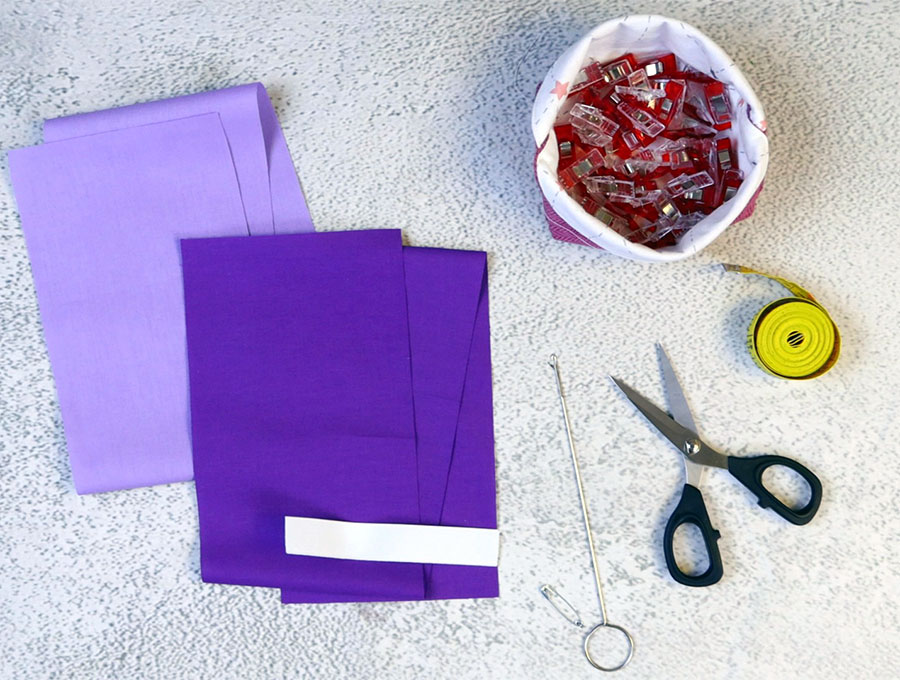
- fabric – 2 pieces of medium weight décor fabric or interfaced quilting cotton
- 2cm (3/4″) wide elastic
- matching thread
- scissors (or rotary cutter and a cutting mat)
- ruler or measuring tape
- iron and ironing board
- sewing clips or pins
Follow us for free patterns & tutorials! [easy-profiles]
How to Sew a two-color celtic knot headband
Watch the diy celtic knot headband video first and then follow the written step by step instructions below.
Please enjoy and don’t forget to Like and SUBSCRIBE over on YouTube to be kept up to date with new videos as they come out.
Celtic Knot Headband VIDEO TUTORIAL
MATERIALS:
For this project you’ll need medium weight décor fabric or interfaced quilting cotton
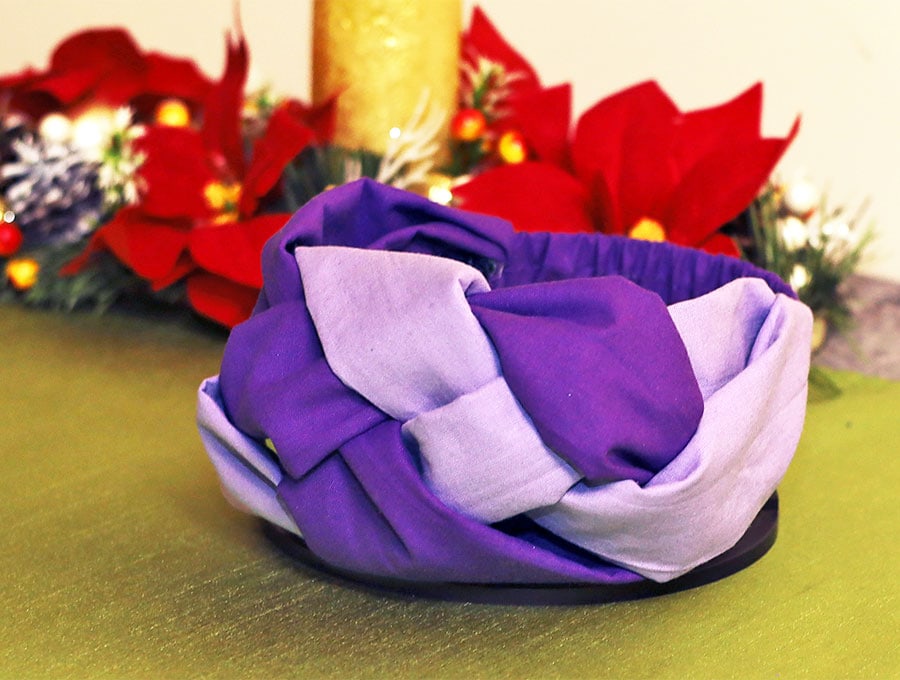
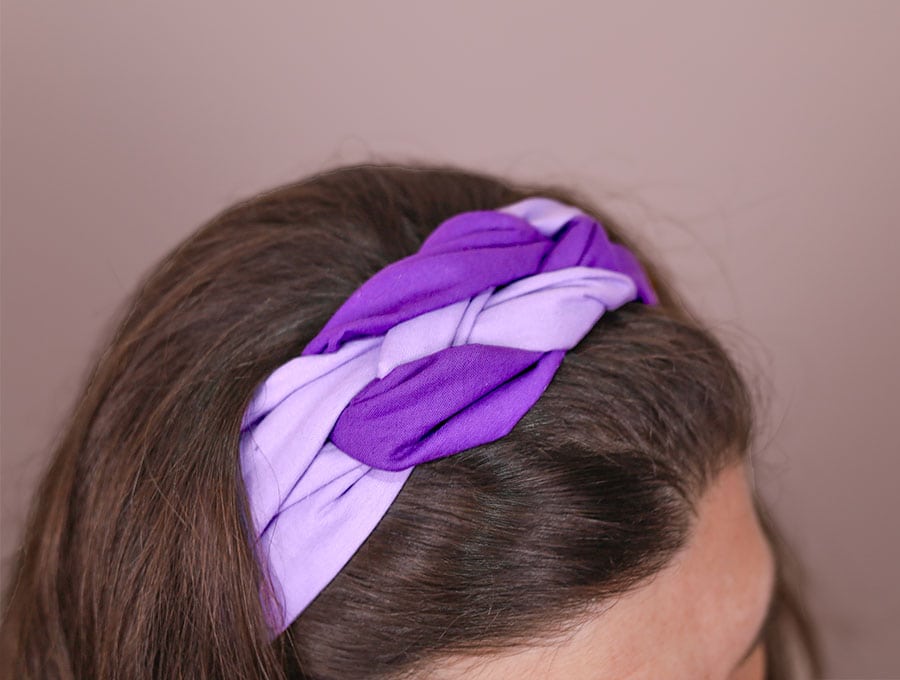
- Headband body: 2 pieces of fabric 66 x 12 cm (26 x 4 ¾ inches) – one in a light color and one in a darker color to show up the contrast of the Celtic knot.
- Elastic casing – 20 x 6 cm (8 x 2 3/8 inches) piece of dark color fabric
- Elastic – 2 x 12 cm (3/4 x 4 3/4 inches)
The headband will fit most adults. The average head is about 58-60cm (23-24 inches) and the elastic at the back allows for a comfortable fit.
INSTRUCTIONS:
STEP 1:
Fold the all three pieces of fabric in half on the long sides, right sides together, and clip in place.
STEP 2:
Stitch along the long side of each of the 3 pieces using a seam allowance of ¼ inch (6 mm).
STEP 3:
Snip a tiny triangular piece of each end on the folded side of the three pieces of fabric – this will allow you to find the center later.
STEP 4:
Press the seam open on the two long pieces and line up the seam with the tiny v notches you cut. Give a final press and pin the ends so they don’t move.
STEP 5:
Take the smallest piece, open the seam and press, then turn it the right way out using a safety pin or bodkin.
STEP 6:
Line up the small V- notches in the center fold with the seam and then thread the elastic through using a safety pin or bodkin.
STEP 7:
Ensure the elastic is lying flat, then align the seam and V notch at each end and pin so the elastic cannot slip through. Stitch the ends using a zig-zag stitch to hold the elastic in place. Set aside while you create the Celtic knot.
STEP 8:
Take both long pieces of fabric and lay them horizontally on your worktop, the lighter color above and the darker one below.
STEP 9:
Take the lighter piece and fold, making a cross over as if you were going to be doing a neck tie, so it looks the like the pink breast-cancer ribbon lying on its side with the fold to the left.
STEP 10:
Take the darker fabric and lay the end just a little more to the left from the point where the fold is on the lighter fabric. Bring it alongside, above the crossed over piece and alongside the lower piece of the folded band.
STEP 11:
Now, flip the last piece of the lighter color up a little at the end and ease the darker fabric around to make a fold on the right, taking it over the other end of the light fabric, then coming up through the loop in the lighter fabric, and crossing over the end of the darker fabric where it started.
STEP 12:
Lastly, slip the darker fabric end you just worked with through the loop of lighter fabric.
STEP 13:
Hold the darker ends which will be on the left in one hand and the lighter ends, which will be on the right, in your other hand, wiggle a bit to even up the fabric and then pull a little to tighten the Celtic knot.
STEP 14:
Take the two darker ends on the left and place them over each other. Do not make an extra twist – just the natural way the one piece of fabric would lie over the over when you bring them together. Place the piece with the elastic, with the right side (the one that doesn’t have the seam) facing down. Line up the raw edges, making sure the narrower piece is I the middle of the larger pieces, then turn in each side to cover the zig-zag stitching and pin on each side.
STEP 15:
On the right-hand side place the two pieces of light fabric ends over each other, then, over them place the other end of the elasticated piece, raw edges lined up and fold in each side to cover the zig-zag stitching and pin on each side.
STEP 16:
You now need to stitch the ends. You may need to change to a thicker needle as there are a lot of fabric layers to sew through. Go carefully and stitch back and forth four times to ensure the seam is strong.
STEP 17:
Turn the right way out – you will find the stitched ends are automatically enclosed within the folded over fabric. You may want to give the ends a press to make sure they are lying flat before trying on the headband.
This is such a versatile headband – you can make it with a print and a plain fabric, or just the two plain fabrics as we did for the video. Go out and have fun wearing it or gift it to someone you have a special connection with. Enjoy transforming two pieces of fabric into what looks like a complicated project that is also stylish.
Alternative idea for a tied Celtic knot bandana:
If you want to make this to wear as a bandana I suggest making the ends much longer so it can be tied instead of using elastic. Make it in shades of brown, black and grey or a combination of earth tones for men. In the current pattern with the elastic you do not see any raw edges, but if you are going to be tying the longer ends you’ll need to stitch two extra pieces of the same width separately. Make them long enough to tie, then fold in the ends nearest the head and slip the tube over the double ends of the Celtic knot and stitch to attach. The tie ends that dangle can be cut at an angle, then folded in, pressed, and stitched closed.
If you enjoyed this tutorial then please give us a like and subscribe for more of our easy tutorials that cover everything from household items to gifts, toys, pet items, and more.
Do you like this? Pin for later:
Wanna be friends? Click HERE and follow me on Pinterest
RELATED: