
DIY Collapsible Thread Catcher
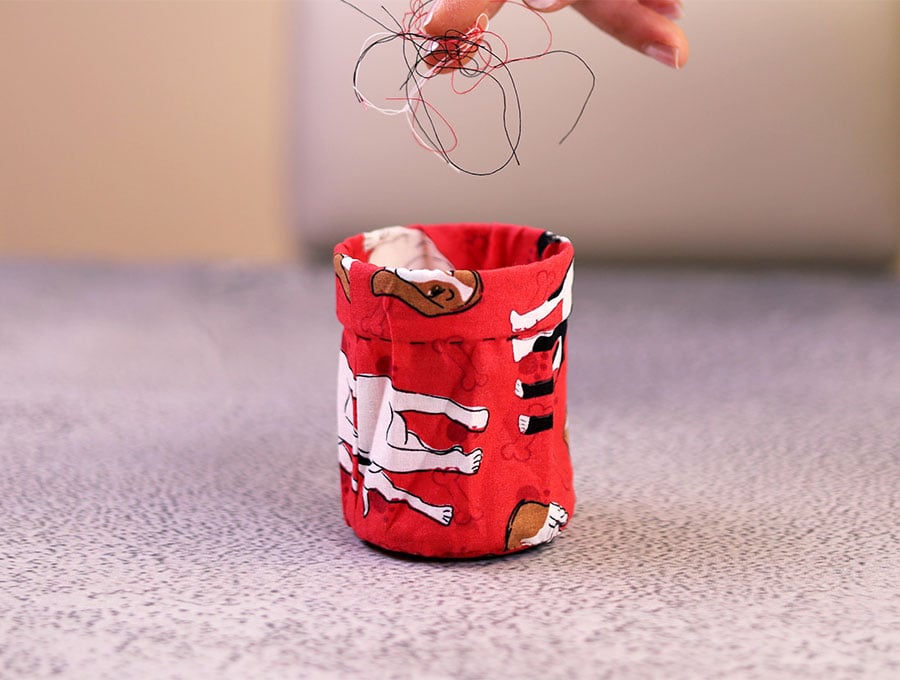
The collapsible thread catcher is for all those pesky threads that end up all over the sewing area. Keep it tidy – as you cut and de-thread pop them in here, collapse it and you have them neatly compressed. Use them as a fire-starter or add to the compost if they are cotton threads. This little collapsible container is perfect use in your sewing room or in front of the TV, or when you get together at a friend’s place for a sewing session.
We’ll be making something fun today – a DIY collapsible thread catcher. Super handy thing to have if you travel, move from room to room or just need something handy next to your sewing machine. It folds up small enough to tuck it anywhere out of sight when not needed! You don’t need a sewing machine to do this as it can be entirely sewn by hand (great pastime project)
Below you will find my step by step written tutorial with VIDEO instructions for all the visual learners.
We occasionally link to goods offered by vendors to help the reader find relevant products. Some of the links may be affiliate meaning we earn a small commission if an item is purchased.
Table of Contents
- 1 How to make a Collapsible Thread Bin
- 2 Supplies and tools
- 3 How to Sew a Collapsible Thread Catcher
- 3.1 Foldaway Thread bin VIDEO TUTORIAL
- 3.2 INSTRUCTIONS:
- 3.3 STEP 1:
- 3.4 STEP 2:
- 3.5 STEP 3:
- 3.6 STEP 4:
- 3.7 STEP 5:
- 3.8 STEP 6:
- 3.9 STEP 7:
- 3.10 STEP 8:
- 3.11 STEP 9:
- 3.12 STEP 10:
- 3.13 STEP 11:
- 3.14 STEP 12: (optional) Ensure the fabric will fit the cardboard rings
- 3.15 STEP 13:
- 3.16 STEP 14:
- 3.17 STEP 15:
- 3.18 STEP 16:
- 3.19 STEP 17:
- 3.20 STEP 18:
- 3.21 STEP 19:
- 3.22 STEP 20:
- 3.23 STEP 21:
How to make a Collapsible Thread Bin
Supplies and tools
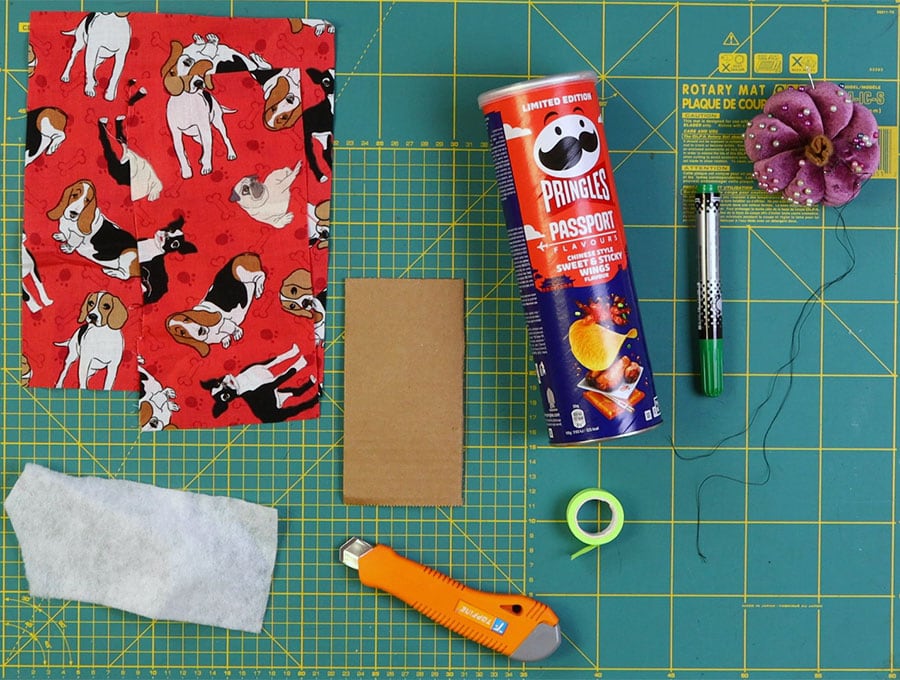
- scraps of fabric
- cardboard
- batting
- 1 empty Pringles cardboard crisp container
- Craft knife
- Scissors or craft knife to cut cardboard
- Hand sewing needle
- Masking tape
- matching thread
- scissors (or rotary cutter and a cutting mat)
- ruler or measuring tape
- sewing clips or pins
DOWNLOAD: collapsible thread catcher pattern [Free pdf file]
Follow us for free patterns & tutorials! [easy-profiles]
How to Sew a Collapsible Thread Catcher
Watch the diy collapsible thread container video first and then follow the written step by step instructions below.
Please enjoy and don’t forget to Like and SUBSCRIBE over on YouTube to be kept up to date with new videos as they come out.
Foldaway Thread bin VIDEO TUTORIAL
INSTRUCTIONS:
MATERIALS:
- 1 piece of fabric 8 x 10 inches (20 x 25 cm)
- 1 piece of fabric 4 ¾ x 9 inches (12 x 23 cm)
- 1 piece of firm cardboard 3 ¾ x 6 ½ inches (8 x 16 cm)
- 1 piece of batting 3 ¾ x 6 ½ inches (8 x 16 cm)
- 1 empty Pringles cardboard crisp container
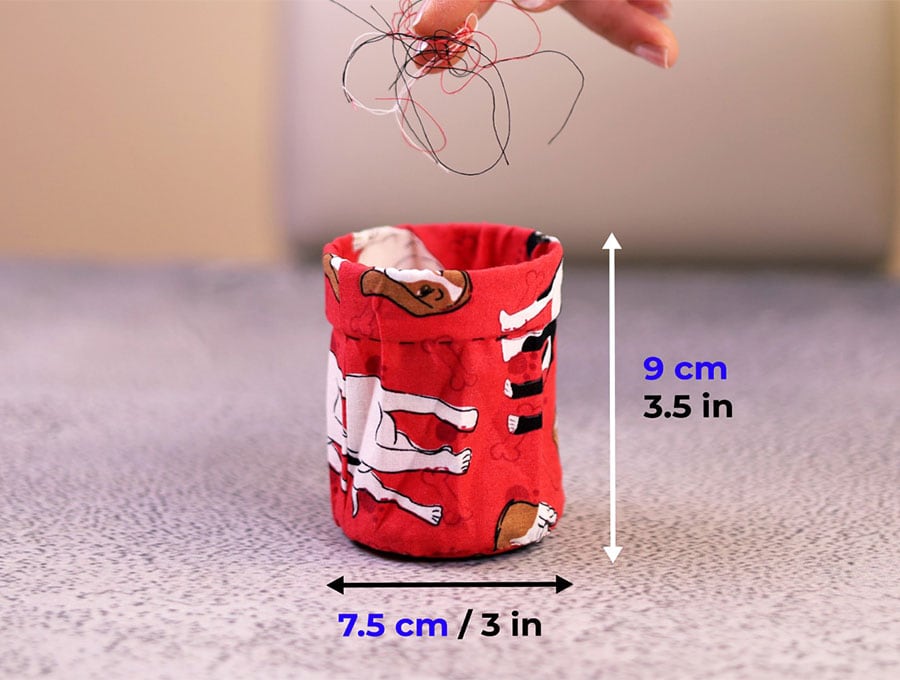
Finished size:
- open: 7.5 x 9 cm (3 x 3.5″)
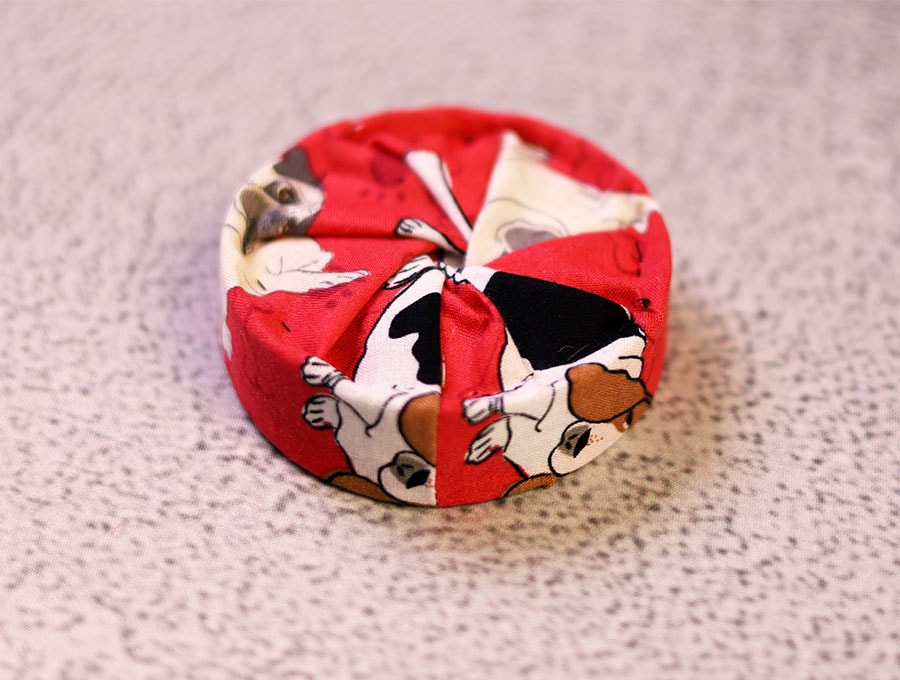
- collapsed: 7.5 x 2 cm (3 x 3 /4″)
STEP 1:
To prepare the cardboard rings take a Pringles crisp tube and remove the metal ring at the top carefully without damaging the cardboard, and set aside.
STEP 2:
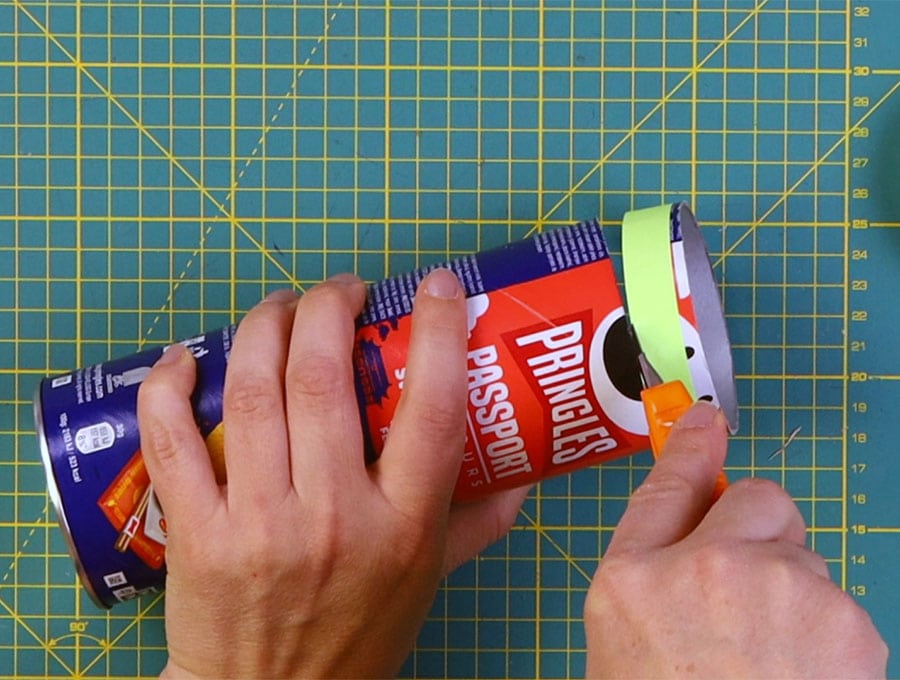
Measure 1/2 of an inch / 1.5 cm (or 2cm is you want the bin a bit larger) from the top of the cardboard tube, using a ruler or tape measure, and make marks at intervals. Use a piece of masking tape and place the bottom edge of the tape just above the marks, ensuring the tape lines up with the marks to ensure an even ring.
Repeat so you have two circles 1/2 of an inch (1.5 cm) high.
STEP 3:
Cut out both rings along the bottom edge of the masking tape using a craft knife.
STEP 4:
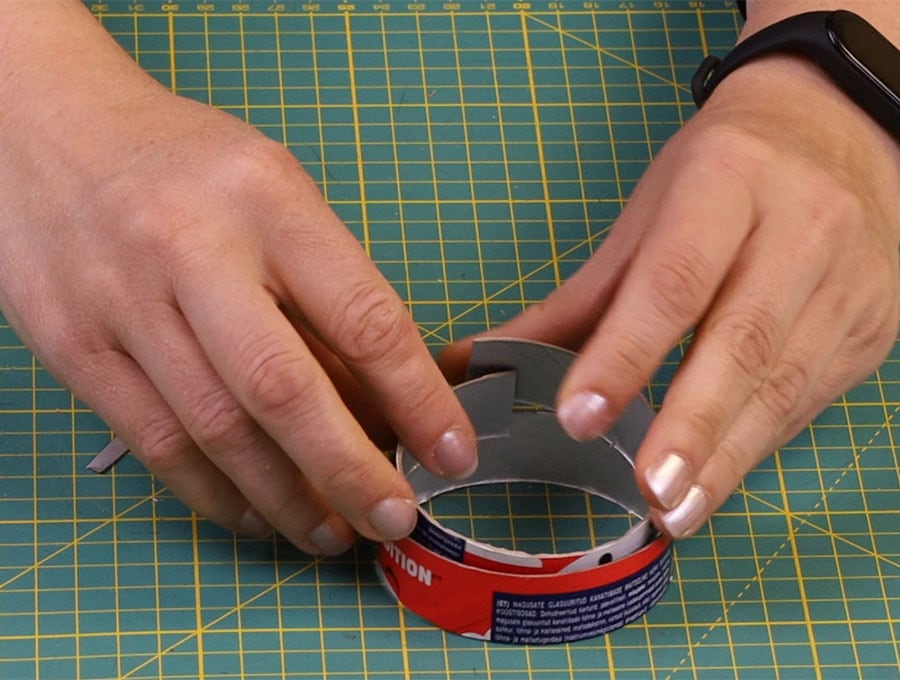
Take one ring and cut down the side with a craft knife, trim off a tiny bit of cardboard from the gap and slip it inside the other ring, ensuring it fits well but is not too snug.
STEP 5:
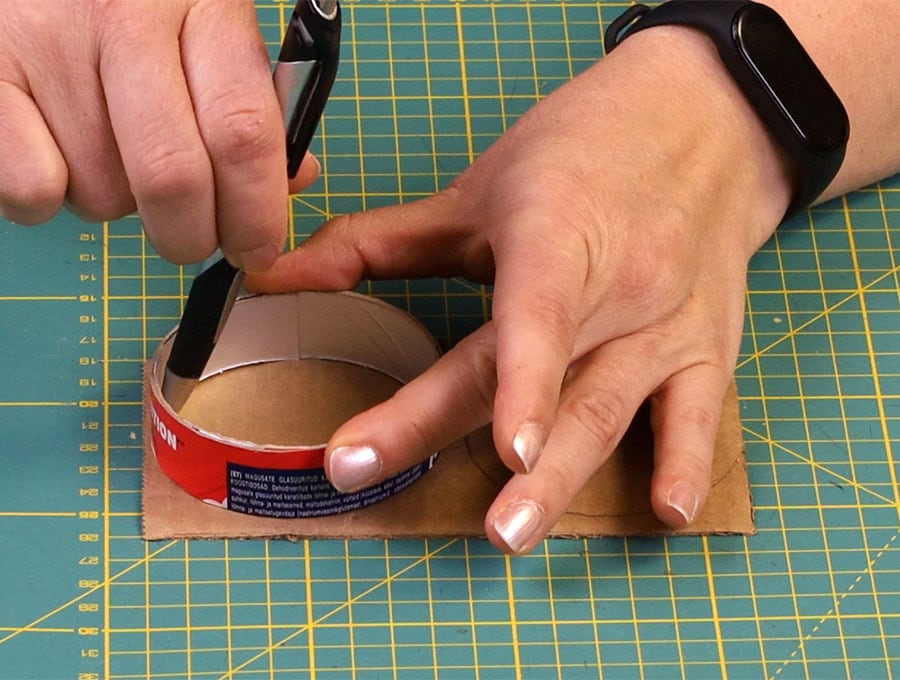
Place the ring assembly with the one inside the other on your piece of cardboard and trace around the inside of the inner ring, move across the card and trace another circle.
STEP 6:
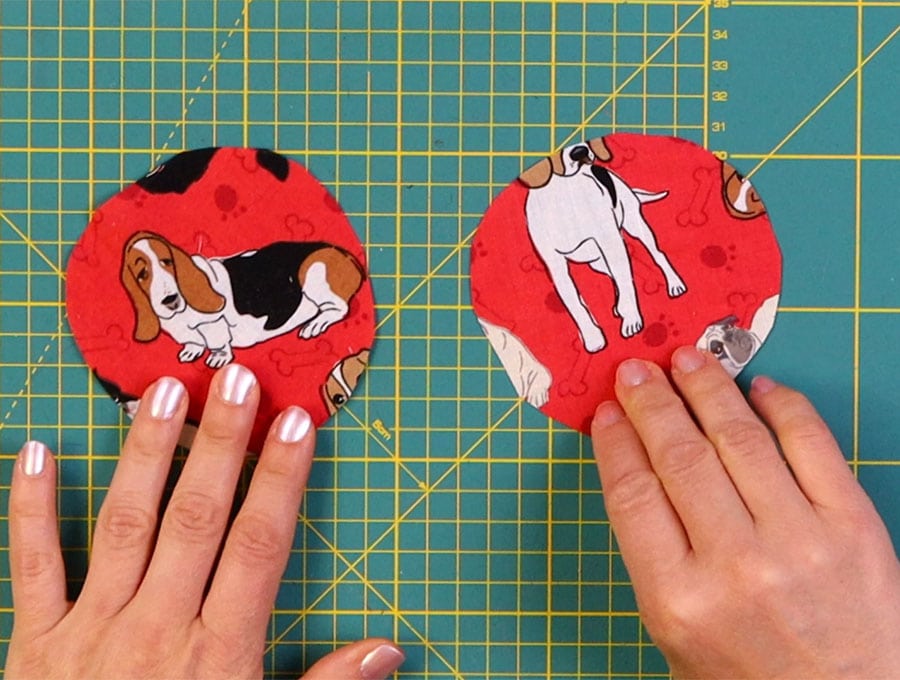
Cut out the two cardboard circles.
STEP 7:
Place the circles over your batting and cut out two batting circles of the same size.
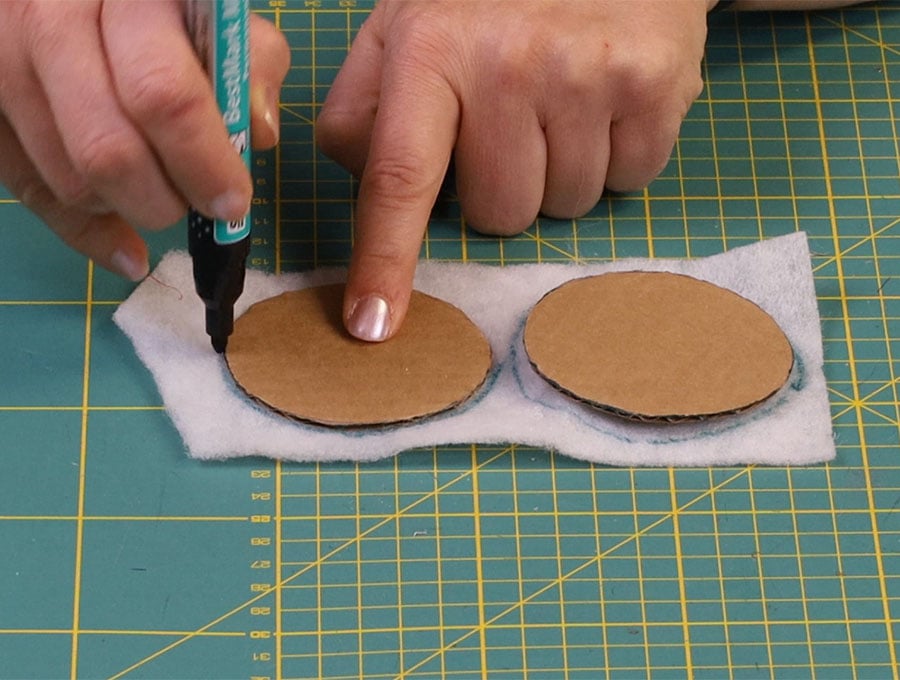
STEP 8:
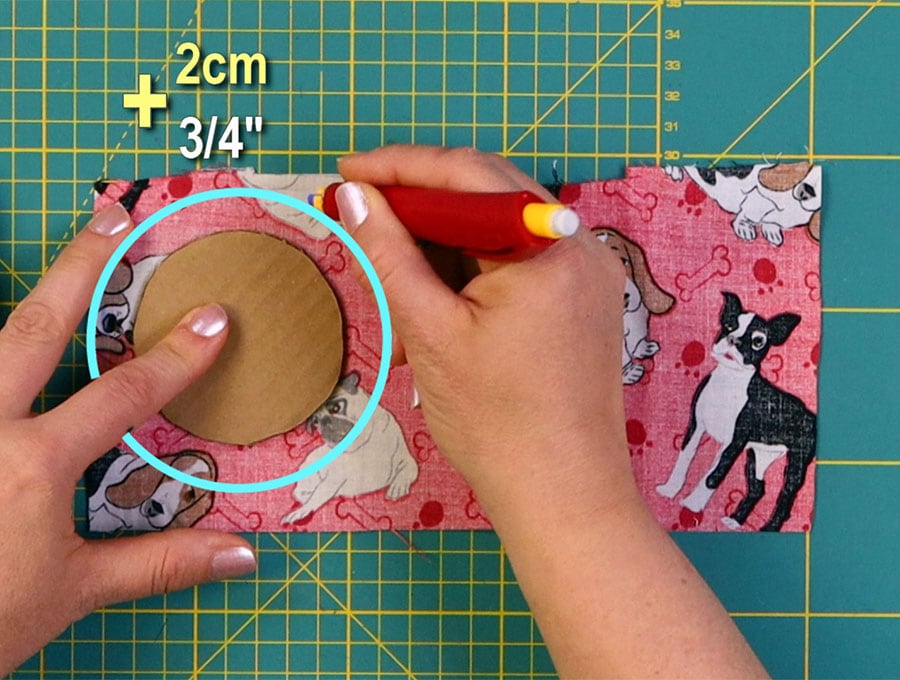
Place the same cardboard circles over the outer fabric and this time cut two circles that are ¾ of an inch (2 cm) all round bigger than the cardboard template.
STEP 9:
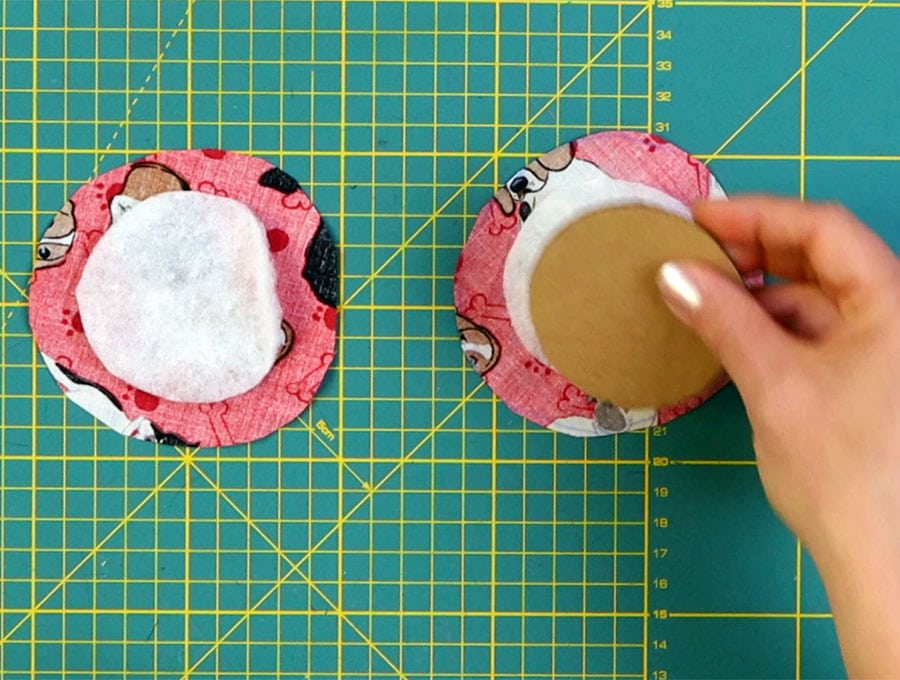
On your work top place the two fabric circles side by side, wrong side up, then over them place a piece of batting on each and lastly the cardboard circles lined up over the batting.
STEP 10:
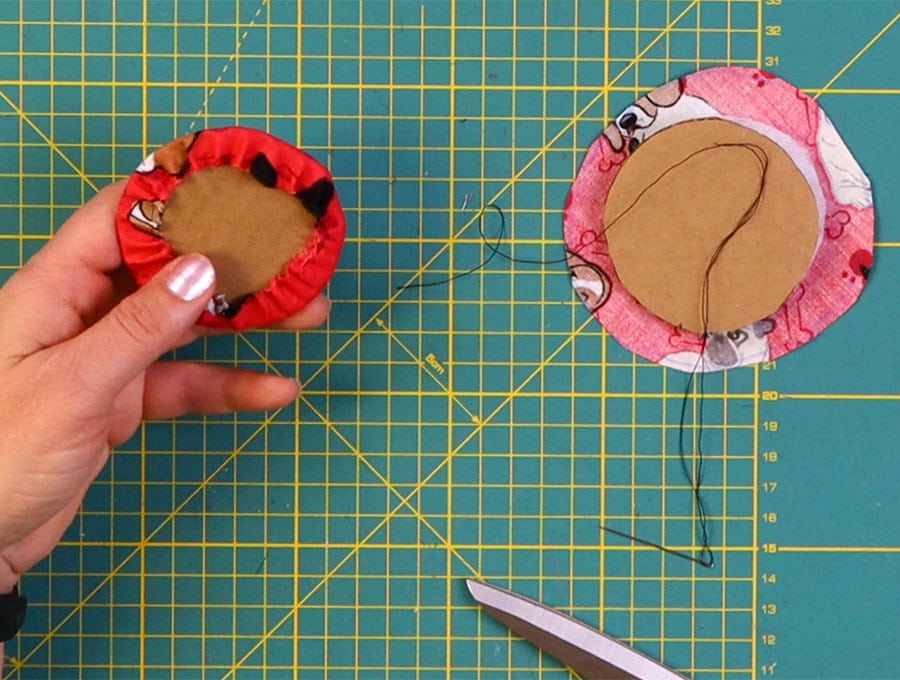
Using a hand sewing needle and thread make a line of running stitches all around the edge of the circle of fabric, settle the batting and cardboard in place, then pull up the thread so it forms a neat cover and end with a knot.
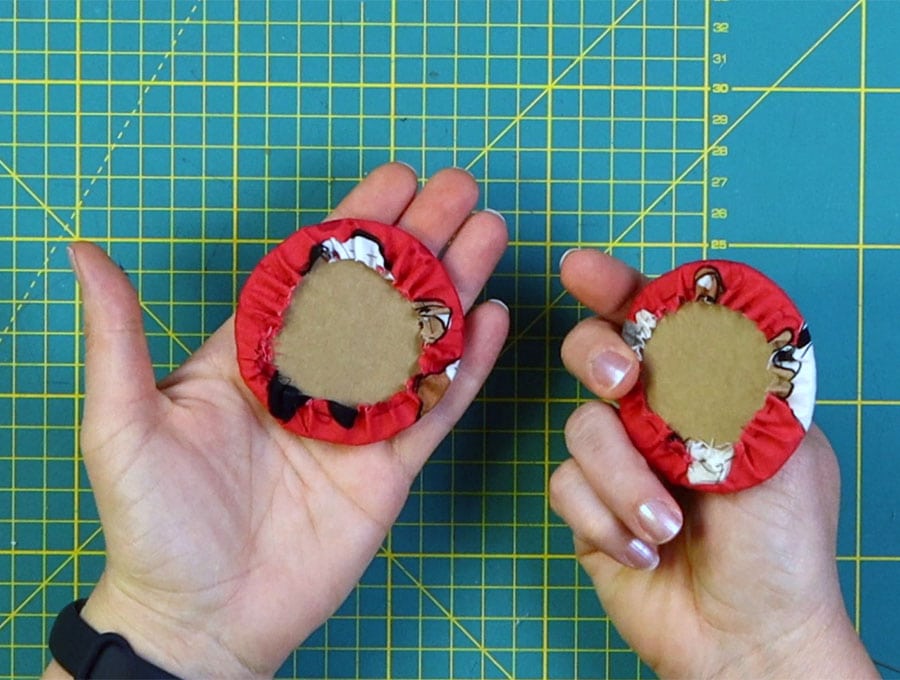 Repeat with the other circle.
STEP 11:
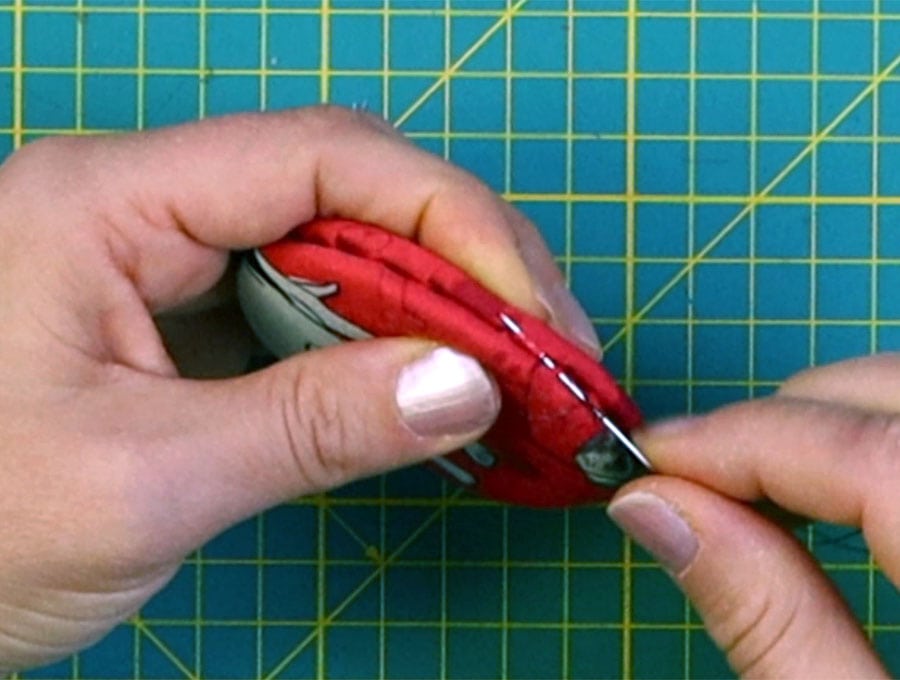
Place the two circles together, right sides outermost and hand stitch together around the edge.
STEP 12: (optional) Ensure the fabric will fit the cardboard rings
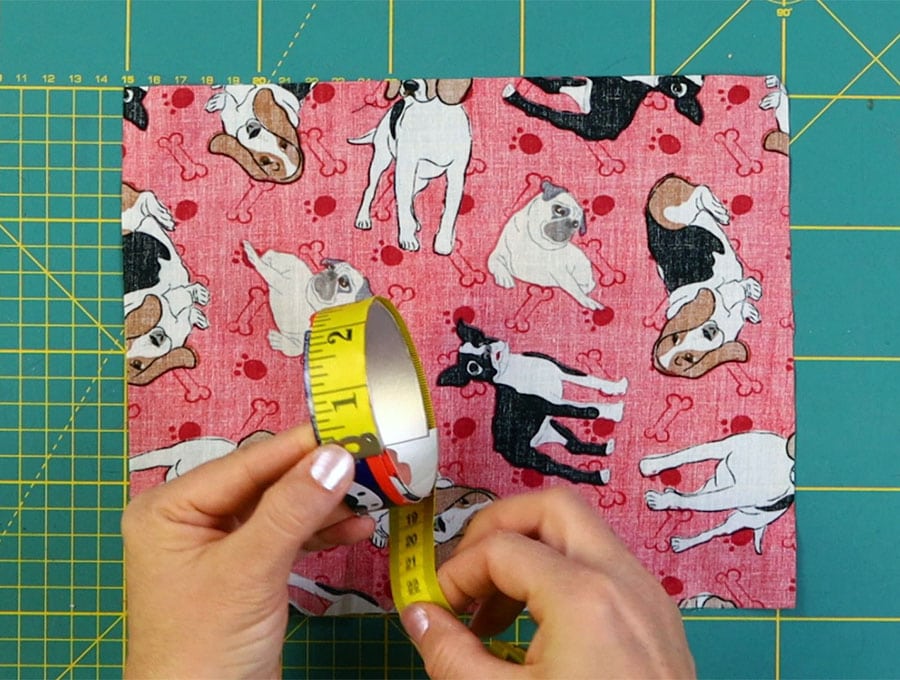
Measure the circumference of the first ring you cut from the cardboard tube, using a tape measure. The inner ring you cut the slit in for measuring can be discarded, unless you are making a number of these as gifts – then it will work as a template.
Measure your fabric – it should be ½ an inch (13 mm) wider than the circumference. My piece of fabric is 20 x 25cm (8 x 10″).
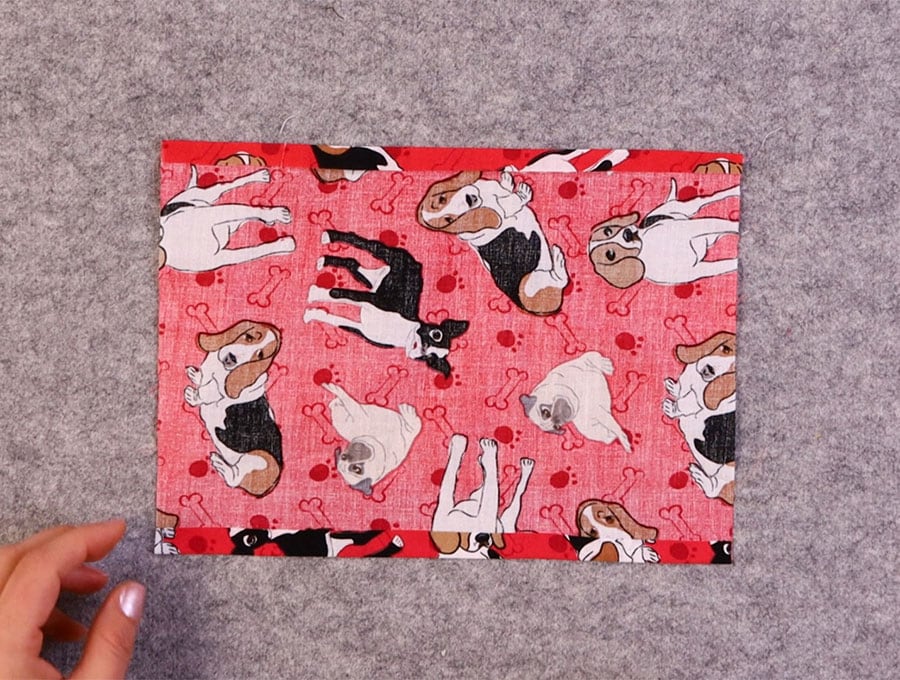
Fold the edges up ¼ inch (6 mm) at the top and bottom and press.
STEP 13:
Fold the fabric in half with the un-pressed edges lined up, open out the folded bit at top and bottom where the edges meet and clip in position.
STEP 14:
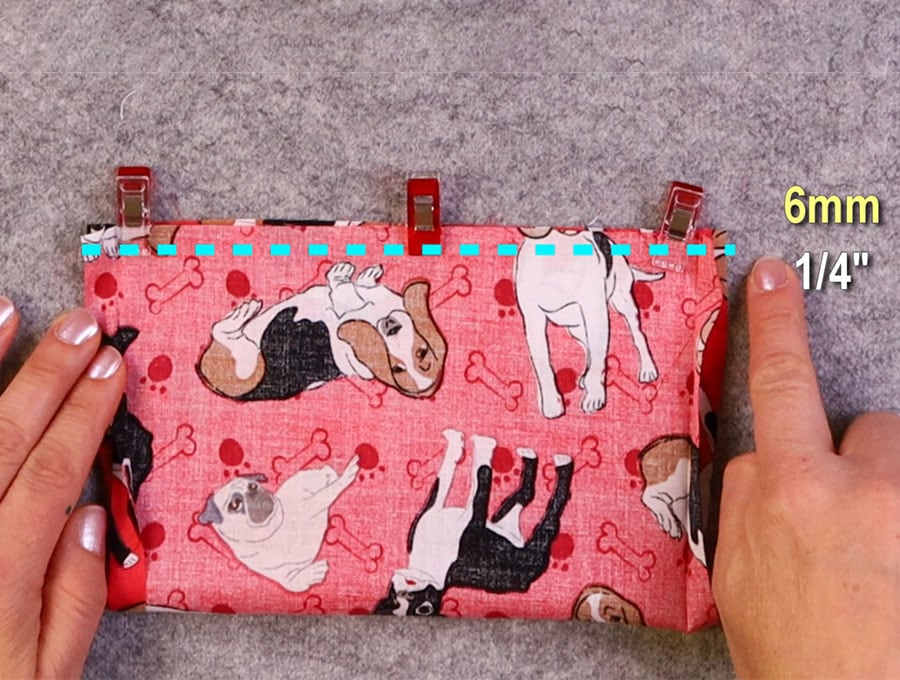
Run a line of stitching along the clipped edge ¼ of an inch (6 mm) in from the edge.
STEP 15:

Open out the seam and finger press flat, then flip over the top and bottom pressed edges, so its smooth.
STEP 16:
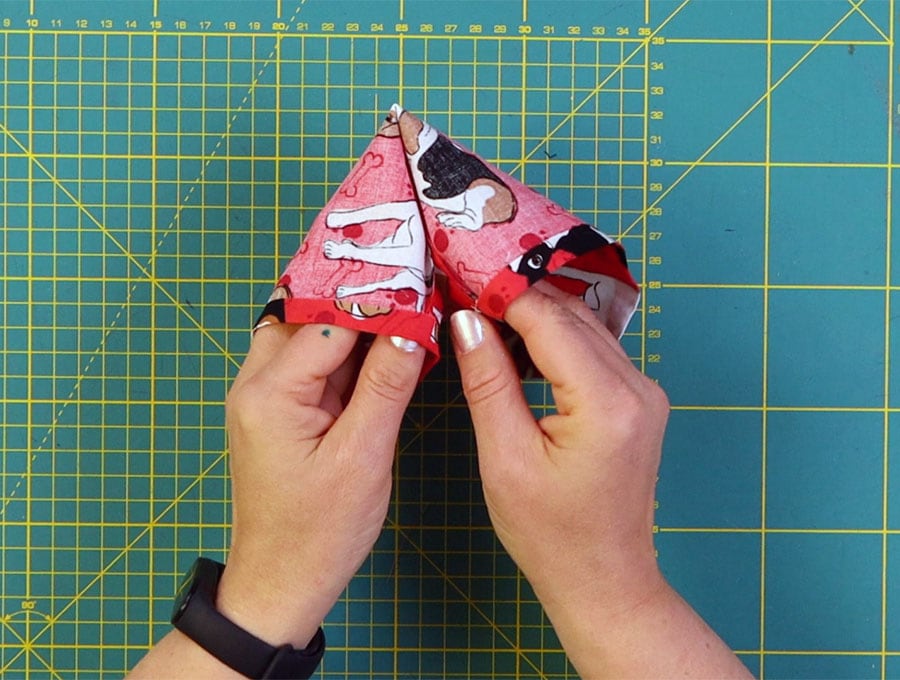
Fold the tube in half, pushing the fabric through so you have the right sides showing.
STEP 17:
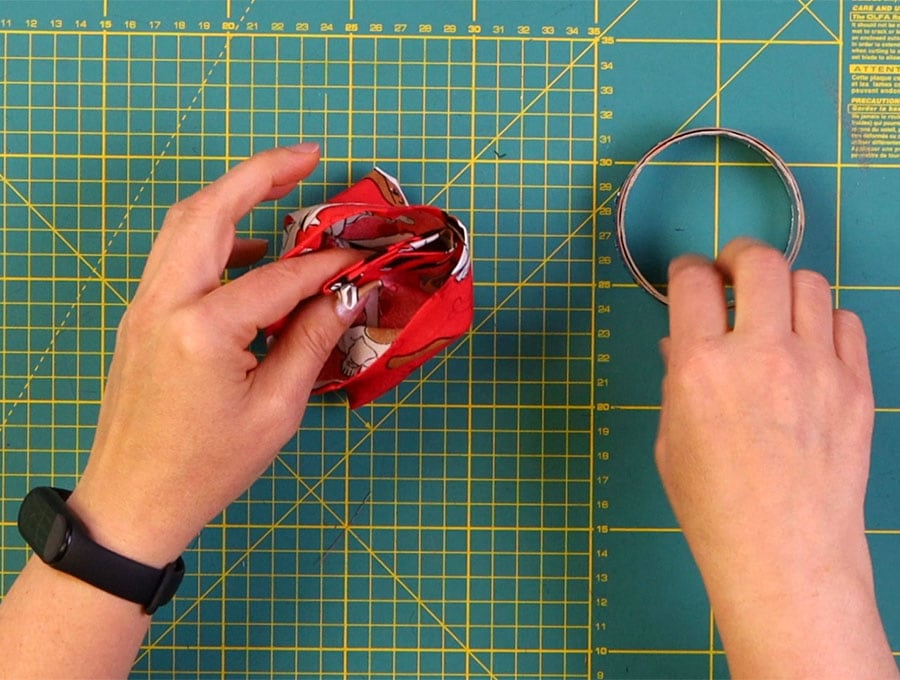
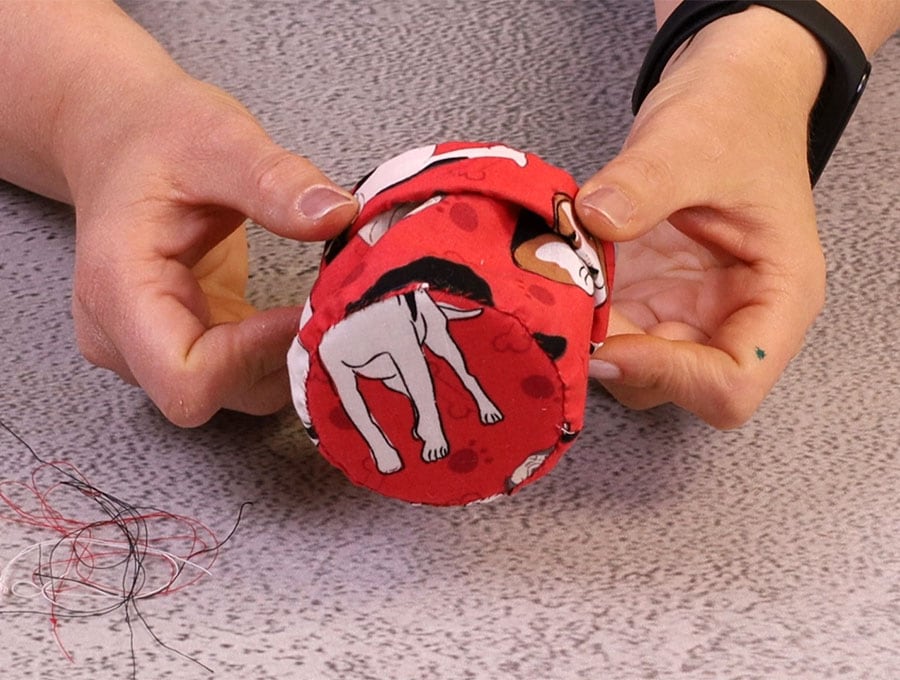
Take the ring assembly and push it between the layers of fabric, working it to the bottom, making sure it is level and the upper pressed edges are lined up, then hand stitch just above the ring to make sure it stays in place.
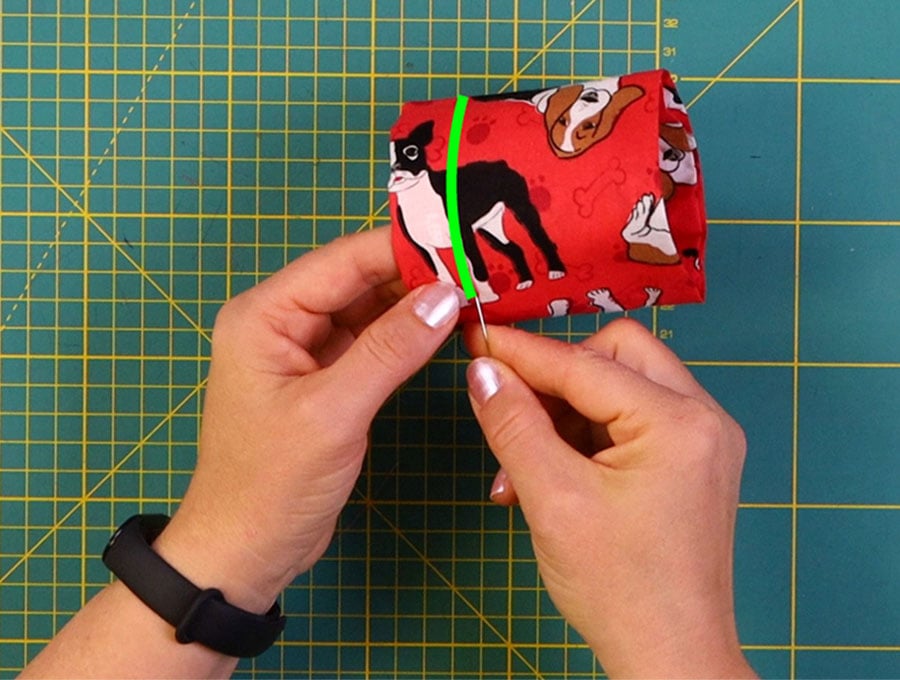
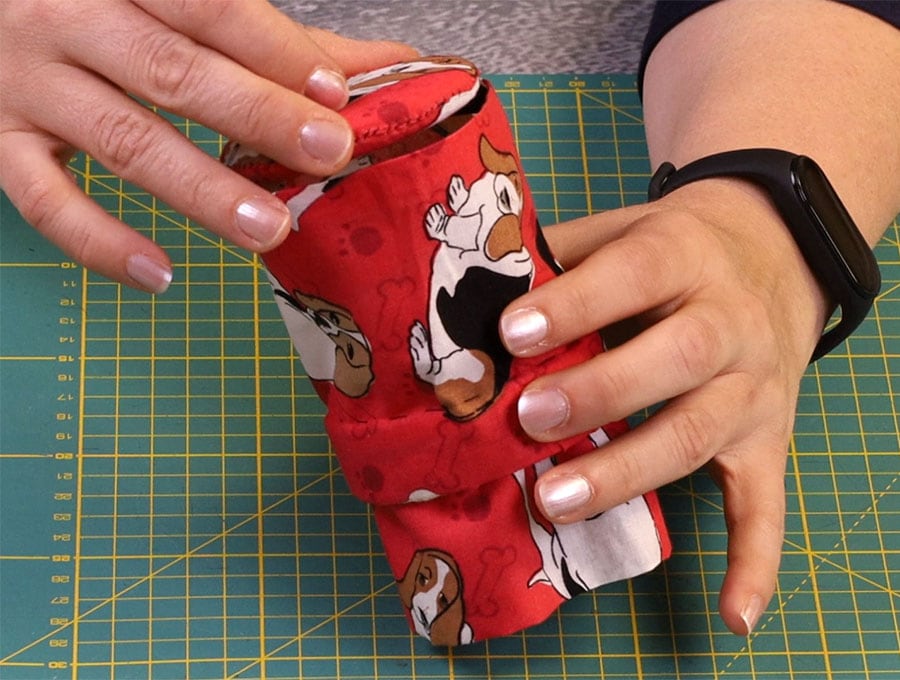
STEP 18:
Separate the fabric so one layer is above the ring and the other one is below the ring.
STEP 19:
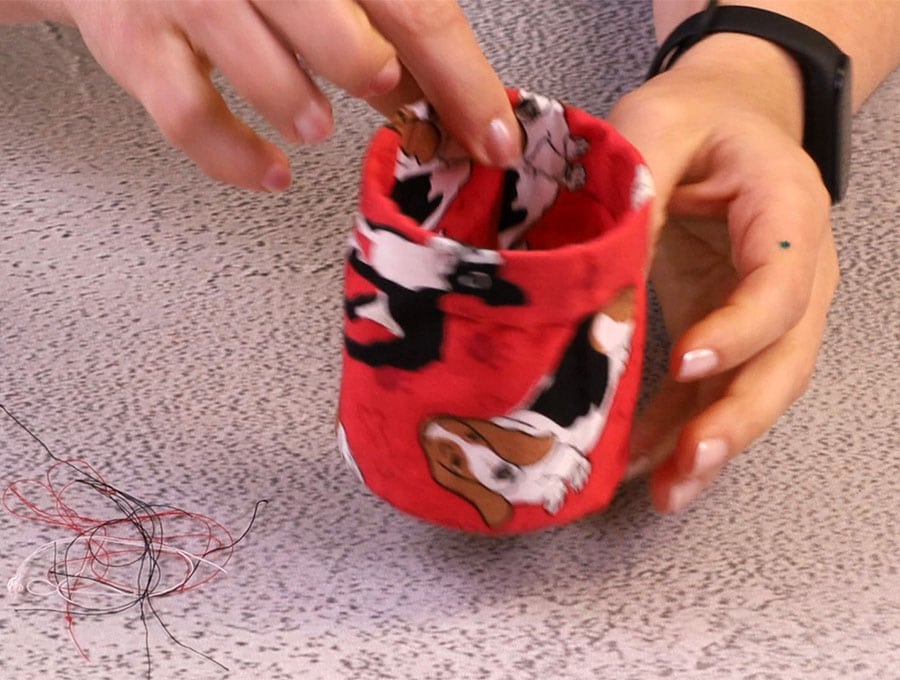
Take the padded cardboard circles you stitched together and using pins fit it neatly into the fabric above the ring. Line up the folded edge with the edge of the circle.
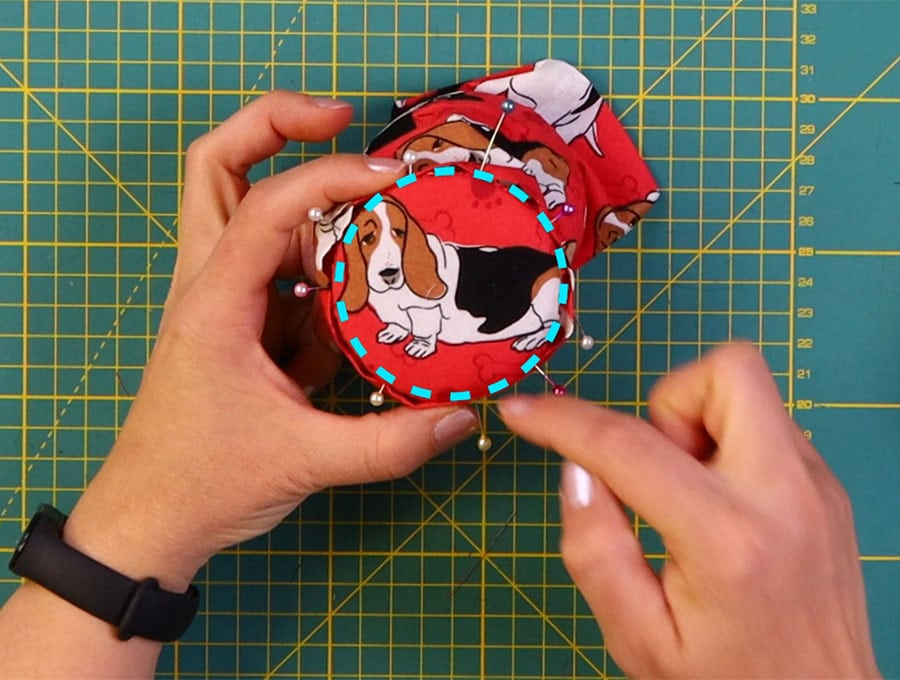
Hand stitch all around the edge using a slip stitch so the stitches are not easily visible.
STEP 20:
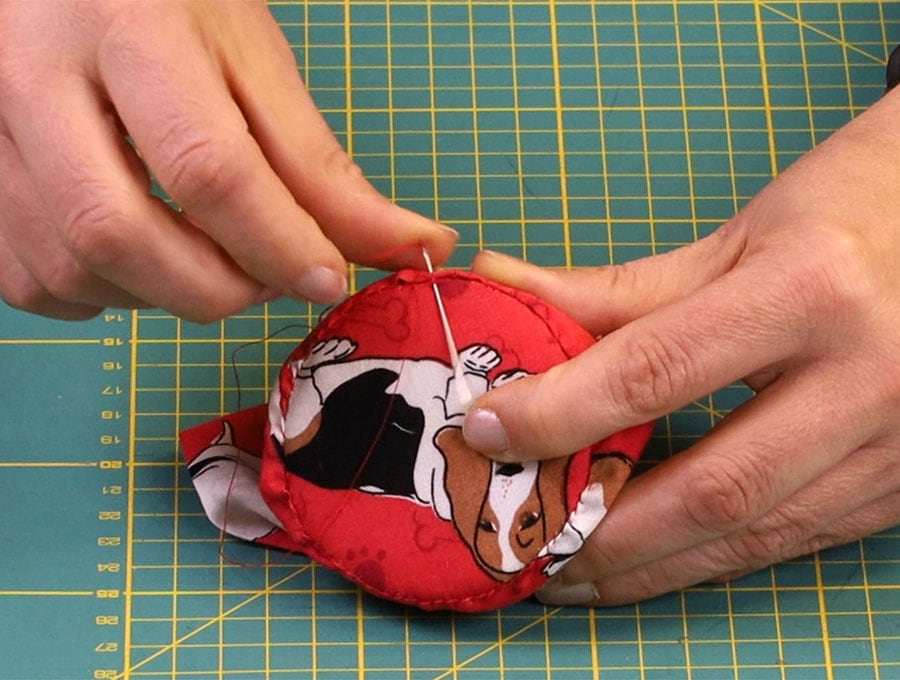
Push the stitched circle through to the other end and line up with the other pressed edge and slip stitch in position.

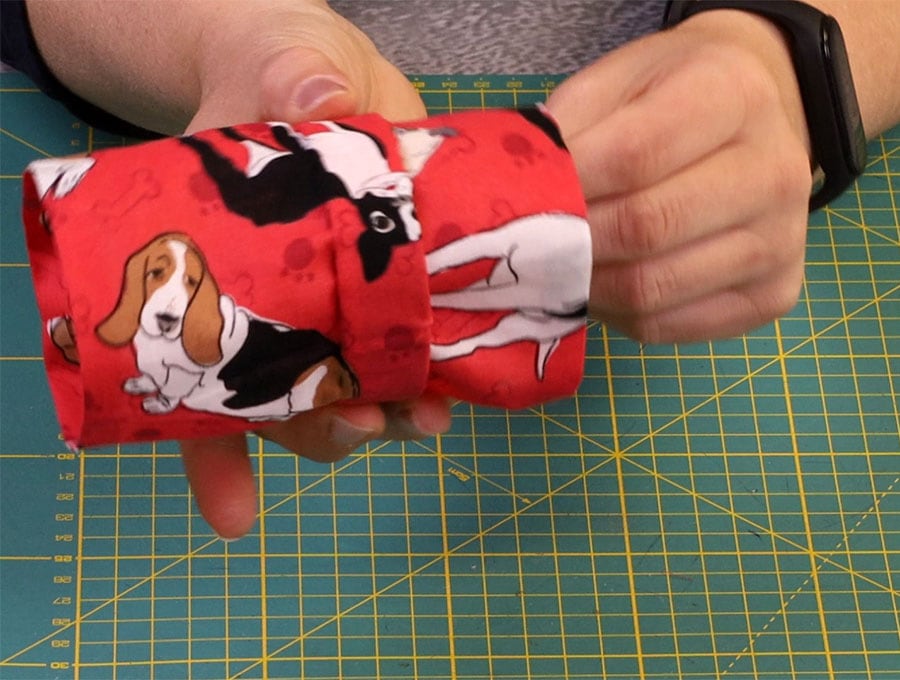
STEP 21:
Pull up the ring and you have a little tube into which you can put your threads, twist and depress and they are neatly compacted until you empty the thread container ad want to start sewing again.
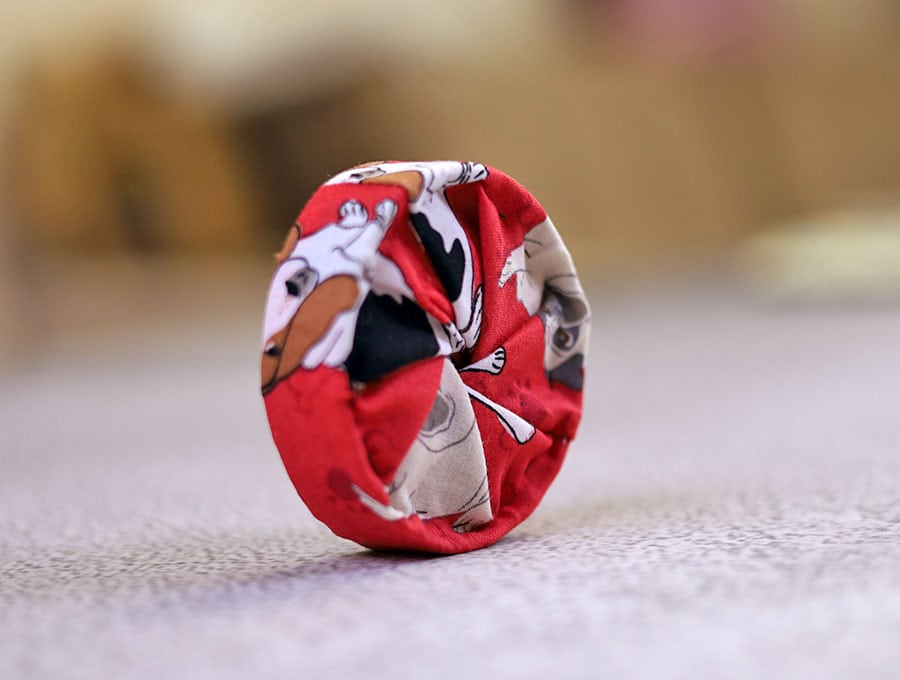
This makes a great little gift for an avid sewer who loves moving around with hand sewing or embroidery, keeping the areas where they work thread free.
Make our DIY Collapsible thread container and keep the floor and furniture around you thread free as you work whether in your sewing room or in front of the fireplace or TV. It uses small pieces of fabric, is mostly hand sewn and would also make a great gift for sewing or embroidery enthusiasts.
If you enjoyed this project which is mostly hand sewn then give us a like and subscribe for more useful and sustainable projects.
Do you like this? Pin for later:
Wanna be friends? Click HERE and follow me on Pinterest
RELATED: