
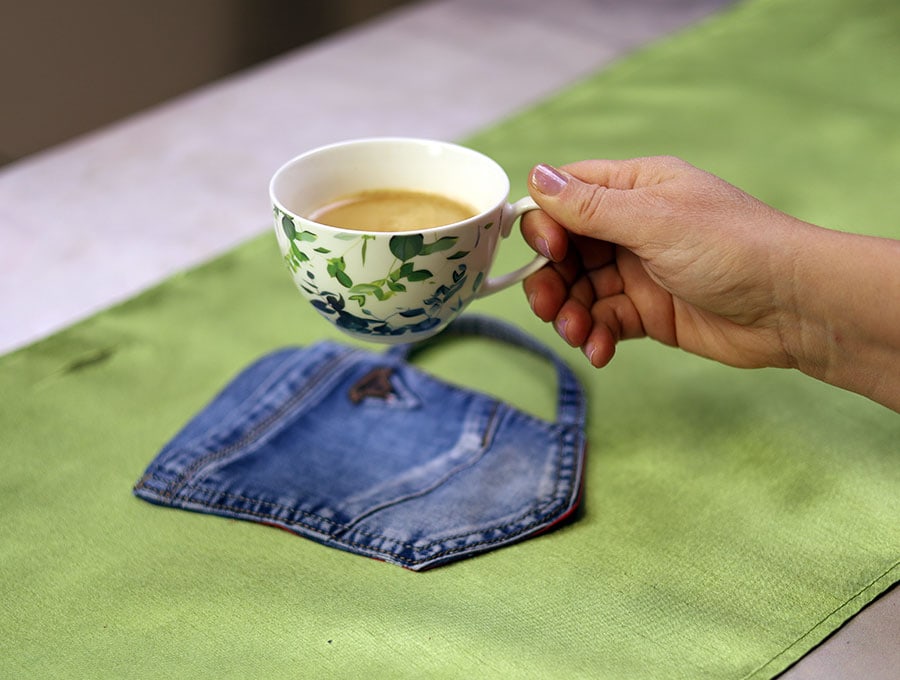
DIY Coffee Cup Coaster from Upcycled Denim Jeans Pocket
Love coffee? Feel bad about sending old denim items to landfill? Connect the two questions with our cute coffee cup coaster project that will take just a few minutes and give you a great deal of satisfaction as you use up old denim items. Make the coaster using our easy step-by -step tutorial then sip your coffee and enjoy the day knowing you’ve kept just a bit more fabric in circulation!
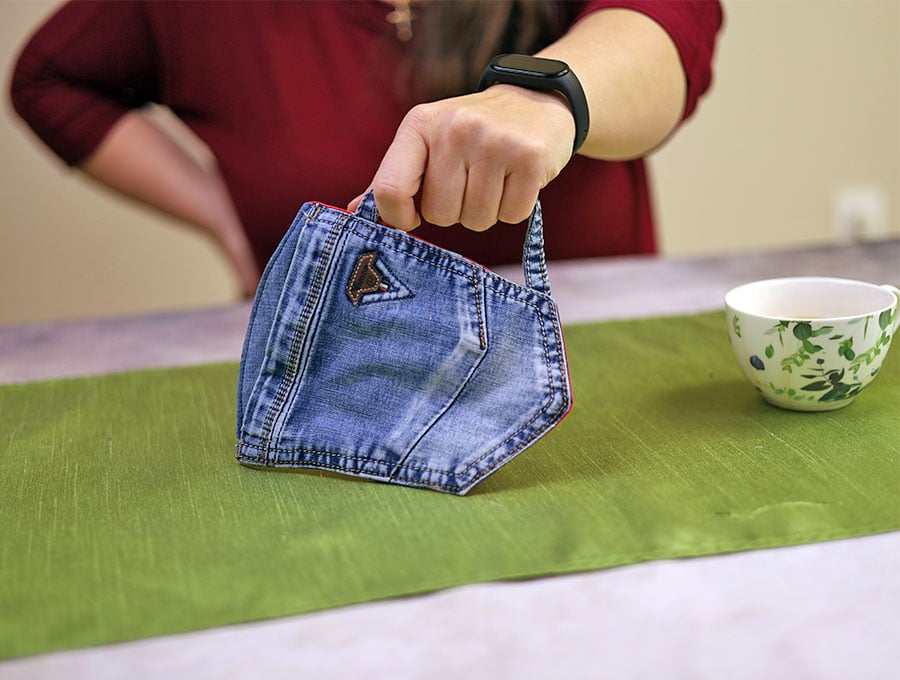
A coffee cup coaster from a recycled denim pocket is just too cool, the fabric is tough and most of the sewing is already done for you. All you need to do using our step-by-step tutorial is stitch in a lining and a handle. Just a few minutes and your denim coaster is ready to use as you contemplate further sewing projects.
Below you will find my step by step written tutorial with VIDEO instructions for all the visual learners.
We occasionally link to goods offered by vendors to help the reader find relevant products. Some of the links may be affiliate meaning we earn a small commission if an item is purchased.
Table of Contents
How to make a Coffee Cup Coaster using a Jeans Pocket
Supplies and tools
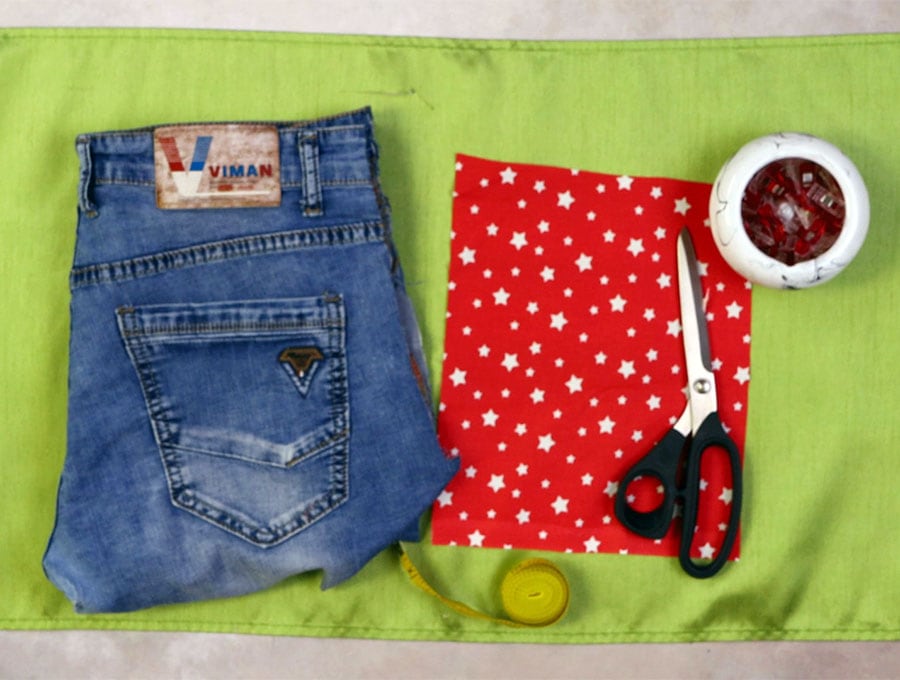
- 1 jeans pocket with an extra bit of fabric all around
- 18cm (7″) double jeans seam
- lining fabric – slightly bigger than the pocket, a 10 x 10″ (25 x 25cm) piece will be sufficient
- matching thread
- scissors (or rotary cutter and a cutting mat)
- ruler or measuring tape
- iron and ironing board
- sewing clips or pins
Follow us for free patterns & tutorials! [easy-profiles]
How to Sew a Denim Coffee Cup Coaster
Watch the diy coffee Cup coaster video first and then follow the written step by step instructions below.
Please enjoy and don’t forget to Like and SUBSCRIBE over on YouTube to be kept up to date with new videos as they come out.
Coffee Cup Coaster VIDEO TUTORIAL
INSTRUCTIONS:
STEP 1:
Choose a denim pocket without a button from a pair of jeans, shorts or skirt.
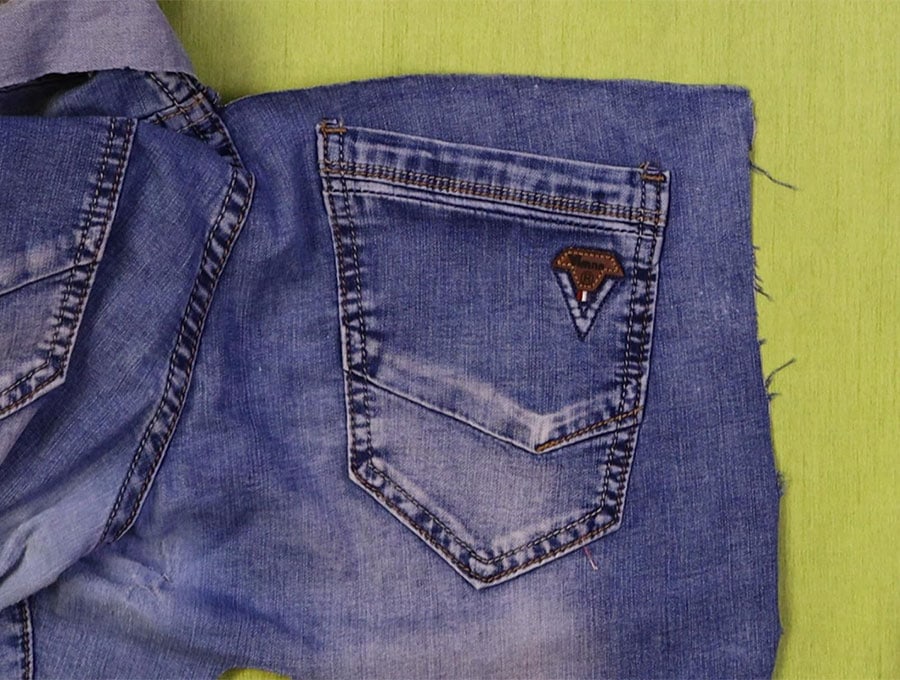
STEP 2:
Cut out the pocket leaving more that 3/8 of an inch (1 cm) all the way around except for the top of the pocket where you will leave at least one inch (2.5 cm).
STEP 3:
Fold the pocket in half, right sides outwards and mark a small arc (curve) with a fabric marking pen from the corner of the pocket to the fold, then above this mark measure 3/8 of an inch (1 cm)
STEP 4:
With the fabric still folded cut the arc you marked so when you open it out the top of the coaster has a gentle curve from one corner to the other.
STEP 5:
Cut a piece of double seamed fabric 7 inches (18 cm) from the yoke on the original denim items you are using. It could be a side seam or back seam – as long as it is double stitched.
STEP 6:
Place the cotton fabric you plan on using for lining on your worktop, right side up and over it place the cut out pocket right side down and trace around the outline of the pocket with a fabric marking pen.
STEP 7:
Cut out the lining piece and set aside.
STEP 8:
Take the double stitched seam which will become your coffee cup handle and place it right side down on the right side of the cut out pocket, lining up the end with the edge of the fabric roughly 3/8 of an inch below the pocket stitching band and ending about 3/8 of an inch before the end of the pocket. You can play around with the positioning a little until you are satisfied. Once you have pinned the top, then pin the other end near the bottom of the pocket, ensuring there is no twist in the fabric band.
The band will be facing into the body of the pocket.
STEP 9:
Place the piece of lining fabric you cut, right side down onto the jeans pocket. Line up the edges and clip or pin in place, ensuring the handle piece is not at risk of being caught in the seam when you stitch.
STEP 10:
Stitch around the edge 3/8 of an inch (1 cm) from the edge, backtacking across the areas where the mug handle is attached. Leave a gap of around 2 ½ inches (6.3 cm) at the opposite to where you have the handle, to turn the coffee cup coaster the right way out and backtack on each side of the gap.
It is best to place the wrong side of the denim pocket upwards when you sew so you can be guided by the stitched lines on the denim – except for the curved bit at the top of the pocket.
STEP 11:
Carefully trim off the corners to remove excess fabric, making sure not to cut too close to the stitch line, and make a few little snips into the curved area at the top of the pocket so the coaster lies flat when it is turned.
STEP 12:
Turn the coffee cup coaster the right way out by pulling the fabric through the gap and pushing out the edges with a turning tool or a chopstick.
STEP 13:
Give the coffee cup coaster a press, turning in the raw edges of the gap in line with the seam and pressing flat.
STEP 14:
Stitch up the gap either using your machine to close just the gap in a matching thread, or by stitching a top stitch all the way around the edge of the coaster.
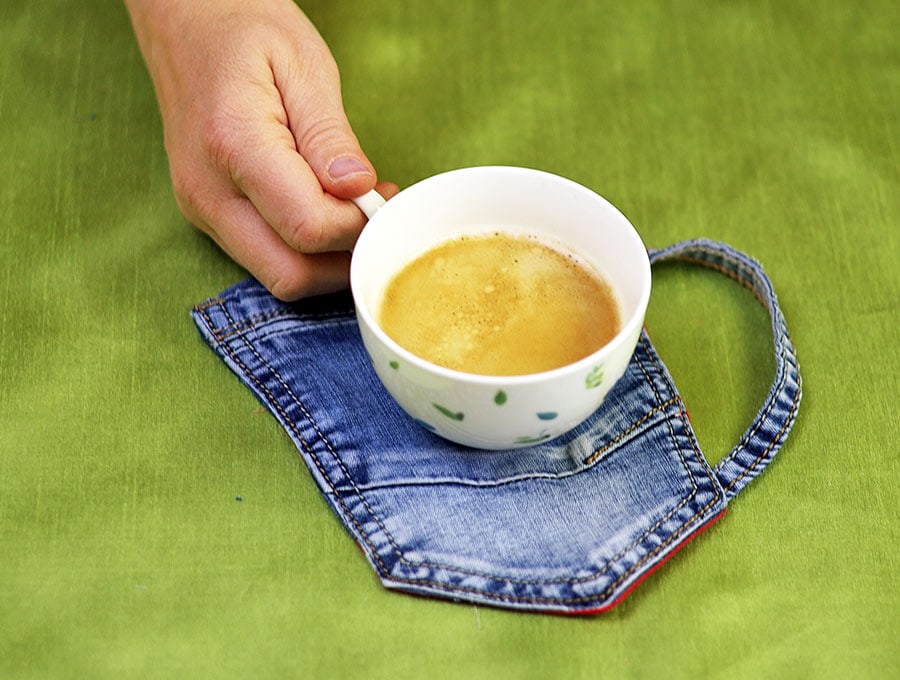
Your coffee cup coaster is ready to use and if it gets a mark you can wash and use multiple times – the beauty of denim being that the more it is washed the better it looks.
Denim Cofee Cup Coaster tips:
If you want to personalize the coffee cup coaster you can use fabric paint or an acrylic paint pen to write the person’s name on the pocket once you are finished sewing it. Because jeans usually have two back pockets make a matching pair of coffee cup coasters with ‘His’ and ‘Hers’ written on them.
If you prefer to embroider the pocket, then it needs to be done before you attach the backing piece.
Because you have cut out the pocket with its back piece from the denim there will be place to slip a note or an inspirational message inside the pocket just peeking out the top so that a person can be inspired for the day, or know that you are wishing them good luck for whatever they have ahead– an exam, a presentation, or any other event. It will give them a warm and fuzzy feeling along with their cup of hot coffee, or whatever beverage they prefer to wake up to.
If you enjoyed making this coffee cup coaster please like and subscribe so we can share future tutorials from HelloSewing as soon as we load them on the site. Never miss out on a sewing project that uses up the odd fabrics in your stash and turns them into useful items – saving you money and doing your bit for the planet one fabric scrap at a time.
Do you like this? Pin for later:
Wanna be friends? Click HERE and follow me on Pinterest
RELATED: