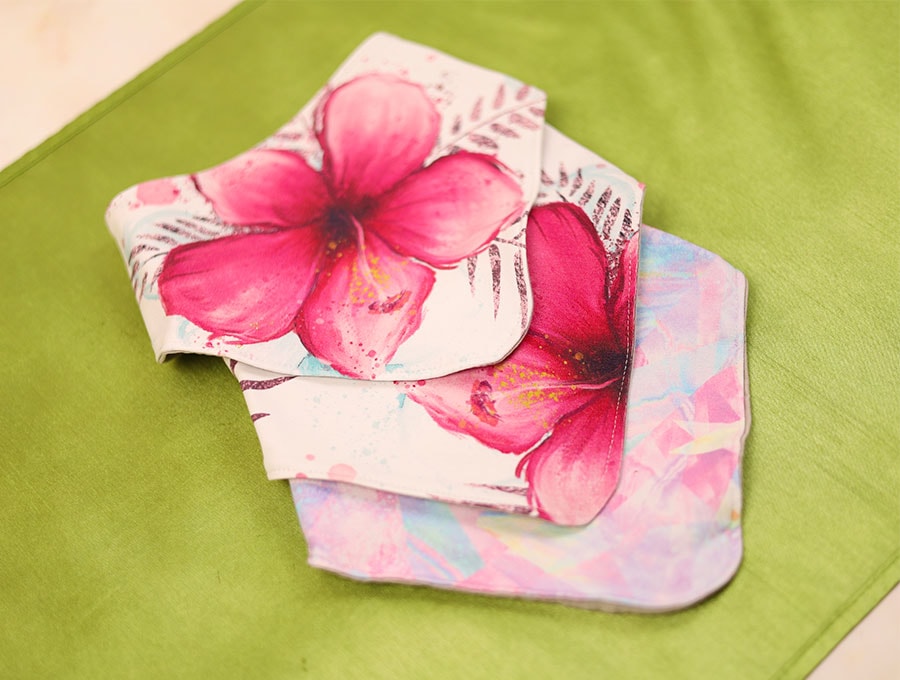
How to Sew a Bandana Baby Bib [Insta-Worthy]
Tired of traditional baby bibs that lack personality? It’s time to use your amazing sewing skills and create a charming bandana baby bib that’s both fashionable and functional. In this article, I’ll walk you through the process of sewing a bandana baby bib, complete with a downloadable bandana baby bib pattern to guide you every step of the way. Say goodbye to mundane bibs and hello to a versatile accessory that will make mealtime a stylish affair. You can even sew a matching hat or a headband for the little one. Join us as we explore the art of crafting a bandana baby bib that’s sure to turn heads and keep your baby clean and chic!
Below you will find my step by step written tutorial with VIDEO instructions for all the visual learners.
We occasionally link to goods offered by vendors to help the reader find relevant products. Some of the links may be affiliate meaning we earn a small commission if an item is purchased.
Table of Contents
How to make a Bandana Baby Bib
these handmade baby bibs are sooo easy to sew, you can whip up 3 in half an hour!
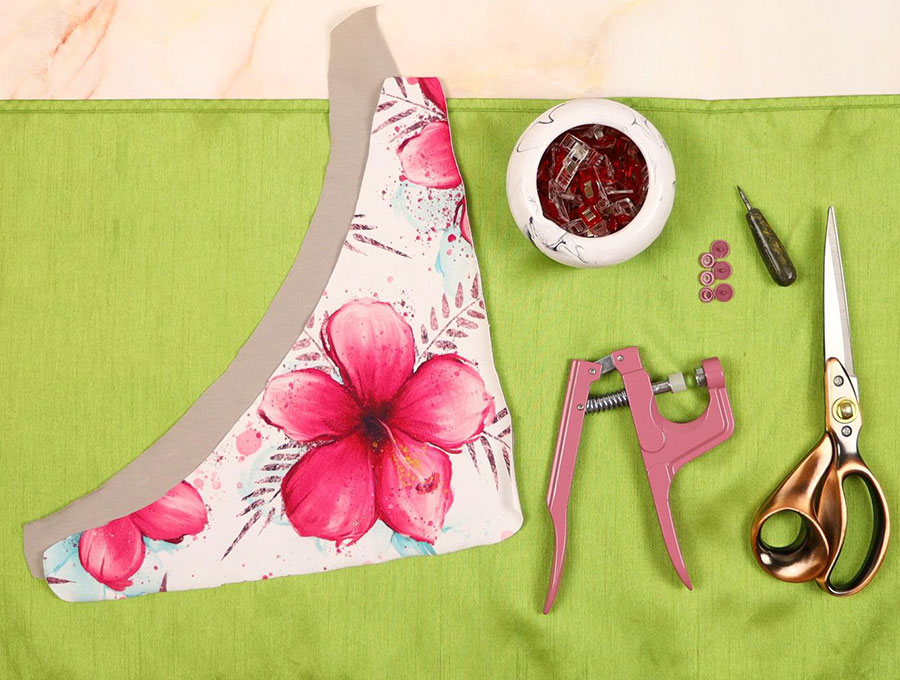
Bandana Baby Bib Supplies and tools
- fabric – 2 pieces of organic cotton (one main, one lining)
- matching thread
- scissors (or rotary cutter and a cutting mat)
- ruler or measuring tape
- iron and ironing board
- sewing clips or pins
- plastic snaps (you will need a sewing owl and snap pliers
- press studs
- hook and loop dots/tape
DOWNLOAD: bandana baby bib pattern [Free pdf file]
Follow us for free patterns & tutorials! [easy-profiles]
How to Sew a Bandana Baby bib
Watch the diy bandana baby bib video first and then follow the written step by step instructions below.
Please enjoy and don’t forget to Like and SUBSCRIBE over on YouTube to be kept up to date with new videos as they come out.
Bandana Baby bib VIDEO TUTORIAL
Handmade bandana baby bib INSTRUCTIONS:
STEP 1:
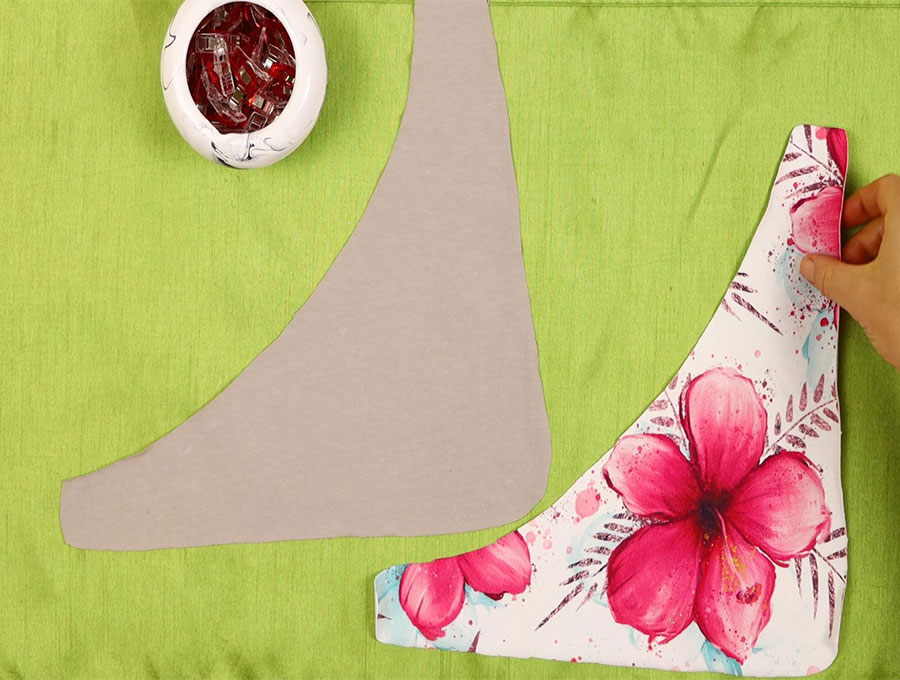
cut the fabrics according to the pattern
STEP 2:
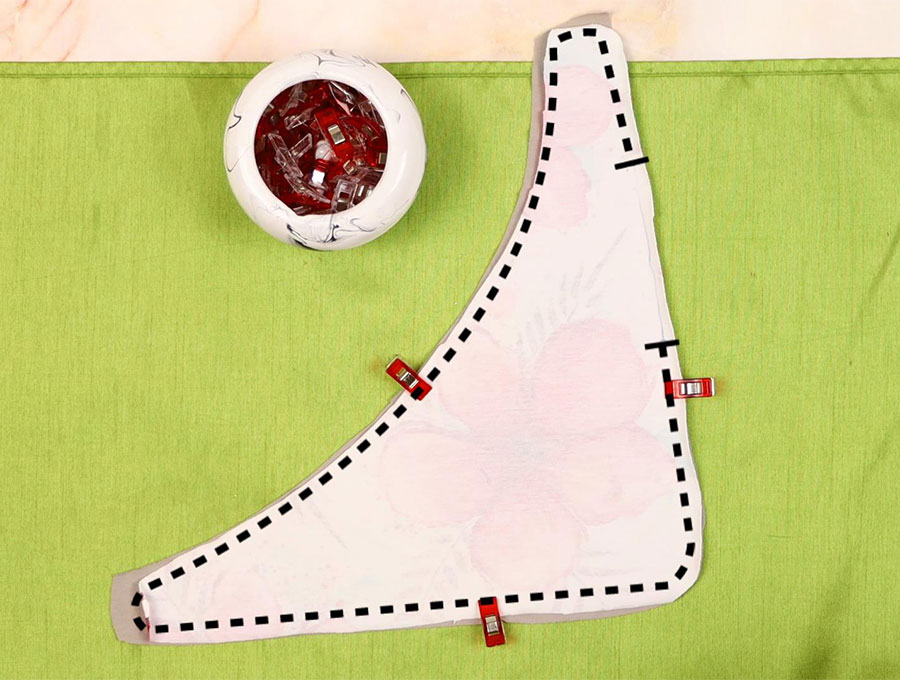
place the fabrics right sides together and pin, leaving a 2″ (5cm) gap for turning
STEP 3:
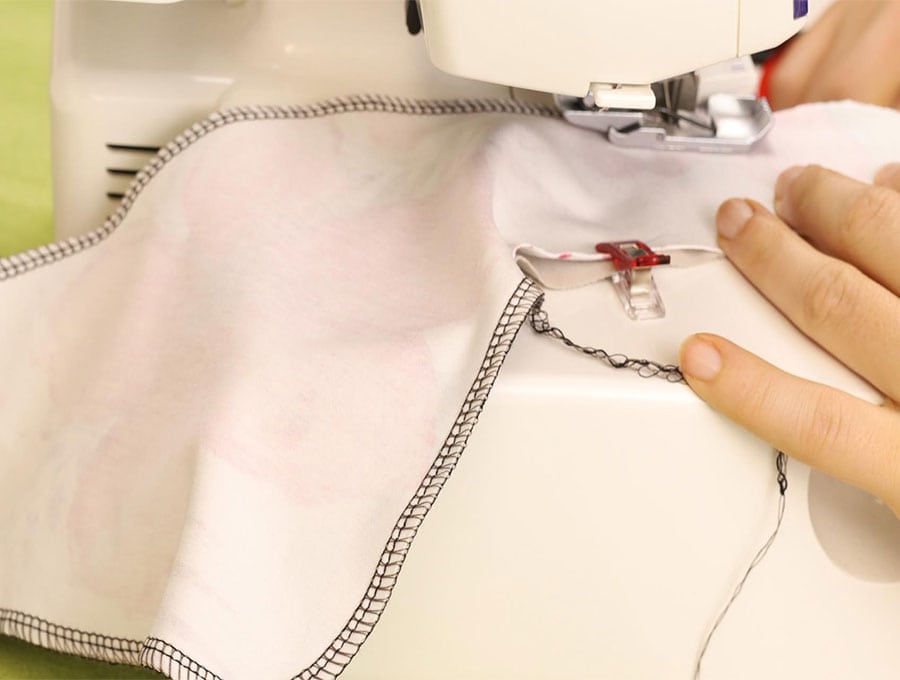
serge or sew using a zig zag stitch
STEP 4:
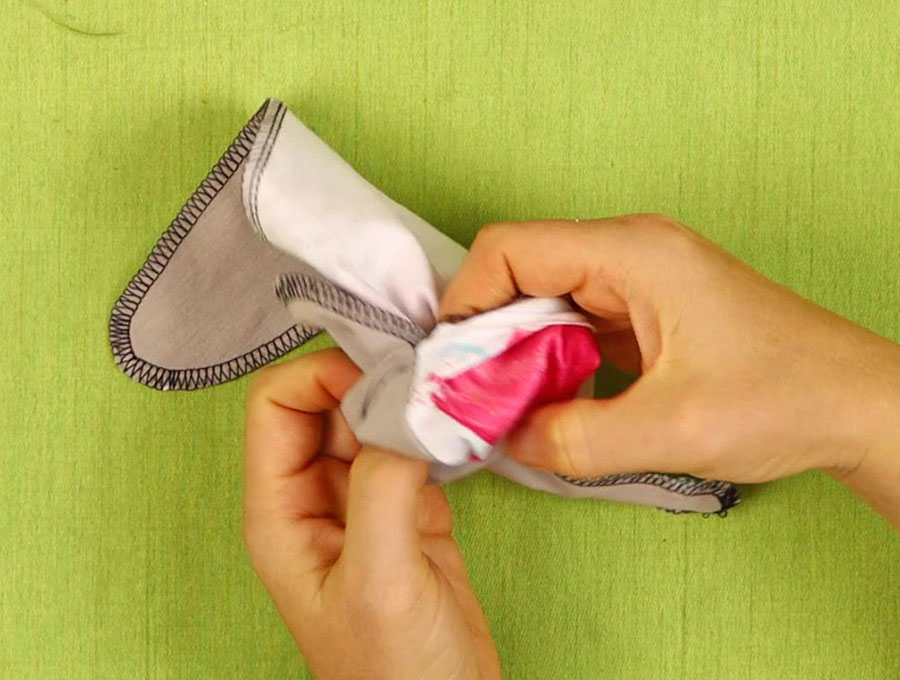
turn the bandana baby bib right side out
STEP 5:
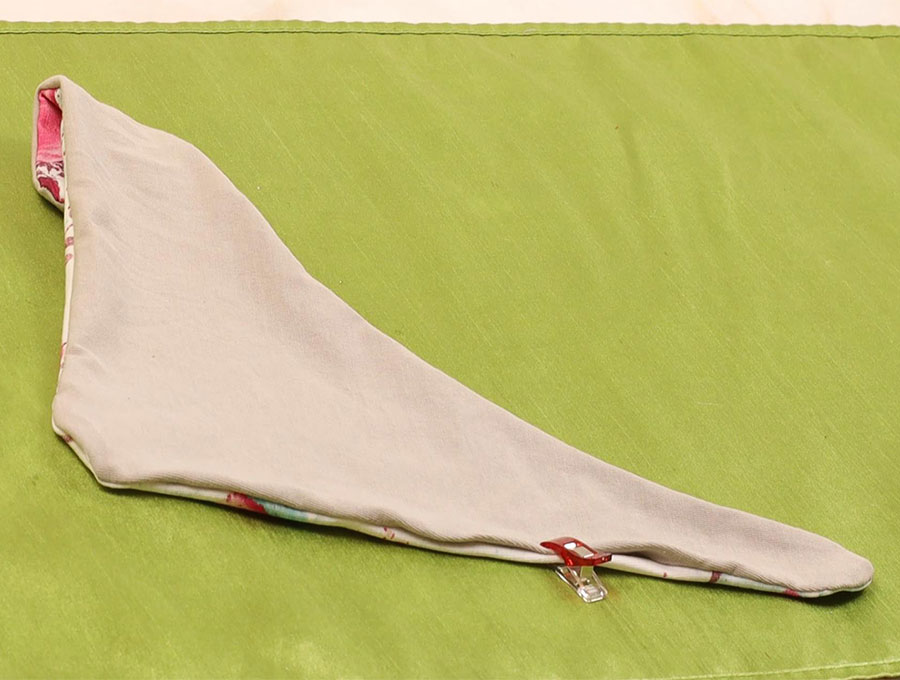
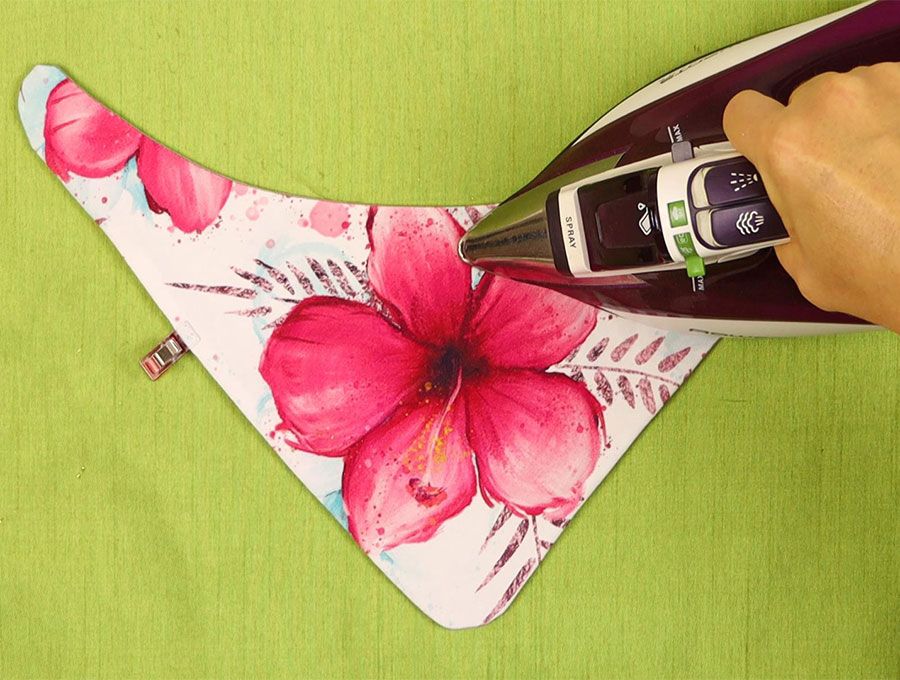
tuck in the raw edges of the gap, pin the gap and press with an iron
STEP 6:
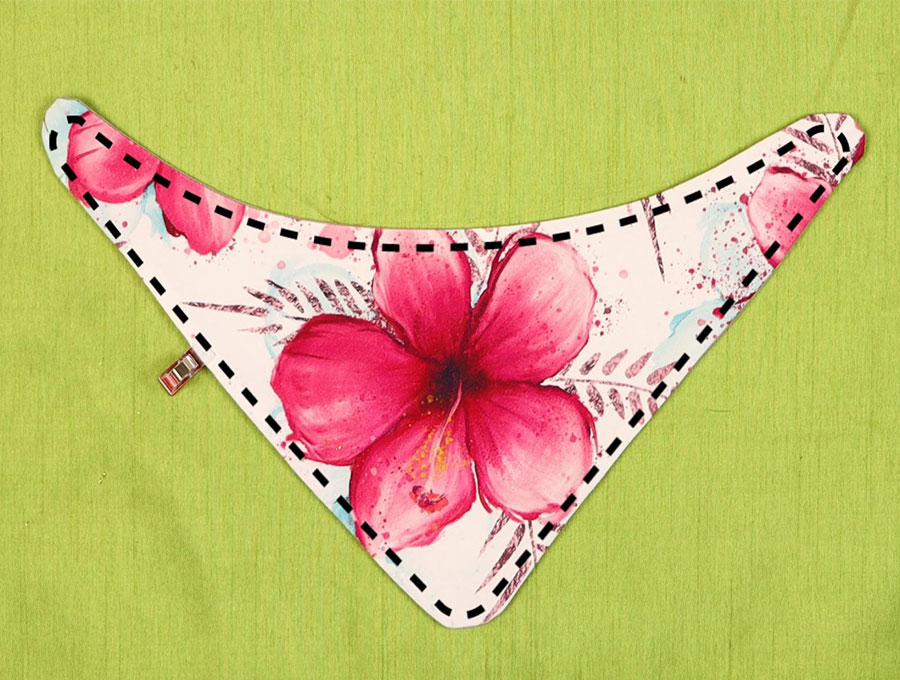
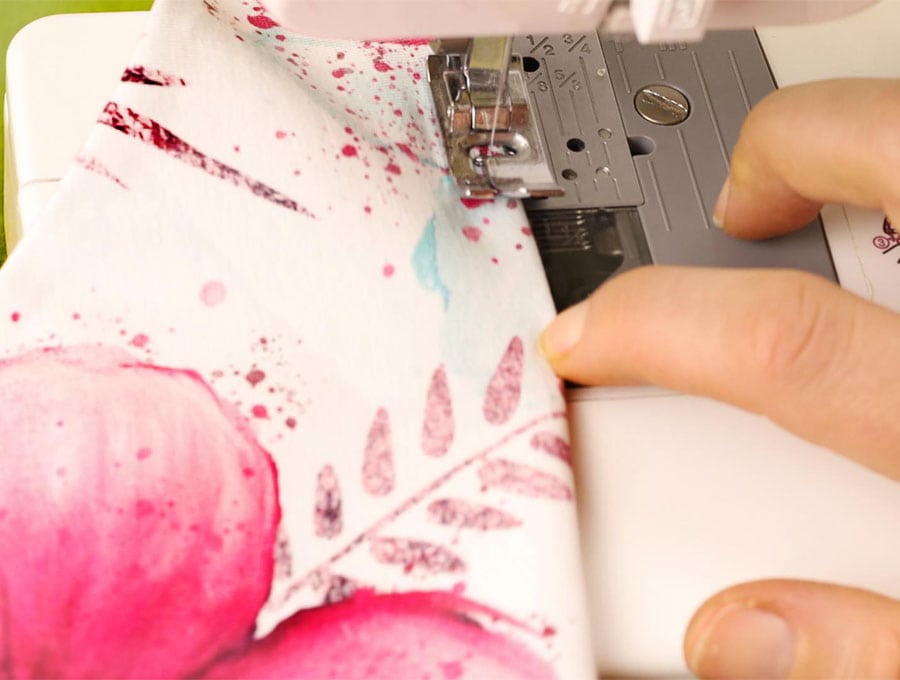
sew all around using a 1/8″(3mm seam allowance)
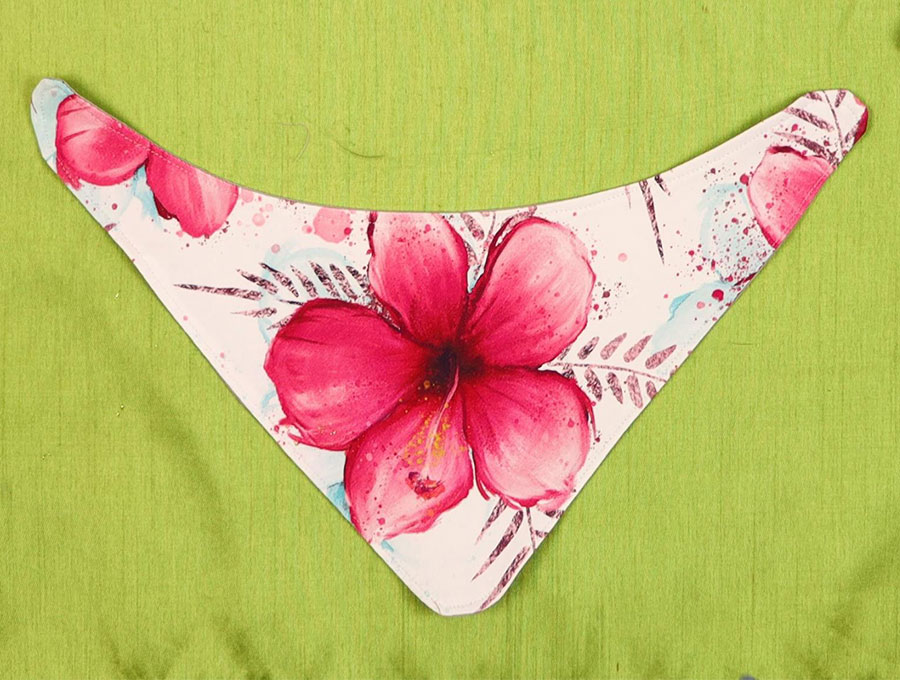
here’s how it look like so far
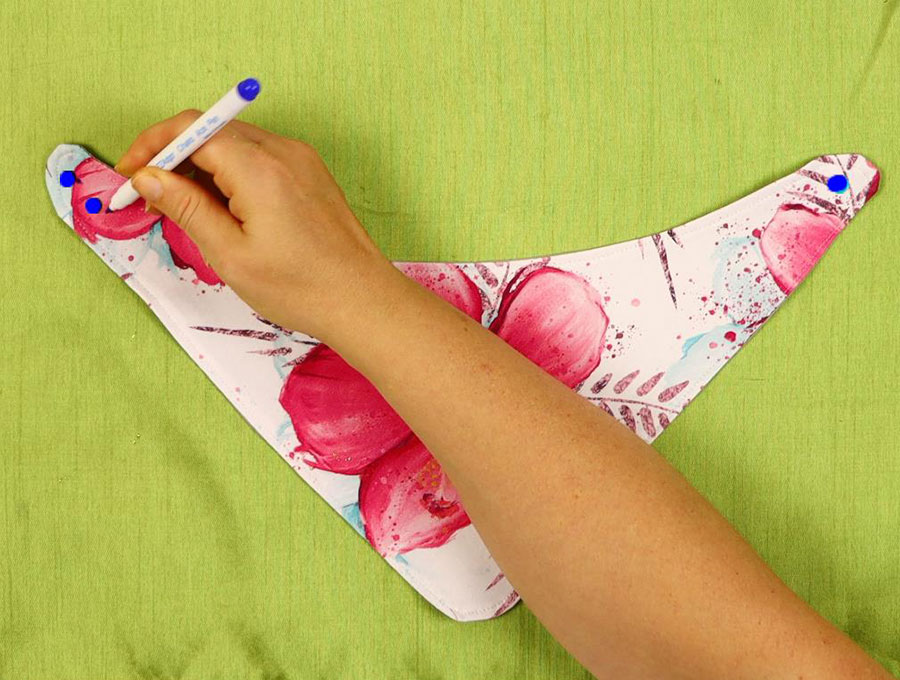
STEP 7:
mark the position of the snaps
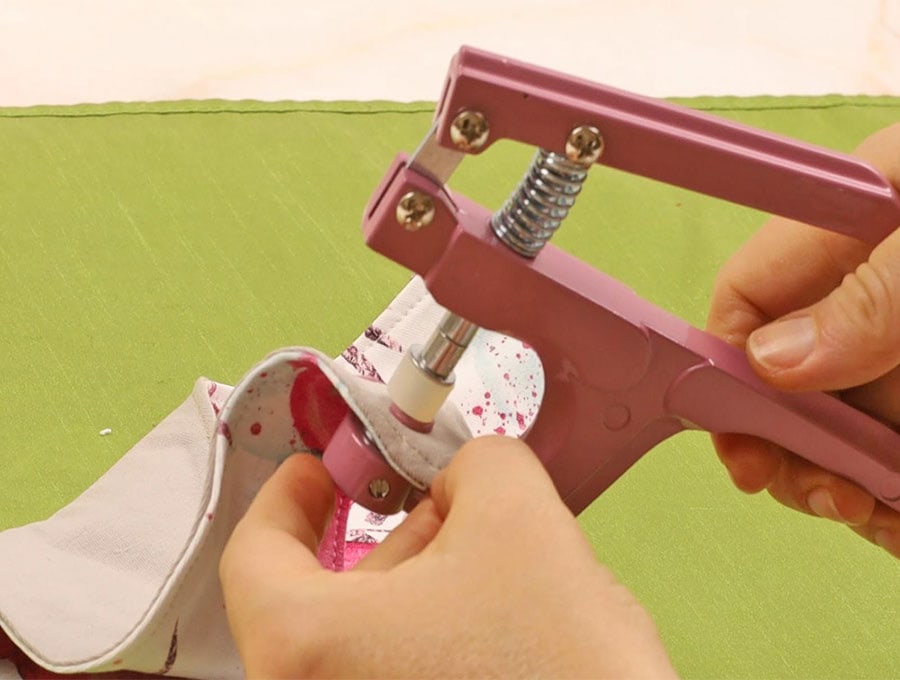
STEP 8: Install the KAM snaps (or the velcro)
In this step you need to install either kam snaps or a hook and loop fastening. I highly reccomend you to go with the first as babies tend to pull on their bibs and the velcro won’t hold well.
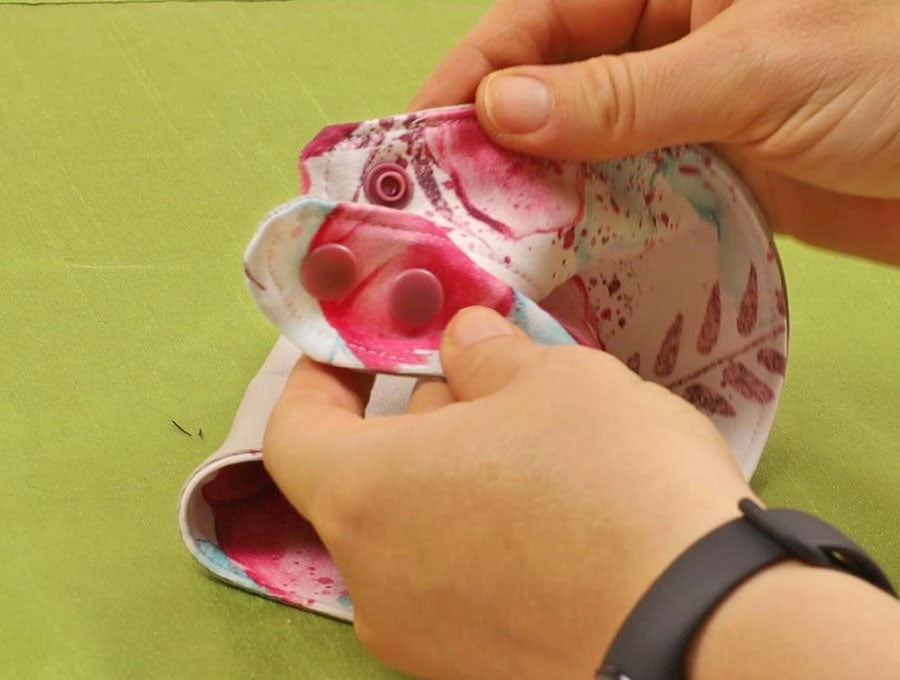
Pierce through the marks with the sewing awl and install the 3 kam snaps as follows:
- cap+stud on the right side
- cap+socket for the 2 snaps on the left side
Press them with the pliers
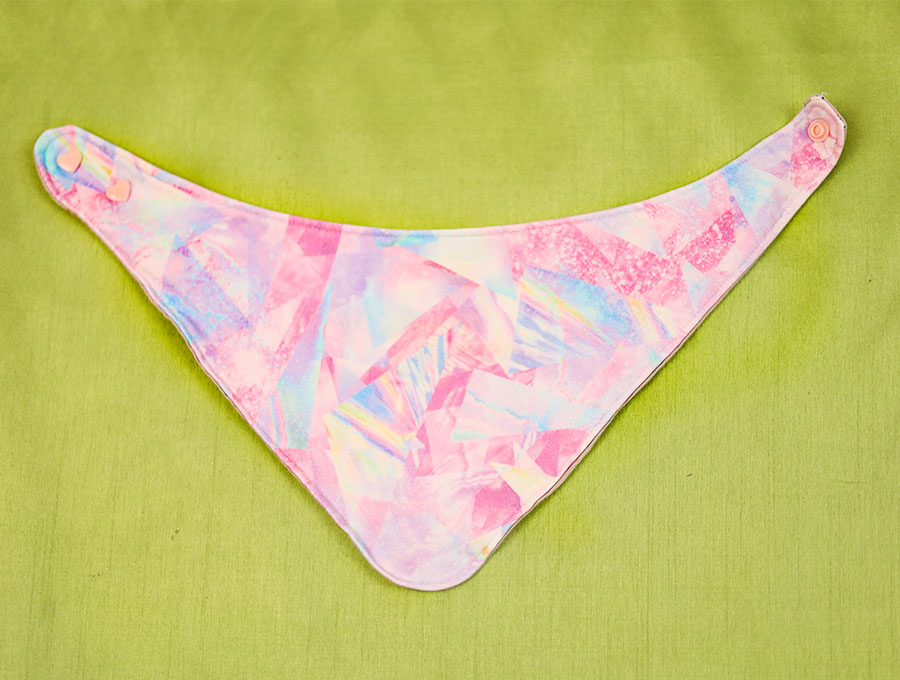
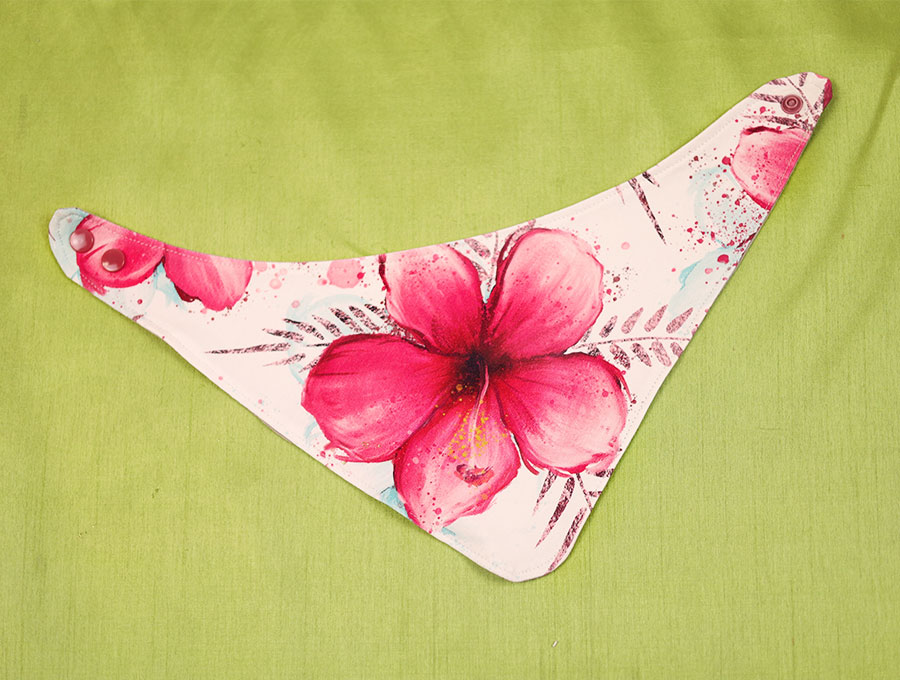
DONE! The DIY bandana baby bib is ready
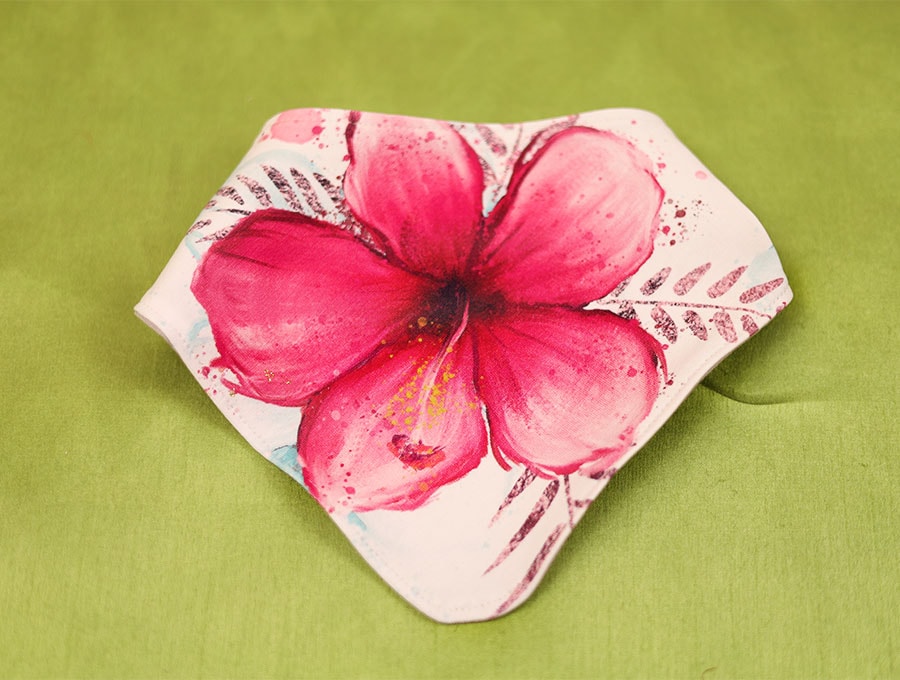
Fasten it up:
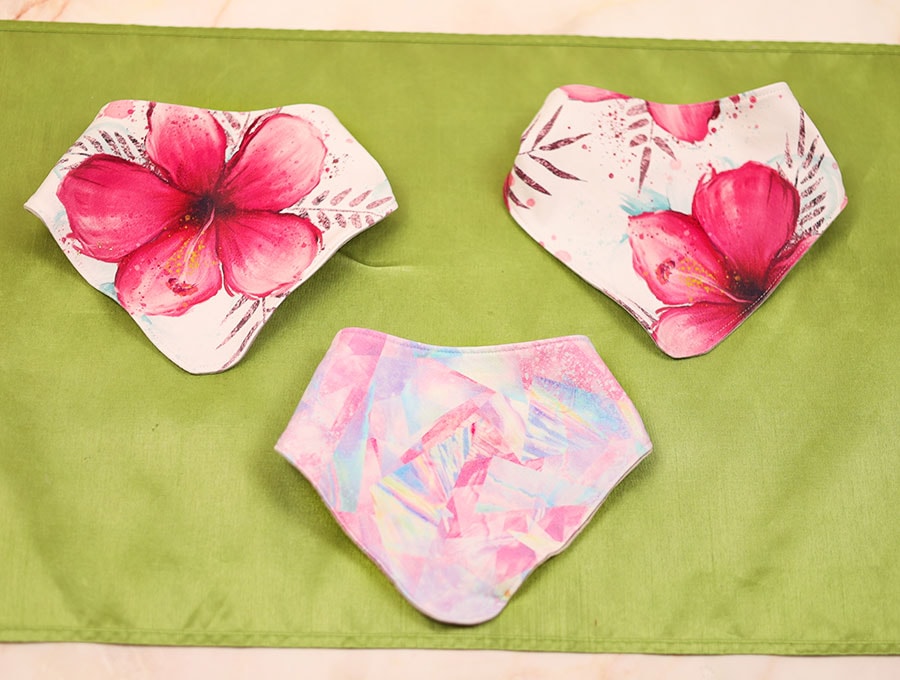
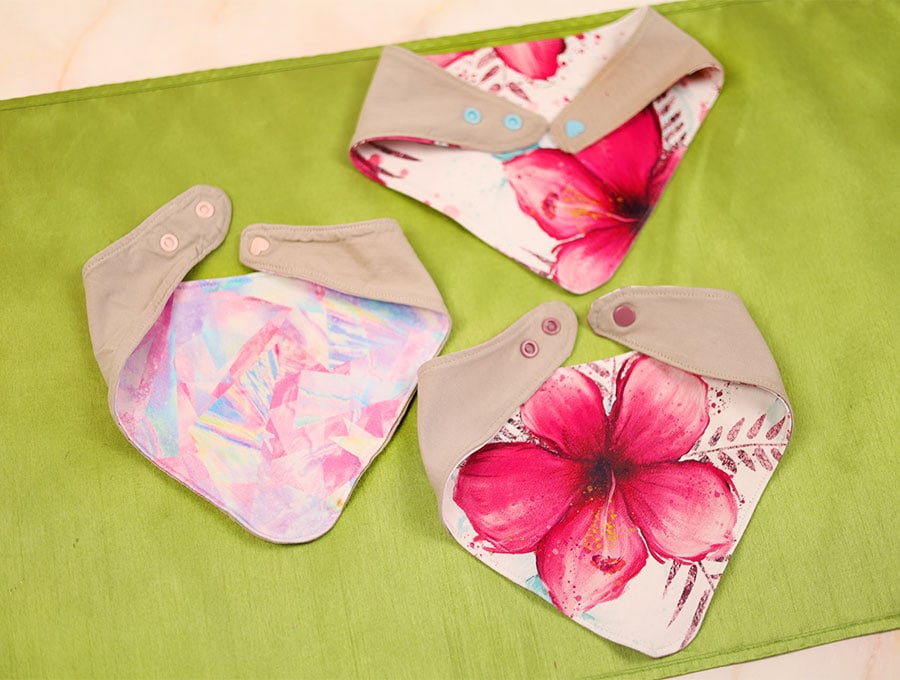
Whip up a few more, they are so easy to sew! here’s how they look from the back
Do you like this? Pin for later:
Wanna be friends? Click HERE and follow me on Pinterest
RELATED:

![How to Sew a Bandana Baby Bib [Insta-Worthy] how to sew a bandana baby bib](https://hellosewing.com/wp-content/uploads/how-to-sew-a-bandana-baby-bib.jpg)
