DIY Dog Bone Toy Out of Jeans
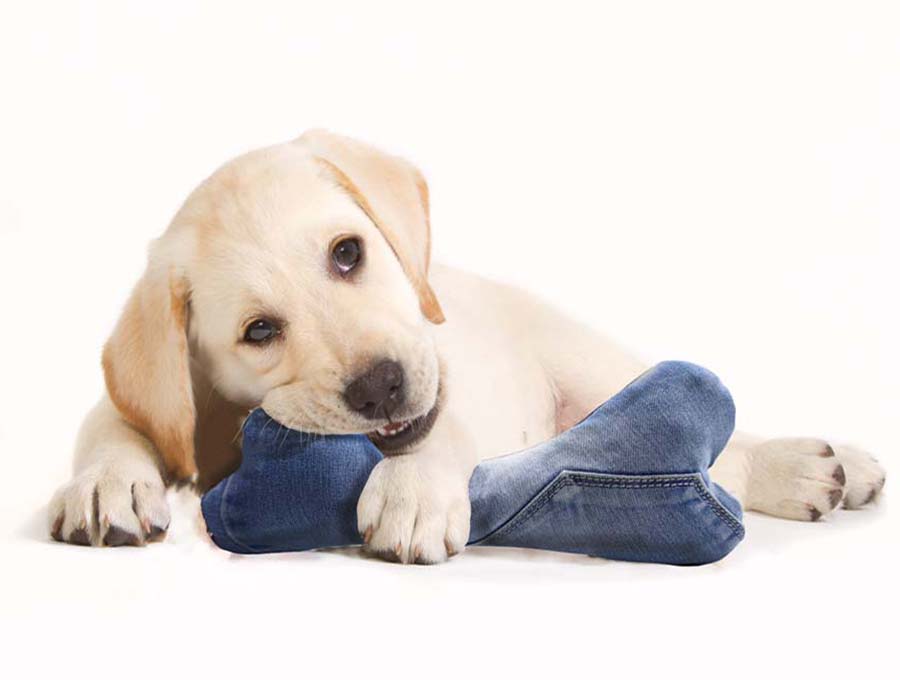
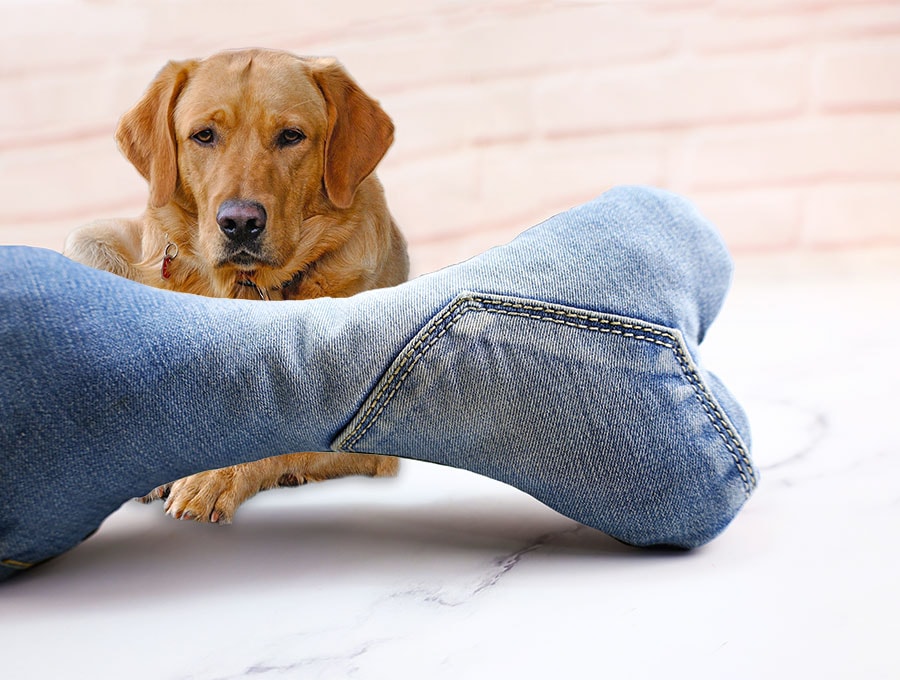
If you love dogs or have friends who love dogs this is a great project. The denim dog bone toy is a winner on a number of fronts. It recycles old jeans which would otherwise end up in landfill – bonus number one. Then it provides hours of fun for doggies when you throw the toy for them to fetch, or they can simply sit and chew on it – bonus number two. It saves you plenty of money as dog toys can be quite expensive – bonus number three. And bonus number four is that it takes around 15 minutes to make.
I would suggest making a few of these DIY squeaky dog toys from an old pair of jeans. Your own dogs will want one each, and you need to have backup toys in case one gets left at a park or gets chewed up. Then from the smaller, or larger remnants, depending on the size of your dog, make some extra denim dog bone toys for the fur babies that belong to family and friends and to give to animal shelters.
Below you will find my step by step written tutorial how to make this bone stuffie with a printable dog bone toy pattern. We have VIDEO instructions for all the visual learners.
We occasionally link to goods offered by vendors to help the reader find relevant products. Some of the links may be affiliate meaning we earn a small commission if an item is purchased.
Table of Contents
How to make a Dog Bone toy
Supplies and tools
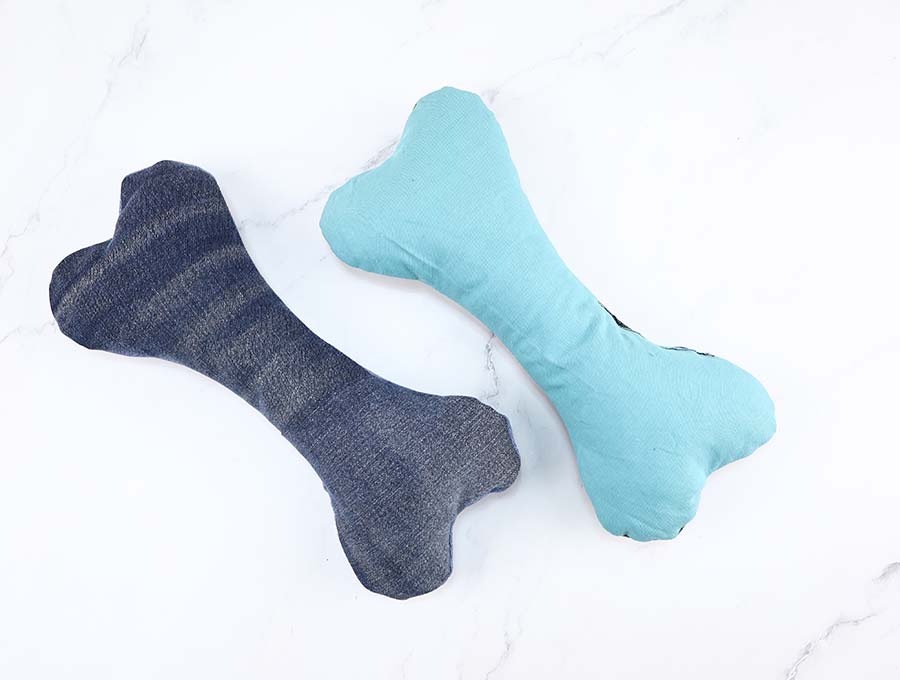
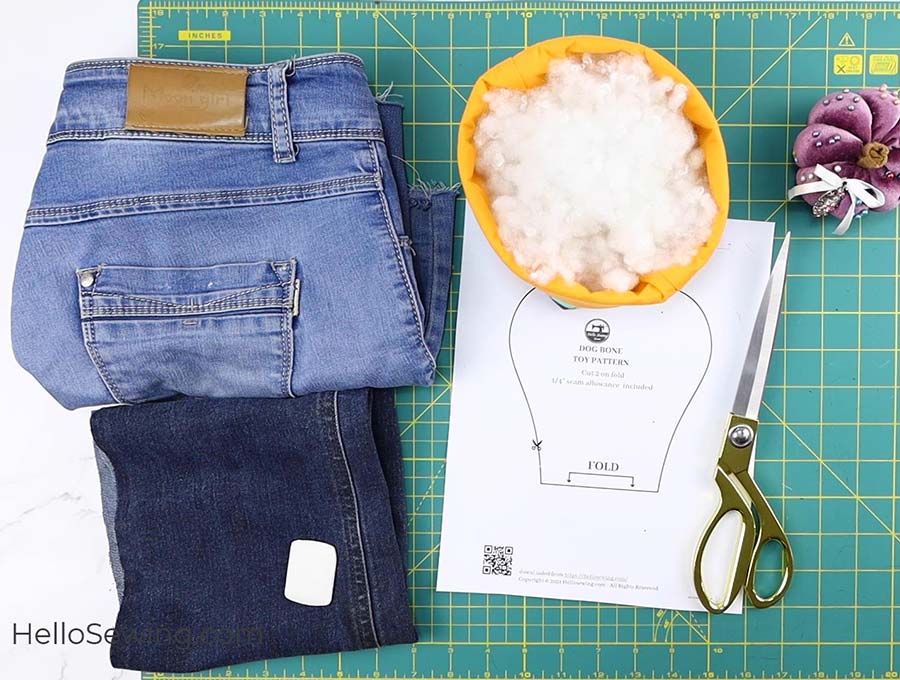
- fabric – 2 pieces of denim or other heavy-weight fabric (one main, one lining)
- poly-fill stuffing
- squeaker (optional)
- matching thread
- scissors (or rotary cutter and a cutting mat)
- ruler or measuring tape
- iron and ironing board
- sewing clips or pins
- sewing machine
DOWNLOAD: dog toy pattern (Free PDF file)
Follow us for free patterns & tutorials! [easy-profiles]
How to Sew a Dog Bone Toy
Watch the diy dog toy video first and then follow the written step by step instructions below.
Please enjoy and don’t forget to Like and SUBSCRIBE over on YouTube to be kept up to date with new videos as they come out.
Dog toy VIDEO TUTORIAL
Materials:
denim offcuts (2 pcs) – 31cm x 15.5cm (12″ x 6″) each
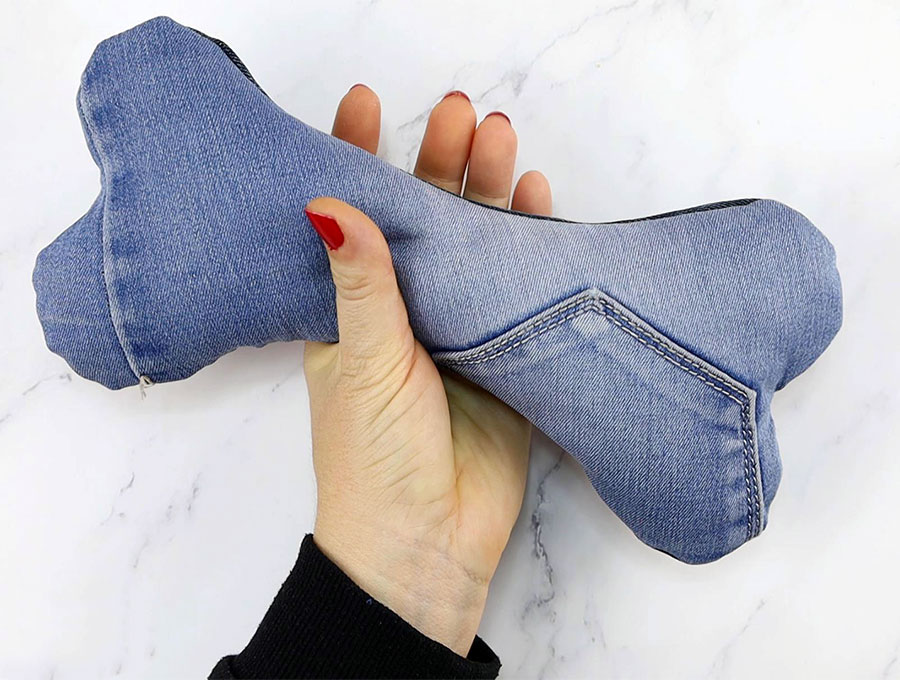
Finished size: 27cm x 11.5cm x 5cm (10.5″ x 4.5″ x 2″)
Squeaky dog toy INSTRUCTIONS:
STEP 1: Prepare the dog bone toy template
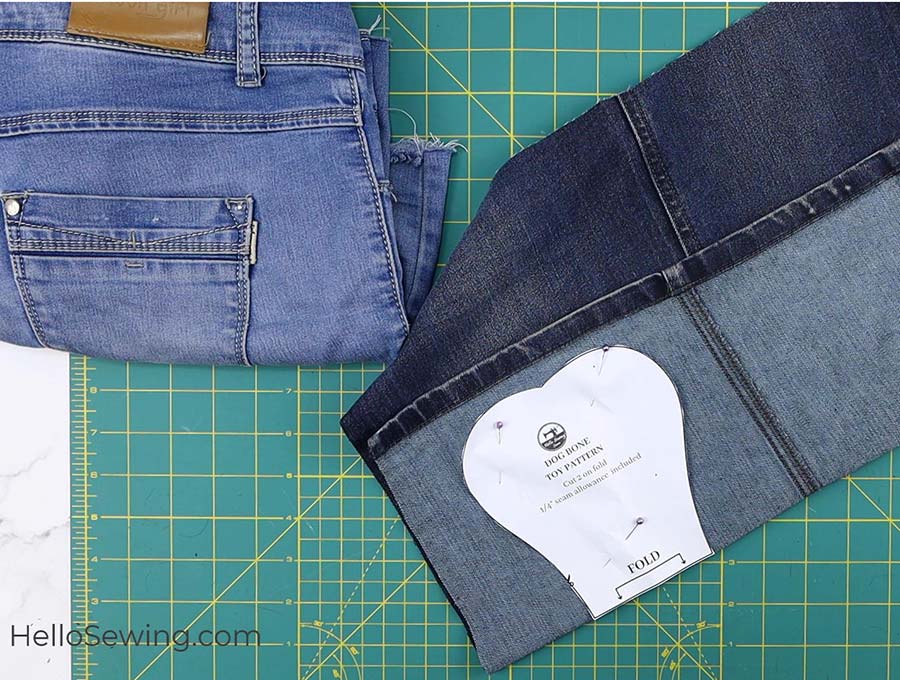
Download the free pattern and cut it out – note that it is placed on a fold in the middle, which makes getting both sides equal a bit easier. You will need to cut two. You can scale the pattern size up or down depending on the size of the dog.
STEP 2: Cut fabric
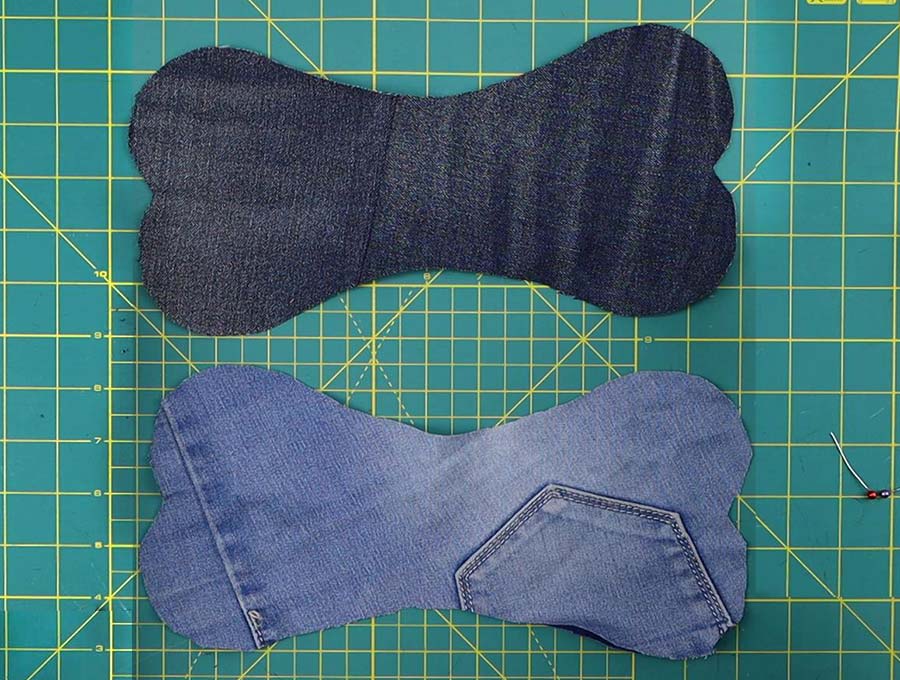
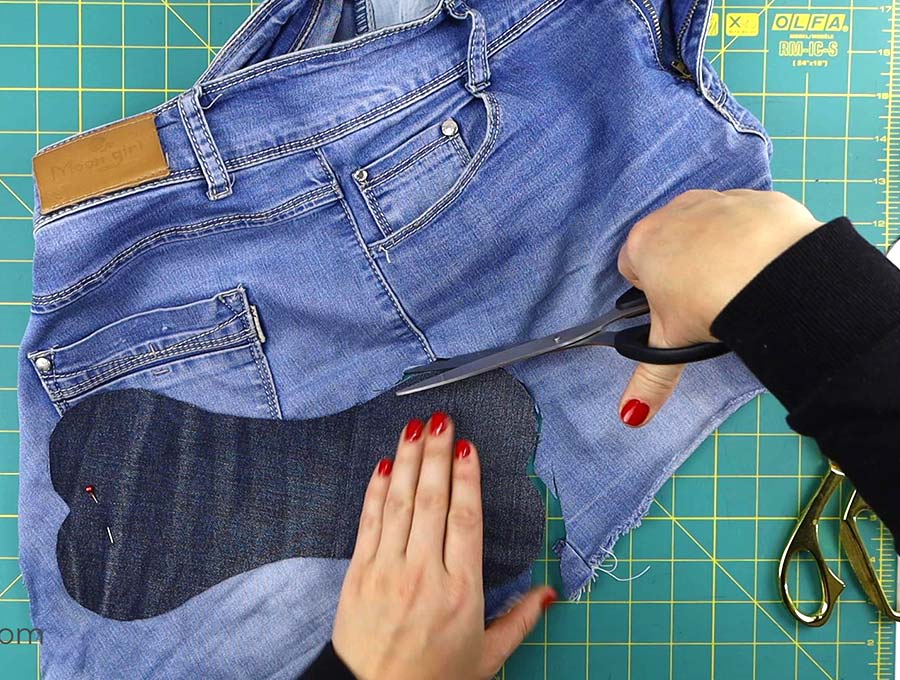
Open out the side seam of the jeans you are going to recycle and place the pattern on the fold, pin, then cut 2.
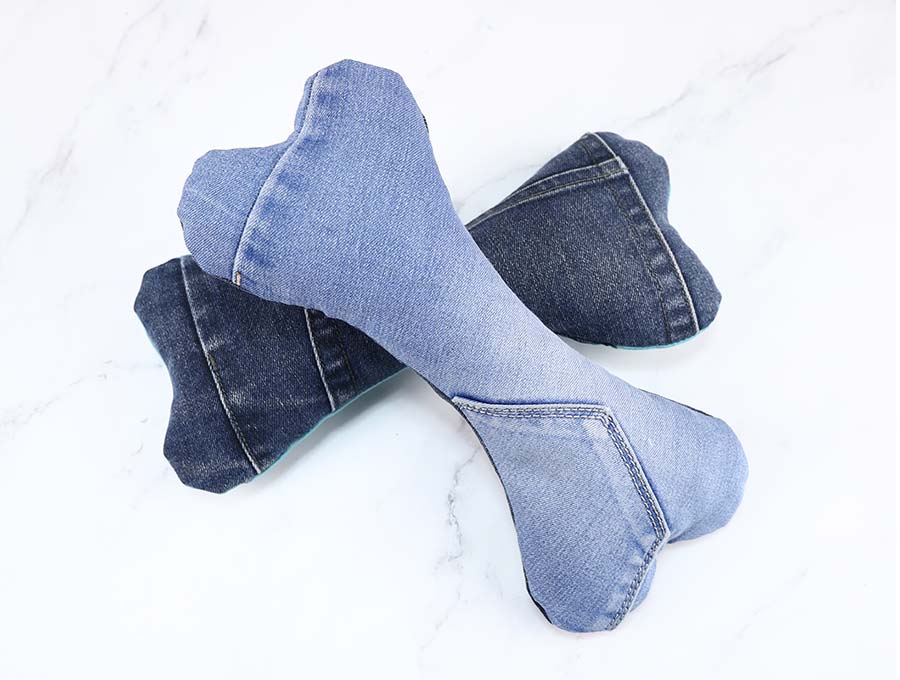
To add interest to the dog toy, use parts of the jeans with pockets and seams
STEP 3: Pin
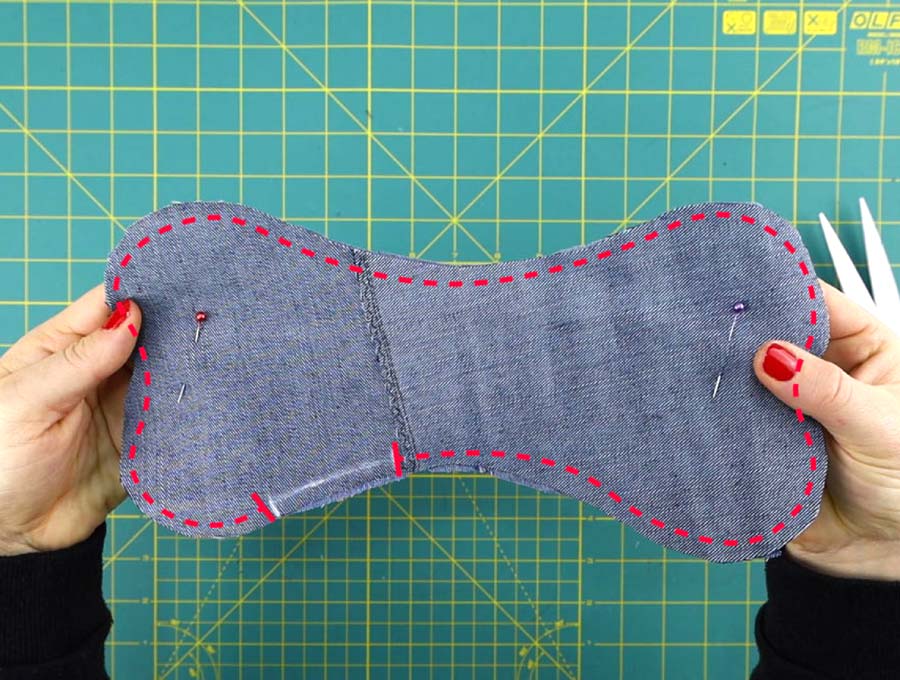
Unfold the two pieces you have cut and place them with right sides facing each other, line up neatly and pin into place.
STEP 4: Sew around the toy
Stitch around the edge of the dog toy 6mm (¼ inch) from the edge, leaving a gap of around 5cm (2 inches) near the center point of the shank of the bone. The larger the bone you are making the more material there will be to pull through, so make the gap larger or smaller depending on the size of the dog bone toy.
STEP 5: Finish the raw edge
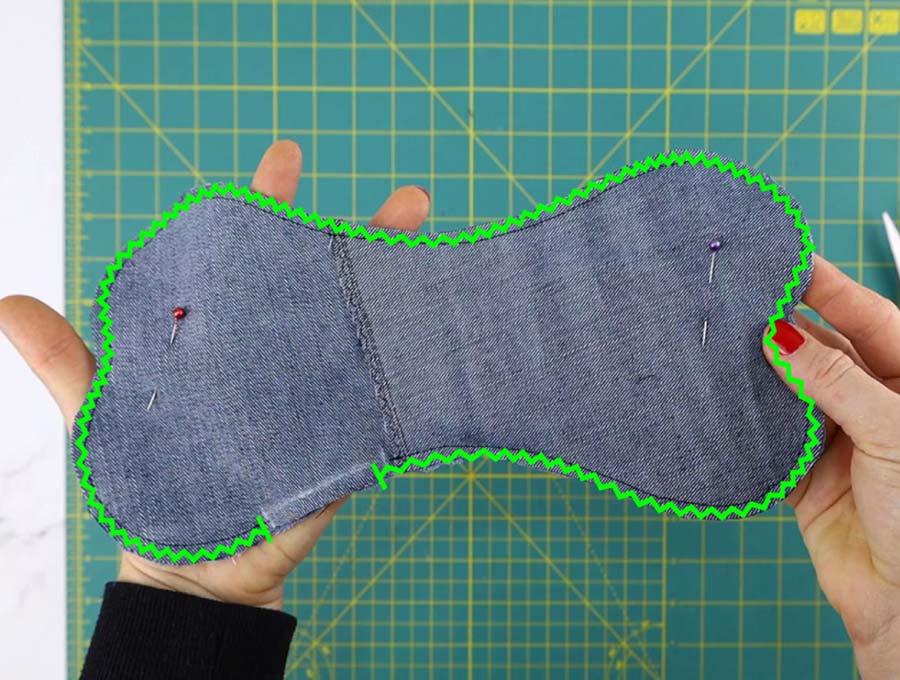
If you have a serger ( called an overlocker in countries other than the US) stitch around the edges to ensure they are firm and won’t fray. The other option is to do a zig-zag stitch around the edges.
STEP 6: Turn around
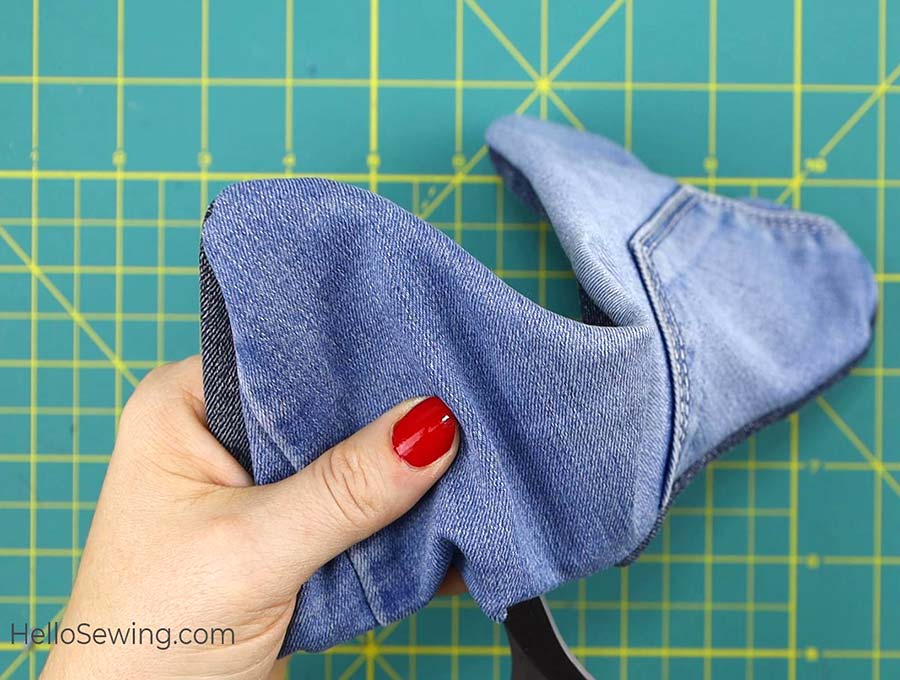
Pull the fabric through the gap in the bone shank, then use a knitting needle or turning tool to push out the edges so the dog bone toy is nicely shaped. Iron flat
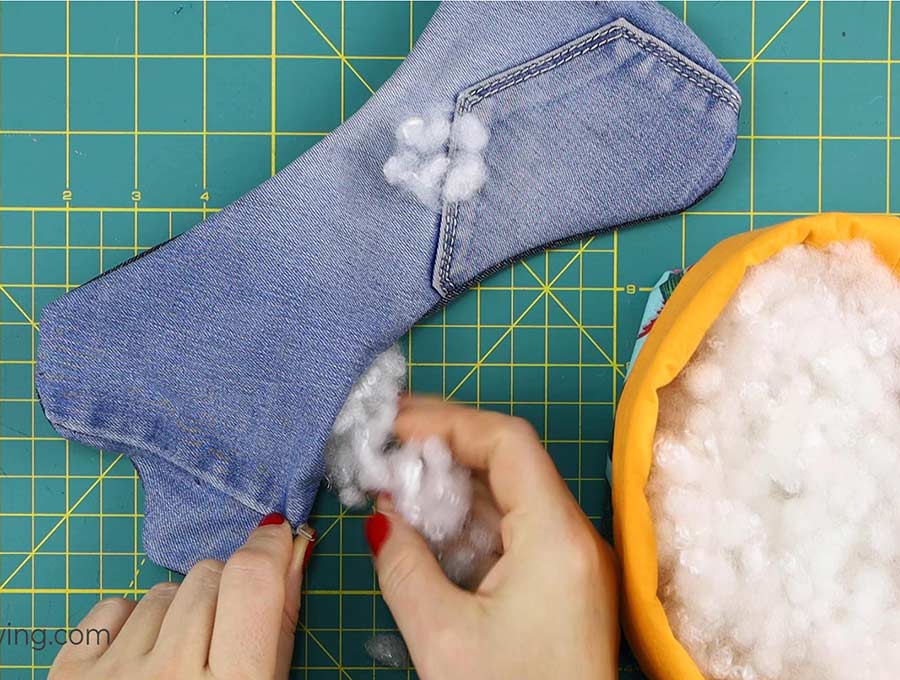
STEP 7: Stuff
When it comes to the stuffing you will adjust this to the type of dog – a small dog without razor sharp teeth, like a pug or French bulldog, may not fling its head around shaking the toy and dislodging stuffing, so it needn’t be as tight as say for dogs with sharper teeth that like to shake things – I’m thinking of terriers. In this case stuff the dog bone toy with the cotton stuffing as tightly as possible, making sure it is pushed well into the ends of the bone and that the shank is firmly padded too.
Optional: add a squeaker while you are stuffing the toy.
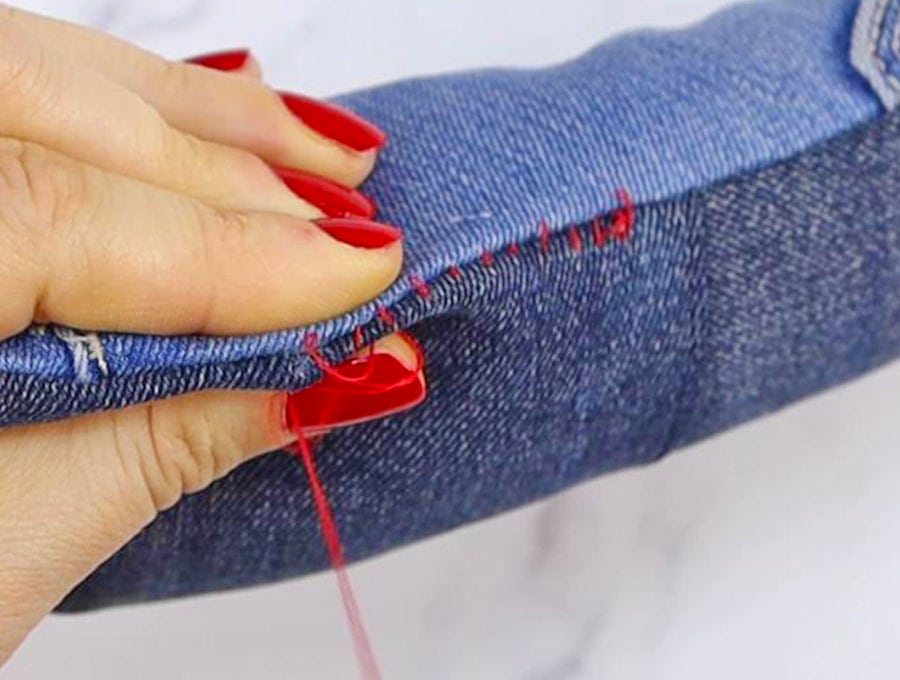
STEP 8: Stitch the turning gap
To close the gap for a tightly stuffed dog bone toy you will probably be best off using a strong thread doubled up to stitch the opening closed, using a ladder stitch to provide an invisible closure. If the toy is more loosely stuffed you may be able to push the stuffing aside to enable you to fold in the edges, and run a line of machine stitching across the gap.
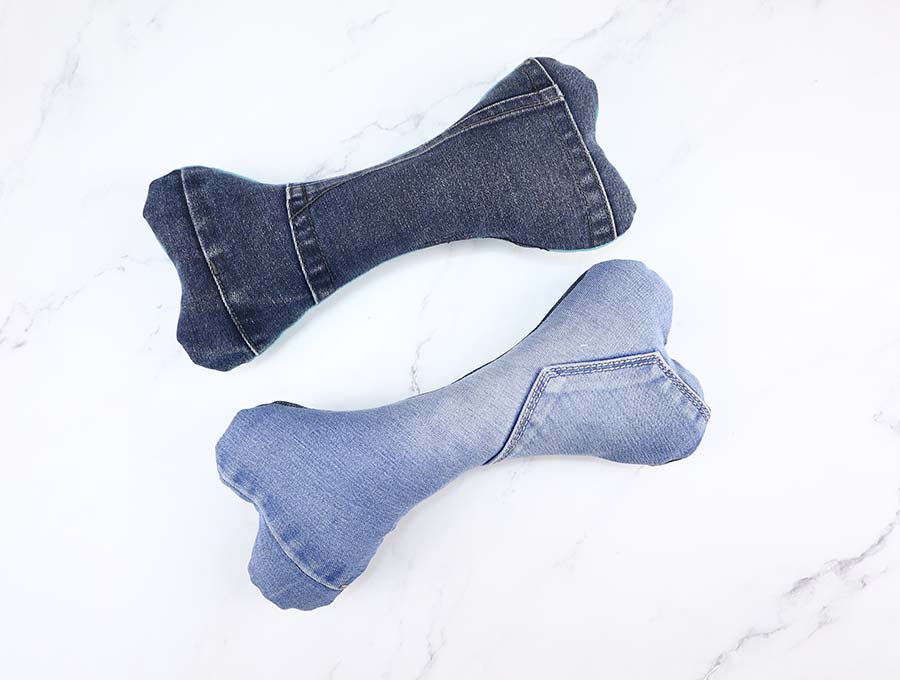
That’s it your dog bone toy ready!
DOG BONE TOY FAQs, Tips and Troubleshooting:
Q: Can I cut across seams, like for the yoke and pockets of the jeans and include those?
A: Yes, you can – you might need a heavy-duty pair of scissors but the seams add so much interest to the toy, rather than just the plain denim, so go ahead and cut across seams – it makes for an even tougher toy. You may need to use a heavier needle on your machine, to get through the seams.
Q: Can you use other fabric types for this project?
A: As long as it is a heavy cotton or wool based fabric, rather than a synthetic, you can use any old pants or skirts to recycle into these toys. You can use offcuts of new fabric to make the toys too.
This project is super simple and will provide hours of fun for your furry friends. If left alone with the dog bone toy and no one home you may arrive home to a fluffy deconstructed toy. Well at least the dog had fun while you were out! Dogs in shelters need toys – and this is a super inexpensive one to make for them to enjoy while they wait for their forever homes, or at least give them something to chew on until their kill day comes. That is the harsh reality of shelters if no one adopts them, so please if you can, give a shelter dog a home. If you liked this tutorial then please subscribe to have other fun projects sent straight to your inbox.
Do you like this? Pin for later:
Wanna be friends? Click HERE and follow me on Pinterest
RELATED:

