
DIY Fillable Fabric Egg | How to Sew a Fillable & Reusable Fabric Easter Egg with free pattern
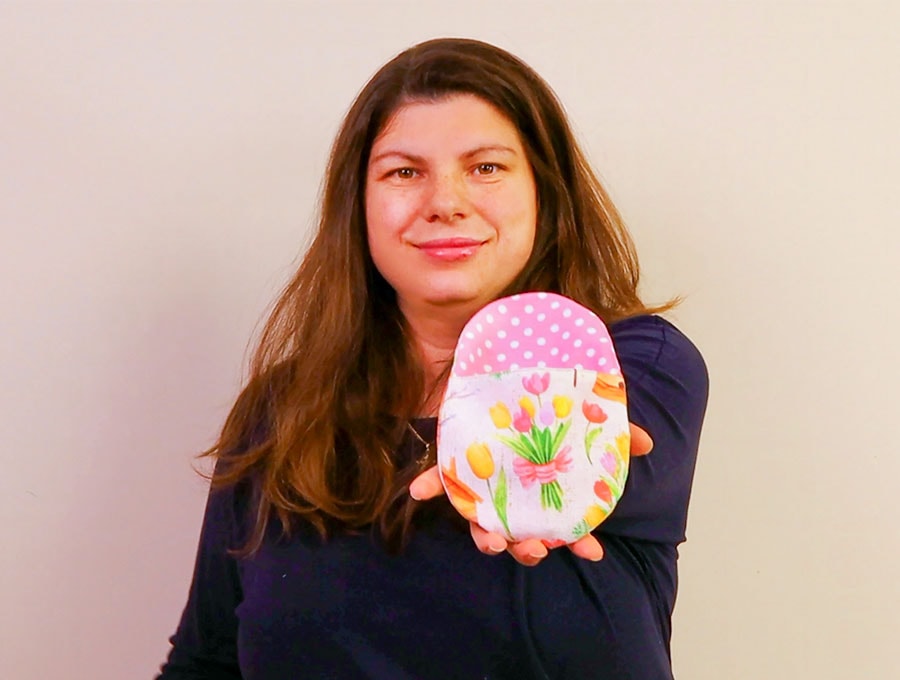
Create this lovely fillable fabric Easter egg in a matter of minutes. The Large Egg is perfect for small gifts to your loved ones. The best part? You can sew this fillable reusable fabric egg in less than 10 minutes. You can use it for gifts, but you can also use it as a pot holder if you just add batting! How fun is that?
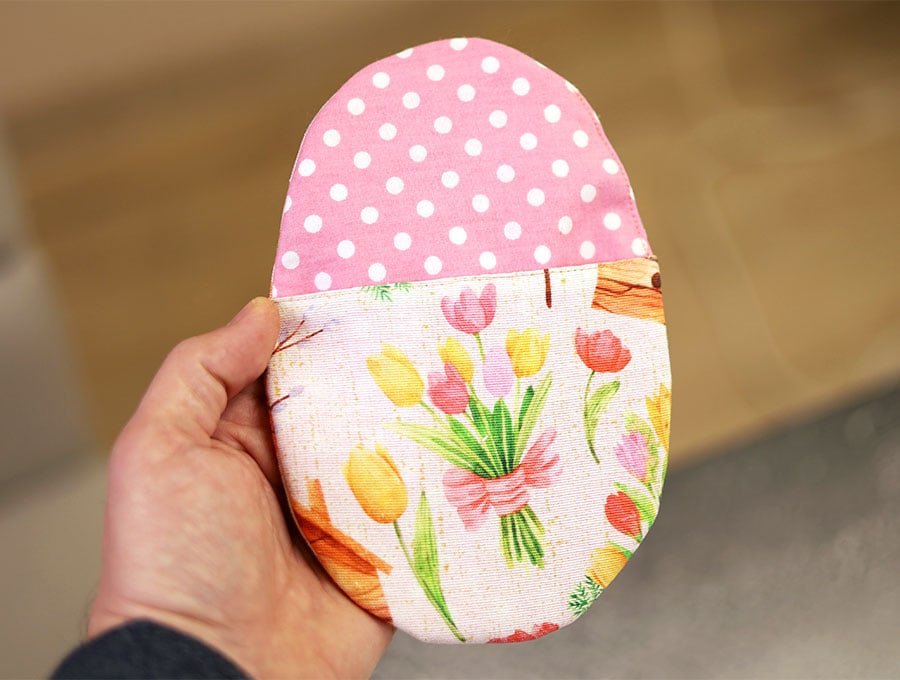
The fillable fabric egg is one that you can re-use year after year for your family’s Easter treats, or fill and gift. It takes just a few minutes to sew, uses up small pieces in your stash, looks super cute, and keeps those treats together. Winning! With a free fabric pattern all you have to do is print and cut it out and you’re ready to roll out the Fillable Fabric Egg.
A few minutes, our handy print out pattern and a little leftover fabric in Easter pastels or prints is all you need to make the fillable fabric egg that can be hung over a doorknob for kids to wake up to on Easter morning, hung out in the garden for them to find, or placed at a table setting. Whichever way you choose to use the fillable fabric egg it is guaranteed to delight with its treats inside. Grab the free pattern and let’s get started! Wow!
Below you will find my step by step written tutorial with VIDEO instructions for all the visual learners.
We occasionally link to goods offered by vendors to help the reader find relevant products. Some of the links may be affiliate meaning we earn a small commission if an item is purchased.
Table of Contents
How to make a reversible fillable fabric egg

Supplies and tools
- free fillable fabric egg template (below)
- fabric – 2 pieces of 100% tightly woven cotton (one main, one lining)
- matching thread
- scissors (or rotary cutter and a cutting mat)
- ruler or measuring tape
- fabric marking pen
- iron and ironing board
- sewing clips or pins
DOWNLOAD: fillable fabric egg pattern [Free pdf file]
Follow us for free patterns & tutorials! [easy-profiles]
How to Sew a fillable Fabric Egg
Watch the diy fillable fabric egg video first and then follow the written step by step instructions below.
Please enjoy and don’t forget to Like and SUBSCRIBE over on YouTube to be kept up to date with new videos as they come out.
Fillable Fabric Egg VIDEO TUTORIAL
Finished Egg measures approximately:
- LARGE: 14 x 20cm (5.5 in x 8in)
- SMALL: 7.5 x 11.5cm (3in x 4.5in)
The free pattern above is size Large but you can scale it when printing to make larger or smaller fillable eggs.
INSTRUCTIONS:
STEP 1:
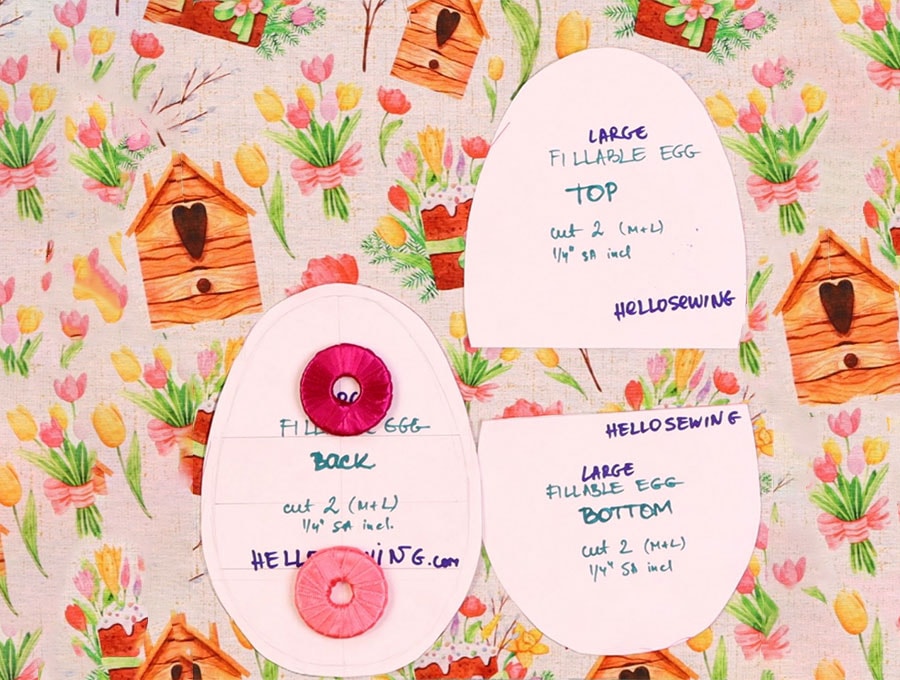
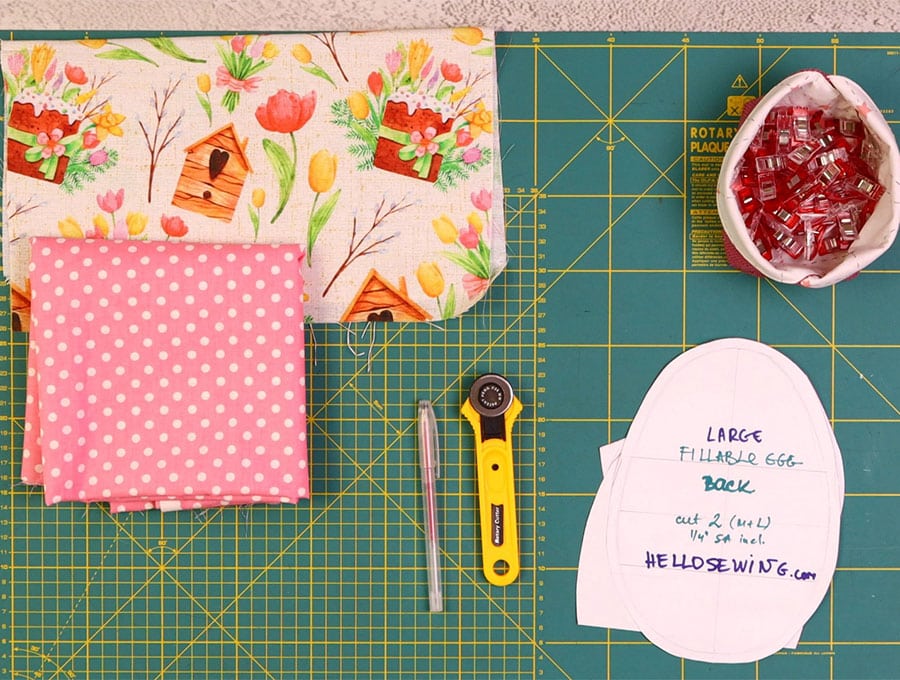
Download, print at 100% and trim the excess paper of the fillable egg pattern.
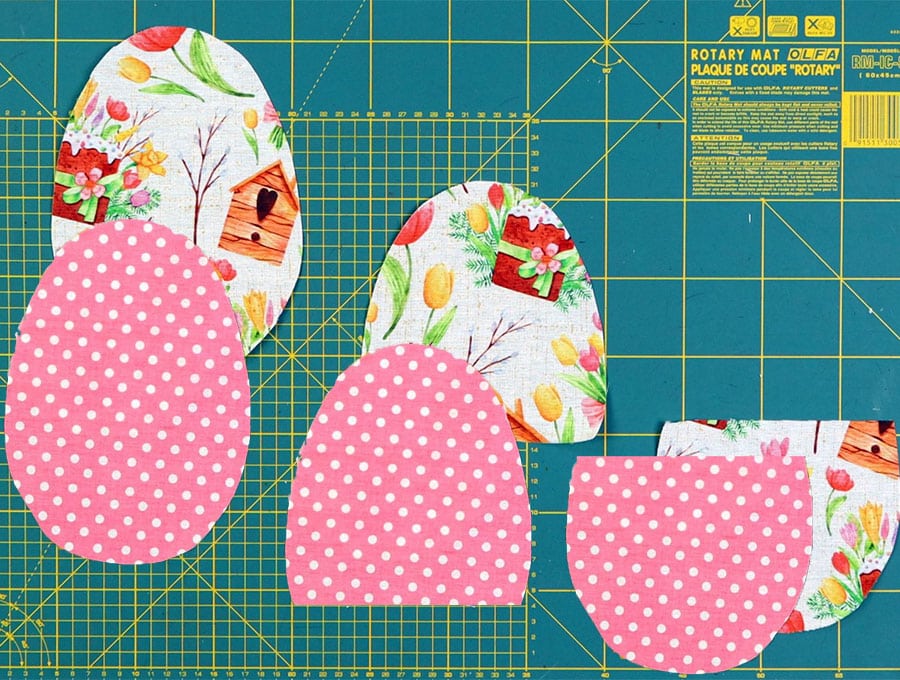
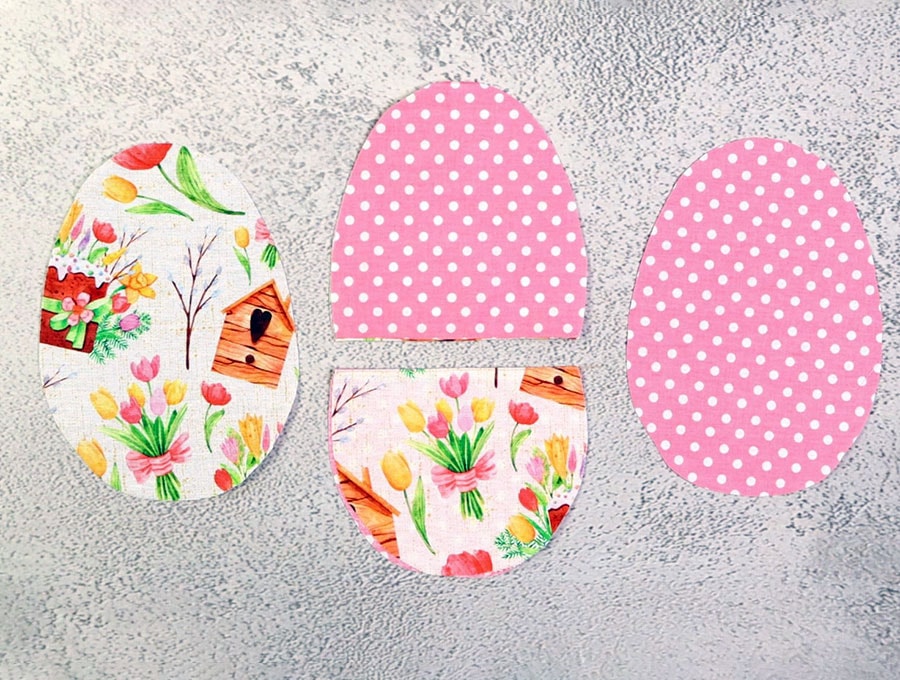
Choose an outer and a lining fabric, place them right side to right side and on them lay out the three pattern pieces – back, top, and bottom, mark, pin and cut using scissors or a rotary cutter and self-healing cutting mat. The pattern includes a ¼ inch (6 mm) seam allowance.
STEP 2:

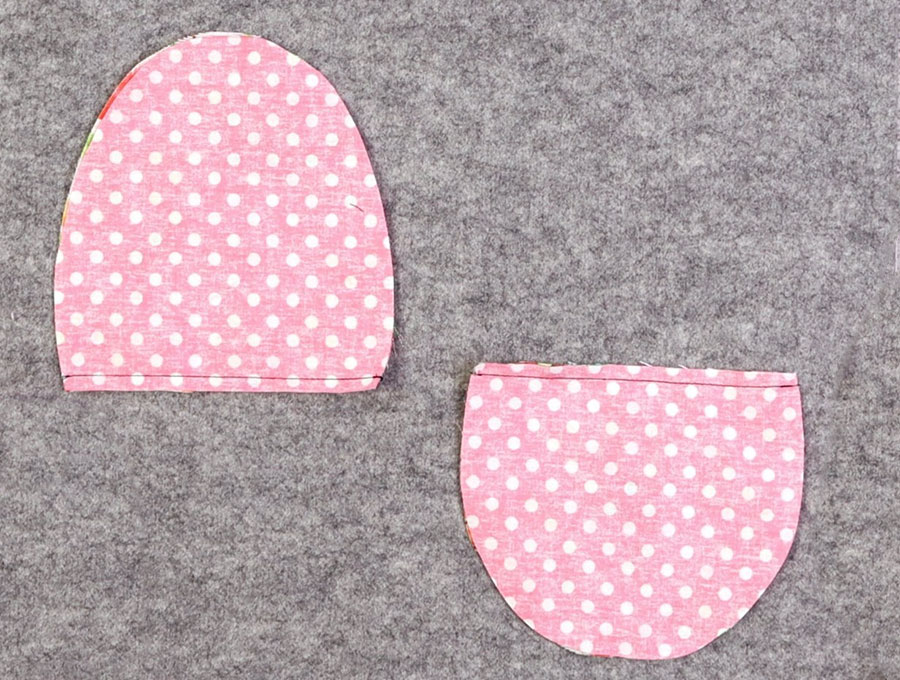
After cutting take the 2 pieces for the top of the egg, place them right sides together and stitch along the straight side ¼ inch (6 mm) from the edge. Repeat for the bottom of the egg
STEP 3:
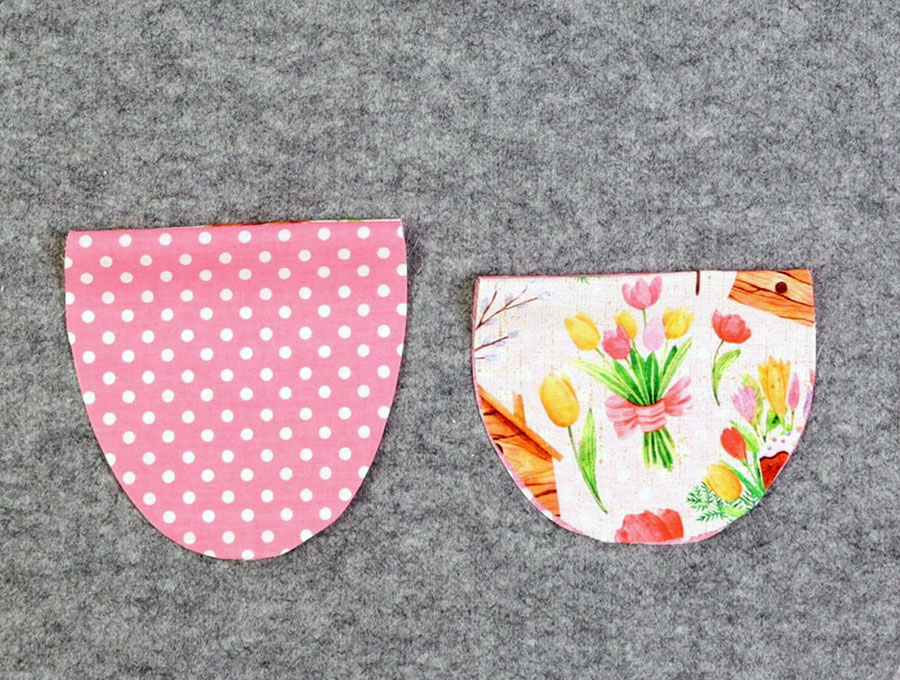
Open the top and bottom egg pieces, fold so the right sides show, and press.
STEP 4:
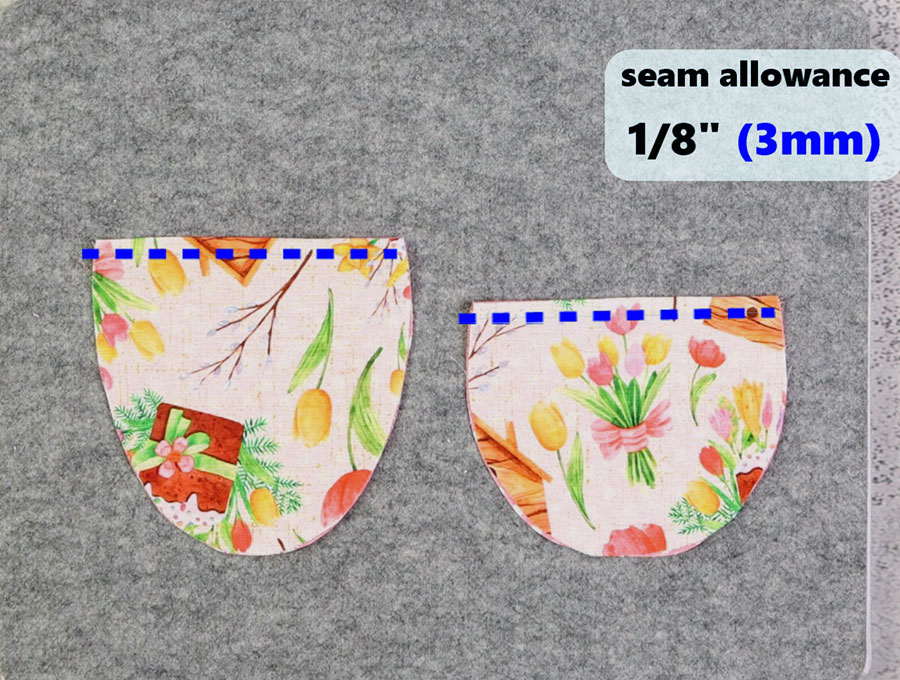
Top-stitch along the straight side 1/8 of an inch (3 mm) from the edge on the two pieces.

STEP 5:
Put the fabric pieces in the following order:
- Outer side of whole egg, with fabric right side up on your worktop
- Bottom piece of egg with outer fabric facing the outer fabric, lining up with the bottom of the egg
- Top of egg with lining side facing the outer fabric, and overlapping the bottom piece, lined up with whole egg shape
- Lining piece right side down over the other layers and pin or clip all layers together
STEP 6:
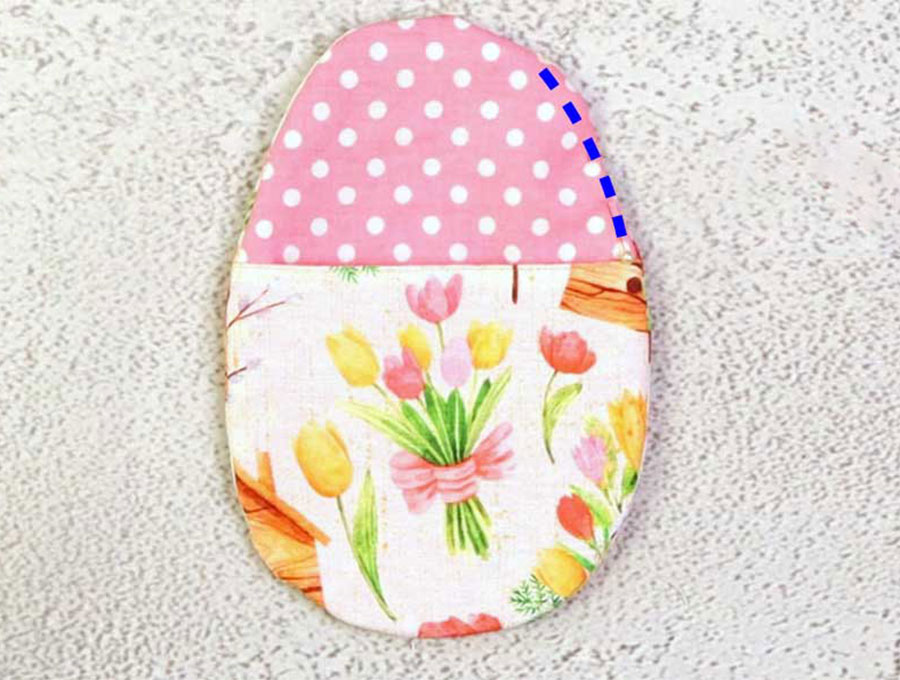
Use your fabric marking pen to mark a gap on the upper left hand side of the egg shape to pull the fabric through when turning – it should be around 2 inches (5 cm).
STEP 7:
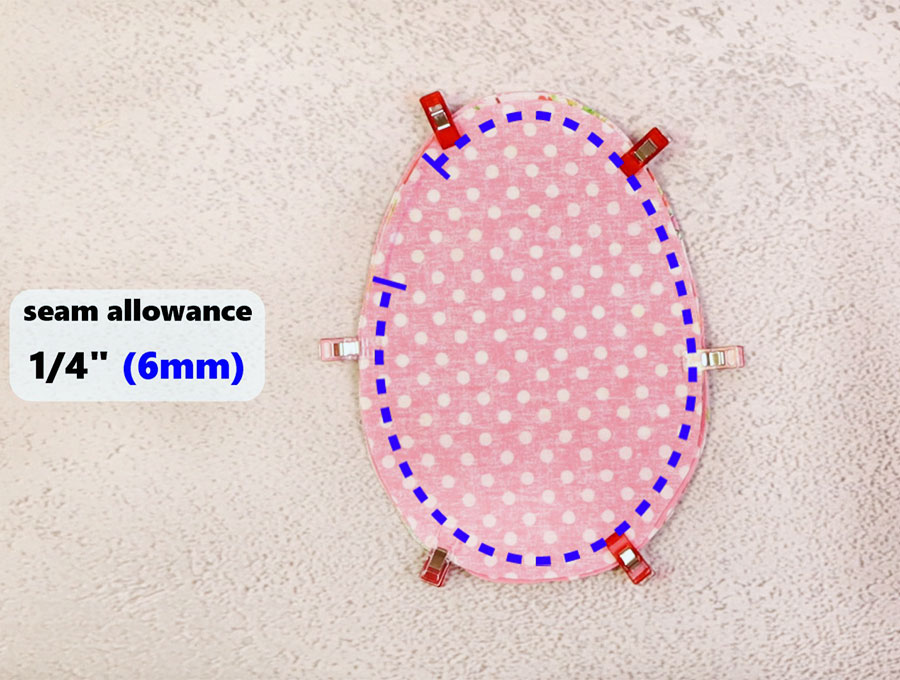
Stitch right around the egg with the ¼ inch (6 mm) seam allowance, backtacking over the sides where the upper and lower halves meet to reinforce them and backtacking on either side of the gap.
STEP 8:
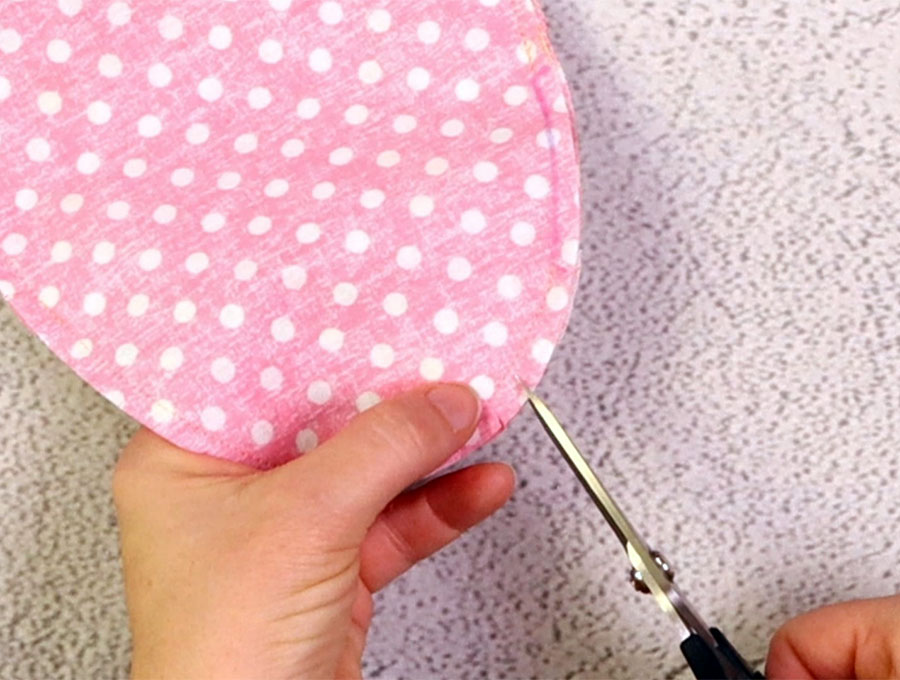
Clip all around the edges to ease the fabric once it is turned so it will lie flat – do not clip over the gap, and make sure not to clip into the stitching.
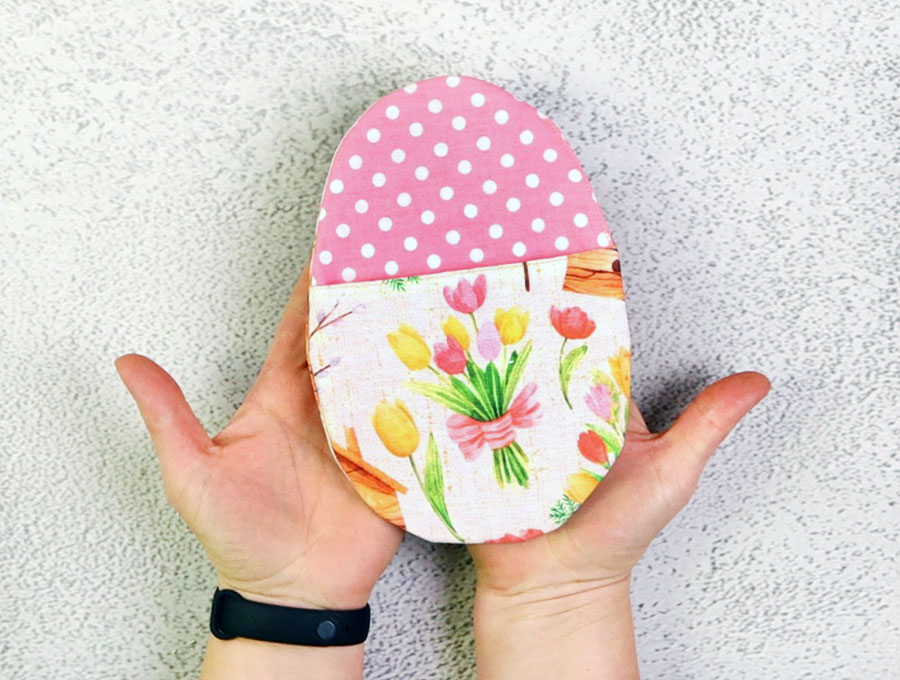
STEP 9:
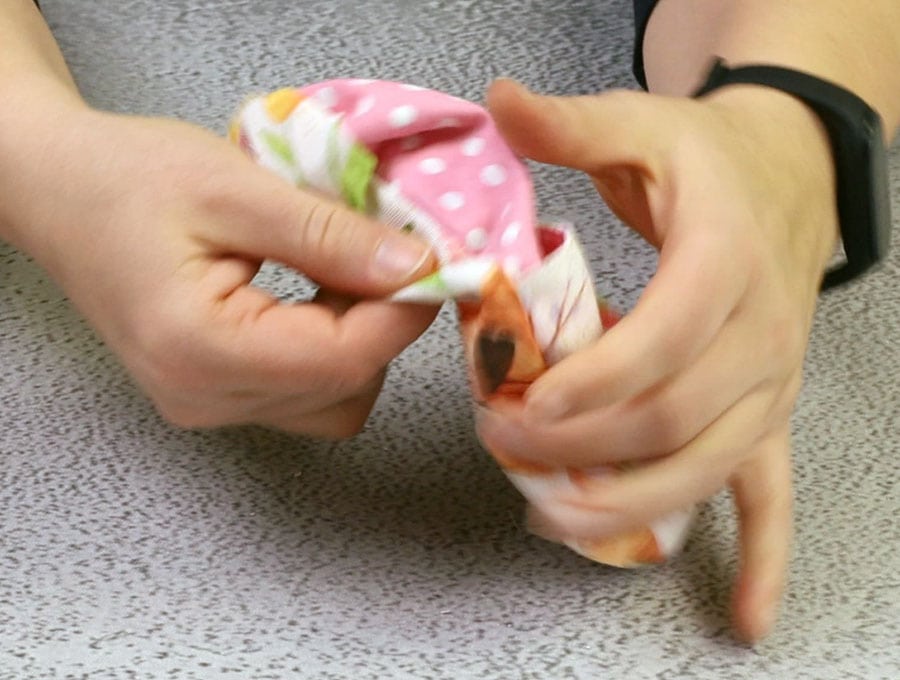
Turn the fillable fabric egg the right way out by pulling the fabric gently through the gap. Use a turning tool to help press out the edges so the egg has a good shape.
STEP 10:
Turn in the raw edges of the gap in line with the stitching and either stitch over only the gap with a top stitch as close to the edge as possible, or hand stitch closed using slip stitches. This is for a REVERSIBLE option. If you don’t want to make the egg reversible then top stitch around the whole outer shape of the egg 1/8 of an inch (3 mm) from the edge.
You are now ready to fill the fabric egg with treats or small gifts. It looks cute with chocolate bunnies peeking out from the top pouch. You can include other treats like hair accessories, a small toy or keyring – whatever you think the recipient will appreciate but at this season you can’t go wrong with lots of chocolate goodies. Give us a like and subscribe if you found this tutorial useful. We have loads of great ideas to use up those smaller pieces of fabric in your stash, and subscribers get the first peek at all the great ideas.
FAQ
Q: Can I add a hanging loop to the top of the egg?
A: This is easy to do and makes a lovely treat to wake up to hung on the inner side of the doorknob of a kid’s room. When layering all the fabric pieces together in Step 5, place a folded piece of ribbon with the raw edges lining up with the top of the egg, the loop facing the inside of the egg, before adding the last lining piece. Adjust the size of the loop according to the size of the doorknob or wherever you intend hanging it. Then proceed to Step 6. You may want to backtack over the ribbon ends to make sure they are secure.
You can even stitch on a piece of ribbon by hand, or machine. To make it adjustable so you can tie it onto a branch outside for kid’s to find the treats fold the ribbon and stitch over the fold, leaving the ends free to adjust to the size of the branch or item you are tying it to. This stops dogs stealing the treats before the kids get to start their Easter egg hunt, and keeps the treats away from ground crawling insects.
Do you like this? Pin for later:
Wanna be friends? Click HERE and follow me on Pinterest
RELATED: