DIY Photo Keychain
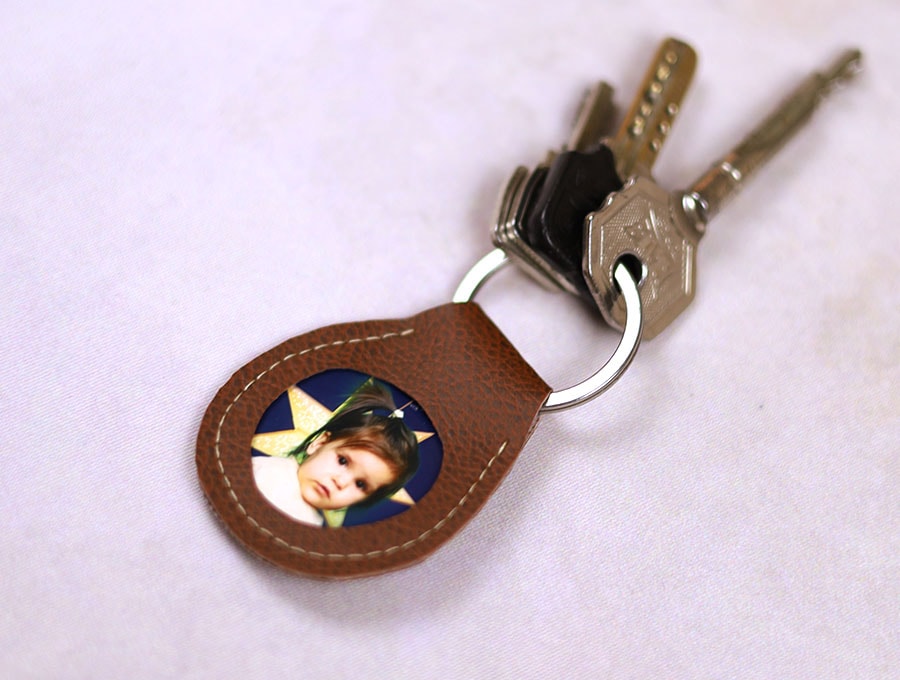
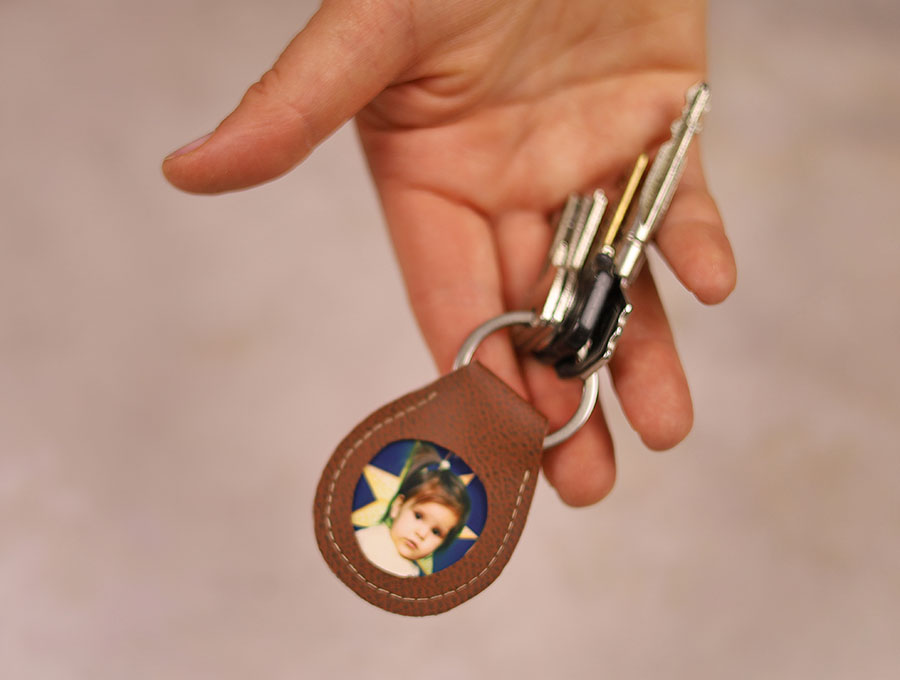
Make an adorable memento with this diy photo keychain. Sews lightning fast and makes a great gift for mom, dad or grandparents
Below you will find my step by step written tutorial with VIDEO instructions for all the visual learners.
We occasionally link to goods offered by vendors to help the reader find relevant products. Some of the links may be affiliate meaning we earn a small commission if an item is purchased.
Table of Contents
How to make a Photo Key Chain
Supplies and tools
- fabric – faux leather piece at least 4 x 12 cm (1 3/4 x 5″)
- matching thread
- the photo you’d like to use
- free photo keychain template (below)
- scissors (or rotary cutter and a cutting mat)
- ruler or measuring tape
- sewing clips
DOWNLOAD: photo keychain templates [Free pdf file]
Follow us for free patterns & tutorials! [easy-profiles]
How to Sew a Photo Keychain
Watch the diy photo keychain video first and then follow the written step by step instructions below.
Please enjoy and don’t forget to Like and SUBSCRIBE over on YouTube to be kept up to date with new videos as they come out.
Photo Keychain VIDEO TUTORIAL
INSTRUCTIONS:
STEP 1: Prepare the photo keychain pattern
Cut out either the rectangle or the round photo keychain template (above). Print at 100 % (no scaling). Make sure to measure the test line and ensure the template printed correctly. Trim the excess paper.
STEP 2:
Transfer the pattern on the back of the faux fur piece
STEP 3:
Cut out the faux fur piece. Be careful when cutting out the opening for the photo. Start with a small snip in the center and carefully cut around the area. Take your time
STEP 4:
Place the photo under the photo opening and decide on the placement. Carefully cut around the photo and fold the back of the photo keychain. Use a few clips to hold everything in place.
PRO TIP: Laminate the photo before using to increase the durability of the keychain. Another option is to place thin clear vinyl on top of the photo before placing it inside the keychain
STEP 5:
Stitch around the opening though all the layers, leaving longer thread tails both at the beginning and the end. Stitch about 3mm (1/8″) in from the outer edge.
STEP 6:
Use a handsewing needle to pull the loose ends through to the back of the photo keychain. Make a knot and cut out the threads. Use a lighter to melt the ends.
Do you like this? Pin for later:
Wanna be friends? Click HERE and follow me on Pinterest
RELATED:


