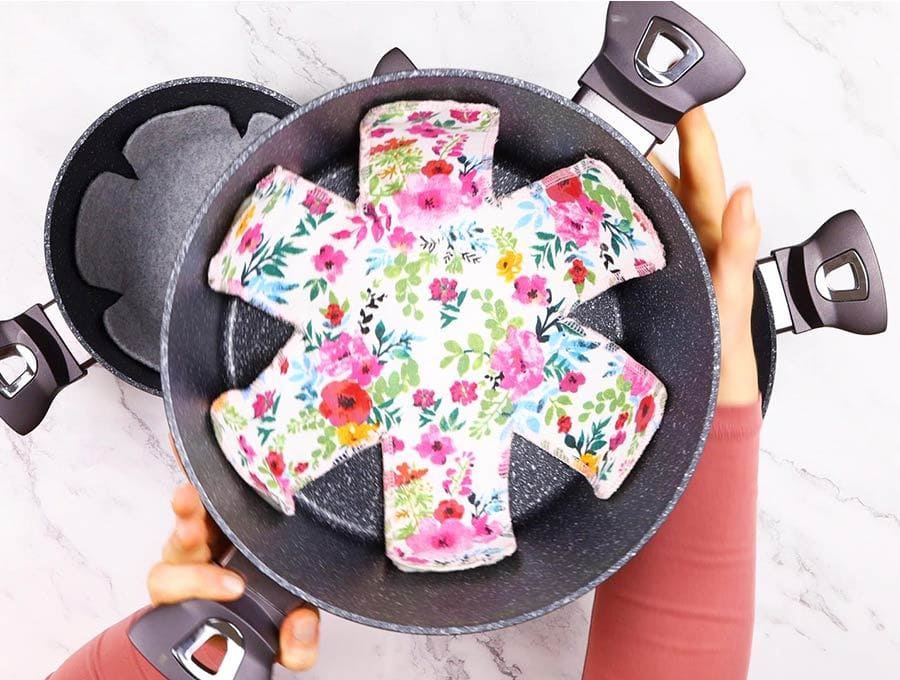
DIY Pan Protectors to Keep Your Cookware Scratch-Free
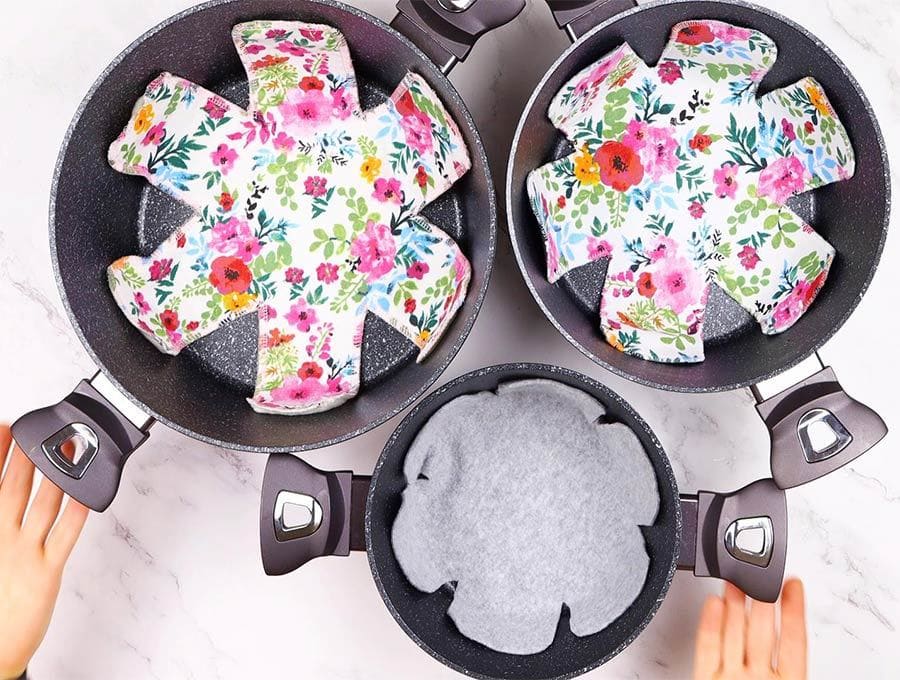
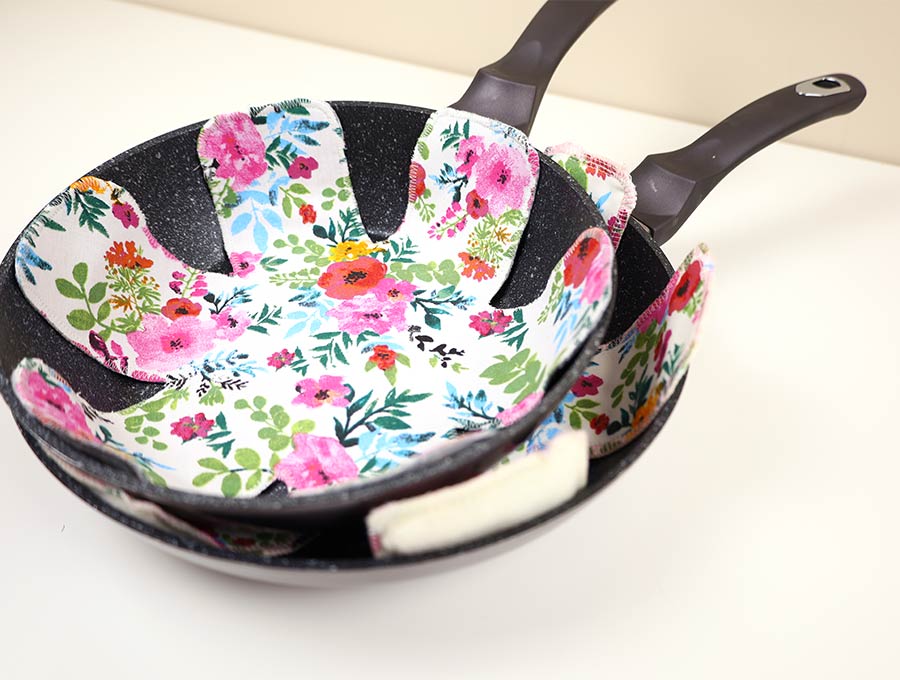
When your pans are stored stacked inside each other they will invariably get scratched – but let’s be honest, who has never stored pans and pots this way? It just takes up so much less space. Not all of us have the luxury of overhead hanging pot and pan racks – and besides they can look a bit cluttered. So, here is the solution to keeping those non-stick pots and pans in pristine condition while stored in a stack inside a kitchen cupboard – the DIY pan protectors.
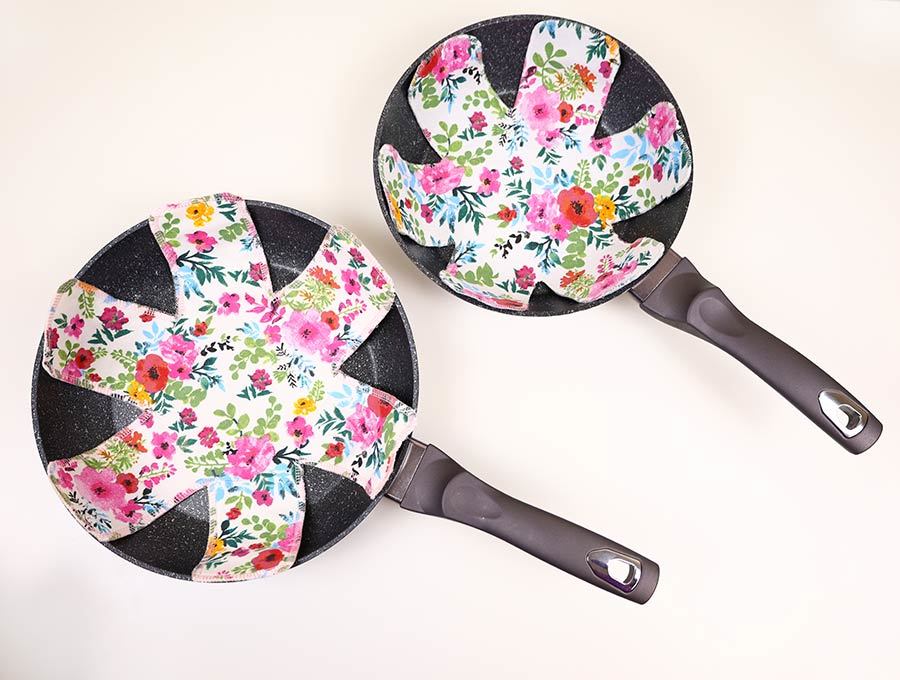
The idea is so simple and can also be used for large glass and ceramic bowls, giving them some cushioning so they don’t risk getting cracked or chipped. What is even better is that you don’t have to be a sewist to complete these – there is a sewn and a no-sew version of the DIY pan protector.
Below you will find my step by step written tutorial with VIDEO instructions for all the visual learners.
We occasionally link to goods offered by vendors to help the reader find relevant products. Some of the links may be affiliate meaning we earn a small commission if an item is purchased.
Table of Contents
How to make pan protectors
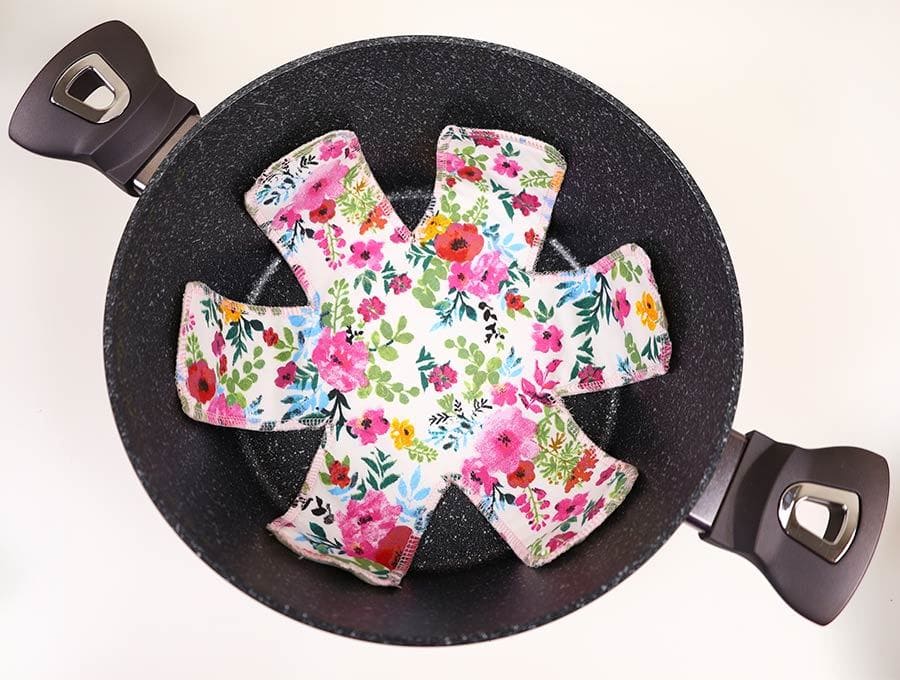
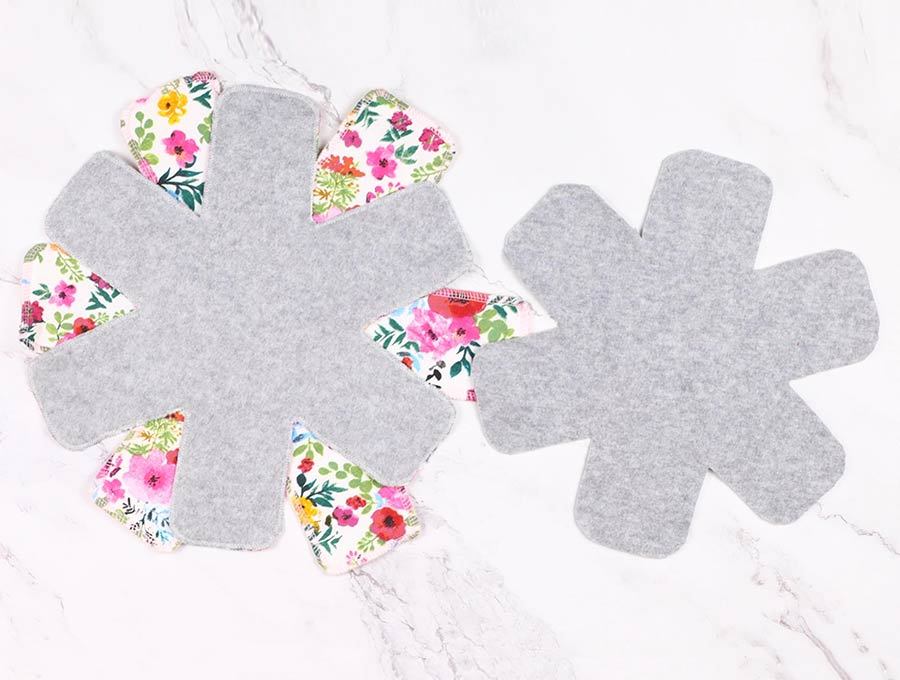
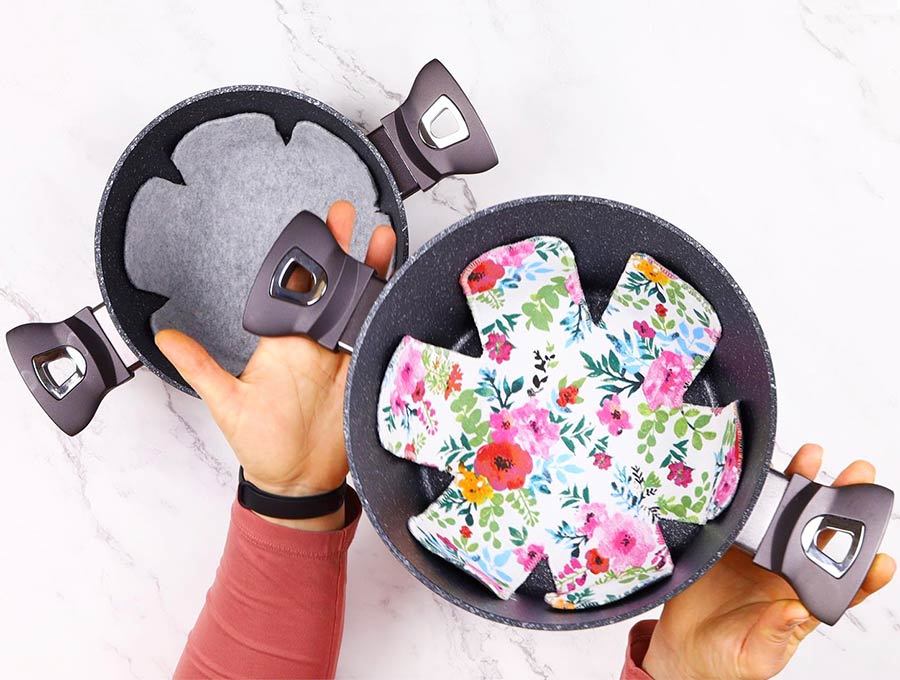
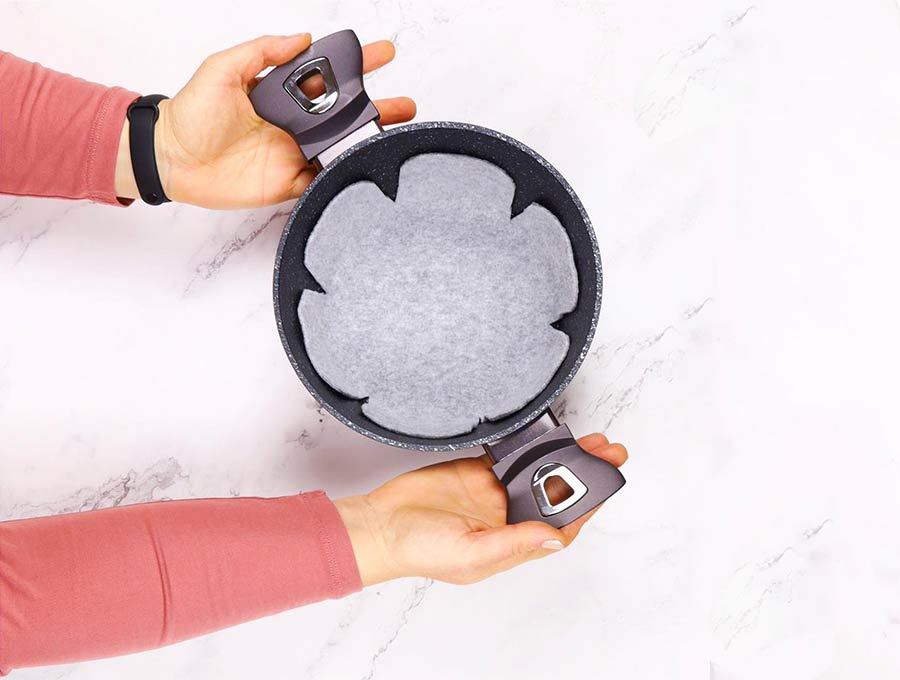
Keep your cookware in mint condition longer with this clever storage solution. Just see how this easy to make fabric protector keeps your pots and pans scratch free. When you have invested your hard-earned money on quality cookware, you want to ensure it lasts as long as possible. Proper storage is key. These star shaped fabric pot and pan protectors fit between your pots, pans, skillets, and dishes to prevent scratches on the surface.
Pot savers Supplies and tools
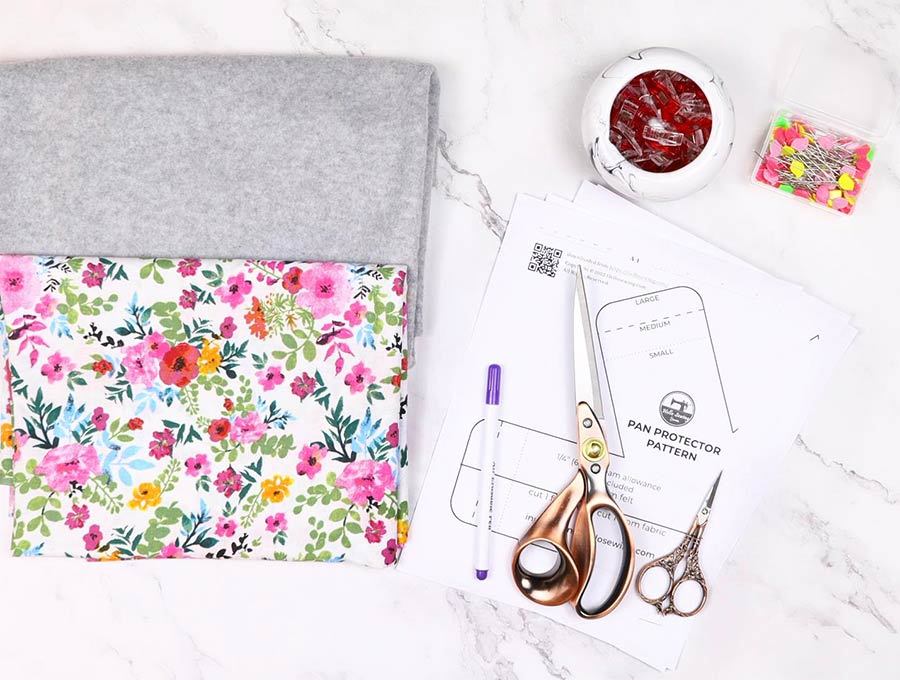
- main fabric – cotton
- lining fabric – felt
- matching thread
- scissors (or rotary cutter and a cutting mat)
- ruler or measuring tape
- iron and ironing board
- sewing clips or pins
- sewing machine
DOWNLOAD: pan protector pattern (Free PDF file)
Follow us for free patterns & tutorials! [easy-profiles]
How to Sew Pot Protectors – 2 ways SEWN AND NO-SEW
Watch the diy pan protectors video first and then follow the written step by step instructions below.
Please enjoy and don’t forget to Like and SUBSCRIBE over on YouTube to be kept up to date with new videos as they come out.
DIY POT SEPARATORS VIDEO TUTORIAL
DIY POT AND PAN PROTECTORS – INSTRUCTIONS:
METHOD 1: SEWN pot and pan protectors
First you will need to check out how many pots and pans you want to protect and their sizes. We have three pattern sizes for you to download – a small, medium and large. You can always adjust these on a printer or photocopy machine by enlarging or reducing the size.
To make one pan protector for the sewn version you will need:
1 piece of polyester felt
1 piece of fabric in a pattern or your choice – quilting cottons work well
STEP 1: Prepare the pan protectors pattern
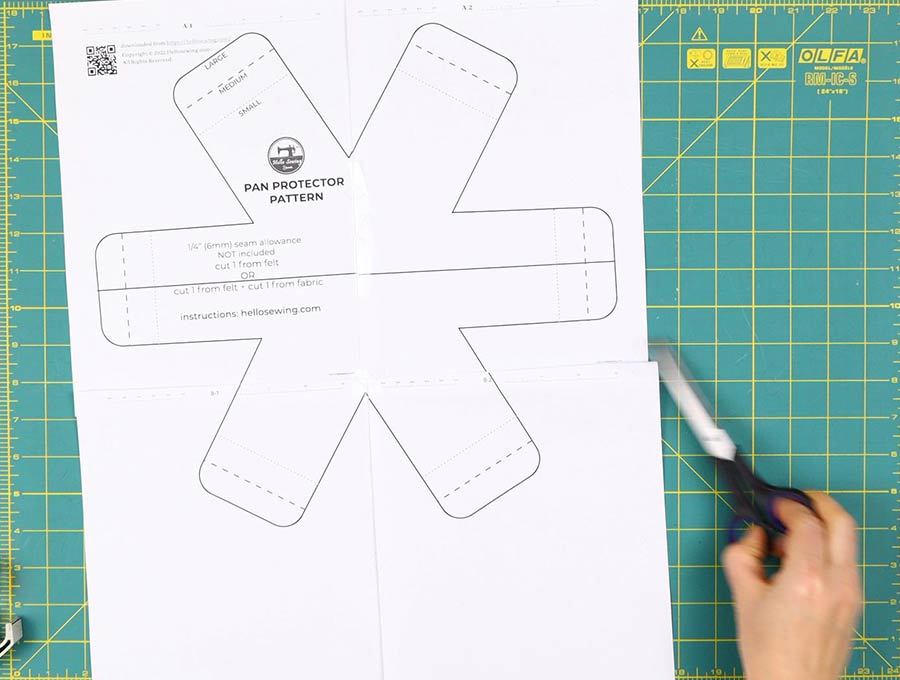
Get the pot savers pattern from the link above, print it out on a US letter or A4 paper, tape the pages together and trim around it. It has three sizes – LARGE, MEDIUM and SMALL
STEP 2:
PRO TIP: if you want to speed up the process, place the outer fabric on top of the felt, wrong sides facing and the cut them out together.
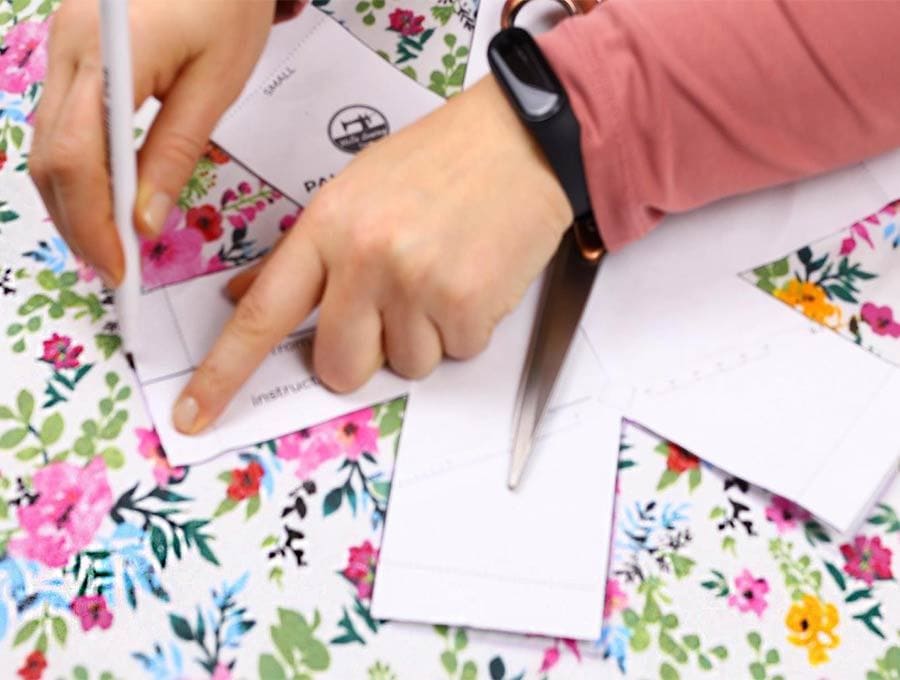
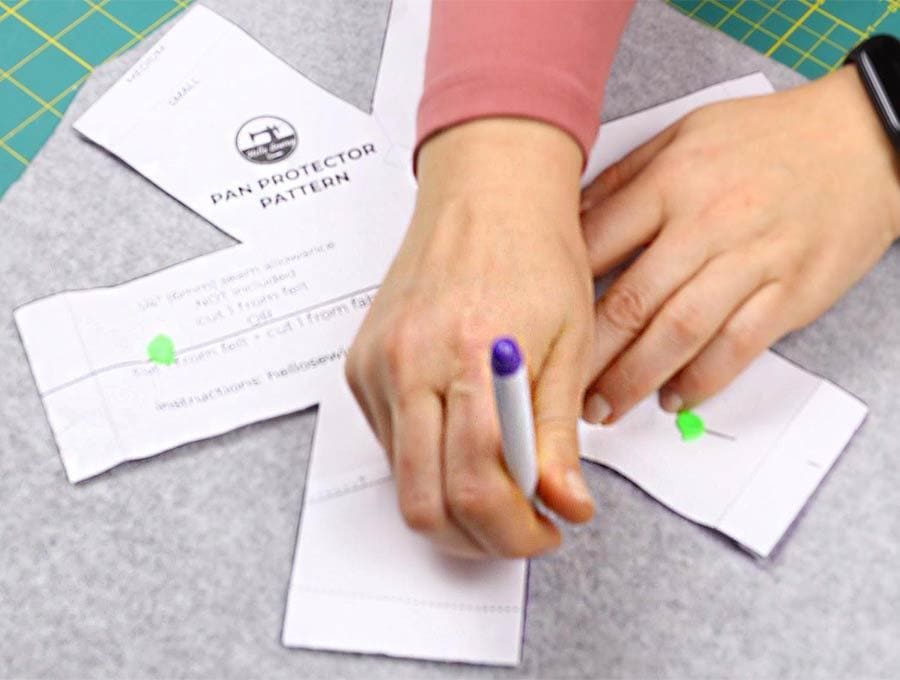
If not – Place the paper pan separators pattern you have printed out on the felt and using a fabric marking pen mark the edges of the pattern.
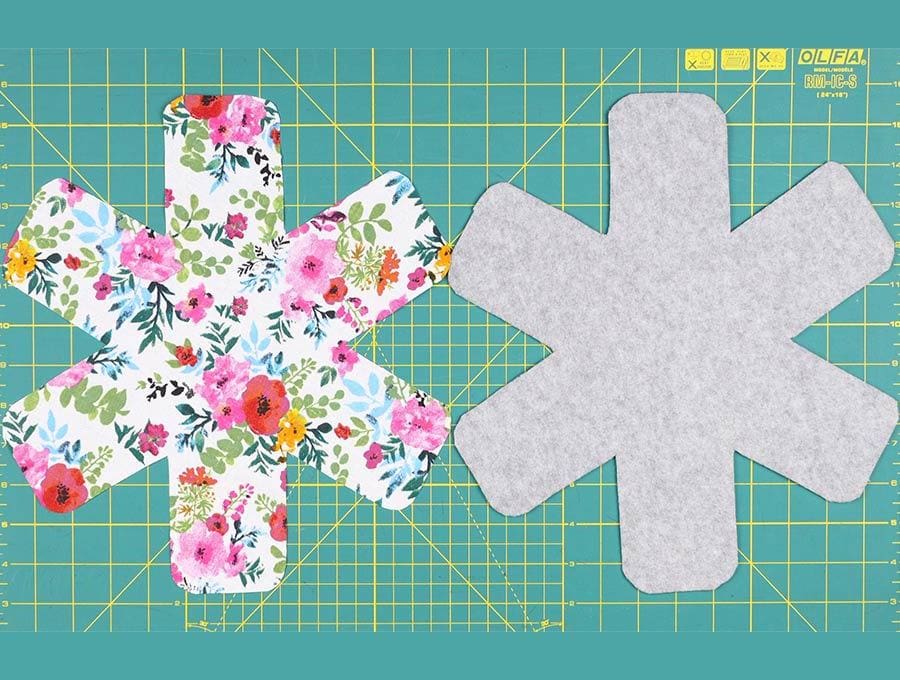
Place the cut out felt piece on the wrong side of the outer fabric and mark out the pattern using the felt to guide you – this is to ensure the fabric is just a teensy bit larger than the felt and that it is accurate to the felt pattern.
STEP 4:
Pick one of the flaps of the pan protector and mark with an x on the wrong side of the outer fabric and the corresponding spot on the felt so you can line them up again after cutting.
STEP 5:
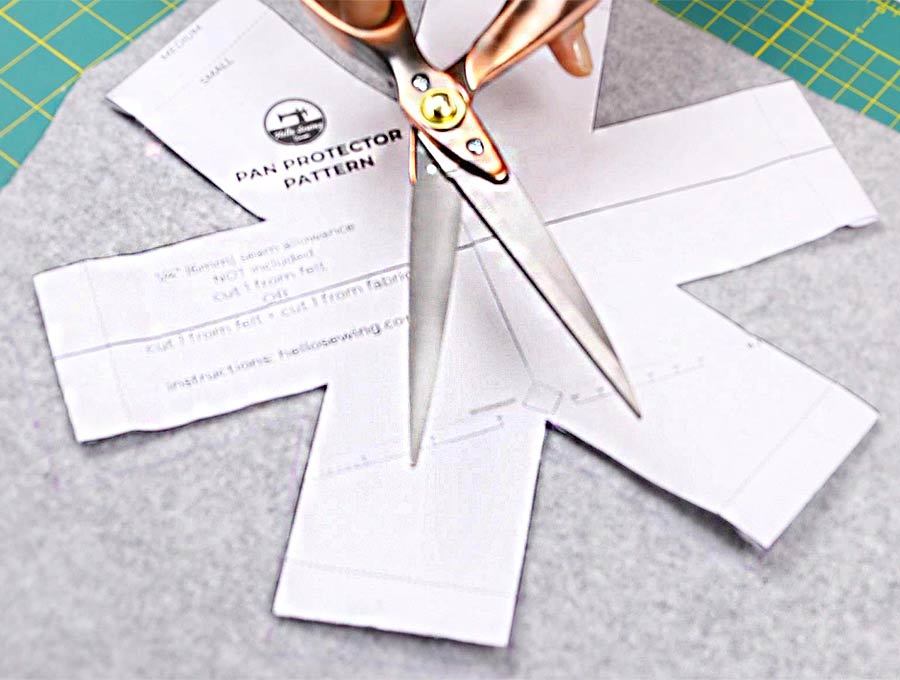
Cut out the outer fabric again using your rotary cutter or a pair of scissors. You will have two identical star shaped pieces
STEP 6:
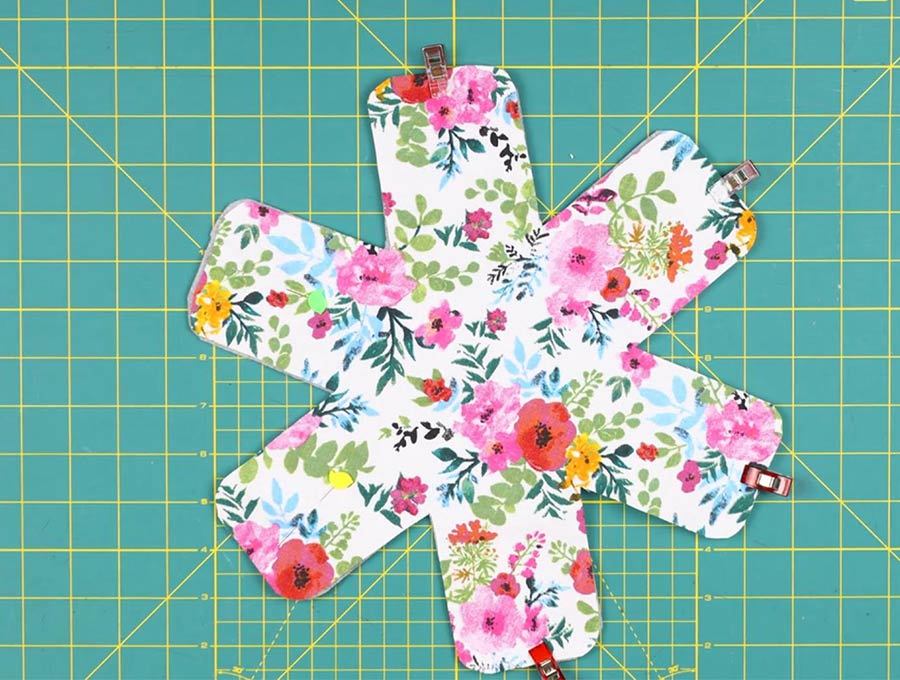
Line the fabrics up with the right side of the outer fabric uppermost – check those little x marks and ensure they sit on top of each other and that the arms of the pan protector are all matched up, then clip into place.
STEP 7:
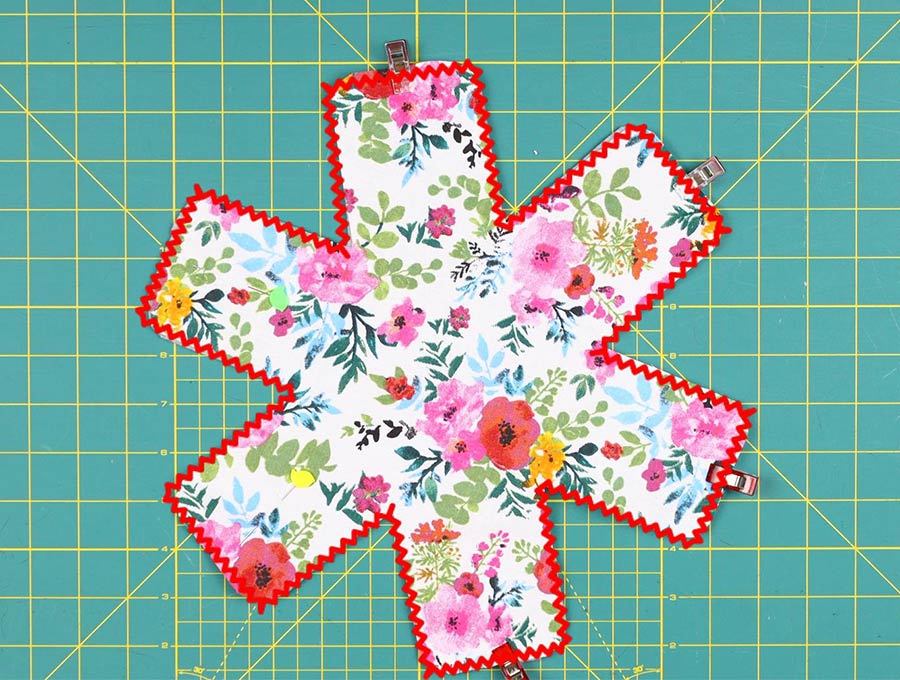
Either set your sewing machine to a zig-zag stitch or use a serger (called an overlocker if you do not live in the US) . Pick a point to start sewing neatly around the edges.
Each time you come to a corner, lift the pressure foot, leaving the needle in the fabric, swing the fabric around, then lower the pressure foot before stitching again. Continue in this way until you have completed all the edges.
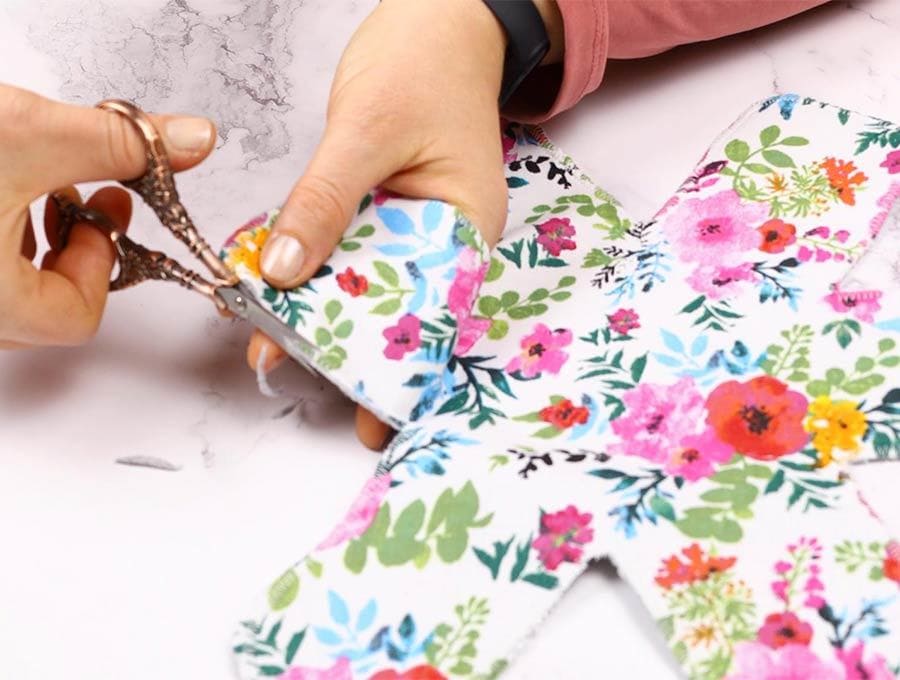
STEP 7: (optional) Trim the excess fabric
The pan-protector is now complete and ready to be used. You’ll probably want to make a few more so all your pans are protected.
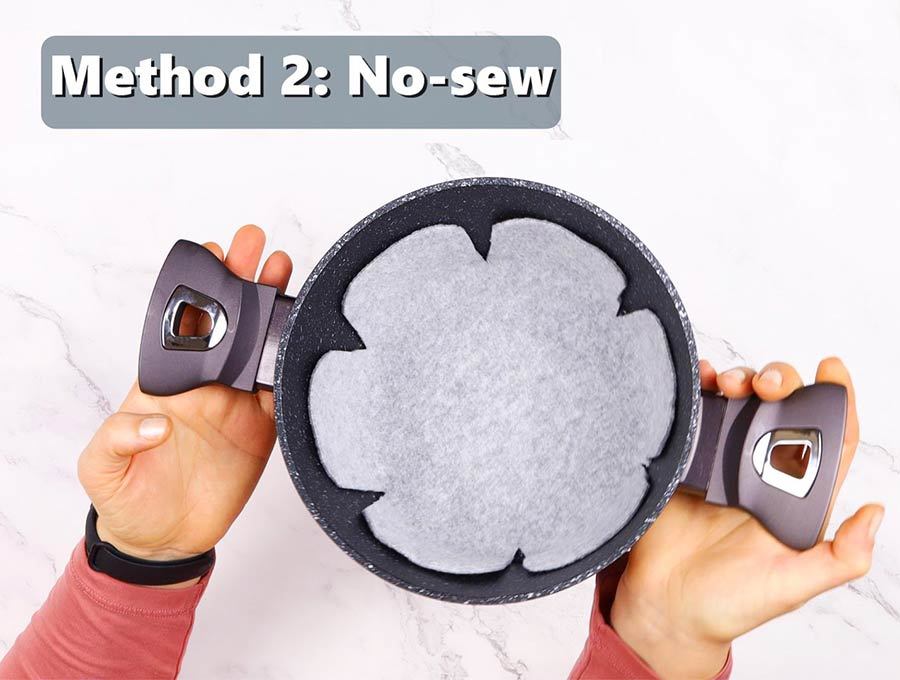
METHOD 2: NO-SEW felt pan protectors
For the no sew version all you need to do is
- cut out the pattern in the size you need
- place the pot protector pattern on the felt and trace around it
- cut the felt out using a rotary cutter and cutting board or scissors.
And that’s it – it is ready to use. This will be a plain felt pan protector.
If you want to give the pan protector a pretty printed outer covering you can follow steps 3 and 4 for the sewn version then cut out the outer fabric using pinking shears so that it does not fray. Use fabric glue to stick the outer fabric to the felt lining.
See how easy it is to make various sizes of pan protectors so you need never risk scratching those expensive non-stick pans or pots again. Follow our step by step tutorial to see how it is done. Kitchens never seem to have enough cupboards for us to store each pan and pot separately so we do tend to place them one inside the other. With the pan protector you’ll keep your pans looking as good as the day they were unpacked from the store. We have two versions – the sewn version and a no-sew version. These will also make a great housewarming present.
Do you like this? Pin for later:
Wanna be friends? Click HERE and follow me on Pinterest
RELATED:

