
DIY Spa Headband | How to Sew a Spa Headbands in 15 Minutes
Just 15 minutes and you’ll have a spa headband ready to use when you feel like doing a little pampering at home. These DIY spa headbands also make a great gift to accompany some pamper products, and can also be sold at markets as they are the kind of practical item every woman needs. All you need as some stretchy fabric, a piece of elastic to fit around your head and you’re ready to go with our step-by-step instructions accompanied by visuals.
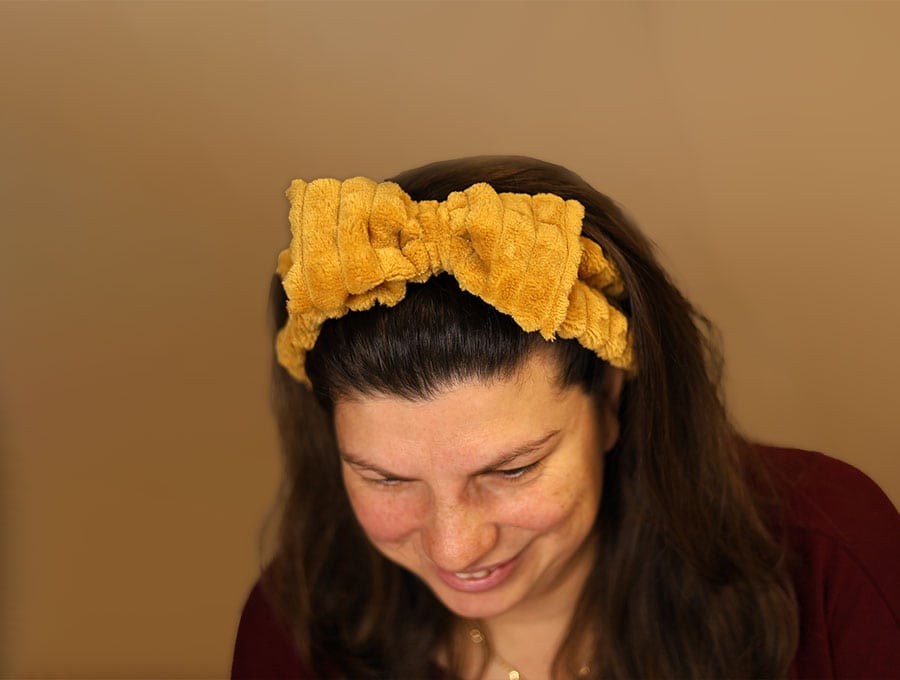
If ever there was an item every woman needs it’s this spa headband to keep hair off the face while having beauty treatments or applying makeup at home. Some beauty masks and creams can be really sticky and washing the product out of your hair is a pain when all you want to do after a great facial is relax. Dig in your stash for some stretch fabric, a piece of elastic to go around the head and let’s get sewing!
Below you will find my step by step written tutorial with VIDEO instructions for all the visual learners.
We occasionally link to goods offered by vendors to help the reader find relevant products. Some of the links may be affiliate meaning we earn a small commission if an item is purchased.
How to make a DIY Spa Headband
Supplies and tools
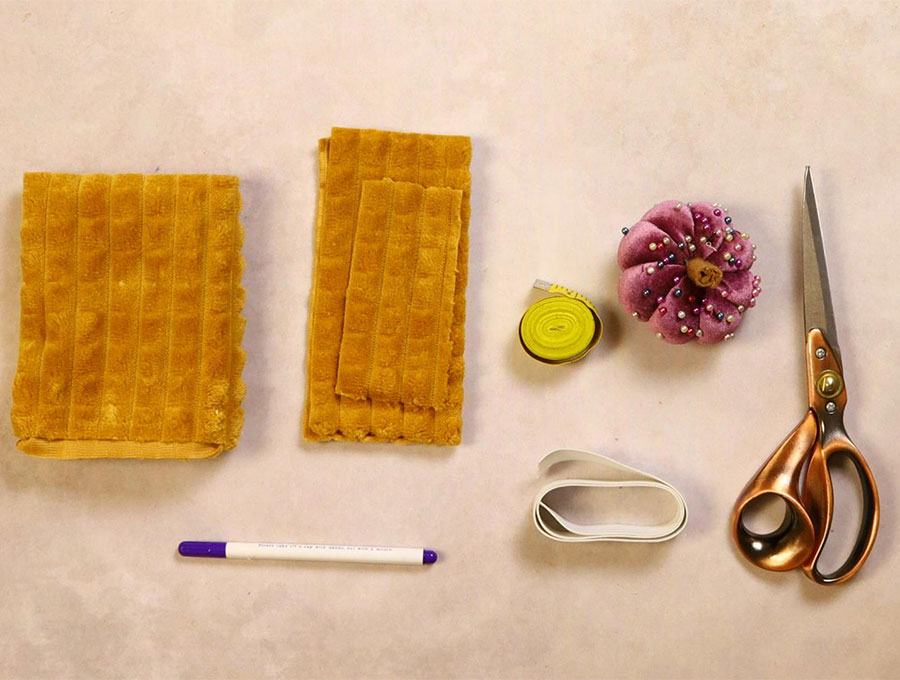
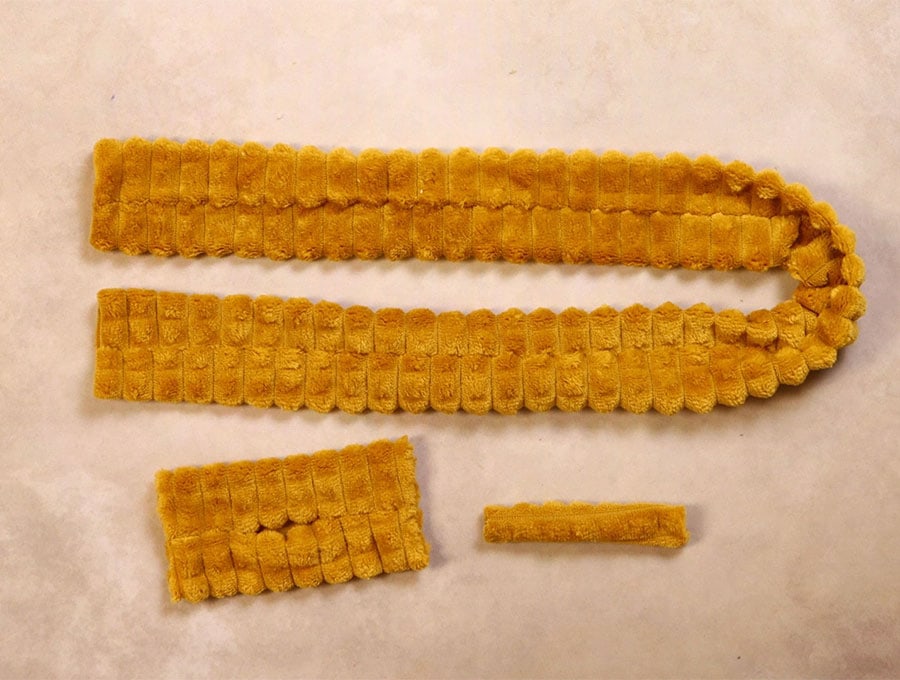
- A strip of fabric 5.5 x 40 inches (14 x 100 cm) for the headband
- A rectangle of fabric 2.5 x 5 inches (6.5 x 13 cm) for the bow trim
- 1-inch wide elastic (measure to the size of your head, from the crown and round under the base of the head – in the position you would wear a hair band, stretching the elastic slightly so it feels comfortable around the head, then cut).
- matching thread
- scissors (or rotary cutter and a cutting mat)
- ruler or measuring tape
- sewing clips or pins
DOWNLOAD: [Free pdf file]
Follow us for free patterns & tutorials! [easy-profiles]
How to Sew DIY Spa Headband
Watch the diy DIY Spa Headband video first and then follow the written step by step instructions below.
Please enjoy and don’t forget to Like and SUBSCRIBE over on YouTube to be kept up to date with new videos as they come out.
DIY Spa Headband VIDEO TUTORIAL
INSTRUCTIONS:
STEP 1:
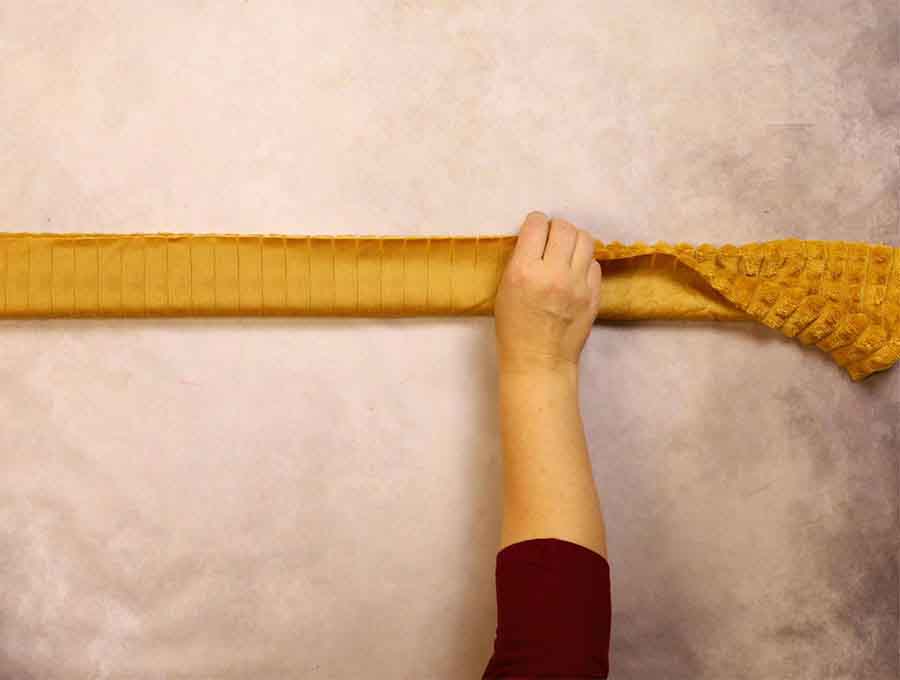
Place the rectangle for the headband on your worktop and fold in half along the long edges. Clip or pin in place.
STEP 2:
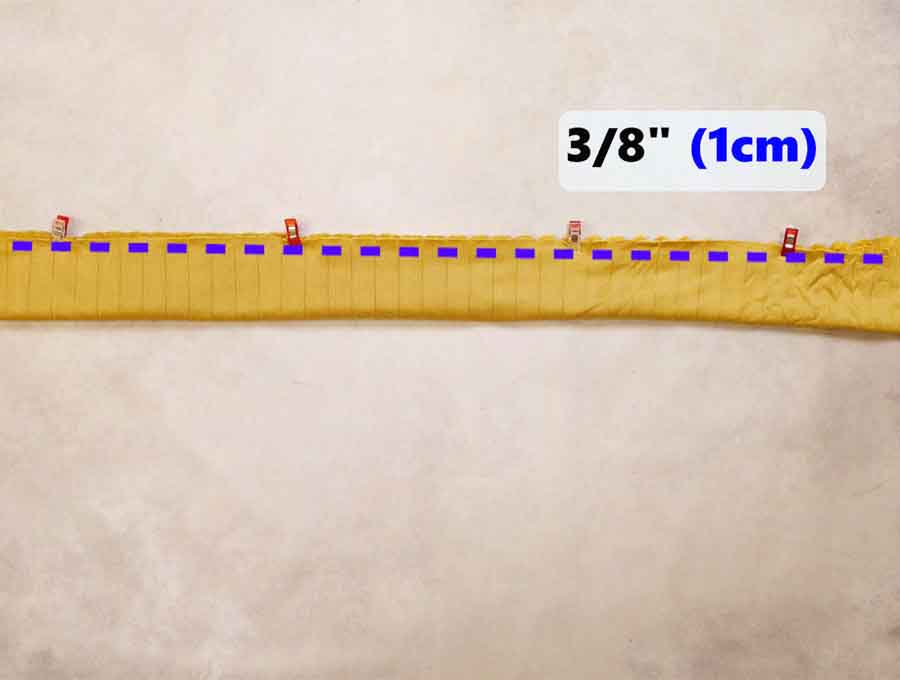
Straight stitch along the length 3/8 of an inch (1 cm) from the edge.
STEP 3:
Fold the square for the bow in half and clip in place.
STEP 4:

Stitch along the edge of the bow fabric 3/8 of an inch (1 cm) from the edge, leaving a gap in the middle of about 1 ½ inches (4 cm) to turn the bow the right way out later.
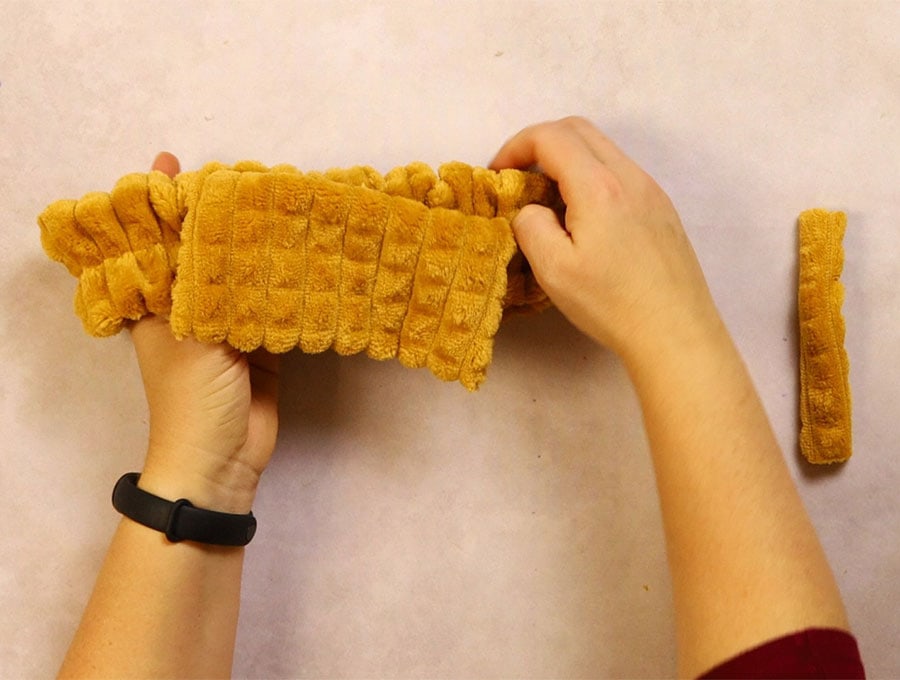
STEP 5:
Fold the rectangle for the center bow strip in half on the long edge and stitch 3/8 of an inch ( 1 cm) from the edge.
STEP 6:
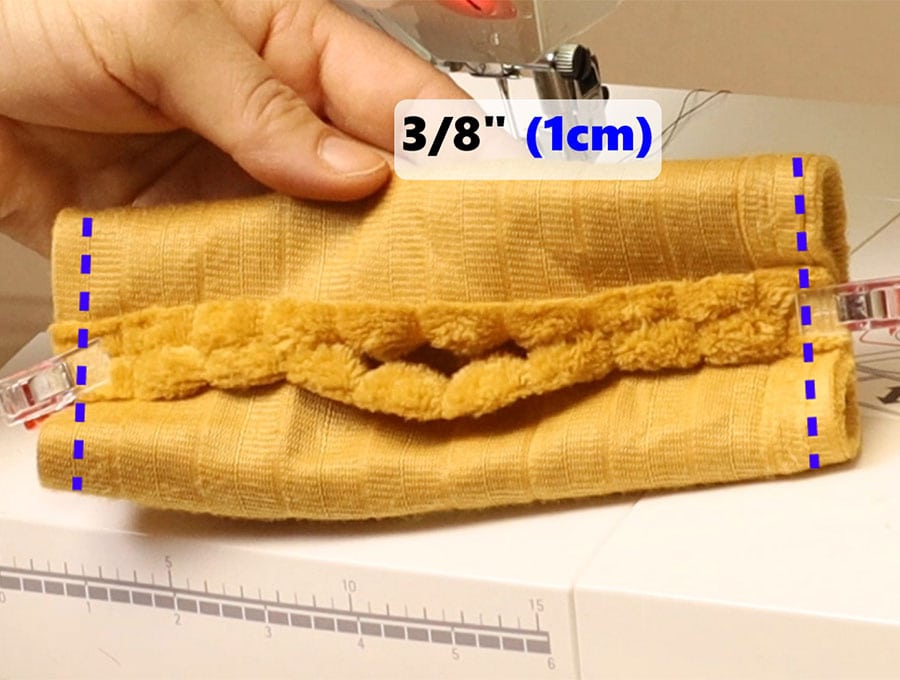
Go back to the bow fabric and adjust so the seam you stitched is in the center of the fabric and clip the ends.
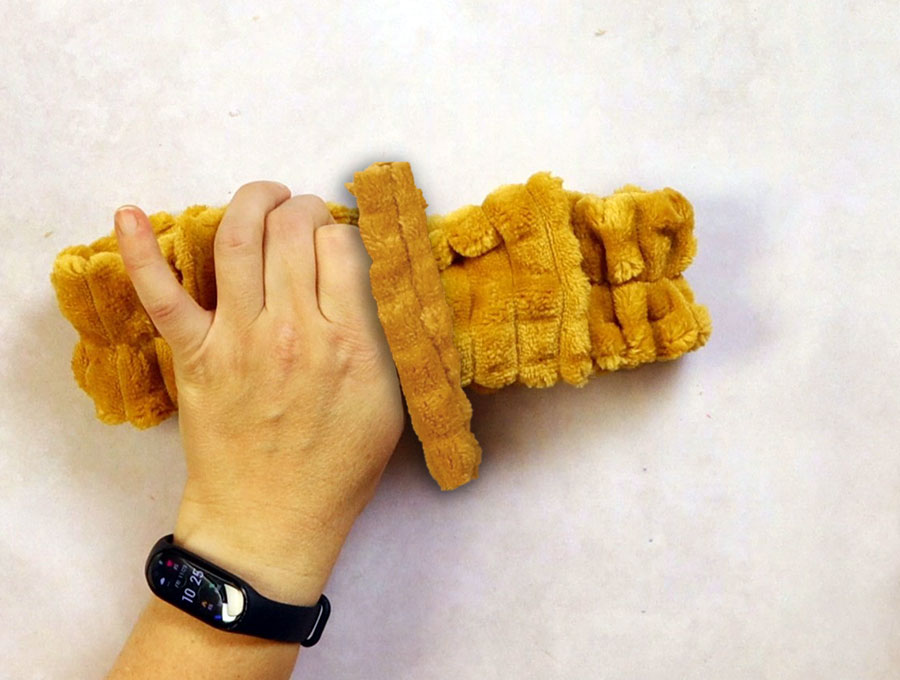
STEP 7:
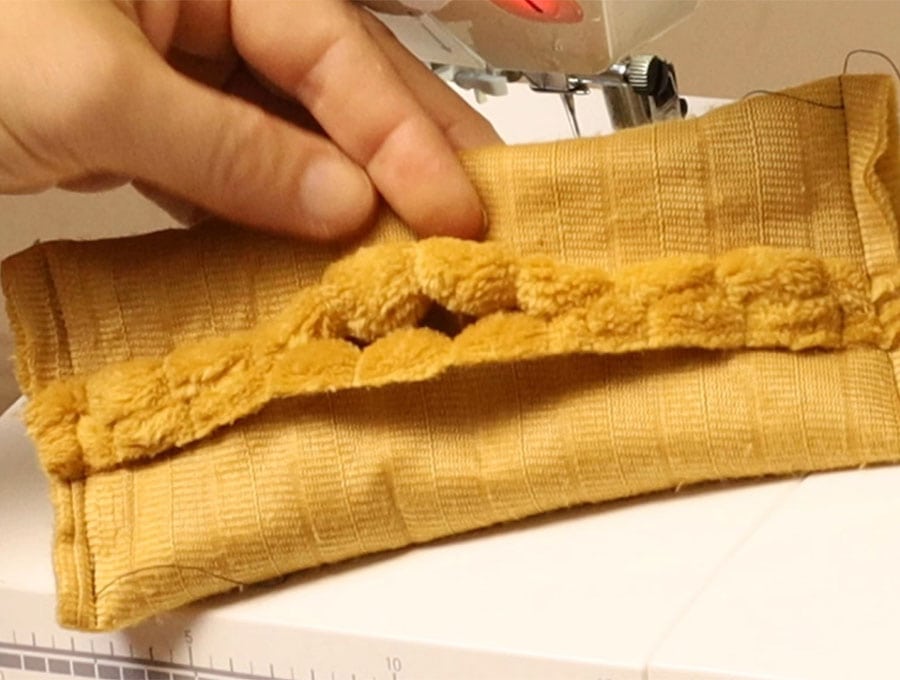
Stitch across the ends of the bow.
STEP 8:
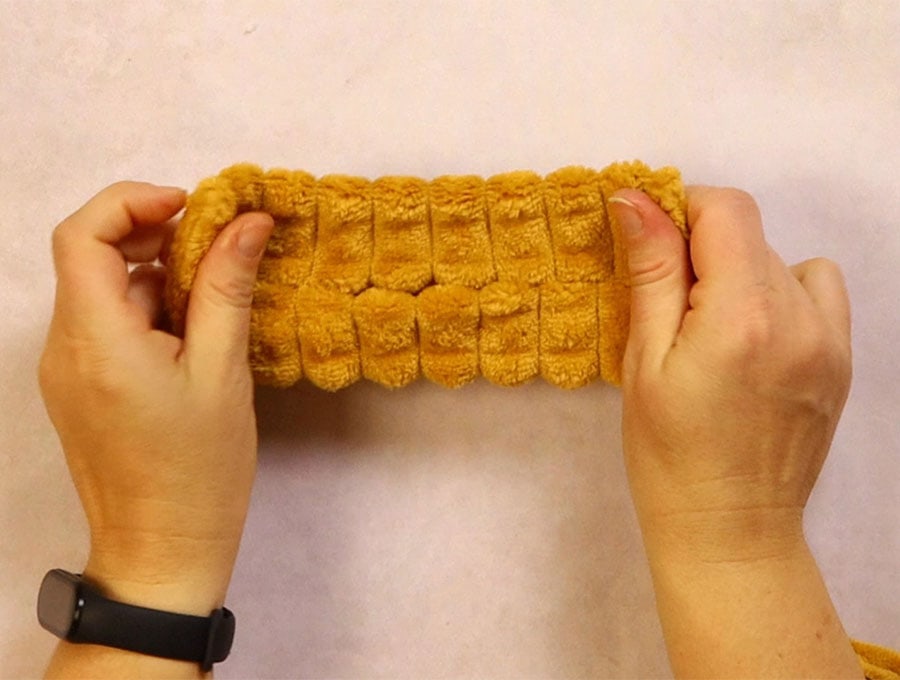
Returning to the main piece for the headband use a turning tool or a safety pin stuck into one end of the fabric and pull the tube through to turn it the right way out.
STEP 9:
Turn the bow the right way out by pulling the fabric through the gap you left, push out the corners so they lie flat.
STEP 10:
Turn the tube for the center bow strip the right way out – again using a turning tool or a safety pin.
STEP 11:
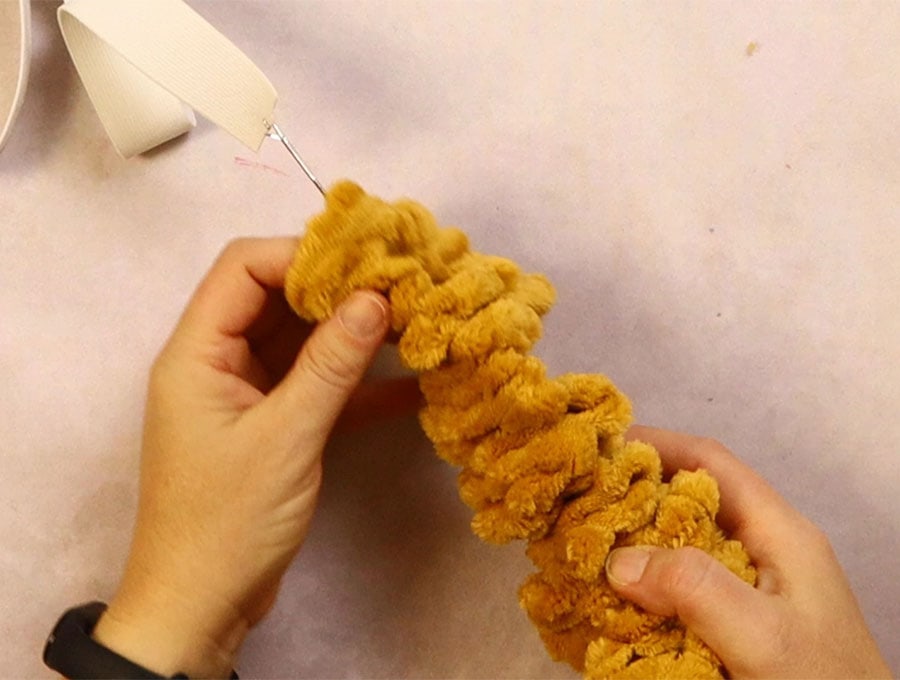
Thread the elastic through the main headband using a safety pin or turning tool.
STEP 12:
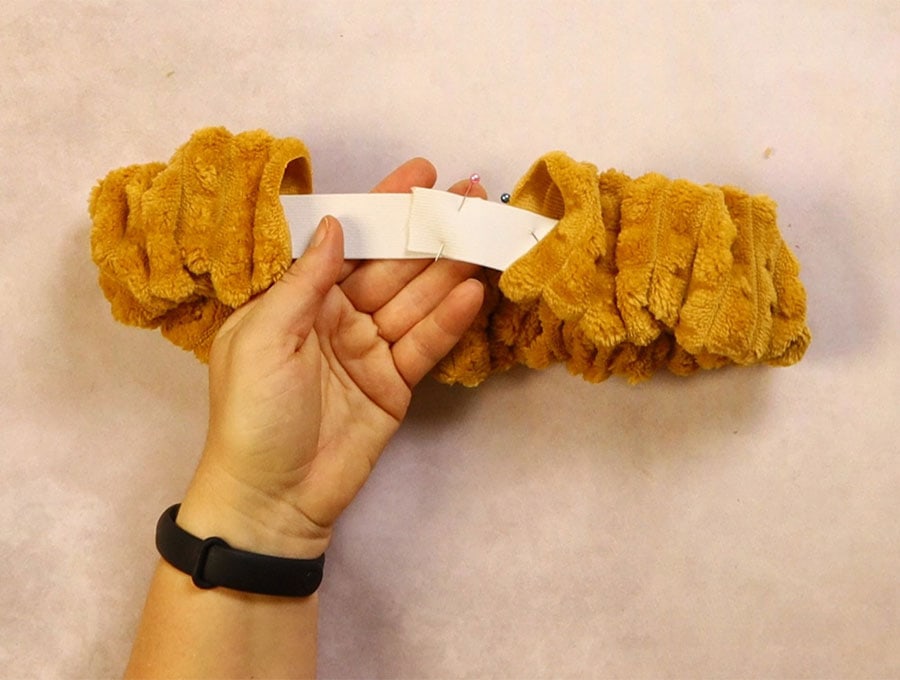
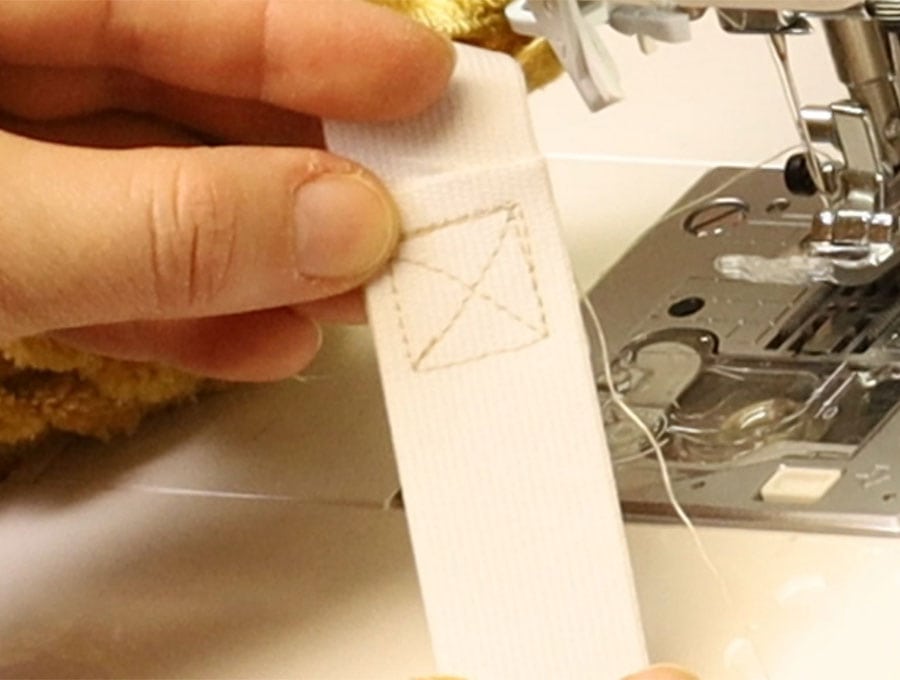
Make sure the elastic is sticking out around 5cm (2 inches) on either end by pushing up the fabric. Pin to hold the elastic, then overlap the two ends by 1 inch (2.5 cm) and machine stitch the ends of the elastic together by making a square, then creating a cross within the square to make sure it is securely held.
STEP 13:
Turn one end of the fabric end of the headband in by 3/8 of an inch (1 cm), then slide the raw edge inside the folded edge, pin in place, then stitch close to the edge backtacking at the start and finish.
STEP 14:
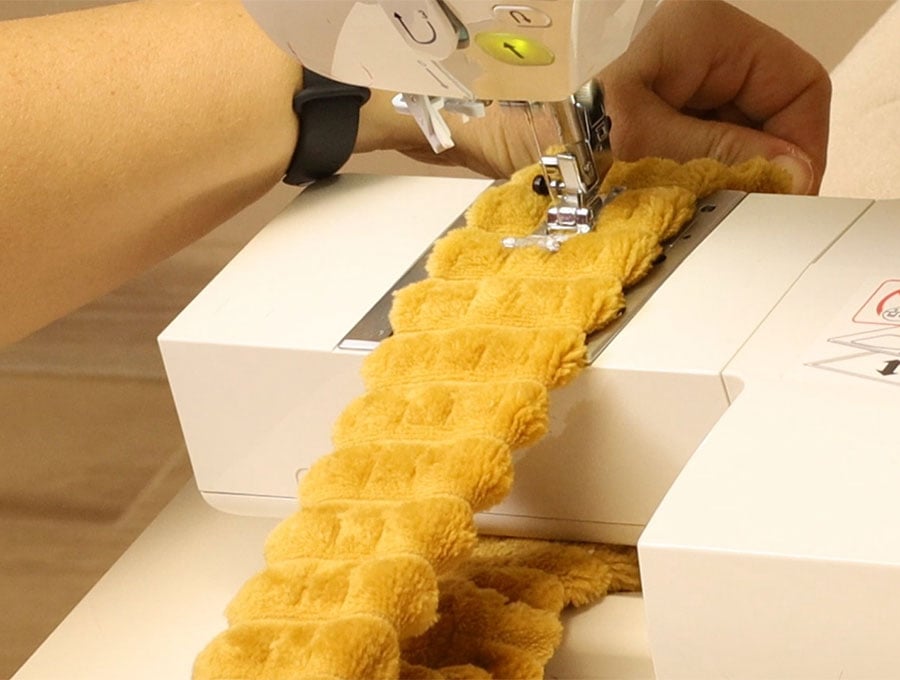
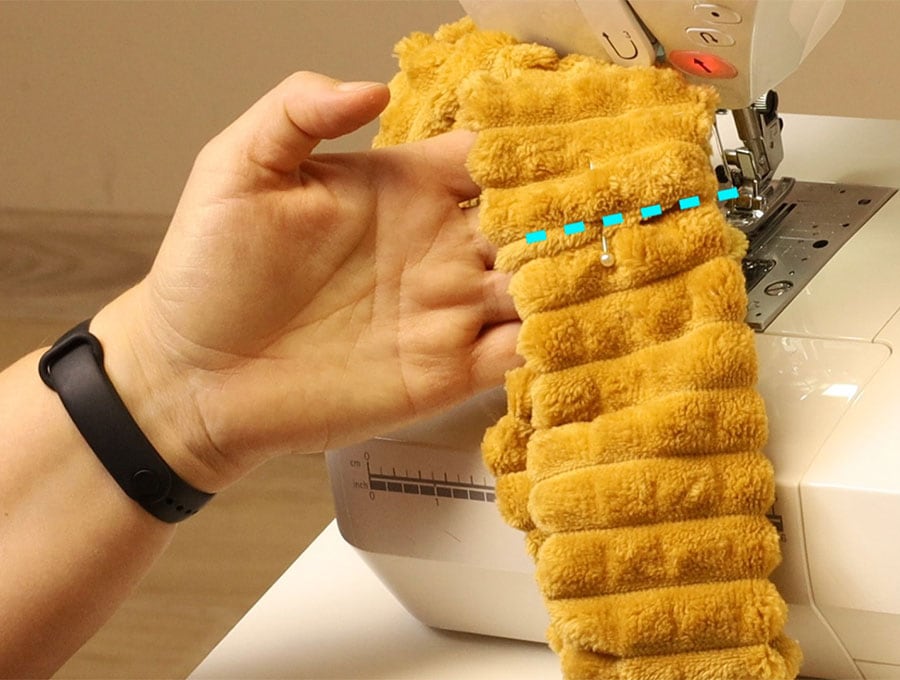
Center the elastic within the tube, then stitch along the middle of the tube to keep the elastic in place.
STEP 15:
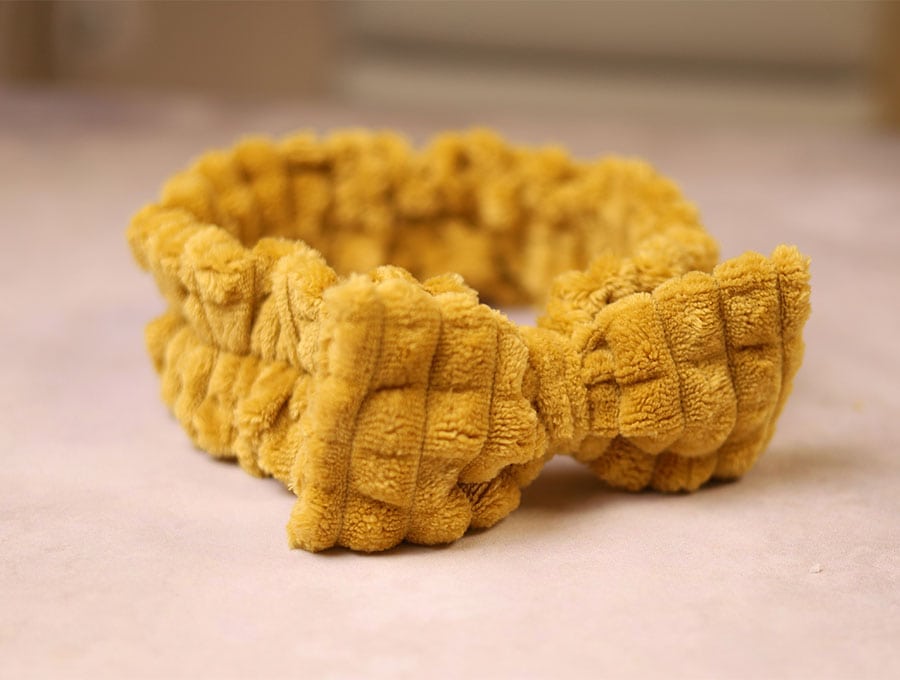
Find the back seam where you joined the ends of the tube and on the front middle place the bow. You do not need to stitch the gap closed as the bow will be covered by the center bow strip, then over it place the center bow tie, taking the tube over the bow and the headband and joining the ends with a pin behind the bow.
STEP 16:
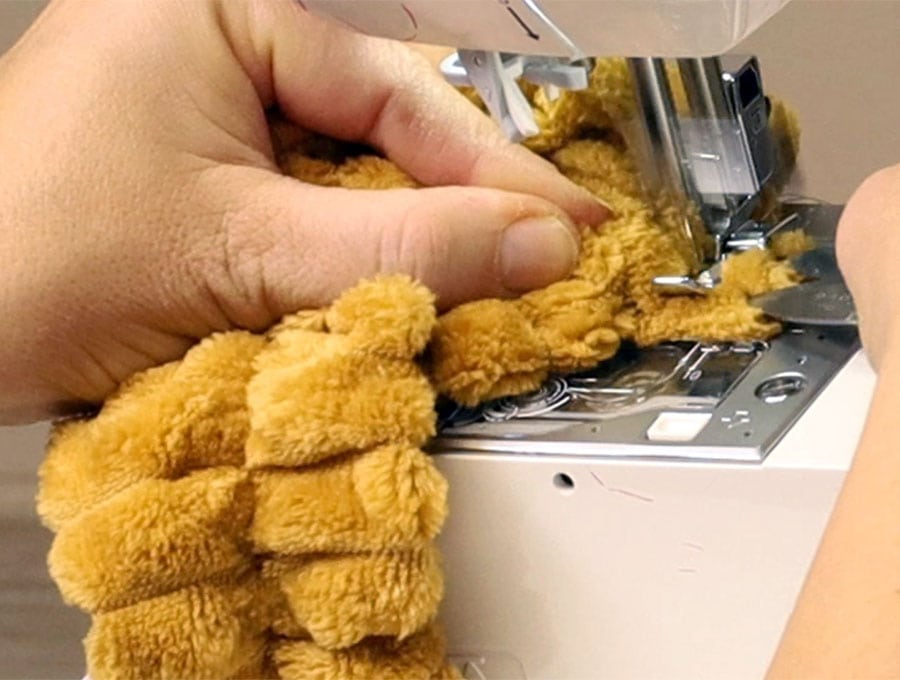
Stitch the center how strip closed on the machine, backtacking over the ends to ensure they will not come undone.
STEP 17:
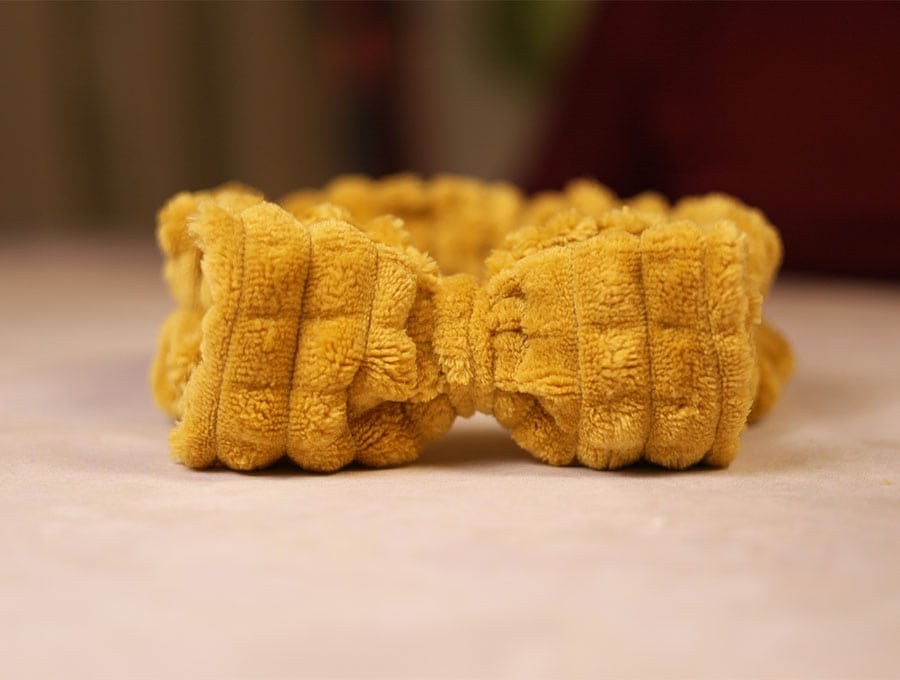
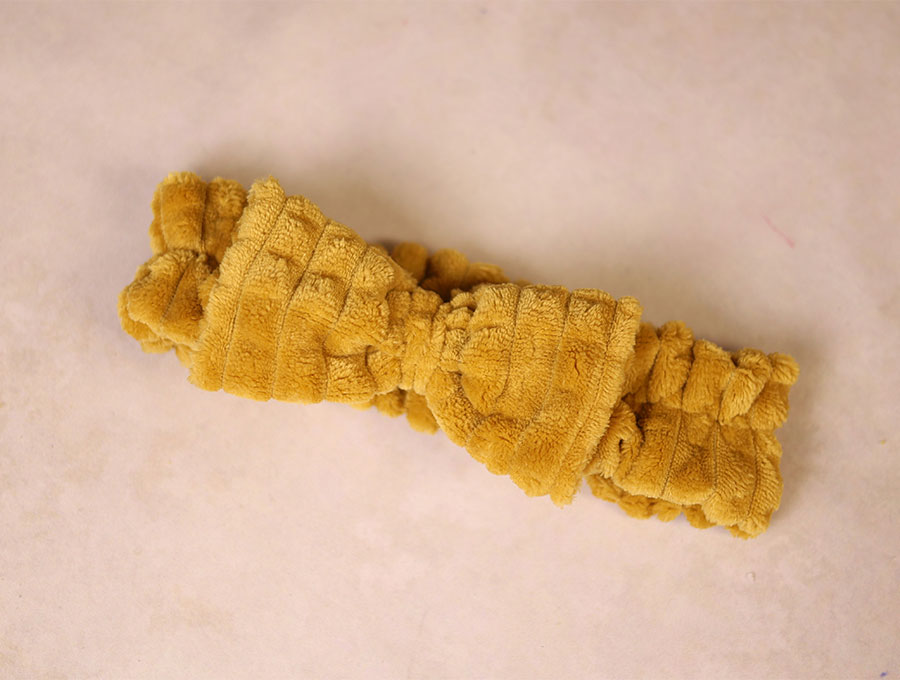
Trim the ends of the center bow strip, turn the center bow strip around so that the seam is not visible and you are done.
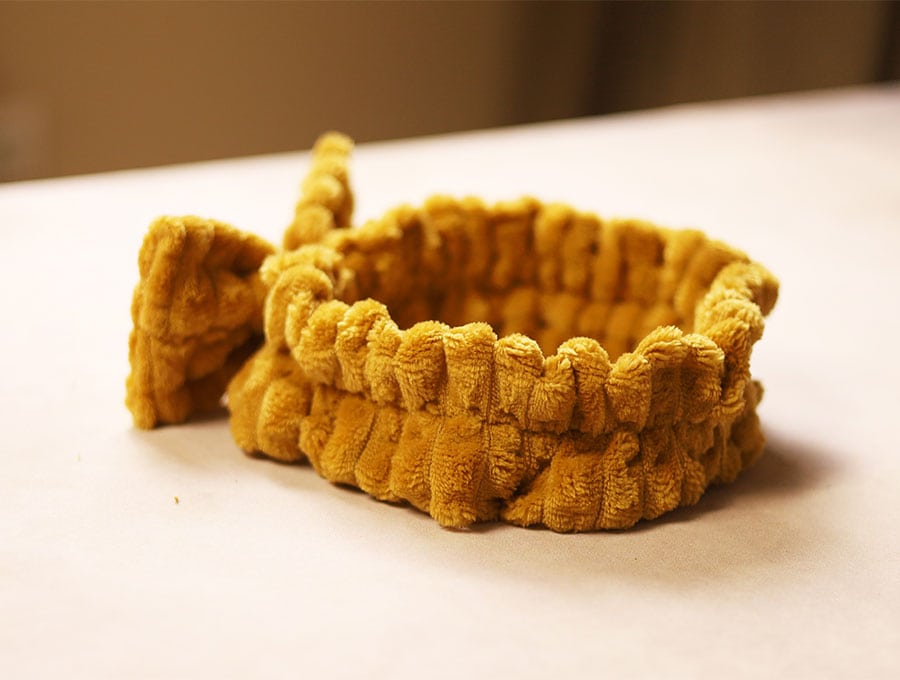
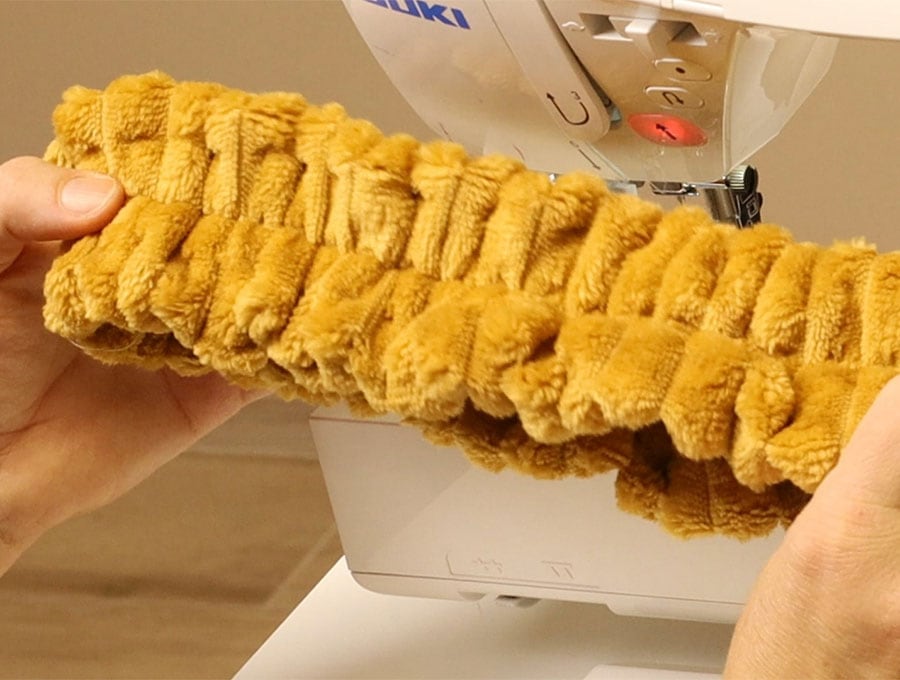
I used a soft fur fabric for the Spa headband in our tutorial but you can use a soft towelling or terry cloth, even a knit fabric – as long as it is a bit stretchy for each of using the headband.
Now, you’ll not risk getting make up or creams in your hair when you do a facial at home. The Spa Headband keeps the hair off the face, enabling you to treat all the skin.
These work well in pastel or white so they look just like the real thing in spas. Have fun making the headband and then giving yourself a great facial. These are also a useful gift to make, or to sell at markets.
If you enjoyed this tutorial please give HelloSewing a like and hit the subscribe button to have the latest cute sewing projects that use up the extra fabric in your stash, delivered straight to your inbox as they are published online.
Do you like this? Pin for later:
Wanna be friends? Click HERE and follow me on Pinterest
RELATED: