DIY Fabric Chicks
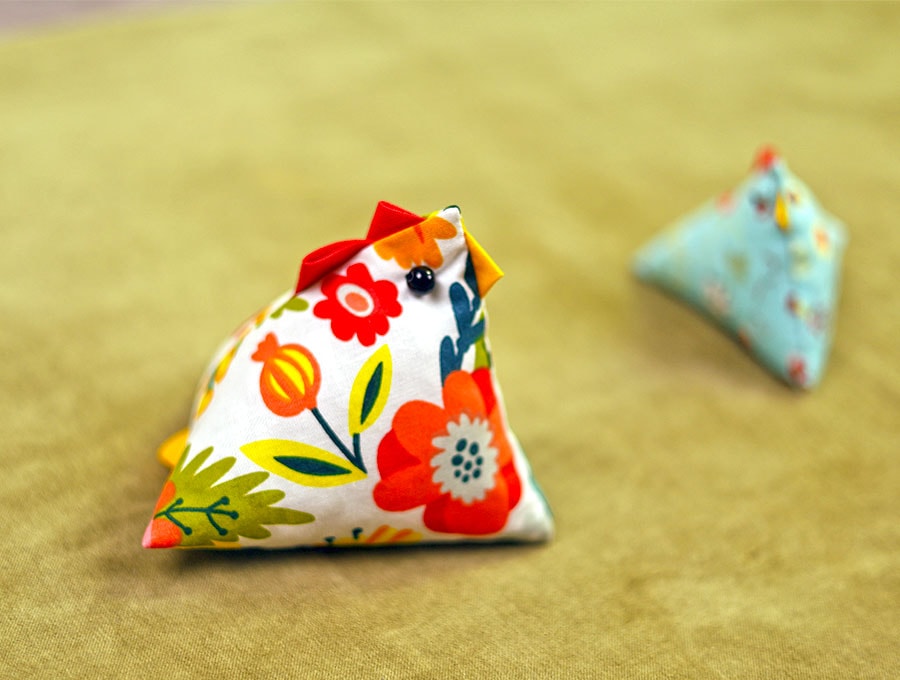
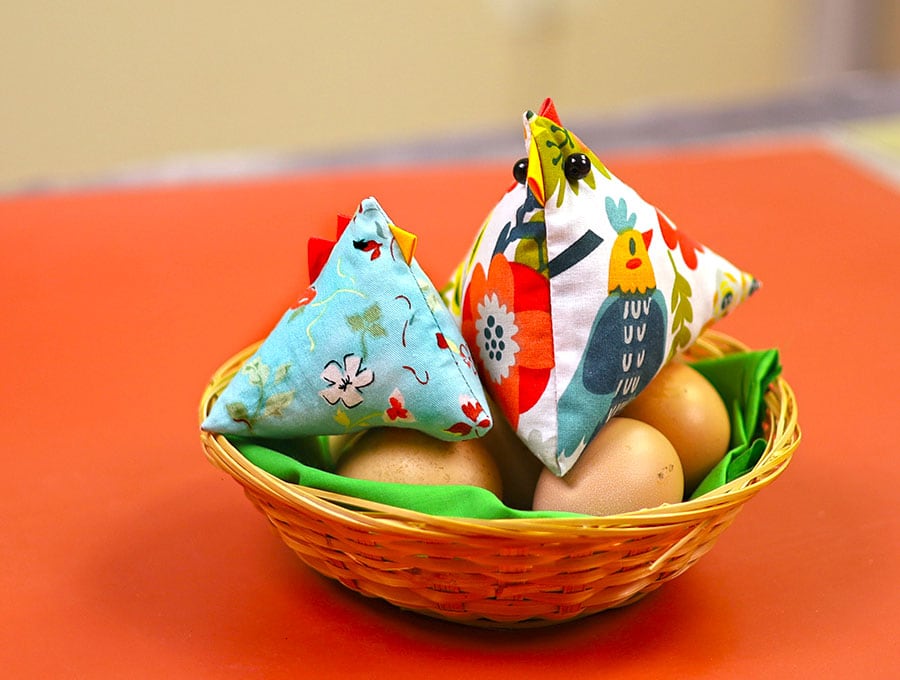
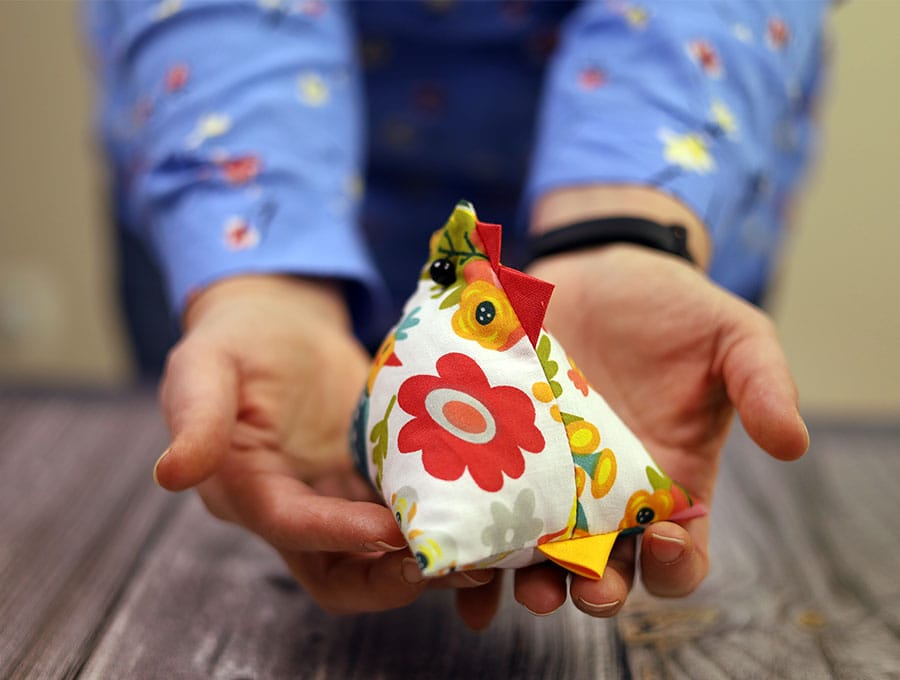
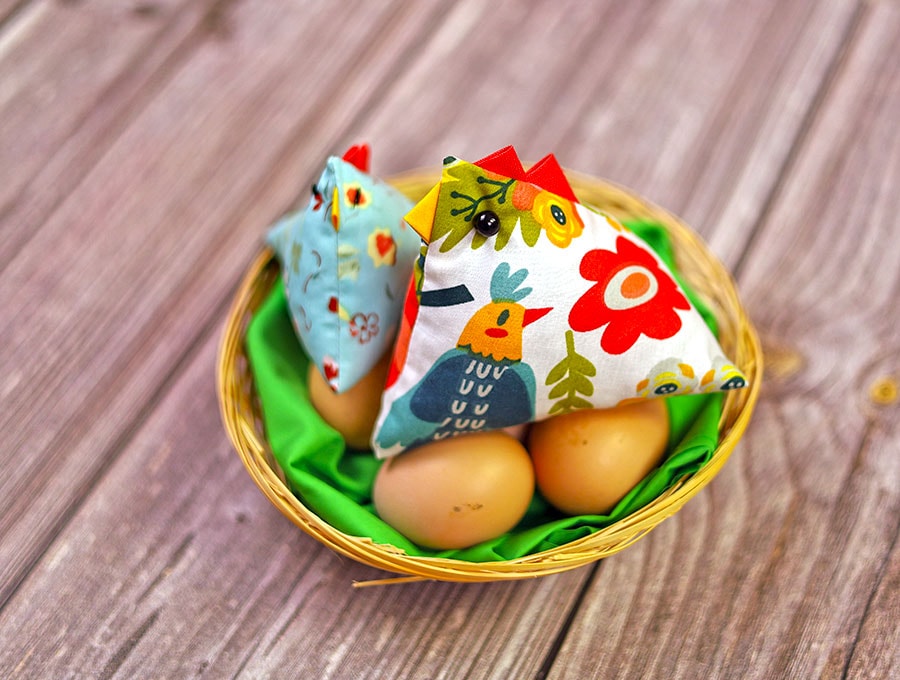
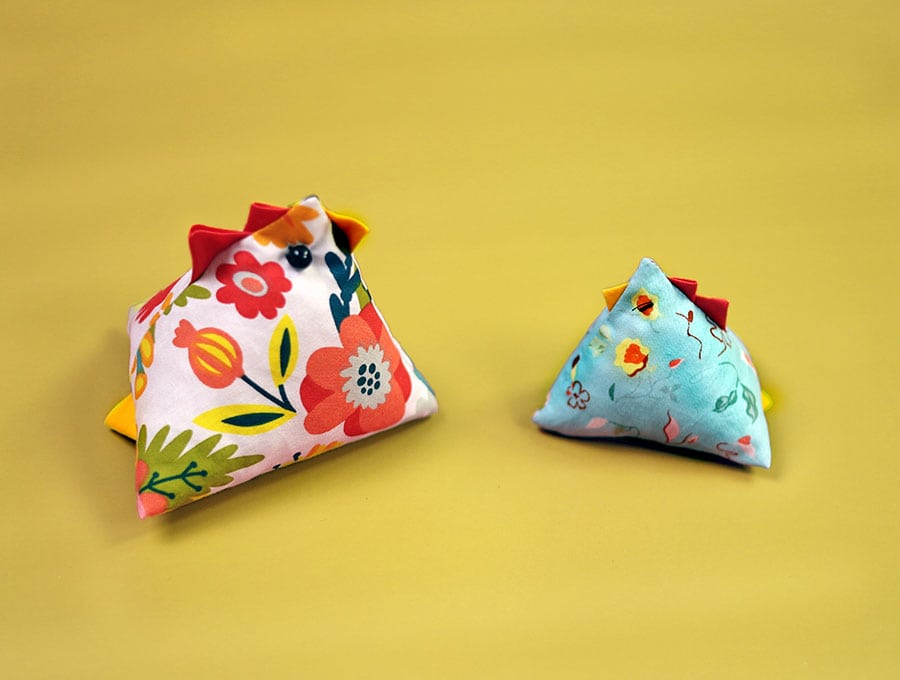
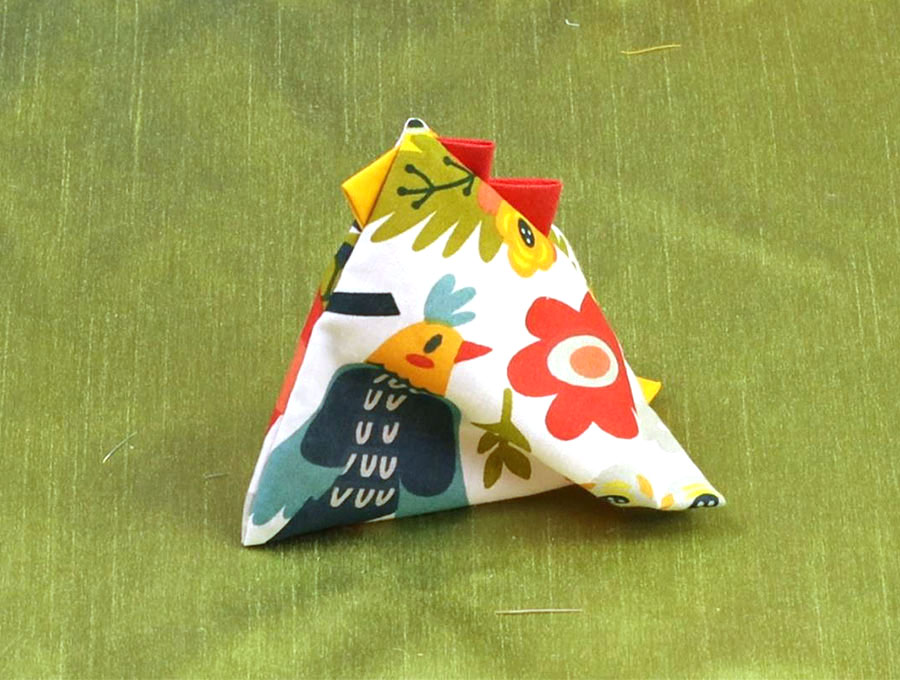
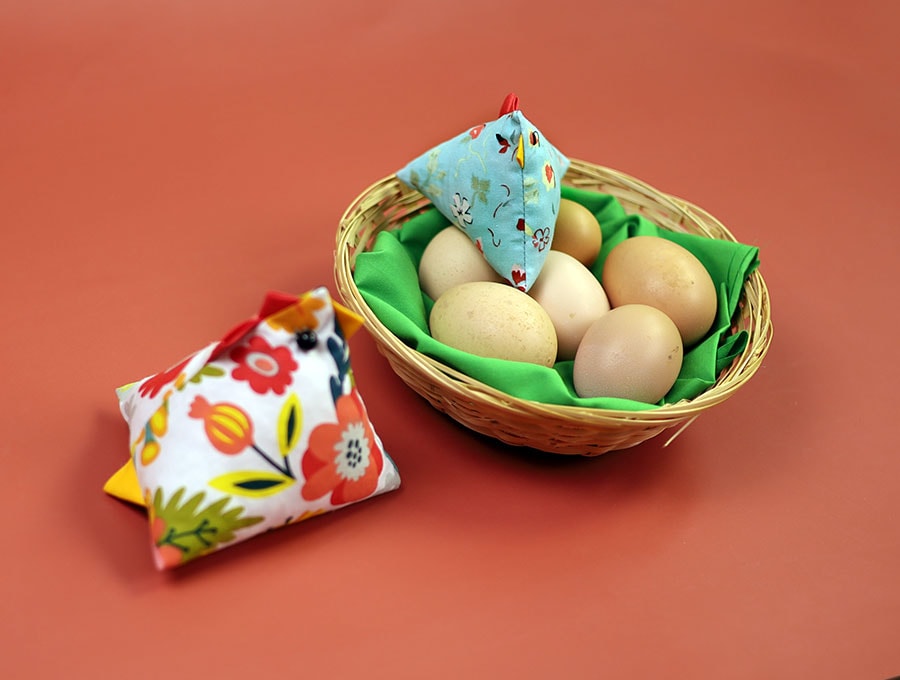
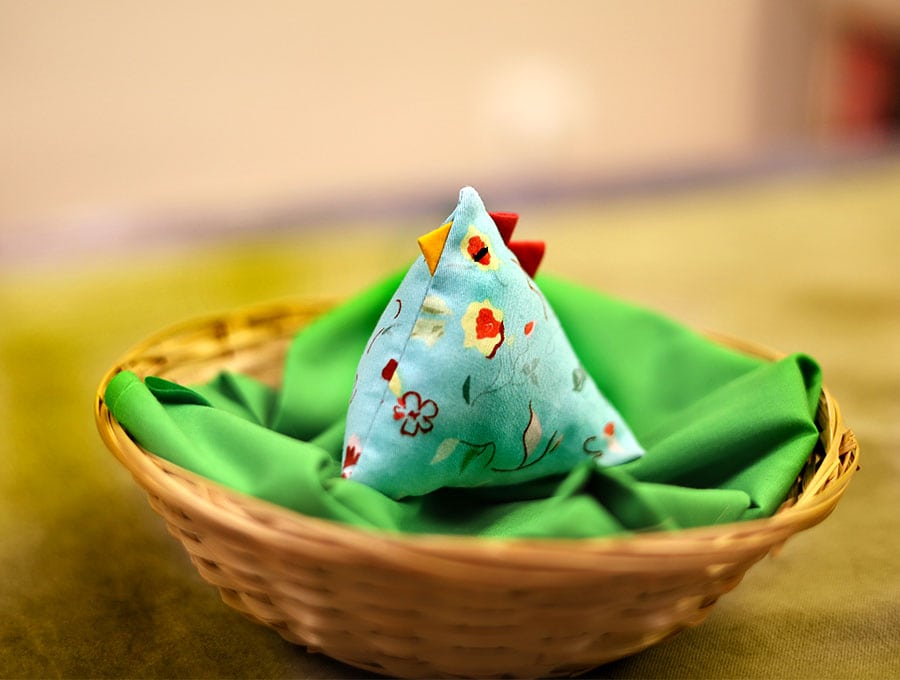
The Easter fabric chicks are a perfect way to combine education and fun as kids learn to sew. On Easter morning nestle some of the chicks in with the boiled eggs or in with the chocolate eggs, or use as table décor. These also make great gifts for babies to hold and develop fine motor skills and aid in their emotional and social development – with the two small safety adaptations we have described in the tutorial. All you need is 10 minutes to make a fabric chick. The body for the chick uses two small fabric squares and minute amounts of red and yellow fabric for the beak, comb and tail – using up those tiny scraps.
Easter is coming up soon so make a few of these DIY fabric chicks to delight children and grandchildren. They will be even more delighted if you tape a chocolate coin or a real coin to the underside of the chick! You can use them as table décor and, if you make a few with the safety adaptations we suggest, give them to babies to hold and develop their fine motor skills and aid in their emotional, sensory, cognitive and social development.
Below you will find my step by step written tutorial with VIDEO instructions for all the visual learners.
We occasionally link to goods offered by vendors to help the reader find relevant products. Some of the links may be affiliate meaning we earn a small commission if an item is purchased.
Table of Contents
How to make fabric chicks
Supplies and tools
- fabric – 2 pieces of 100% tightly woven cotton (one main, one lining)
- polyester stuffing
- hand sewing needle and matching thread
- scissors (or rotary cutter and a cutting mat)
- ruler or measuring tape
- iron and ironing board
- sewing clips or pins
- 1/2 cup of uncooked rice
-
Two black beads for eyes
DOWNLOAD: fabric chicks pattern [Free pdf file]
Follow us for free patterns & tutorials! [easy-profiles]
How to Sew a Fabric Chicken
Watch the diy fabric chicks video first and then follow the written step by step instructions below.
Please enjoy and don’t forget to Like and SUBSCRIBE over on YouTube to be kept up to date with new videos as they come out.
easter fabric chicks VIDEO TUTORIAL
INSTRUCTIONS:
Cut Fabric as follows:
Small Fabric chick
- 2 squares of print fabric cut to 4 x 4 inch (10 x 10 cm)
- 1 square of red fabric cut to 1¼ x 1¼ inch (3 x 3 cm)
- 1 square of yellow fabric cut to 1¼ x 1¼ inch (3 x 3 cm)
- 1 square of red fabric cut to 1 x 1 inch (2.5 x 2.5 cm)
- 1 square of yellow fabric cut to 1 x 1 inch (2.5 x 2.5 cm)
Large fabric chick
- 2 squares of print fabric cut to 5 x 5 inch (13 x 13 cm)
- 1 square of red fabric cut to 1 ½ x 1 ½ inch (4 x 4 cm)
- 1 square of yellow fabric cut to 1 ½ x 1 ½ inch (4 x 4 cm)
- 1 square of red fabric cut to 1¼ x 1¼ inch (3 x 3 cm)
- 1 square of yellow fabric cut to 1¼ x 1¼ inch (3 x 3 cm)
Once you have your fabric cut to the correct sizes we can start with making the large or small fabric chicken. The method is the same for both.
STEP 1:
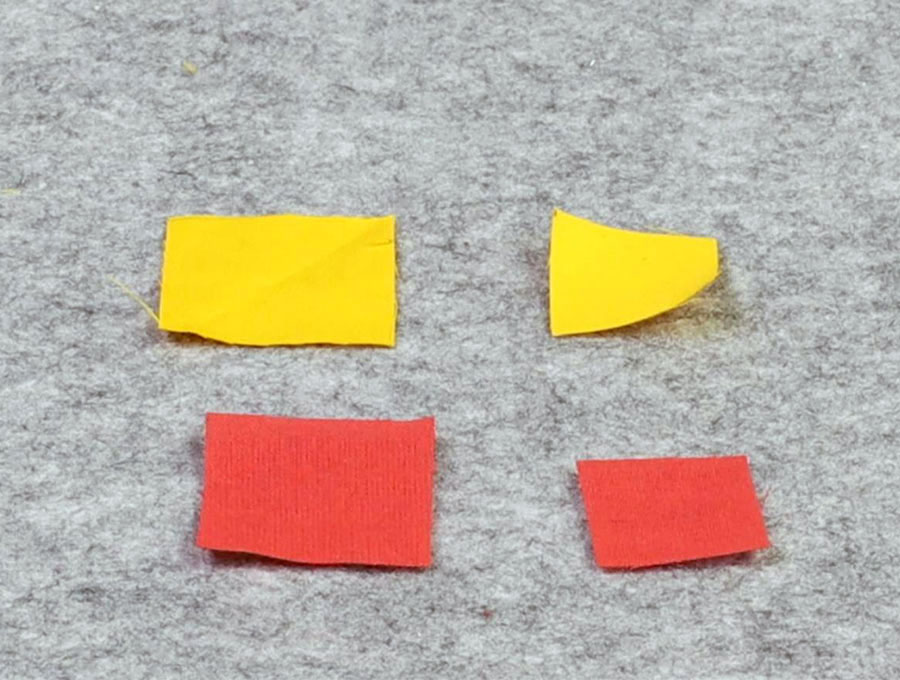
Take the red and yellow fabric pieces for the size chicken you are making first – you will have one large red and one small red piece, one large yellow and one small yellow piece. The two red pieces will form the comb of the chicken, the smaller yellow piece will be for the beak and the larger yellow piece for the tail.
STEP 2:
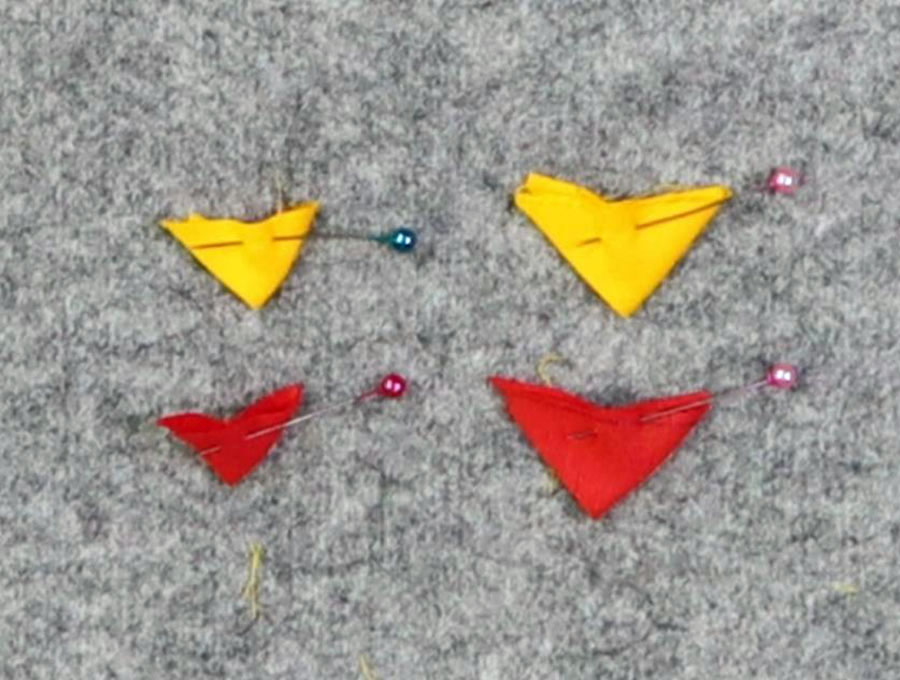
Fold each of the four pieces corner to corner to make a triangle and press, then fold each piece again, corner to corner and press, then pin. Each piece will have four layers after folding.
STEP 3:
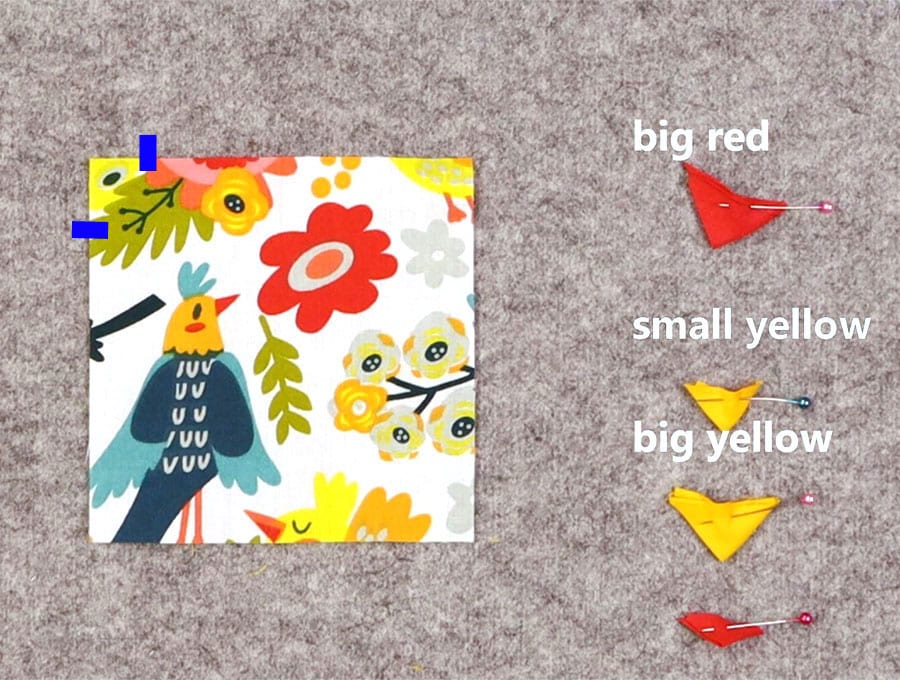
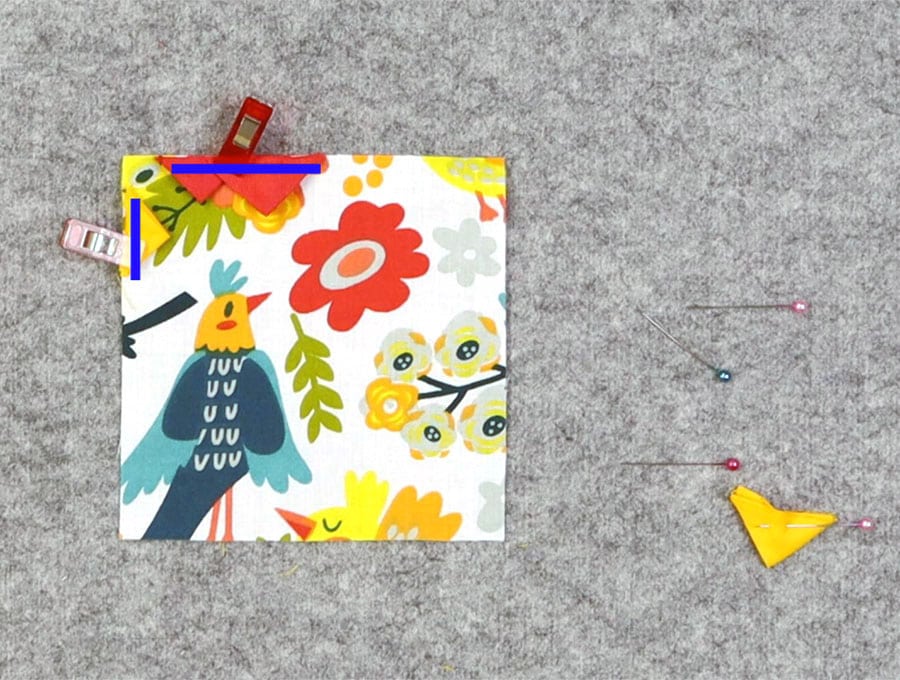
Lay the printed fabric square right side up on your worktop and on the left hand side mark 3/8 of an inch (1 cm) down from the corner and the same distance along the top.
STEP 4:
Take the small yellow folded triangle and place it with the point facing into the main body of the material, the raw edges lining up with the raw edges of the fabric, and the upper tip of the triangle on the 1 cm mark on the left hand side, then pin or clip in place.
STEP 5:
Take the small red triangle and place it with the point facing into the mainbody of the material, the raw edges lining up with the raw edges of the fabric, and the left hand tip of the triangle on the 1 cm mark at the top, then pin or clip in place.
STEP 6:
Take the large red triangle and place it with the point facing into the main body of the material, the raw edges lining up with the raw edges of the fabric, and the left hand tip of the triangle slightly overlapping the first red triangle, then pin or clip in place.
STEP 7:
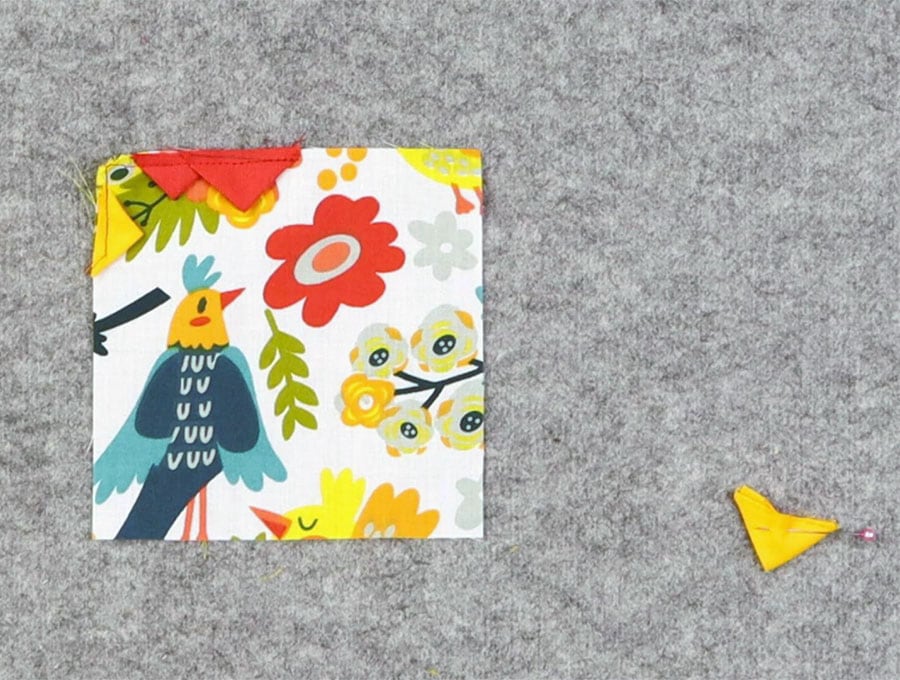
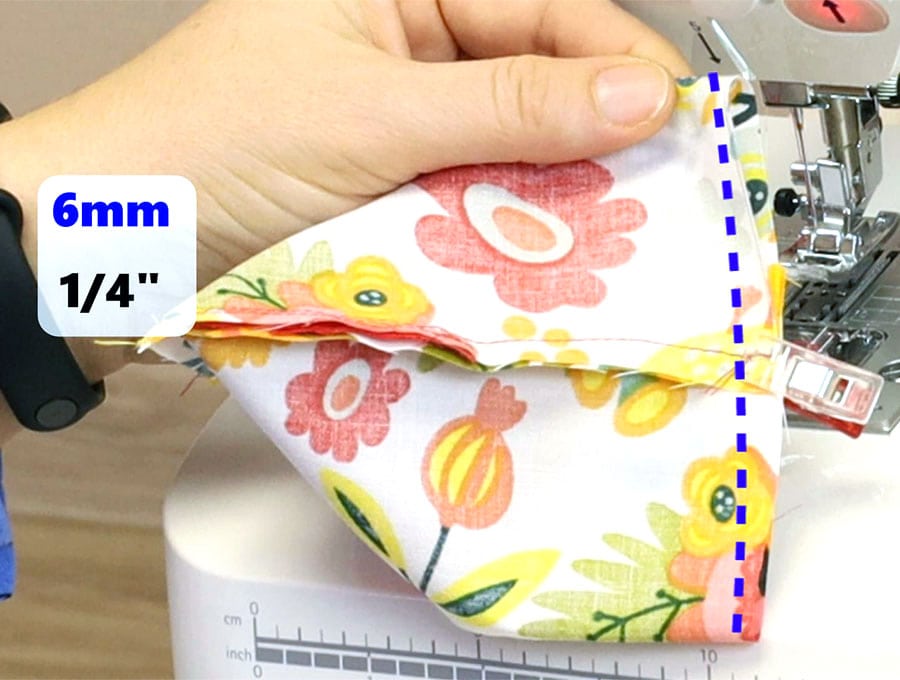
Stitch the yellow and red triangles in position ¼ inch (6 mm) from the edge making sure you catch all four layers of the triangle and the printed fabric.
STEP 8:
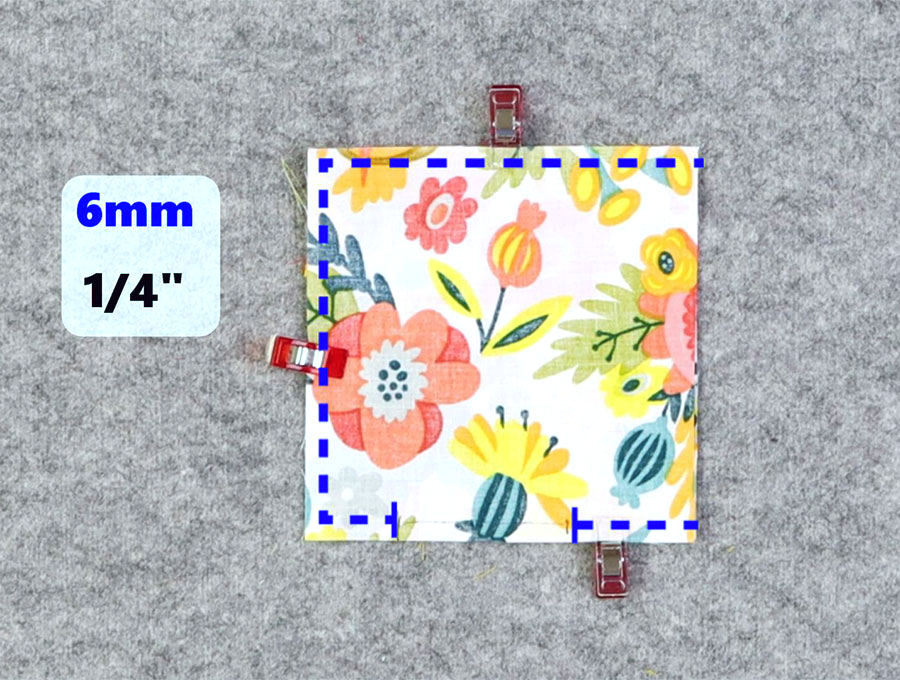
Place the two printed fabric squares with right sides facing and clip in place. Leave a gap on the side opposite the red triangles of around 2 inches of (5 cm) through which to turn the fabric.
STEP 9:
Stitch around the edges of the square ¼ of an inch ( 6 mm) from the edge, except for the gap and the whole side opposite the yellow triangle. Backtack at each side of the gap.
STEP 10:
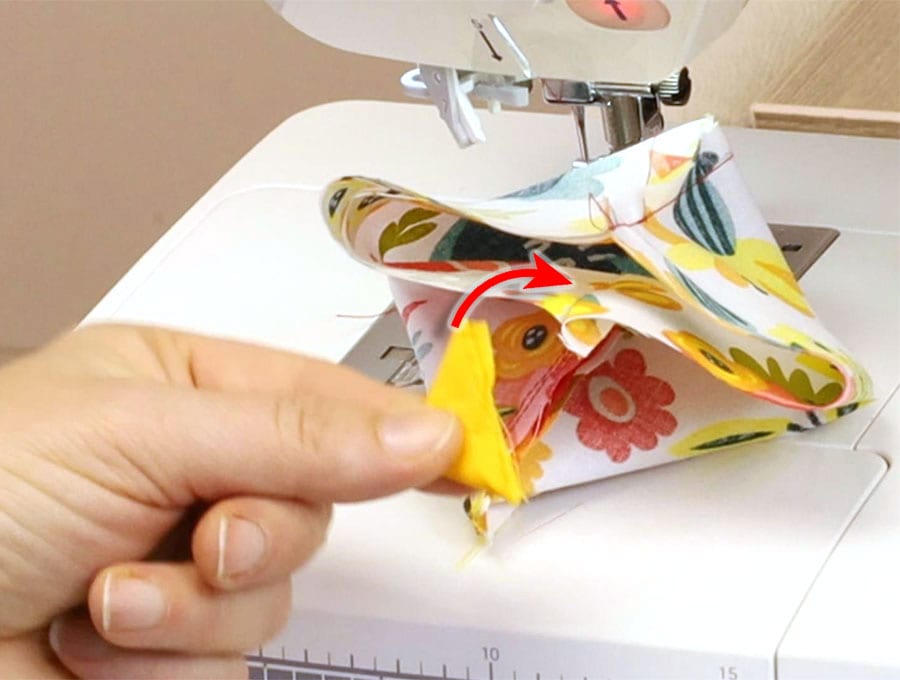
Grab the open side of the square and ease apart so the seams line up and the folds are on either side, insert the large yellow triangle with the folded point facing the main body of the fabric, the raw edges lined up with the edge of the fabric and the centre of the triangle edge lined up with the seams.
Pin or clip, making sure one seam is to the left and one to the right to reduce bulk when sewing, then stitch the fourth side closed ¼ of an inch (6 mm) from the edge.
STEP 11:
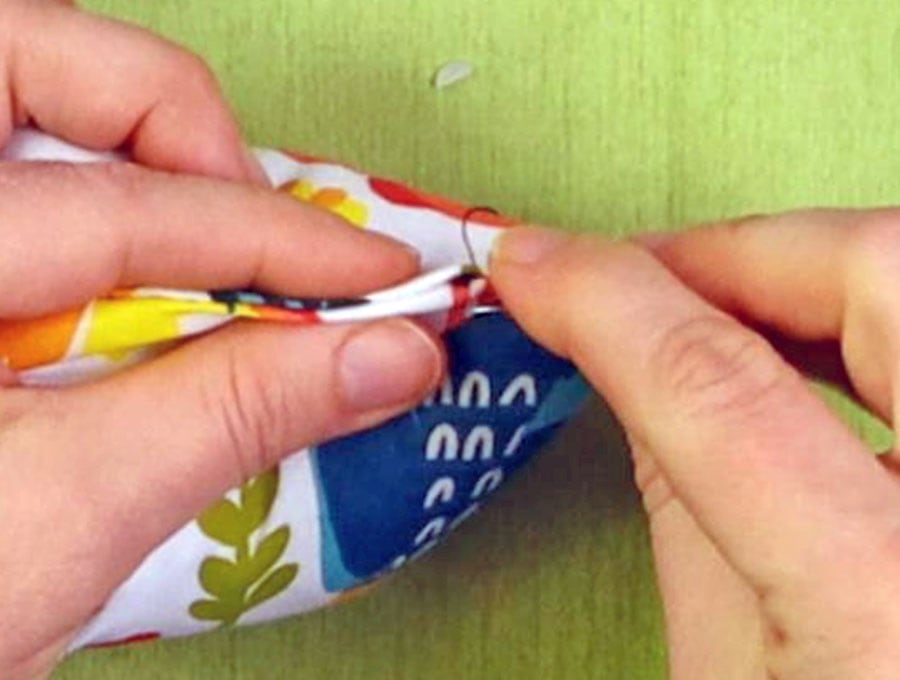
Snip off the corners to reduce bulk, taking care not to snip too close to the stitch line. Turn the raw edge of the gap outwards in line with the seam and finger press, before turning the fabric chick the right way out by pulling the fabric through the gap.
STEP 12:
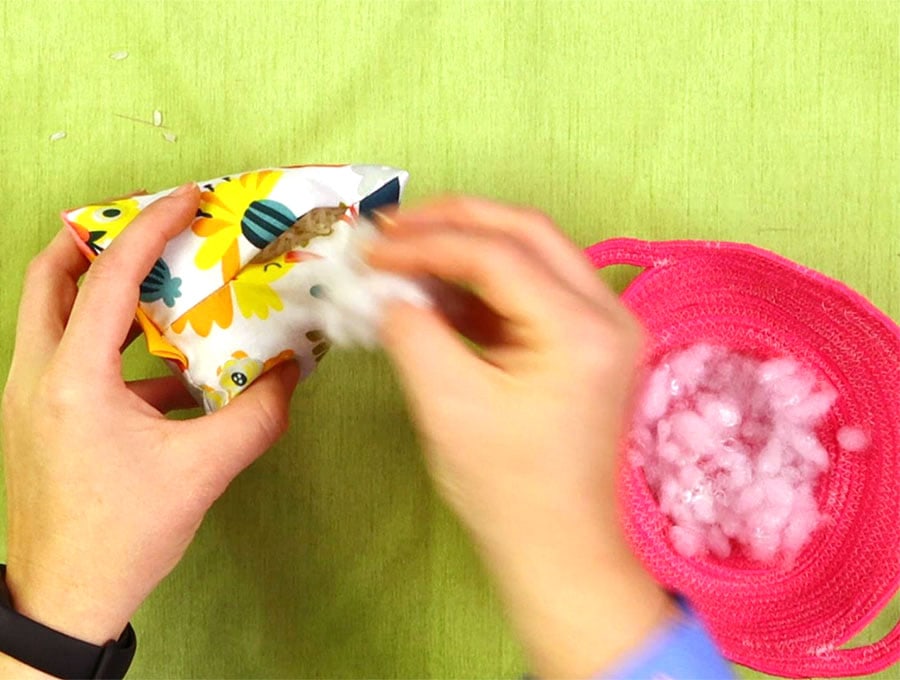
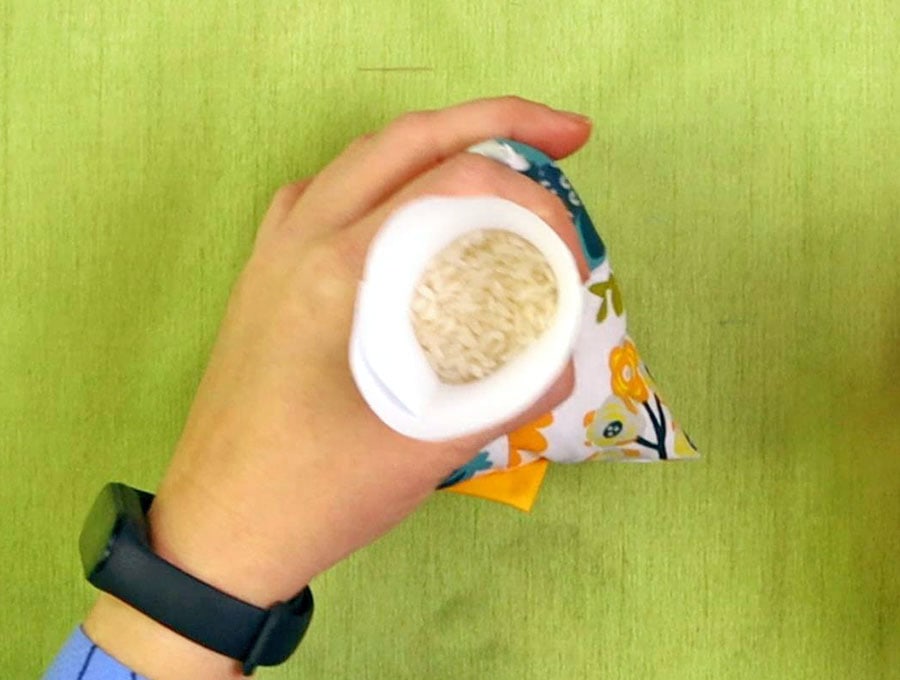
Fill the chick with toy stuffing, then near the end make a small cone with a piece of paper to insert small quantity of rice, which will give weight to the base of the chick so it doesn’t fall over.
End off with a tiny bit more stuffing to fill the chick entirely, then pin or clip the gap closed while you get your matching thread and hand sewing needle ready.
STEP 13:
Stitch the gap closed using the thread doubled and with a knot at the end. Use slip stitches and end off securely.
STEP 14:
The last step is to add the eyes using black beads. First make a small stitch on the one side of the head kind of midway between the beak and the comb, then stitch on the bead. End off, then repeat on the other side of the head. You may prefer to simply push the needle through the stuffing to the other side and do the other eye at the same time without ending off and starting again. It’s your call.
Kids will be delighted on Easter morning to find some of the chicks nestled in with the boiled eggs or in with the chocolate eggs, or used as table décor. For older kids you could tape a chocolate coin or a bank note in a small envelope under the chick as an extra surprize. These fabric chicks also make great gifts for babies to hold. And a series made in various colors are good for toddler counting and learning color identification. For babies omit the rice as it could be choking hazard if they manage to bite through the fabric and omit the beads, also a choking hazard. Simply use a non-toxic marker pen to create the eyes.
Please share our Fabric Chick tutorial with someone who would enjoy creating these with their kids, or would simply like to gift them. We love to get likes, so we know which of our tutorials are the most popular, and subscribers get all the latest info on tutorials delivered straight to their inboxes – so make sure to hit those buttons!
Do you like this? Pin for later:
Wanna be friends? Click HERE and follow me on Pinterest
RELATED:

