
DIY Fabric Textbook and Notebook Folder
Sew up a fabric textbook folder in a matter of minutes! This easy sewing projects finished in just 10 minutes and is a great way to learn how to sew a zipper. Don’t be afraid, I’ll show you how it’s done step by step! Apart from being a great back to school sewing project for the little ones, it makes a great diy gift for teachers too! Finished size is perfect size for most textbooks and notebooks!
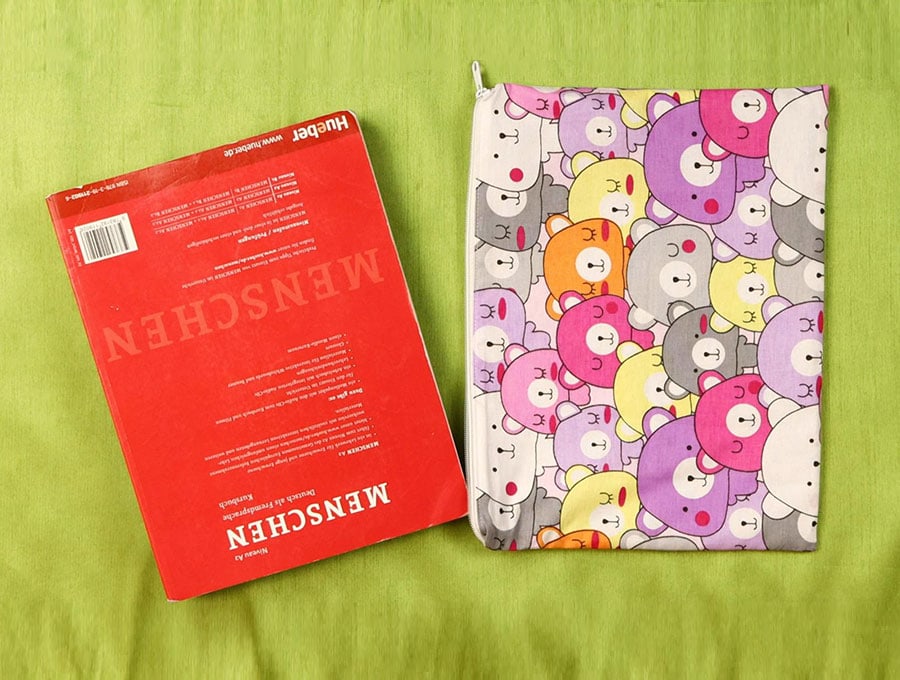
This DIY textbook cover keeps expensive school or university textbooks looking good. It can also serve as a gift for those who like to read a physical book when they travel. To change the dimensions, measure the book you want to make the cover for and add an extra couple of inches so it can slip inside the holder comfortably.
Below you will find my step by step written tutorial with VIDEO instructions for all the visual learners.
We occasionally link to goods offered by vendors to help the reader find relevant products. Some of the links may be affiliate meaning we earn a small commission if an item is purchased.
Table of Contents
How to make a fabric textbook folder
Supplies and tools
- Outer fabric:
(2) quilting cotton or medium weight home decor fabric – 13 x 10″ (33 x 25cm) - Lining:
(2) quilting cotton – 13 x 10″ (33 x 25cm) - zipper 13″ (33cm)
- matching thread
- scissors (or rotary cutter and a cutting mat)
- ruler or measuring tape
- iron and ironing board
- sewing clips or pins
- plastic snaps (you will need a sewing owl and snap pliers OR
- hook and loop dots/tape
Follow us for free patterns & tutorials! [easy-profiles]
How to Sew a fabric textbook folder
Watch the diy fabric textbook folder video first and then follow the written step by step instructions below.
Please enjoy and don’t forget to Like and SUBSCRIBE over on YouTube to be kept up to date with new videos as they come out.
DIY Fabric Textbook Folder VIDEO TUTORIAL
INSTRUCTIONS:
Finished size is 12.5 x 9.5″ (32 x 24 cm)
It is perfect for most notebooks and textbooks but can be adjusted to fit any size textbook and its accompanying notebook.
STEP 1:
Lay out the outer cover pieces, right sides up with the 13 inch (33 cm) edges parallel to the bottom of your worktop.
STEP 2:
Remove the slider from the zipper – to do this you will need to remove the tiny metal pieces at the top and bottom of the zipper. Slide off the zipper pull and your whole zipper will come apart into two pieces. Trust me, it is easier to sew it in this way!
STEP 3:
Place the zipper side face down in line with the raw edge at the top of the fabric. Clip in place. Repeat with the other side of the zipper.
STEP 4:
Pace the lining piece right side facing down, facing the right side of the outer fabric and clip into place so the zipper is sandwiched between the two layers of neatly lined up fabric.
STEP 5:
Use the zipper foot on the machine to enable you to get close to the edge of the zipper and stitch as close as possible to the zipper teeth from one end to the other. Repeat with the other piece of fabric. Remember to backtack at the start and finish.
STEP 6:
Open out the fabric so the right sides of outer and lining are outside and press on both sides close to the exposed zipper.
STEP 7:
Still using your zipper foot run a line of stitching along the top 1/8 of an inch (3mm) from the edge where the zipper meets the fabric.
STEP 8:
Lay the two sides with the outer fabric facing upwards and the zipper sides next to each other and line up. Take one zipper end and cut off ¼ inch (6mm), then seal the end with a lighter so it doesn’t fray. Place the zipper slider onto the longer piece, and then feed in the other side of the zipper slider to line up and pull the slider half way down the length of the zipper – don’t close the zipper otherwise you won’t be able to turn the fabric textbook holder!
STEP 9:
Fold the fabric so the two outer fabric sides are right side to right side and the two lining sides are right side to right side. Pin or clip the edges in place. Clip the zipper sides that extend from the fabric on top of each other.
STEP 10:
Mark a gap in the lining side of around 3 inches (7.5 cm). Then start from one side of the gap stitch all the way around the outer edge of the fabric book holder, using 1/4″ (6mm) seam allowance. Backtack at the start and finish of the gap. When you come to the corners stitch to the corner, leave the needle in the fabric, lift the presser foot and swing the fabric 90 degrees, depress the presser foot and carry on stitching for a perfect corner. At the point where the zipper ends are clipped backtack over the zipper for added strength, then keep on stitching.
STEP 11:
Trim off any excess threads, trim the corners so there is less bulk when you turn the DIY fabric textbook holder, also trim the zipper ends in line with the fabric. Use a lighter to seal the zipper ends so they do not fray.
STEP 12:
Turn the fabric textbook holder the right way out by pulling the fabric carefully through the gap you left in the side of the lining. Press out the corners and flatten the seams.
STEP 13:
Turn the raw edges of the gap under, in line with the side and give a quick press.
STEP 14:
Stitch the gap closed with a machine stitch as close to the edges as possible, backtack at the start and finish and trim excess threads.
STEP 15:
Push the lining inside so it sits neatly into the outer cover, pull the zipper closed and give the item a final press with your iron.
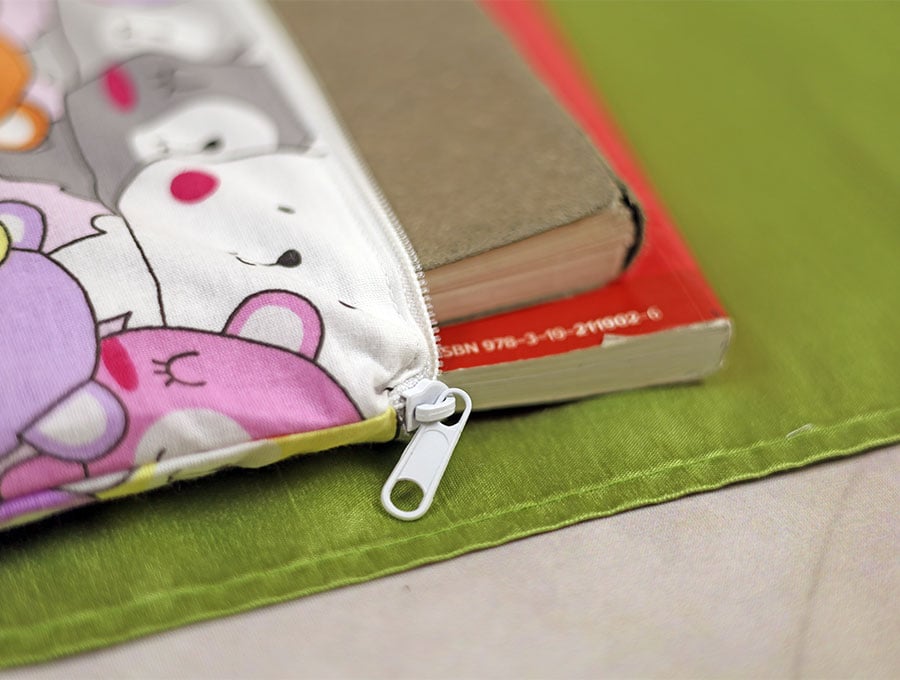
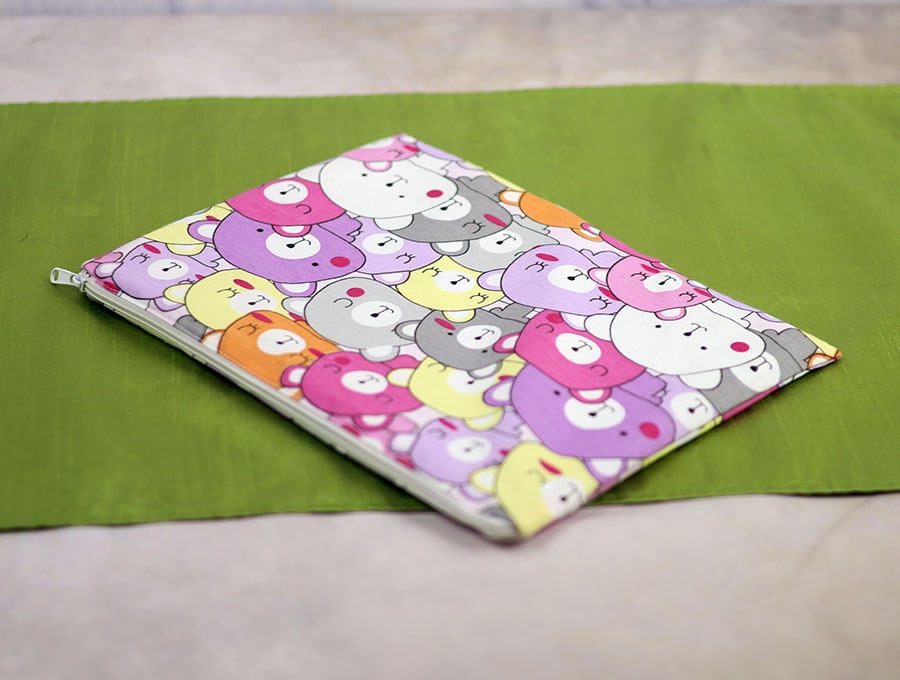
All done. You are now ready to gift the cover, or use it yourself.
This little textbook folder is perfect for keeping text books neatly in your bag together with a small notebook and perhaps even a pen. No more digging around for these items amongst the gazillion other things pupils seem to accumulate in their backpacks. You can even make it in water-resistant fabric in case of accidental small leaks or damp stuff shoved in a school or university backpack. I am going to make these for my nieces and nephews as well as a couple for my bird-watching friends who like to carry their field guide and a notebook to record their sightings. And guess what – I’ll be using a bird print! No surprises there.
For birthdays and festive occasions I would include a copy of a novel, or a field guide to whatever the person is interested in – whether it is foraging, mushrooms, or birds. It could even serve as a gift loaded with sewing supplies, a diary or stationery. If you enjoyed this really easy tutorial then please like and subscribe. And please don’t forget to share with someone you think would enjoy this tutorial.
Do you like this? Pin for later:
Wanna be friends? Click HERE and follow me on Pinterest
RELATED: