
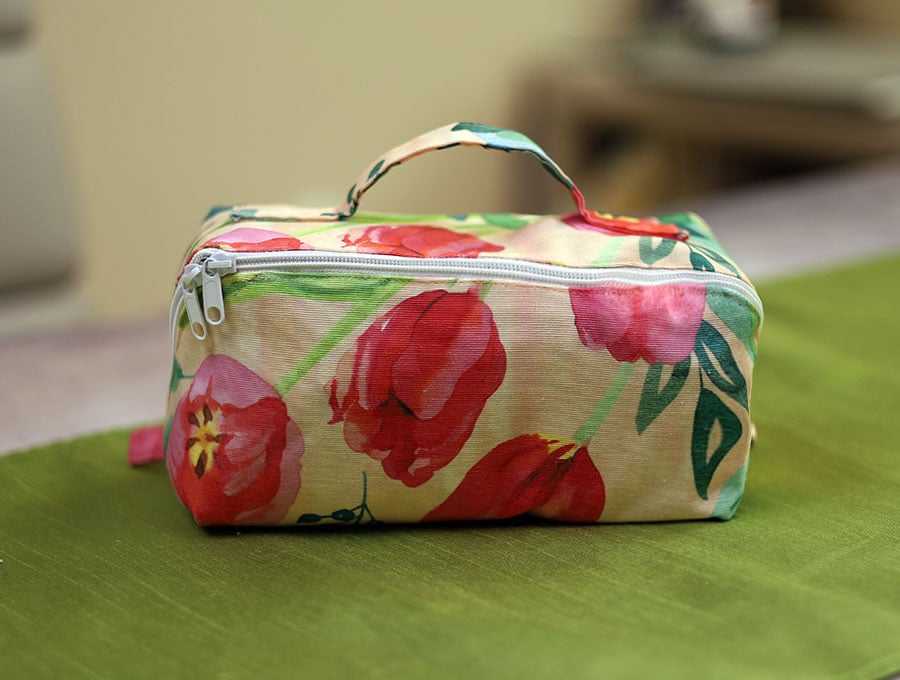
Open Wide Zip Pouch | Magic Pouch Pattern
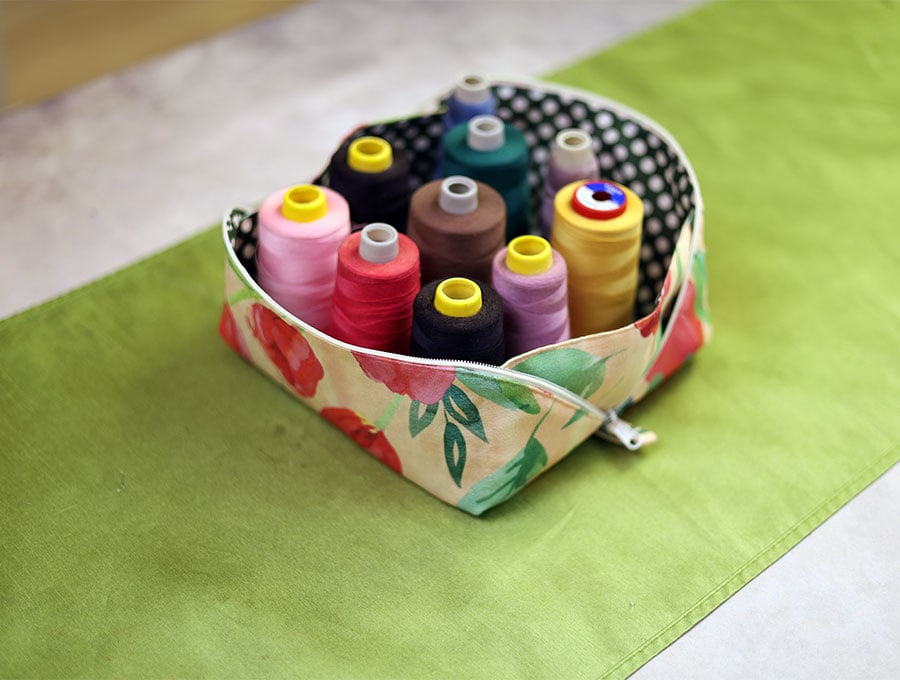
If you are tired of hunting for your stuff in a single zipper make-up purse then give our DIY wide-open zipper pouch a try. It opens up wide, allows you to select what you need without scrabbling around, and when you are done zip it up and you’re ready to roll. Perfect for travel, or for touch ups at work and on the go. The best part is everything stays in the bag so you don’t arrive somewhere and realise the item you want was left on the vanity in the last place you stayed, because everything stays in the bag.
Table of Contents
- 1
- 2 How to make a Magic Pouch
- 3
- 4 Magic Pouch Supplies and tools
- 5 How to Sew a Magic Pouch
- 5.1 Open Wide Magic Zipper Pouch VIDEO TUTORIAL
- 5.2 INSTRUCTIONS:
- 5.3 STEP 1:
- 5.4 STEP 2:
- 5.5 STEP 3:
- 5.6 STEP 4:
- 5.7 STEP 5:
- 5.8 STEP 6:
- 5.9 STEP 7:
- 5.10 STEP 8:
- 5.11 STEP 9:
- 5.12 STEP 10:
- 5.13 STEP 11:
- 5.14 STEP 12:
- 5.15 STEP 13:
- 5.16 STEP 14:
- 5.17 STEP 15:
- 5.18 STEP 16:
- 5.19 STEP 17:
- 5.20 STEP 18:
- 5.21 STEP 19:
- 5.22 STEP 20:
- 5.23 STEP 21:
- 5.24 STEP 22:
- 5.25 STEP 23:
- 5.26 STEP 24:
- 5.27 STEP 25:
- 5.28 STEP 26:
- 5.29 STEP 27:
- 5.30 STEP 28:
- 5.31 STEP 29:
- 5.32 STEP 30:
- 5.33 STEP 31:
- 5.34 STEP 32:
- 5.35 STEP 33:
- 5.36 STEP 34:
- 5.37 STEP 35:
- 5.38 STEP 36:
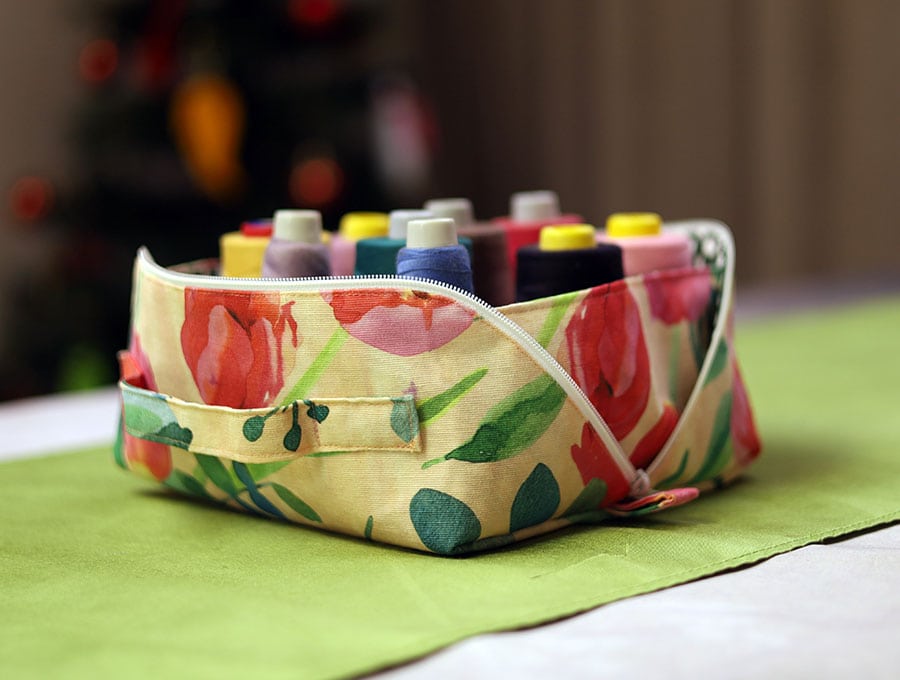
There comes a time when you seriously need a zippered pouch that opens wide so you can find what you want and lay make up out ready to use while still in the pouch. Our step-by-step instructions support the visuals, and we provide a pattern for this lined pouch with a handle. Zip it open with everything ready to use at a glance, then zip it closed and everything is in there ready for the next use.
Below you will find my step by step written tutorial with VIDEO instructions for all the visual learners.
We occasionally link to goods offered by vendors to help the reader find relevant products. Some of the links may be affiliate meaning we earn a small commission if an item is purchased.
How to make a Magic Pouch
Magic Pouch Supplies and tools
- our free magic pouch template (below)
- fabric – 2 pieces of 100% tightly woven cotton (one main, one lining)
- bias binding
- fusible interfacing
- zipper with 2 zipper pulls
- matching thread
- scissors (or rotary cutter and a cutting mat)
- ruler or measuring tape
- iron and ironing board
- sewing clips or pins
DOWNLOAD: magic pouch pattern [Free pdf file]
Follow us for free patterns & tutorials! [easy-profiles]
How to Sew a Magic Pouch
Watch the diy open wide zipper pouch video first and then follow the written step by step instructions below.
Please enjoy and don’t forget to Like and SUBSCRIBE over on YouTube to be kept up to date with new videos as they come out.
Open Wide Magic Zipper Pouch VIDEO TUTORIAL
INSTRUCTIONS:
You will need:
- 1 x piece of paper 16 x 16 inches (40 x 40 cm) to cut the pattern
Main body of bag
- 1 x outer fabric 17 x 17 inches (43 x 43 cm)
- 1 x lining 17 x 17 inches (43 x 43 cm)
- 1 x interfacing 17 x 17 inches (43 x 43 cm)
Sides of bag
- 2 x outer fabric 4 ¼ x 8 ¾ inches (11 x 22cm)
- 2 x lining fabric 4 ¼ x 8 ¾ inches (11 x 22cm)
- 2 x interfacing 3 ½ x 8 inches (9 x 20 cm)
Handle
- 1 x outer fabric 3 ¼ x 8 ¾ inches (8.5 x 22 cm)
Pull tabs
- 2 x outer fabric 3 x 2 3/8 inches ( 8 x 6 cm)
STEP 1:
Download, print and trim our free magic pouch pattern or draw your own according to the dimensions given on the video. Trim the excess paper.
STEP 2:
Place the open wide magic pouch pattern on the interfacing piece of 17 x 17 inches (43 x 43 cm) and cut out.
STEP 3:
Starting with the main body of the bag place the interfacing sticky side down on the wrong side of the square of outer fabric of 17 x 17 inches (43 x 43 cm), lining up to fit, and iron to attach as per the manufacturer’s instructions
STEP 4:
Place the outer fabric over the inner fabric, right sides facing, and pin or clip together
STEP 5:
Place the pattern over the attached interfacing, lining up so there is a gap on each end. Cut out the shape of the pattern 3/8 of an inch (1 cm) larger all round – this means when you are sewing seams you will not have the bulk of the interfacing interfering with the stitching.
STEP 6:
Take the 2 x lining fabric pieces of 4 ¼ x 8 ¾ inches (11 x 22cm) and 2 x interfacing pieces of 3 ¼ x 8 ¾ inches (8.5 x 22 cm). Lay the lining wrong side up and over each of the lining pieces place the interfacing with the sticky side down and iron to attach as per the manufacturer’s instructions.
STEP 7:
Lay out the outer fabric pieces of 4 ¼ x 8 ¾ inches (11 x 22cm) right side up next to each other, then over each one place the lining with the interfacing attached, right sides facing each other, and clip in place.
STEP 8:
Stitch around the two short edges and one long edge with a 3/8 of an inch (6mm) seam allowance, leaving the other long edge unstitched on both pieces. Backtack at start and finish. When it comes to the corners leave the needle in the fabric, lift the presser foot and swing the fabric 90 degrees, depress the presser foot and keep sewing
STEP 9:
Clip off a tiny triangle of the extra fabric at the two corners on each one to reduce bulk when turning.
STEP 10:
Turn the two pieces the right way out, pressing out the corners with a turning tool or chopstick, then press with an iron.
STEP 11:
Top stitch along the long edge that has been stitched 1/8 of an inch (3mm) from the edge of each piece, backtacking at the start and finish.
STEP 12:
Take the two pull tabs and fold each one in half on the long side. Finger press to find the middle, then turn in each raw long edge to the finger pressed fold, then fold over again, so no raw edges are visible and clip in place.
STEP 13:
Top stitch on the two folded edges 1/8 of an inch (3mm) from the edge on each tab.
Then top stitch on the other edge also 1/8 of an inch (3mm) from the edge.
STEP 14:
Grab the piece for the handle and fold in half along the length, finger pressing to find the middle, open out and fold each side in to meet the middle fold, fold again this time the opposite way to the way you did the pull tabs. You will have two raw edges showing. Clip in place.
STEP 15:
Stitch on each end 3/8 of an inch (6mm) from the edge.
STEP 16:
Trim the ends then turn, tucking in the raw edges inside of the handle. Press before top stitching all 4 sides of the handle 1/8 of an inch (3mm) from the edge.
STEP 17:
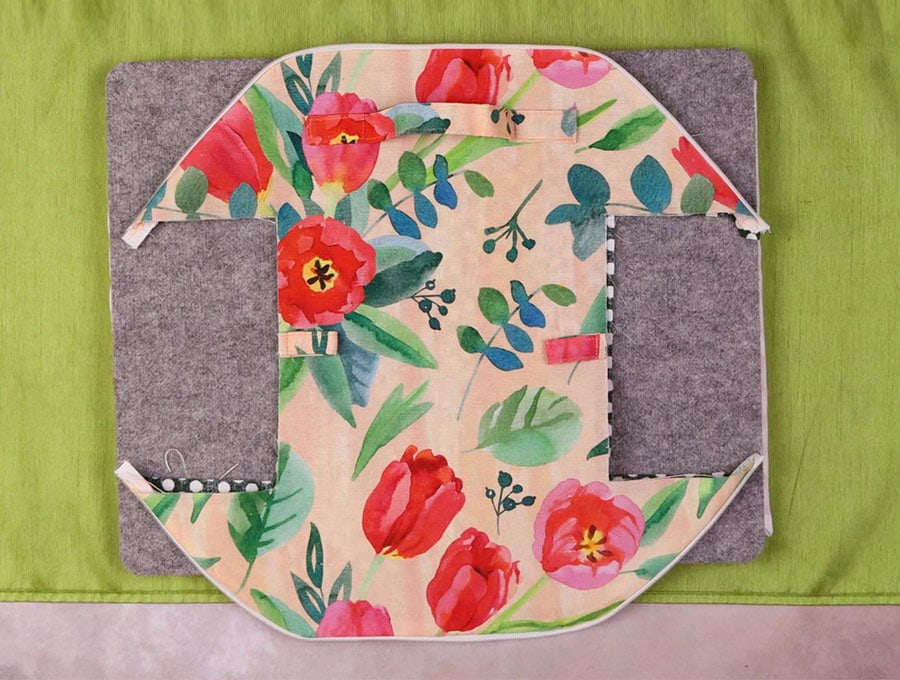
Take the outer fabric of the main body of the bag that looks a bit like a capital I and place it right side facing up on your worktop, then fold in half on the top piece and finger press to mark the middle.
STEP 18:
Measure 2 inches (5cm) down from the top finger-pressed fold and make a mark on the right side of the fabric with your fabric marking pen.
STEP 19:
Measure 3.5 inches (9 cm) on either side of the central mark you made in Step 18, and mark.
STEP 20:
Place the stitched handle piece, on the fabric, lining up the ends of the marks with ends of the handle and pin in place.
STEP 21:
Measure 1.5 inches (4 cm) in from the ends of the handle and make a mark, then stitch 1/8 of an inch (3mm) from the edge in a rectangle around each end of the handle to fasten it securely, backtacking at the start and finish.
STEP 22:
At the opposite end to where you finger pressed the middle, do the same to get the middle. Take your zipper and find the middle and mark it with a fabric marking pen on each side of the zipper teeth.
STEP 23:
Remove the zipper slide/s and pull the zipper apart, then working from the midpoint on the fabric and midpoint on the zipper clip in place, right side of zipper to the right side of the fabric.
STEP 24:
On the opposite end where you attached the handle, pin the other half of the zipper, right side to right side of the fabric, working from the middle outwards and easing to the curve.
STEP 25:
Fold the fabric in half from top to bottom of the I to find the middle and make a mark.
Take the pull tabs you created, fold in half and pin in place, with the middle of the tab lining up with the mark, and the folded end facing in towards the body of the fabric, raw edges of the tab lining up with the raw edge of the bag.
STEP 26:
Using a zipper foot attach the zipper pieces you pinned. Then using the normal foot, attach the tabs, back stitching to make sure they are secure.
STEP 27:
Take the lining piece for the main body of the bag and place it right side facing the right side of the bag, then stitch around the two ends where the zipper sides are.
STEP 28:
Make small snips on the curves so the zipper and fabric lie flat when turned.
STEP 29:
Turn the right way out and press so the zipper lies flat against the fabric.
STEP 30:
Stitch all the way around the bag 1/8 of an inch (3mm) from the edge, across the raw edges too.
STEP 31:
With the lining uppermost, line up the zipper ends and slide on the pulls at each end.
STEP 32:
Trim off any excess zipper ends, line up the sides, clip and stitch, 3/8 of an inch (6mm) in from the edge. Repeat on the other end of the zipper.
STEP 33:
Take the side pieces and line them up with raw edges to raw edges and lining acing up. Clip in place then stitch.
STEP 34:
To hide the raw edges attach the bias binding by folding over the end and clipping in place over the raw edges, finishing by trimming off excess binding and folding under. Repeat with the other side of the bag.
STEP 35:
Attach the binding – you may have to switch to a thicker needle as there are quite a few layers to stitch through.
STEP 36:
Turn the bag the right way out, line up the sides and pin the top, then hand stitch the top of the sides in place.
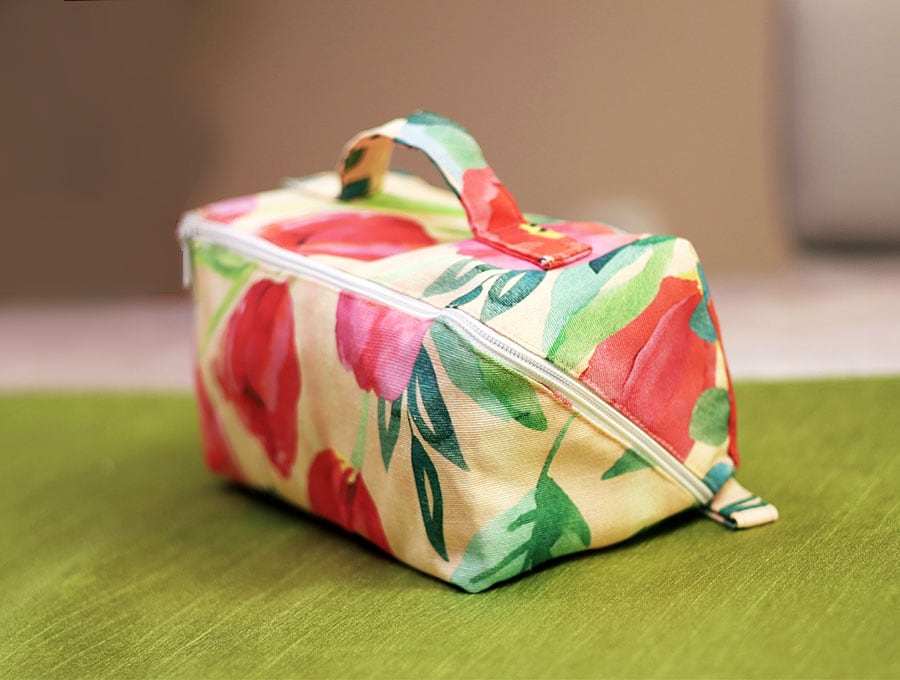
Zip up the bag and it is ready to pack it with make-up. This is great for travel as it is washable, opens up wide and holds everything securely in one place. If you enjoyed making this then give us a like and subscribe to be the first to know about more useful projects.
Do you like this? Pin for later:
Wanna be friends? Click HERE and follow me on Pinterest
RELATED: