
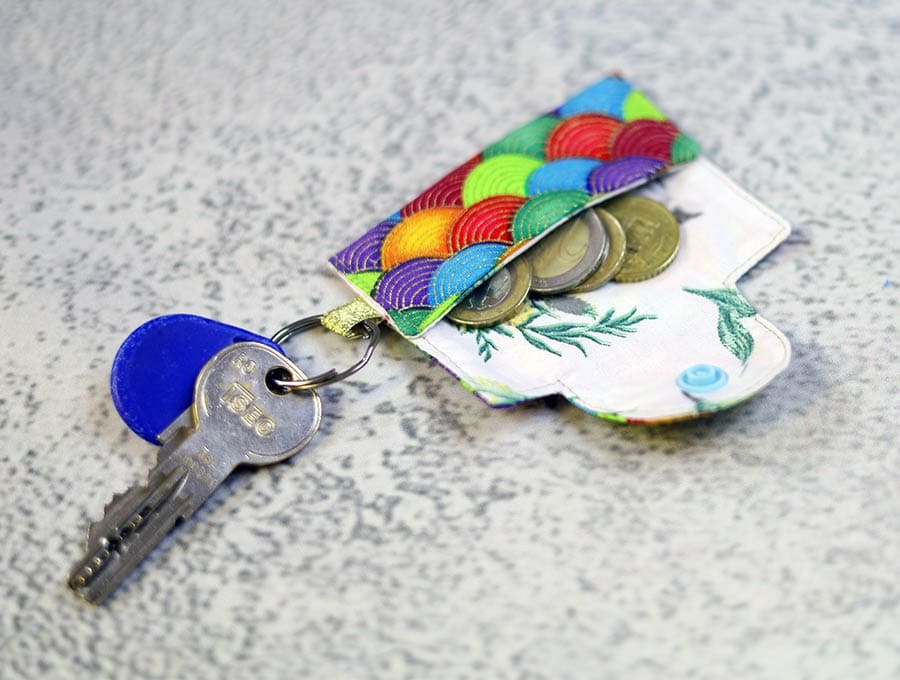
Micro Snap Coin Pouch Keychain [Sewing Pattern + VIDEO]
Learn how to sew this handy micro snap coin pouch keychain. Sew this item in minutes using small pieces of leftover fabric from your stash. Keep your coins handy on a keychain so you have them with you wherever you go – donate to a worthy cause, or for a snap decision to buy a small item. This mini purse is ideal instead of putting yourself at risk of having your wallet stolen when all you need is a few coins. Get the snap coin pouch pattern now and let’s get sewing!
Below you will find my step by step written tutorial with VIDEO instructions for all the visual learners.
We occasionally link to goods offered by vendors to help the reader find relevant products. Some of the links may be affiliate meaning we earn a small commission if an item is purchased.
Table of Contents
How to make the micro snap coin pouch

Supplies and tools
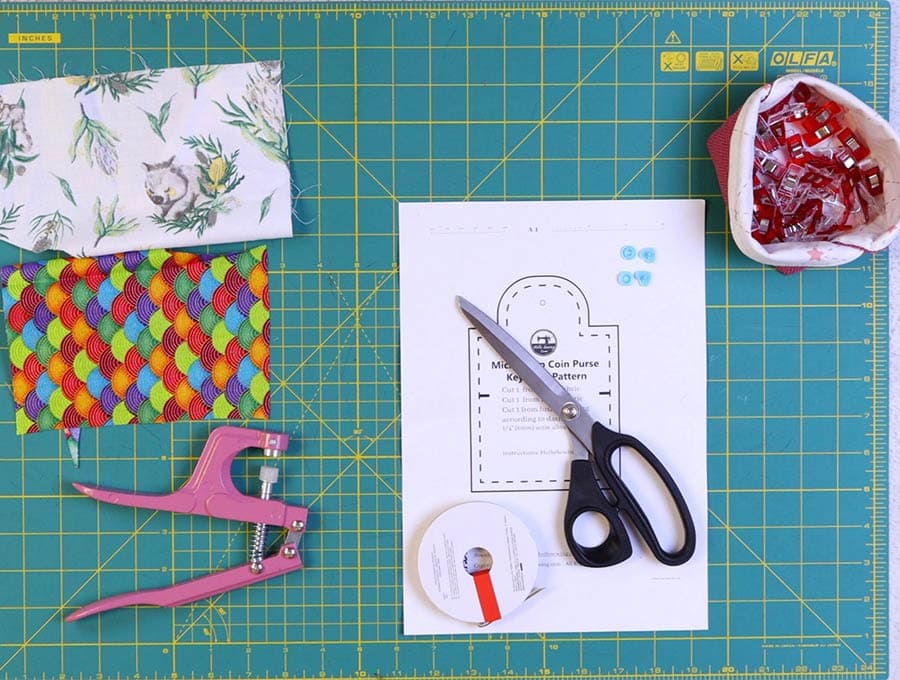
- fabric – 2 pieces of 100% tightly woven cotton (one main, one lining)
- fusible interfacing
- Piece of ribbon 3 inches (7.5 cm)
- matching thread
- scissors (or rotary cutter and a cutting mat)
- ruler or measuring tape
- iron and ironing board
- sewing clips or pins
- plastic snaps (you will need a sewing owl and snap pliers
- fabric marking pen
DOWNLOAD: micro snap coin pouch pattern [Free pdf file]
Follow us for free patterns & tutorials! [easy-profiles]
How to Sew a Micro snap coin pouch
Watch the diy micro snap coin pouch video first and then follow the written step by step instructions below.
Please enjoy and don’t forget to Like and SUBSCRIBE over on YouTube to be kept up to date with new videos as they come out.
mini snap coin pouch VIDEO TUTORIAL
INSTRUCTIONS:
STEP 1:
Print micro snap coin pouch template onto a piece of paper and cut it out.
STEP 2:
Cut a piece of the outer fabric, the lining and the interfacing all from the same pattern.
STEP 3:
Fuse the sticky (rough) face of the interlining to the wrong side of the outer fabric using your iron, according to the manufacturer’s instructions.
STEP 4:
Transfer the marking for the snap to the right side of the outer fabric.
STEP 5:
Transfer the markings at the side of the pattern to the wrong side of the lining.
STEP 6:
Place the outer fabric right side up on your worktop and over it place the lining, wrong side up.
STEP 7:
On the left-hand side, use a fabric marking pen to mark a 2-inch (5 cm) gap for turning on the lower side, with a solid line so you don’t risk stitching over the gap.
STEP 8:
Clip the pieces together. You may want to transfer the dotted lines from the pattern for the seam allowance to guide you – particularly for the corners.
STEP 9:
Starting at the lower end of the gap, stitch around the edge, with a ¼ of an inch (6 mm) seam allowance until you reach the other end of the gap. Backtack at the start and finish. Remember that to get a neat corner we stitch to the edge of the marked seam allowance, leave the needle down in the fabric, lift the presser foot, swing the fabric around with the needle still down, depress the presser foot, and continue stitching for a perfect corner.
STEP 10:
Snip a little triangle off the four sharp corners to reduce the bulk when turning the right way out. Also snip around the curve of the top of the flap so the curve lies flat when turned.
STEP 11:
Finger press the raw edges of the gap in line with the seam, then turn the right way out by pulling the fabric gently through the gap.
STEP 12:
Use a turning tool to ensure the seams are all neatly pressed out and flat, then give the project a quick press with your iron, making sure the edges of the gap are in line with the rest of the fabric.
STEP 13:
Cut a piece of ribbon 3 inches (7.5 cm) in length, fold and insert into the gap, making sure it is below the mark on the pattern where the purse folds over. Clip in place.
STEP 14:
Fold up the base to the marks made to create the pouch and clip in place. Top-stitch around the whole edge of the purse 1/8 of an inch (3 mm) from the edge, starting from where the ribbon is inserted and ending by backtacking over the ribbon. Also, backtack over the top where the sides of the pouch are to reinforce the stitching.
STEP 15:
Attach the snap fastener in the position you marked on the outer fabric, then put the expected number of coins in the purse, wrap it around and make a mark where the other side of the stud should go, and attach the stud. The reason you fill the purse with coins first is to make sure that the stud is correctly positioned, otherwise you may not be able to fill the purse if it is incorrectly positioned.
STEP 16:
Attach the ribbon to your keychain, or to a clip in your handbag or backpack and always have the spare change you need ready at hand without having to dig around for it.
A few spare minutes, a few tiny bits of fabric, a snap fastener and you’ll have a secure little coin purse to attach to a clip, making it easy to find in a backpack or larger bag. You’ll love the convenience of having coins ready to use, plus we supply the free printable sewing pattern.
Love this tutorial – then share with a friend, hit the like and subscribe button to have all HelloSewing’s newest ideas first.
Do you like this? Pin for later:
Wanna be friends? Click HERE and follow me on Pinterest
RELATED: