
DIY Pint Ice Cream Cozy with Sewing Pattern
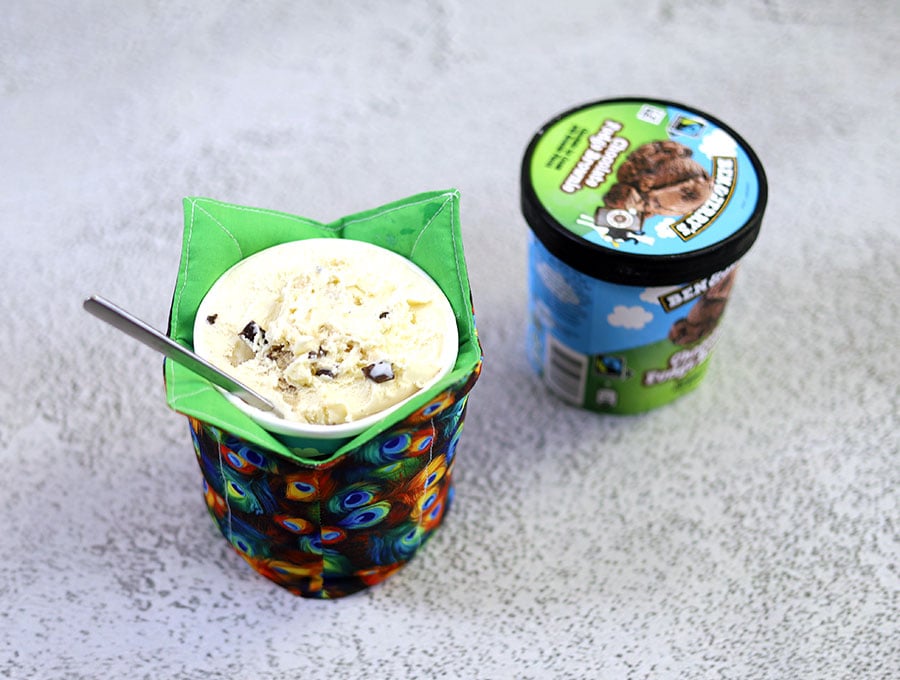
Tired of frozen fingers while enjoying your favorite pint of ice cream? Do you hate the thought of putting a naked pint ice cream container on the table when you have dinner guests? Enter the stylish ice cream cozy – designed to keep ice cream cool. Whip up this quick and clever reversible ice cream cozy! With just a few scraps of fabric, you can keep your hands comfy and your ice cream perfectly chilled. Make a couple to decorate your table and allow guests to choose their favorite flavor. Yum.
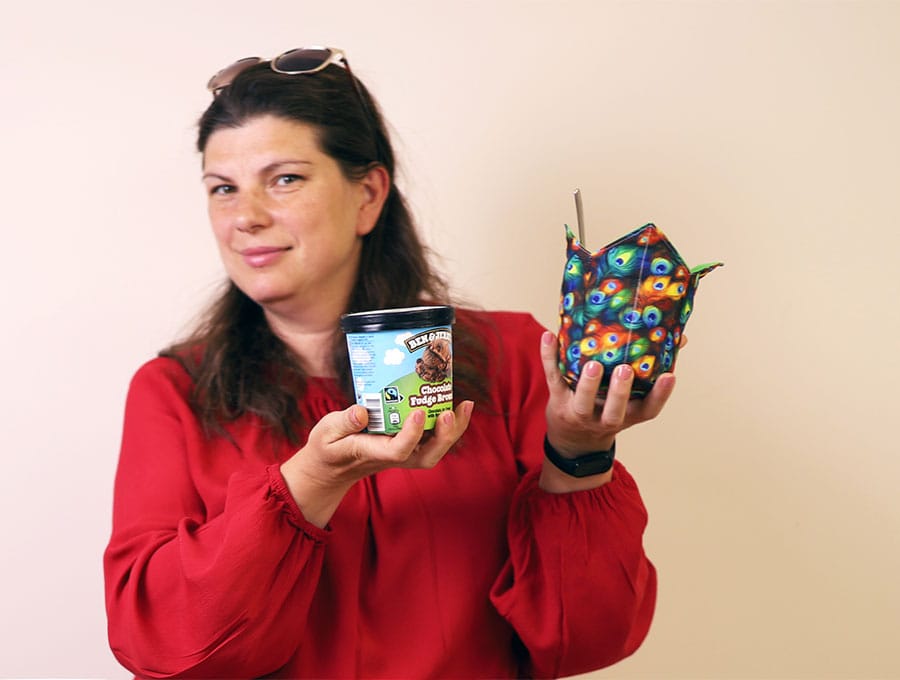
PS: The pint ice cream cozy also stops your hands freezing when you’re having a late night ice cream snack straight from the container.This beginner-friendly pattern is fast, fun, and makes a great gift or stash-busting project. Choose your favorite prints for a custom look—flip it inside out for a fresh style anytime. Grab your sewing machine and let’s get started!
Below you will find my step by step written tutorial with VIDEO instructions for all the visual learners.
We occasionally link to goods offered by vendors to help the reader find relevant products. Some of the links may be affiliate meaning we earn a small commission if an item is purchased.
Table of Contents
How to make the Ice Cream Cozy
Supplies and tools
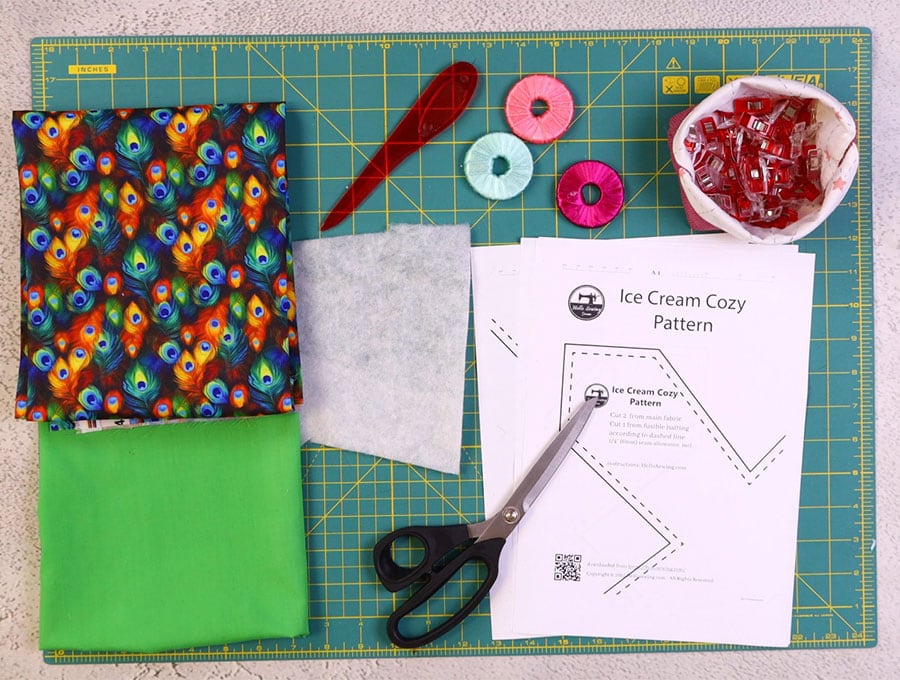
- fabric – 2 pieces of 100% tightly woven cotton (one main, one lining)
- fusible batting
- matching thread
- scissors (or rotary cutter and a cutting mat)
- ruler or measuring tape
- iron and ironing board
- sewing clips or pins
DOWNLOAD: pint ice cream cozy pattern[Free pdf file]
Follow us for free patterns & tutorials! [easy-profiles]
How to Sew a Pint Ice Cream Cozy
Watch the diy ice cream cosy video first and then follow the written step by step instructions below.
Please enjoy and don’t forget to Like and SUBSCRIBE over on YouTube to be kept up to date with new videos as they come out.
Ice Cream Cozy VIDEO TUTORIAL
INSTRUCTIONS:
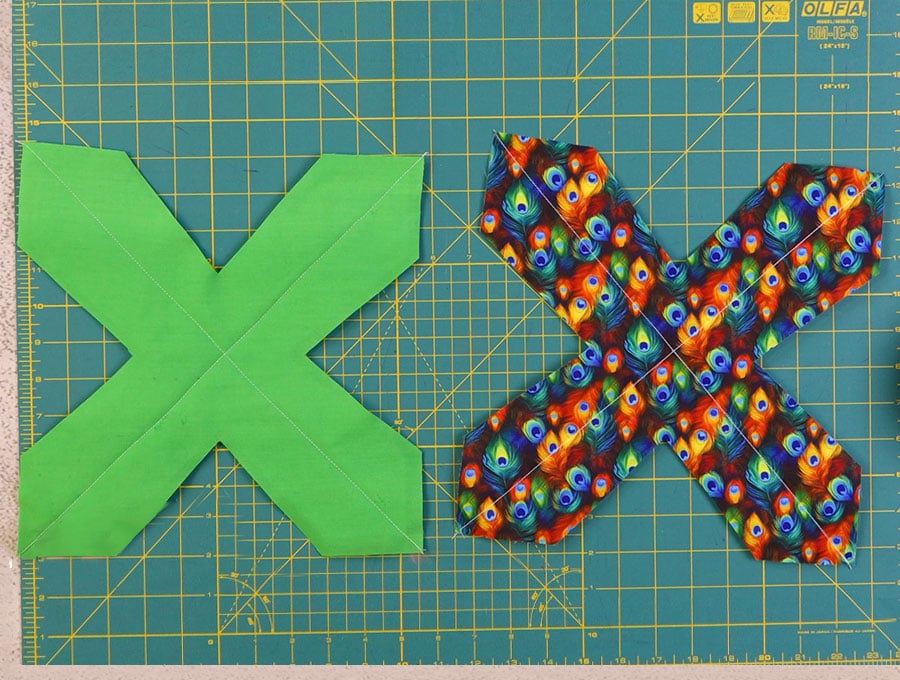
STEP 1:
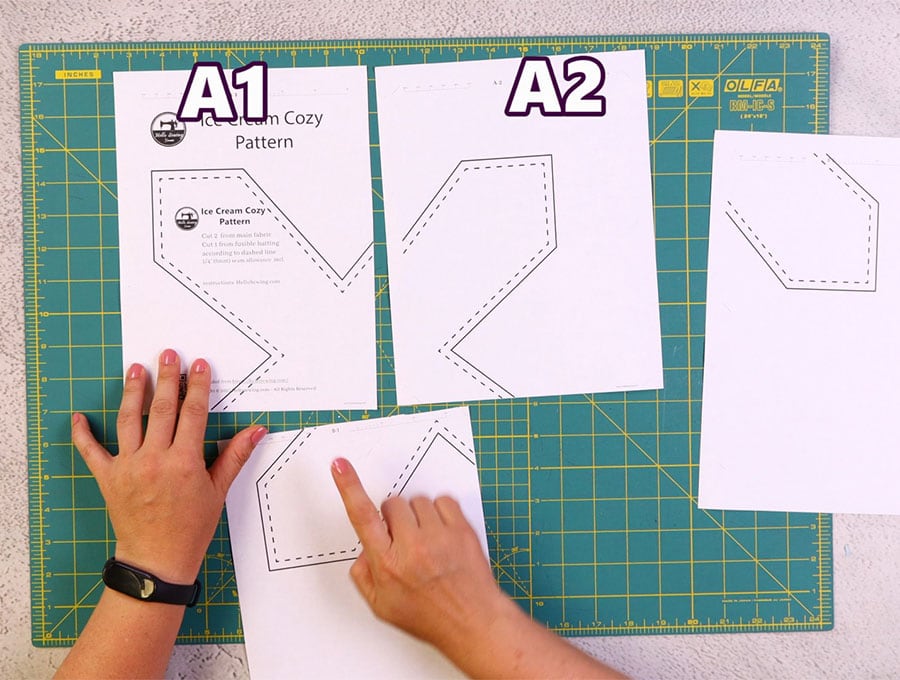
Print out our free ice cream cozy template and cut out, then match up the pieces A1 to A2 and B1 to B2 so you have what looks like an X shape.
STEP 2:
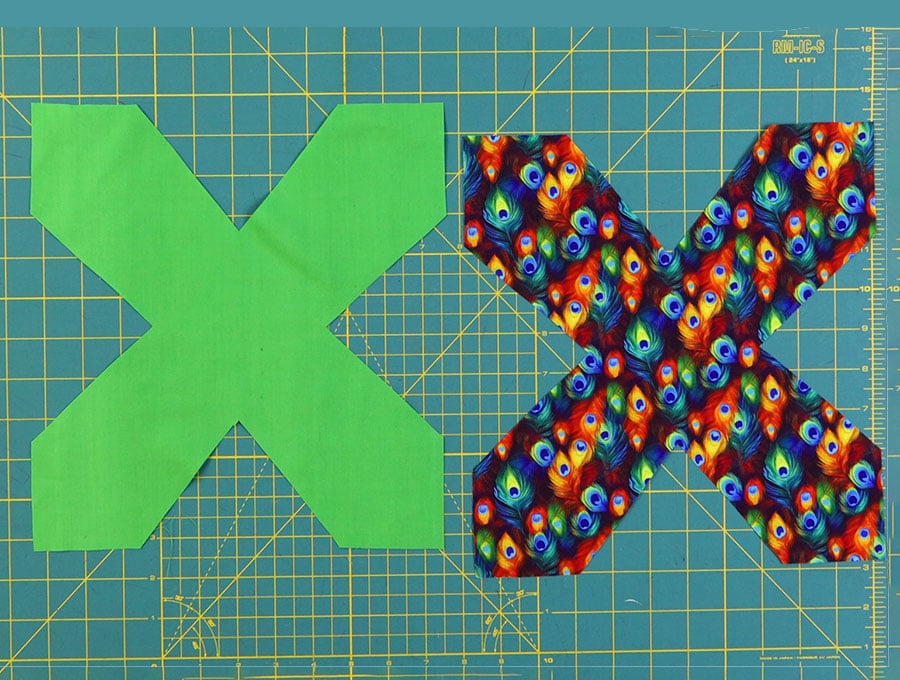
Grab a piece of outer fabric and lining fabric that will fit the pattern, lay them out on your worktop, right side to right side, weight down, then cut out using a rotary cutting and self-healing cutting mat or pin in place and use scissors.
STEP 3:

Trim off the solid lines on the pattern by cutting along the dotted lines to give you the pattern for the batting. (If you’re going to make a few of these I suggest printing out two copies of the pattern so you can keep both for future projects.)
STEP 4:

Lay the trimmed pattern over a piece of batting fabric and cut out 2 of the shapes.
STEP 5:
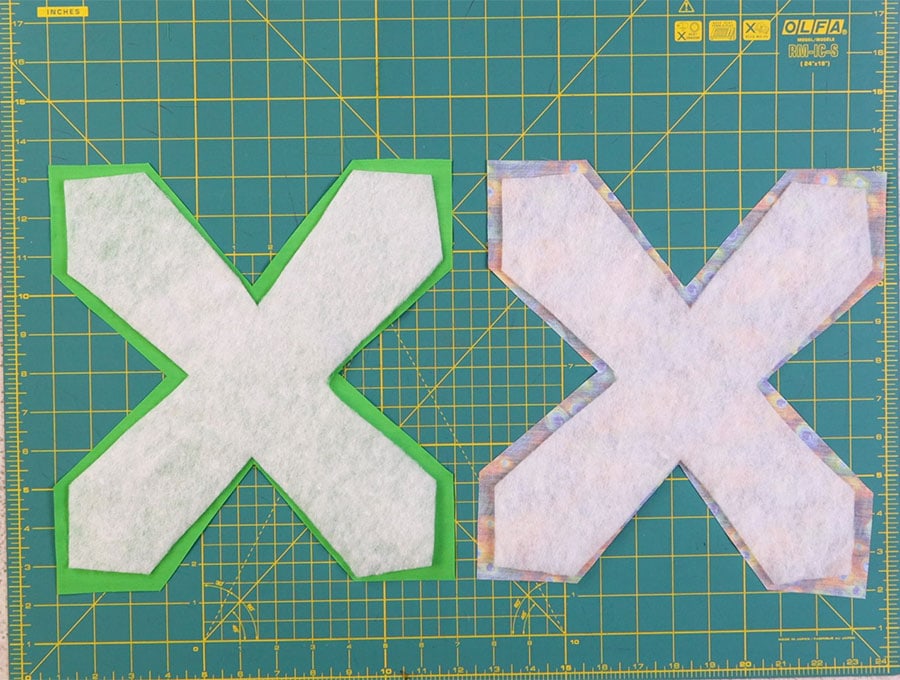
Place main fabric and lining fabric with the wrong side up on your worktop and use some fabric spray adhesive to spray on the batting pieces before placing them glued side down, one on the lining and one on the main fabric. Alternatively you could use fusible batting, if you have, and simply fuse to the fabric with your iron – just remember to place the sticky, fusible, side down on the fabric.
STEP 6:
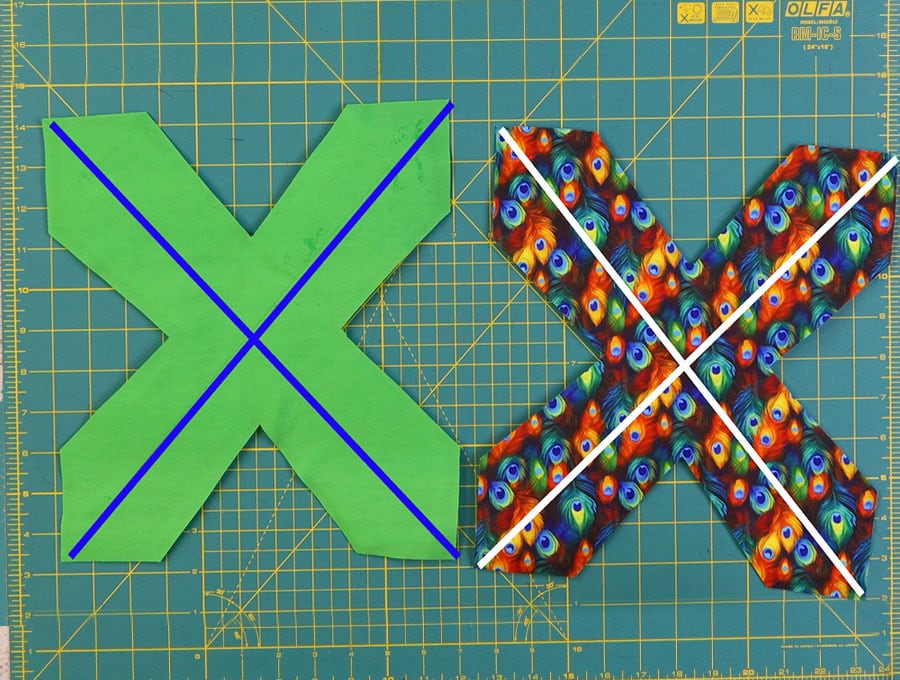
Use a fabric marking pen on the right side of the main fabric and the lining, to join the points on the X shape to the ones on the opposite side, marking an X on the fabric.
STEP 7:
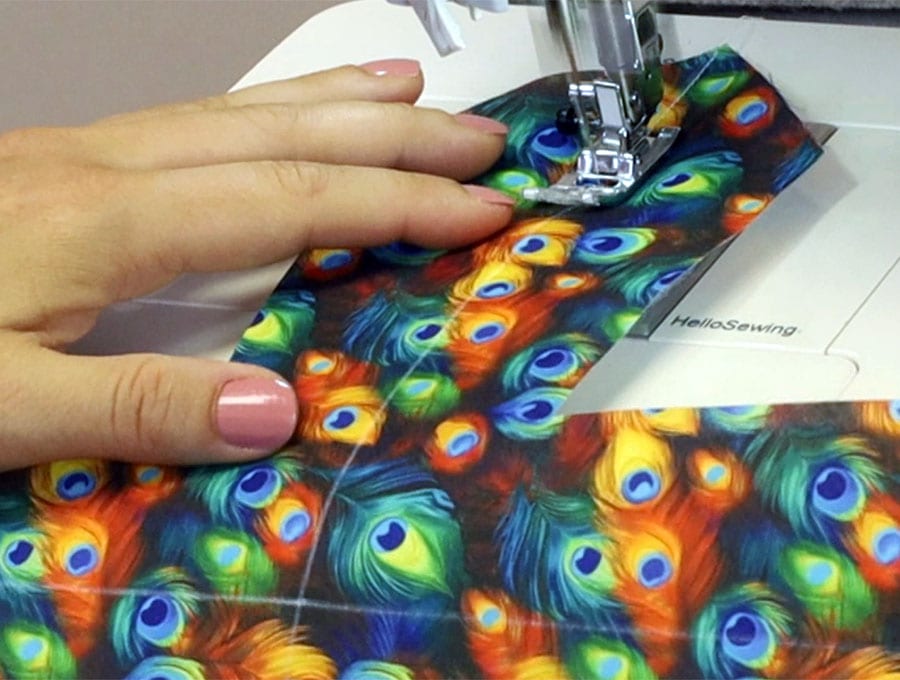
Stitched along the marked lines to create a quilted effect on each piece.
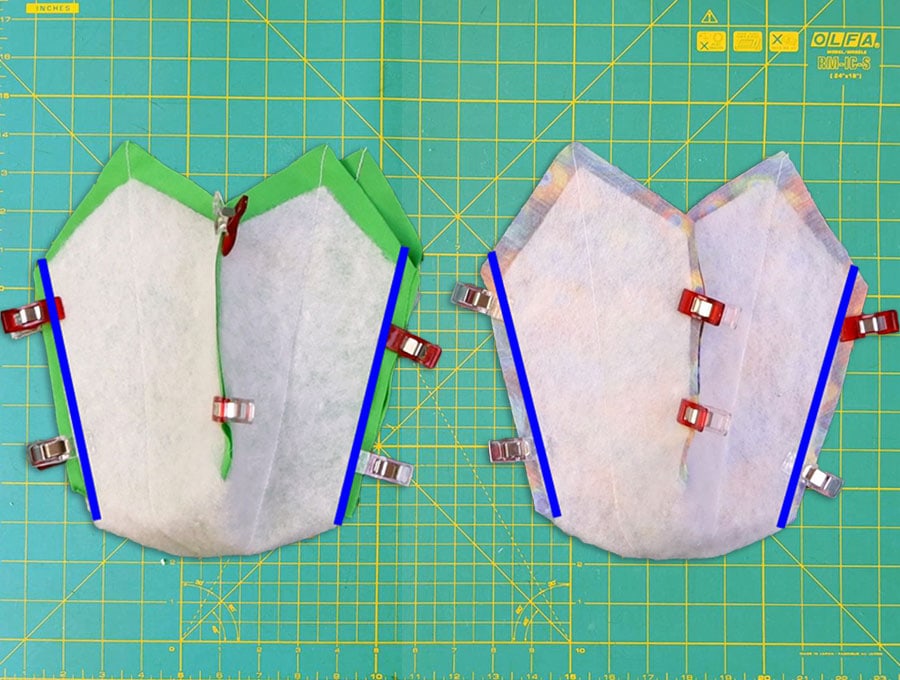
STEP 8:
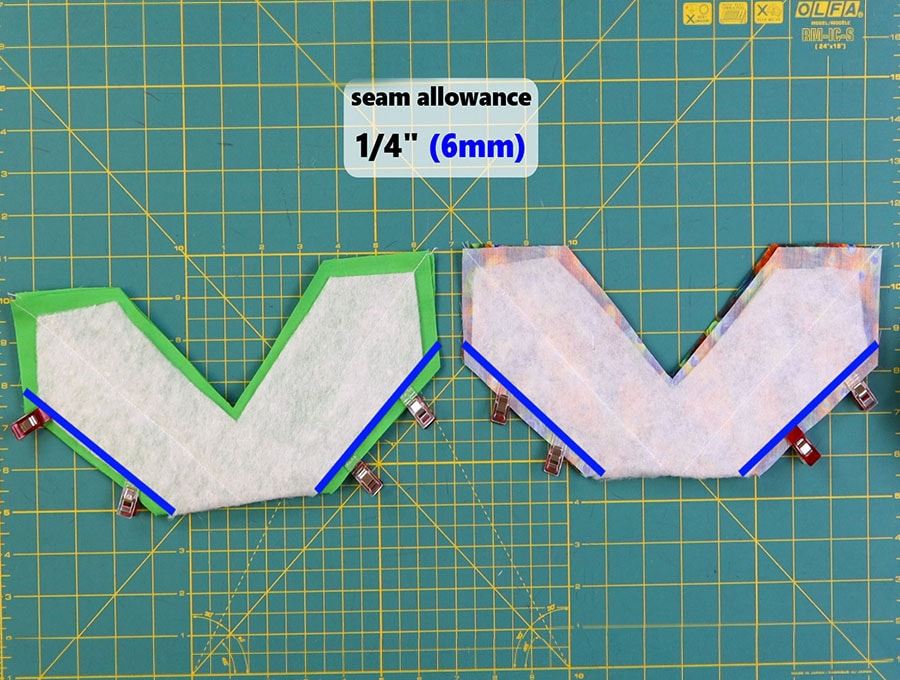
Lay the lining and the outer fabric side by side on your worktop then fold the bottom of the X upward over the top half of each piece to create a V shape and clip in place.
STEP 9:
Stitch along the outer edges of the V shapes using a ¼ inch (6 mm) seam allowance.
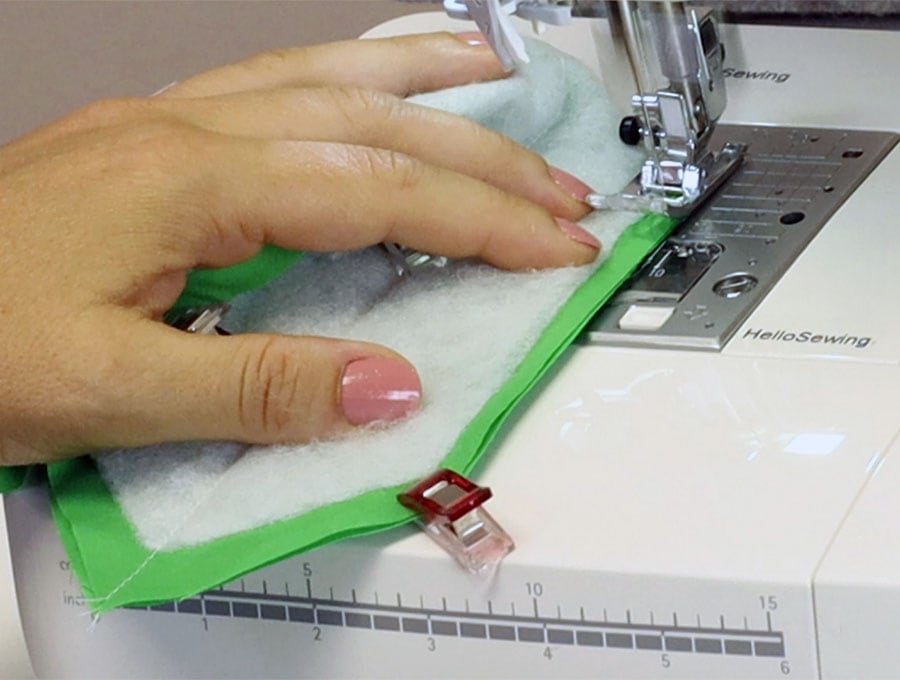
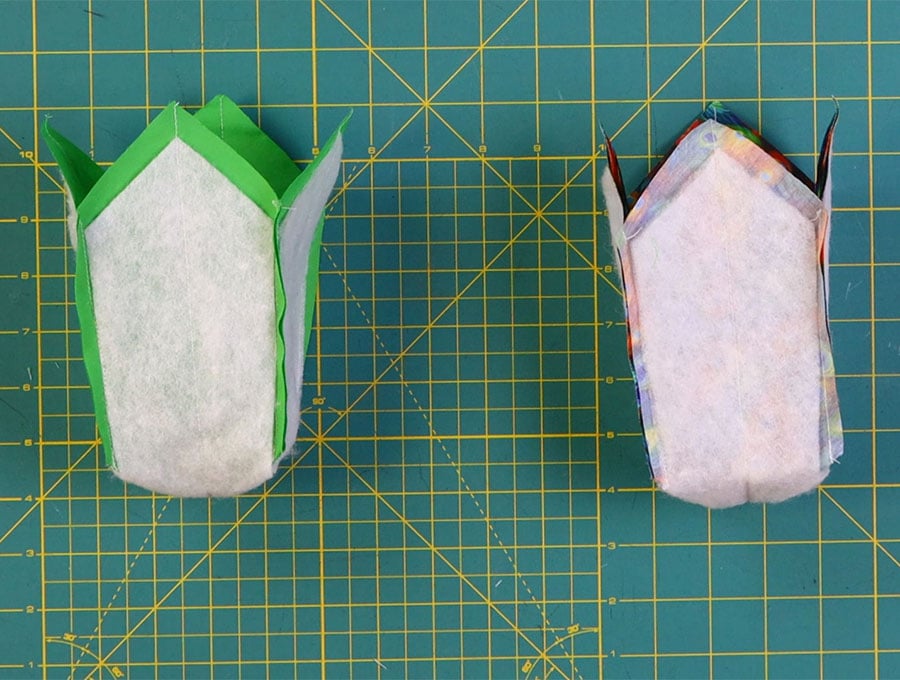
STEP 10:
Now take the inner sides of the V and pin together and stitch using a ¼ inch (6 mm) seam allowance.
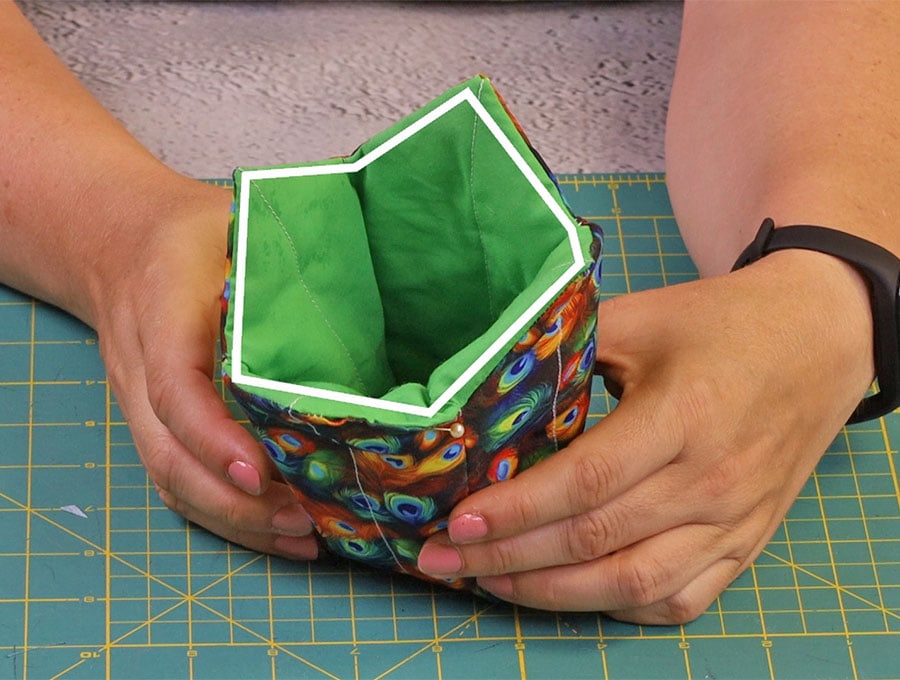
STEP 11:
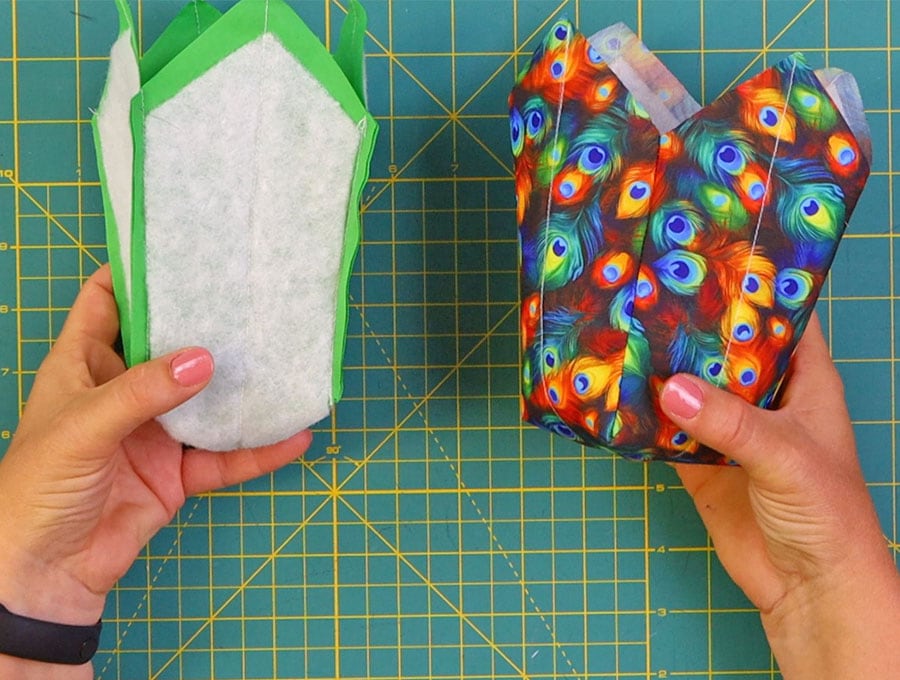
Take the outer fabric shape and turn it the right way out, then slip it inside the lining shape. Right sides will be facing each other and the batting sides will be on the outside.
STEP 12:
Line up the seams for the outer and the lining clip in place on the seams and on the points, making sure they align neatly.
STEP 13:
Mark a gap on any one of the points between the seam and the top of the point. This is where you will pull the pint ice cream cozy the right way out.
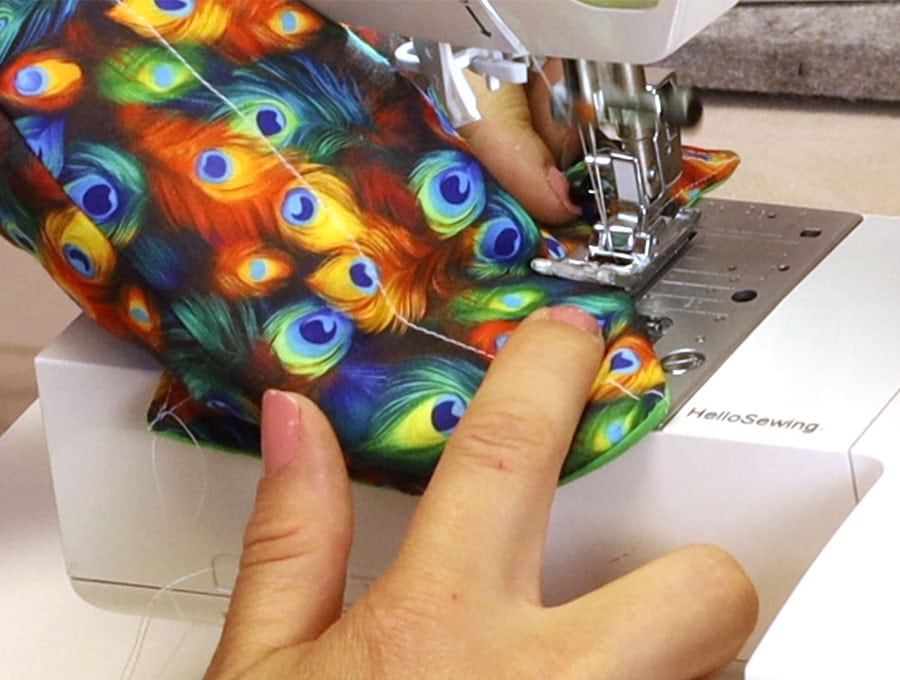
STEP 14:
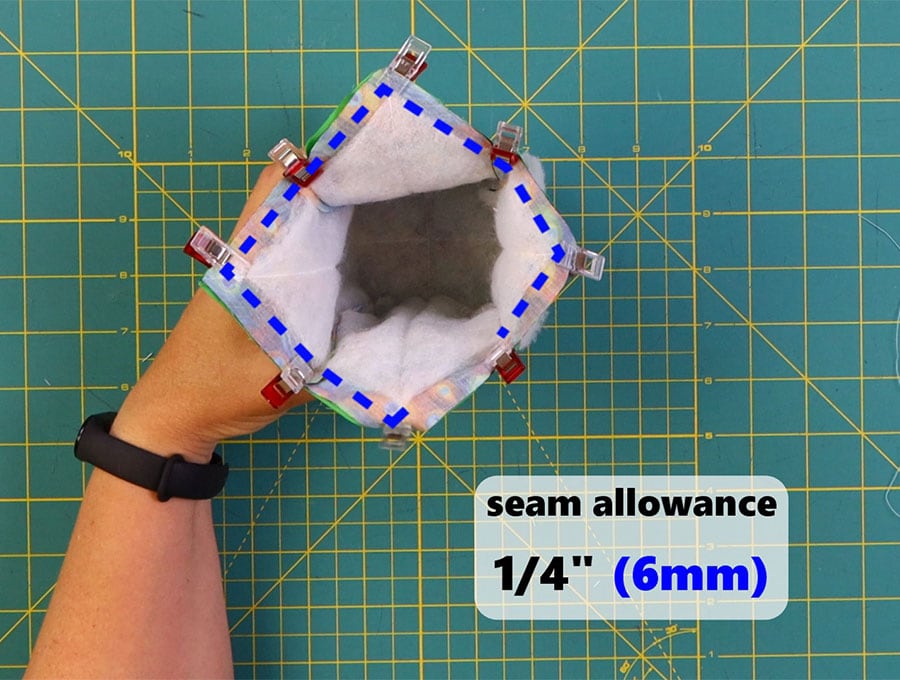
Stitch around the top edge ¼ inch (6 mm) from the edge. Take care at the points and the seam area to leave the needle down in the fabric at that point and lift the presser foot, swing the fabric, then depress the foot and start stitching for a neat turn. Backtack before and after the gap.
STEP 15:
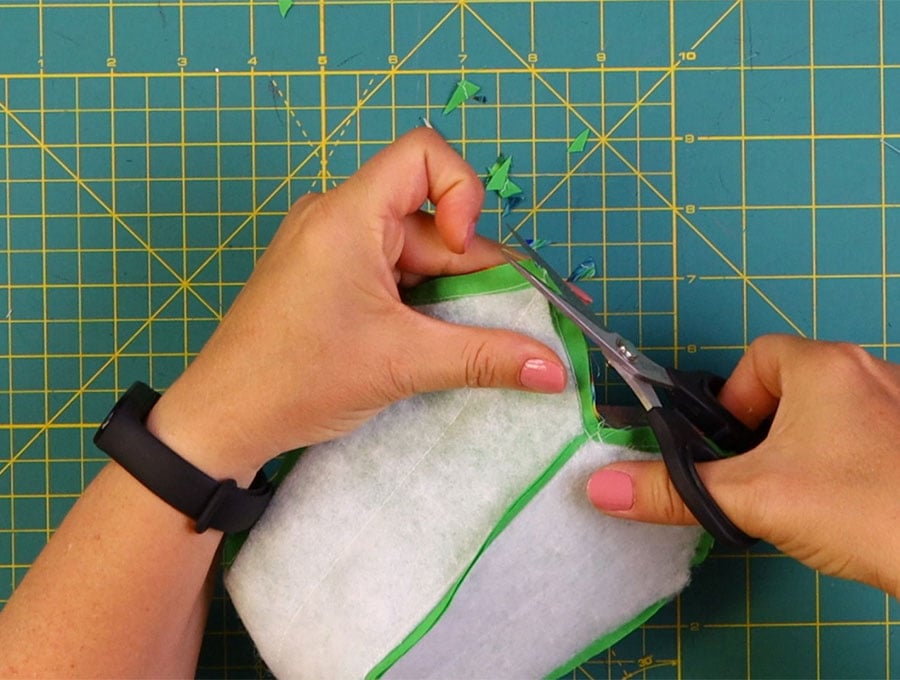
Snip out a small V shape where the four seams are, then snip off the tops of the points. This all to reduce bulk when the pint ice cream cozy is turned the right way out.
STEP 16:
Turn the ice cream cozy the right way out by pulling the fabric through the gap. Use a turning tool to press out the points neatly.
STEP 17:
Turn in the raw edges of the gap in line with the seam and insert a pin to hold the gap together. Push the lining into the outer fabric and make sure it sits neatly together.
STEP 18:
Top stitch around the edge as close to the edge as possible, including the gap area. Take care with the points and V shapes to ensure they are accurately done leave the needle down in the fabric when you reach a turn then lift the presser foot, swing the fabric, then depress the foot and start stitching for a neat turn.
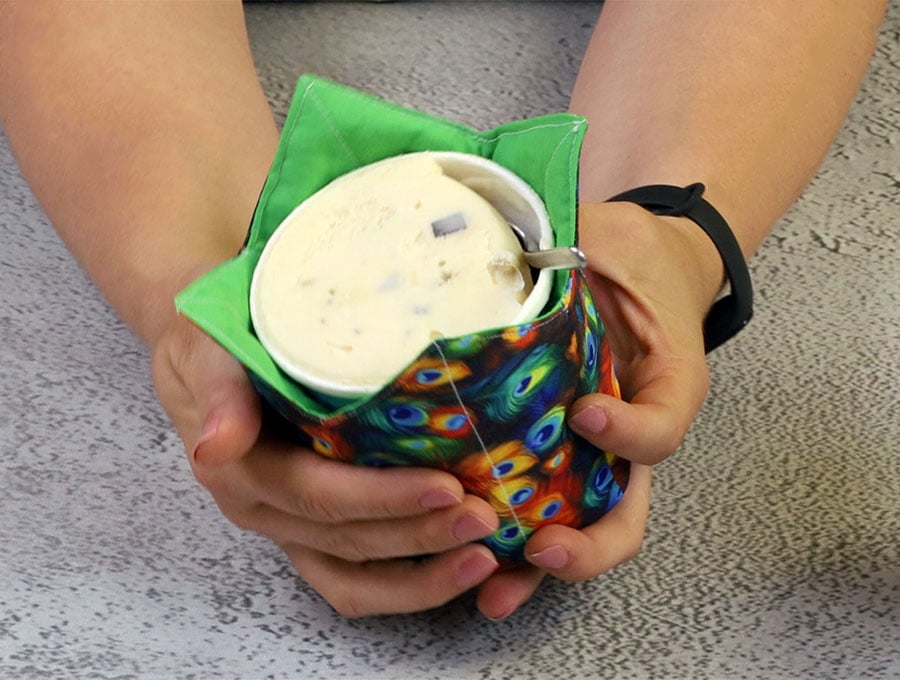
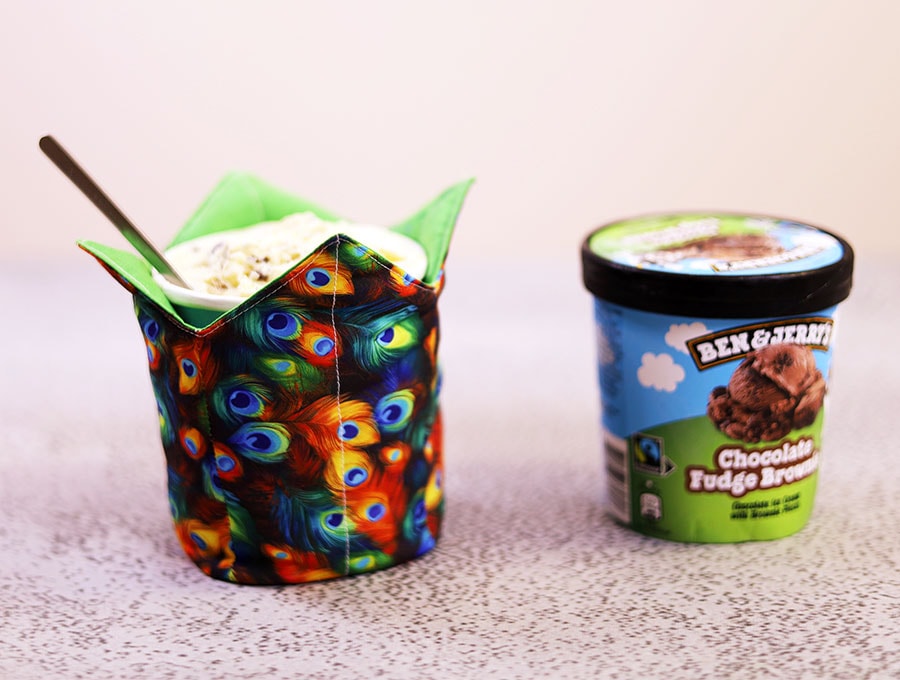
All that remains is to pop the pint ice cream in the cover to save yourself from cold fingers when you’re indulging in a treat. These also look festive on a dinner table where you have a couple of flavors to ensure everyone gets their favorite.
All you need are a few minutes, a little fabric from your stash, our free printable pattern and soon you’ll have a pint ice-cream cozy that keeps your ice cream cold a little longer at the dinner table, or stops your hands from freezing as you dig into that delicious stuff as a late night treat!
Did you love this tutorial. Let us know with a like and hit that subscribe button for more fun tutorials delivered to you as they drop on our channel and website.
Do you like this? Pin for later:
Wanna be friends? Click HERE and follow me on Pinterest
RELATED: