DIY Pot Handles and Lid Holder
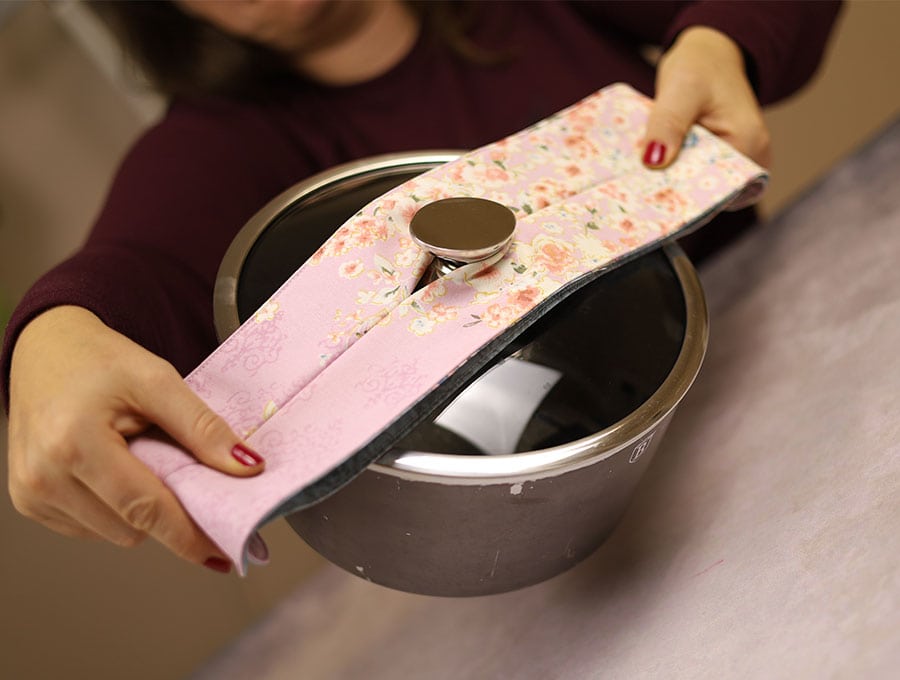
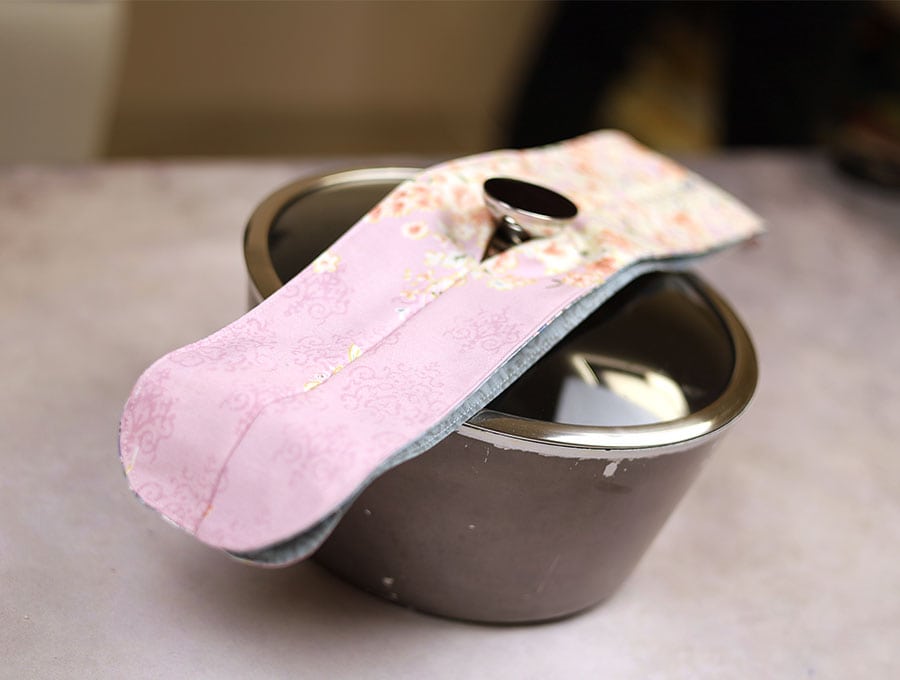
This little invention is so neat – it keeps the lid firmly on the pot while removing it from the stove with the insulated fabric that wraps over the handles. Follow our step-by-step instructions to make this nifty little item for your kitchen and for all your friends who would benefit from being able to hold a pot firmly with the lid in place when moving it from the stove top to the serving table. It prevents the lid moving and spilling the contents if you accidentally tip the pot a bit as you move it. Print out the instructions and follow the steps for a quick and useful project.
Once you have made this DIY pot lid and handle holder you’ll be impressed with the clever design. All you need is four strips of fabric, some batting and you are on your way to creating a very useful little fabric gadget. No more pot lids slipping off or hot liquid slopping out and burning the cook! Enjoy creating this from your fabric stash pieces. They make particularly useful gifts too.
Below you will find my step by step written tutorial with VIDEO instructions for all the visual learners.
We occasionally link to goods offered by vendors to help the reader find relevant products. Some of the links may be affiliate meaning we earn a small commission if an item is purchased.
Table of Contents
How to make a Pot lid and handle holder
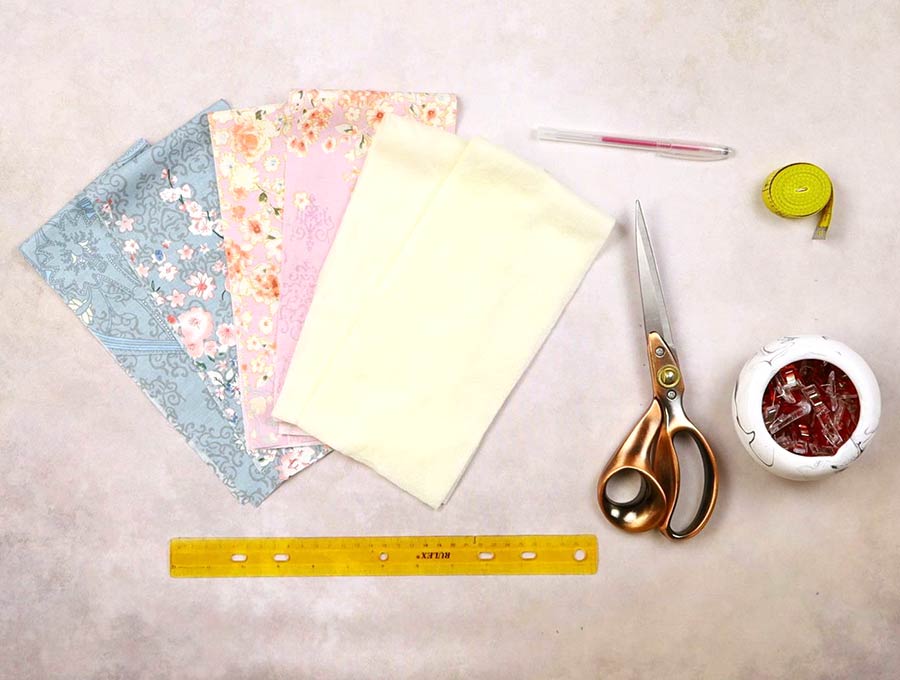
Supplies and tools
- accent fabric -woven cotton – 20 x 10 inches (50 x 25cm)
- main fabric – woven cotton – 20 x 10 inches (50 x 25cm)
- batting – 20 x 10 inches (50 x 25cm)
- matching thread
- scissors (or rotary cutter and a cutting mat)
- ruler or measuring tape
- iron and ironing board
- sewing clips or pins
-
Pinking shears (optional)
DOWNLOAD: pot handles and lid holder pattern [Free pdf file]
Follow us for free patterns & tutorials! [easy-profiles]
How to Sew a Pot /Pans lid and handle holder
Watch the diy pot lid and handle holder video first and then follow the written step by step instructions below.
Please enjoy and don’t forget to Like and SUBSCRIBE over on YouTube to be kept up to date with new videos as they come out.
pot lid and handle holder VIDEO TUTORIAL
INSTRUCTIONS:
STEP 1:
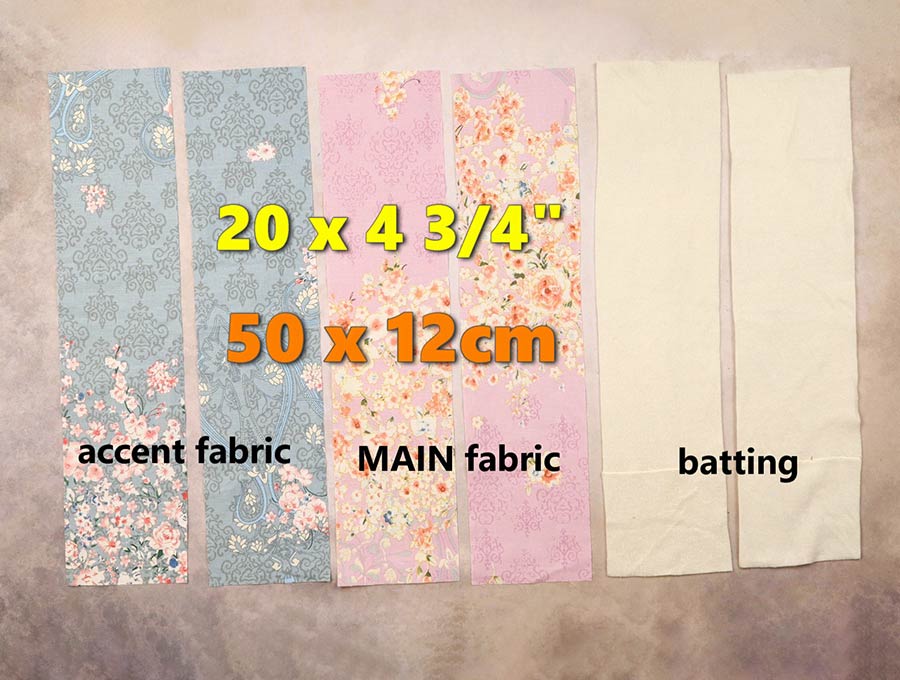
Cut your fabrics and batting. You will need:
- 2 x accent fabric – 20 x 4 ¾ inches (50 x 12 cm)
- 2 x main fabric – 20 x 4 ¾ inches (50 x 12 cm)
- 2 x batting – 20 x 4 ¾ inches (50 x 12 cm)
STEP 2:
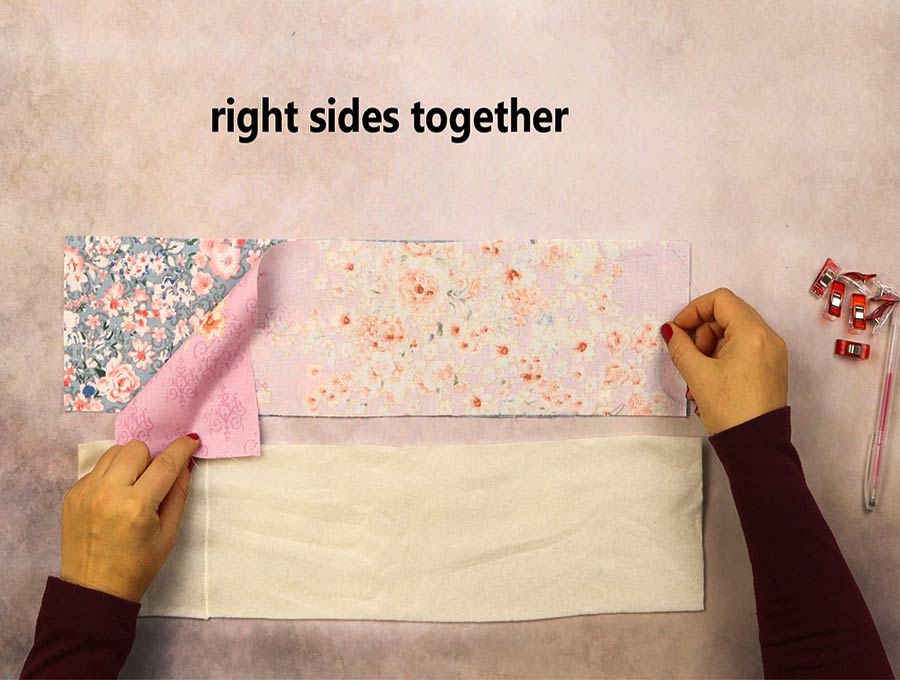
Place your accent fabric right side up on your worktop, then over it right-side facing down, place the main fabric, then on top of that your batting fabric.
Repeat for the other set of fabrics.
STEP 3:
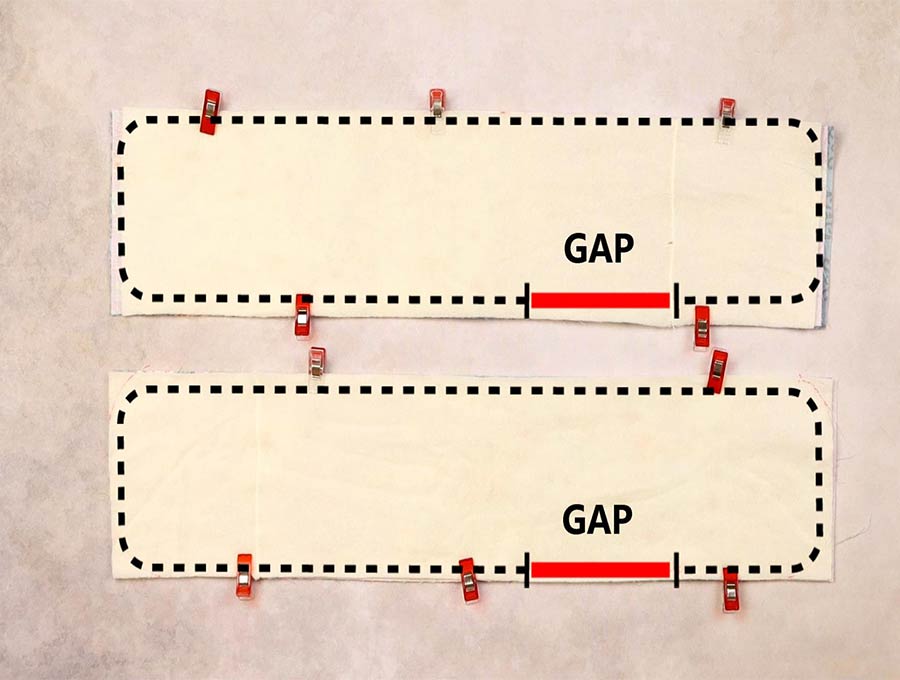
Pin or clip along the long edges, leaving space kind of midway along one long edge to leave a gap for turning of around 2 inches (5cm). Use your fabric marking pen to mark the edges of the gap.
Repeat with the other set of fabrics.
STEP 4:
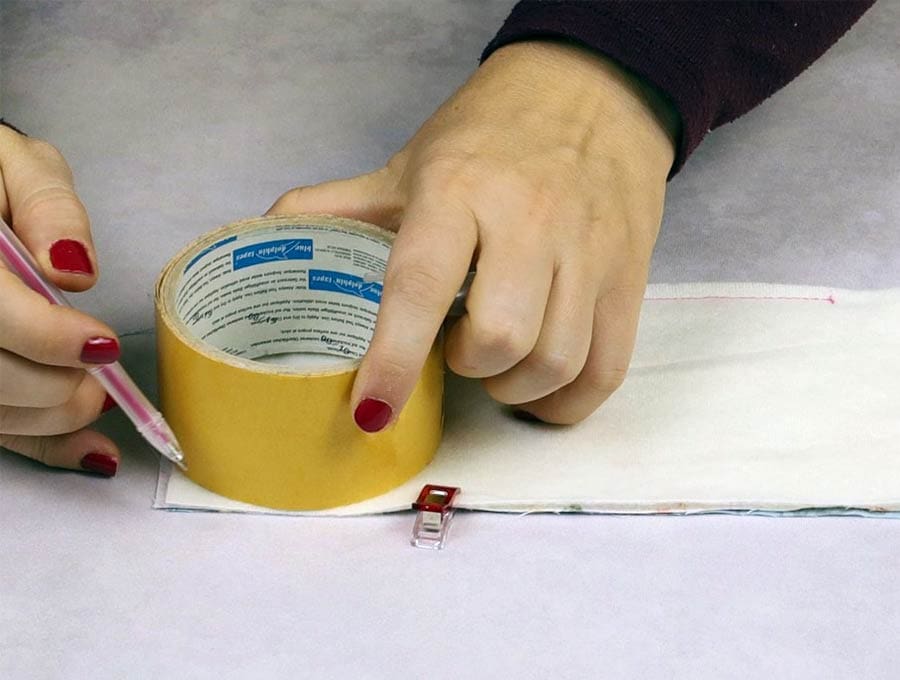
Mark to round off the edges of the four corners – you can use anything circular that’s relatively small to help you get the curve equal on all four sides. Repeat with the other set.
STEP 5:
Starting at one end of the gap, stitch right around the fabric ¼ inch (6mm) from the edge, ending at the other side of the gap. Remember to backtack when you start and finish so the seam doesn’t rip when you turn the item. Repeat with the second set.
STEP 6:
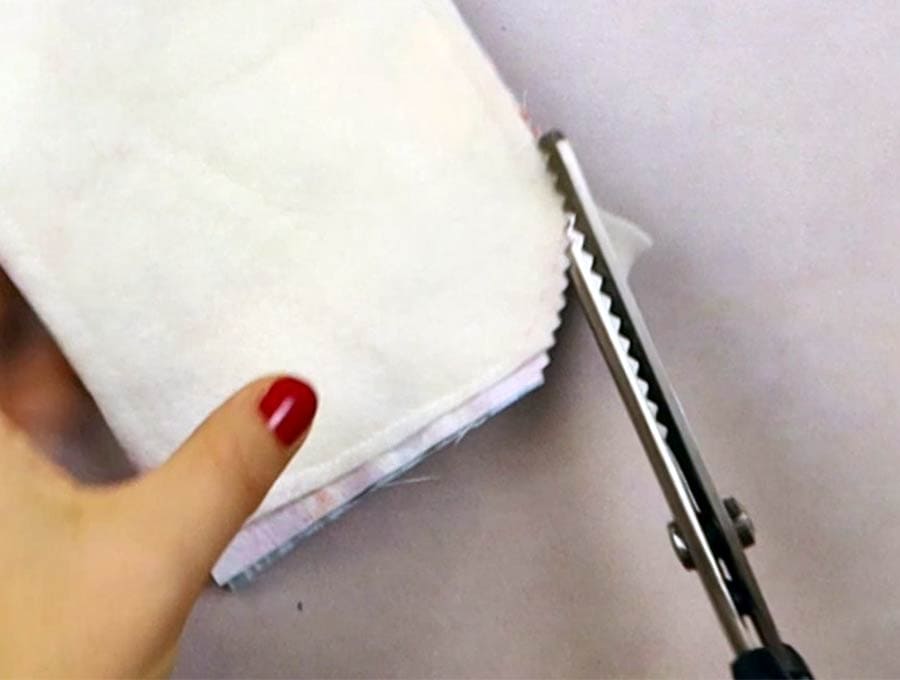
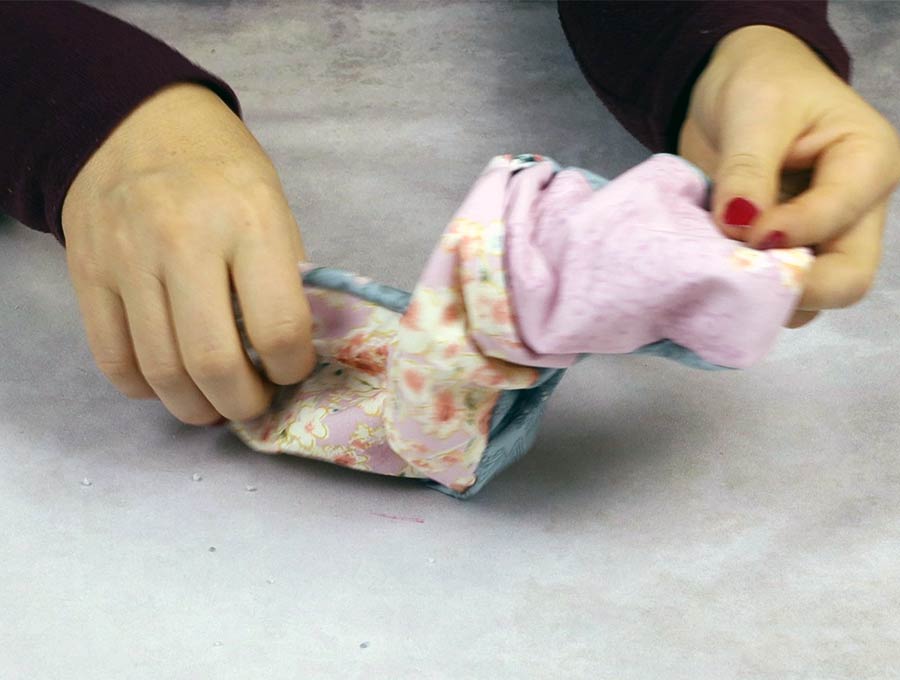
Trim the corners and along the edges with pinking shears, if you have them, otherwise just use normal scissors and make small snips along the curved edges, then turn the right way out by pulling the fabric through the gap. Repeat with the second set.
STEP 7:
Push out the corners rounded ends of the fabric so they are smooth, then turn in the raw edges of the gaps on both pieces and pin the gap in line with the seam.
STEP 8:
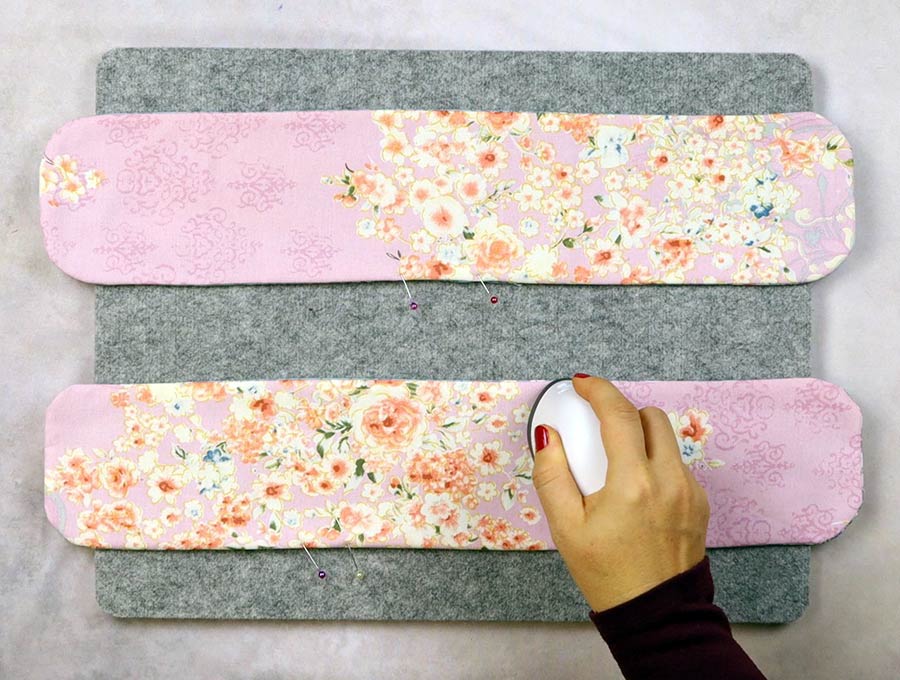
Give both pieces a press.
STEP 9:
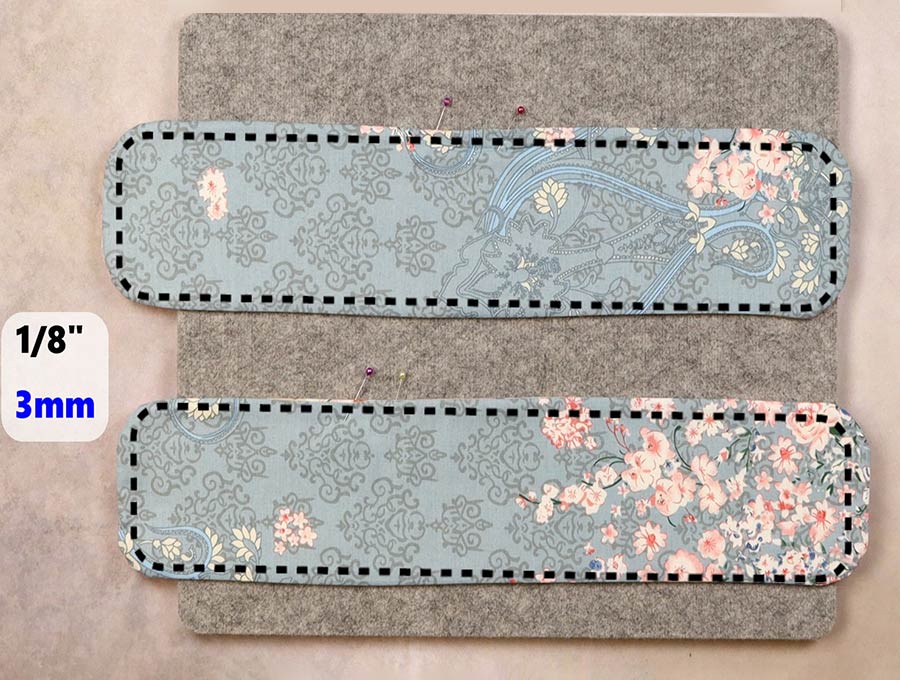
Topstitch all the way around the edges of each piece with a 1/8 of an inch (3mm) seam allowance, going over the gap to close it and backtacking at the start and finish.
STEP 10:
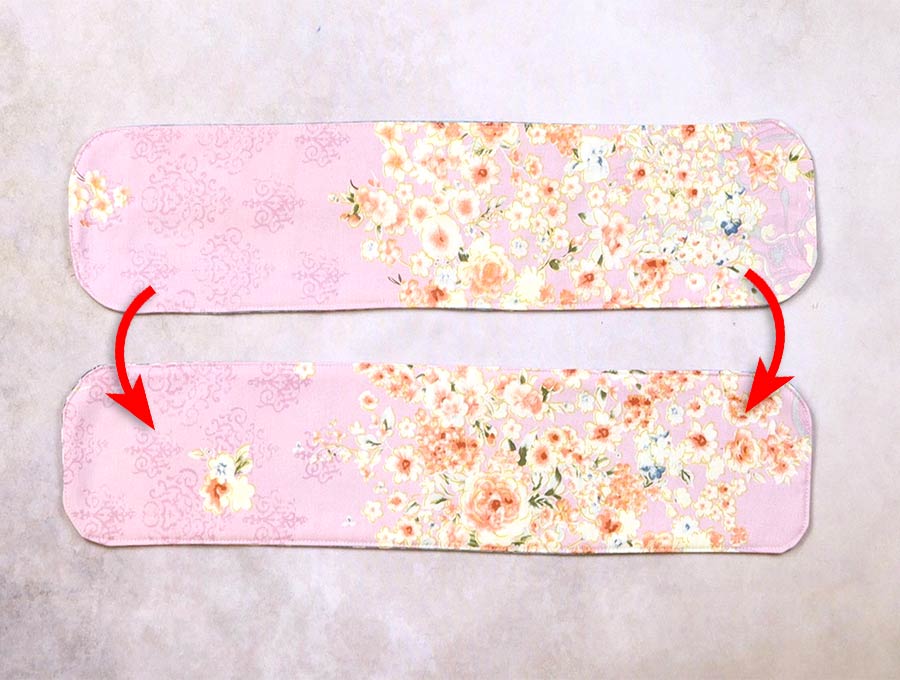
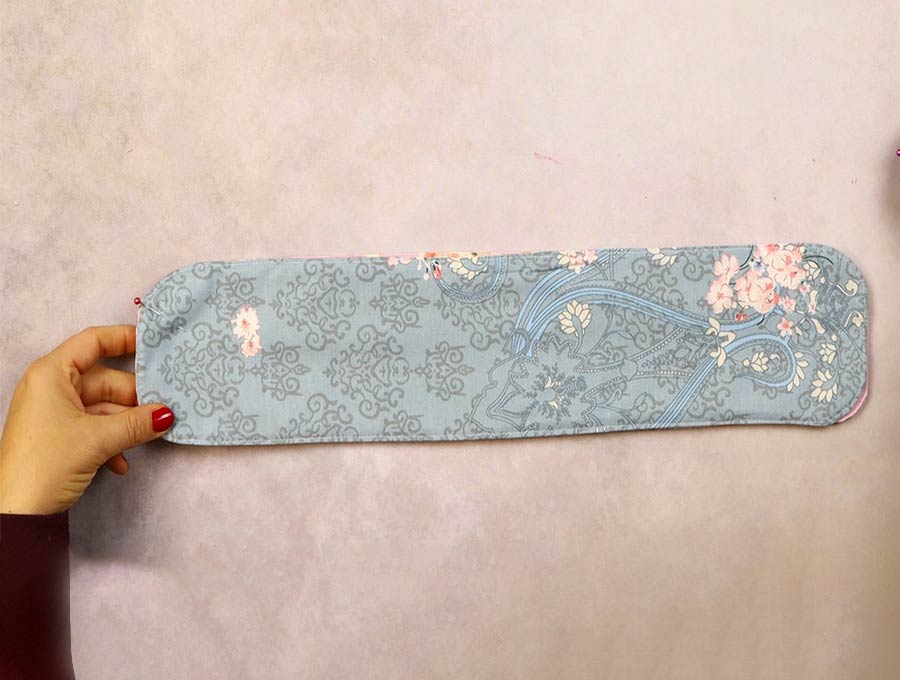
After trimming off any excess threads place the two sections on top of each other with the main fabric colour sides face-to-face and pin the ends together.
STEP 11:
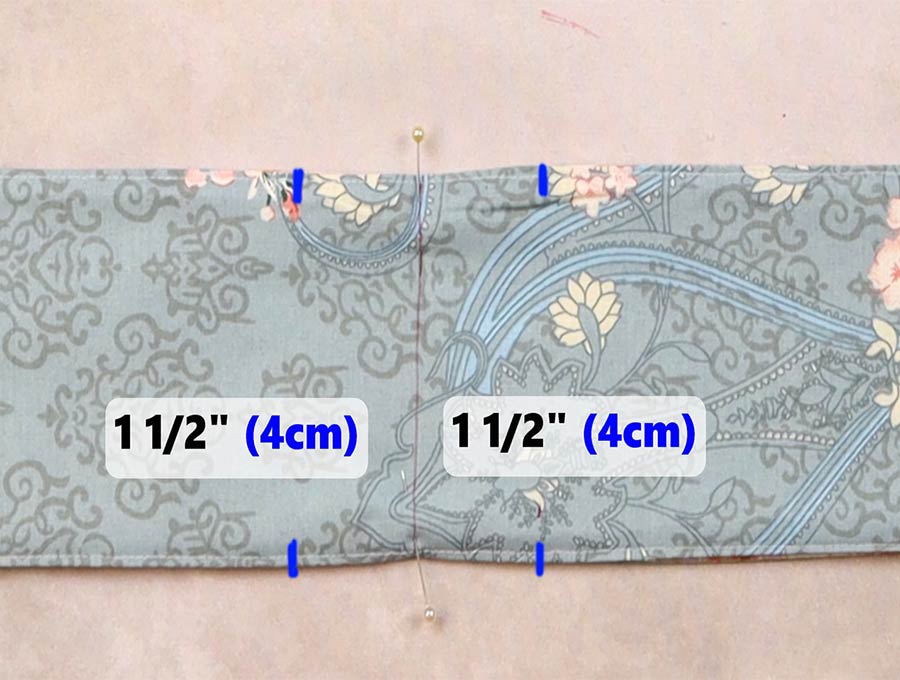
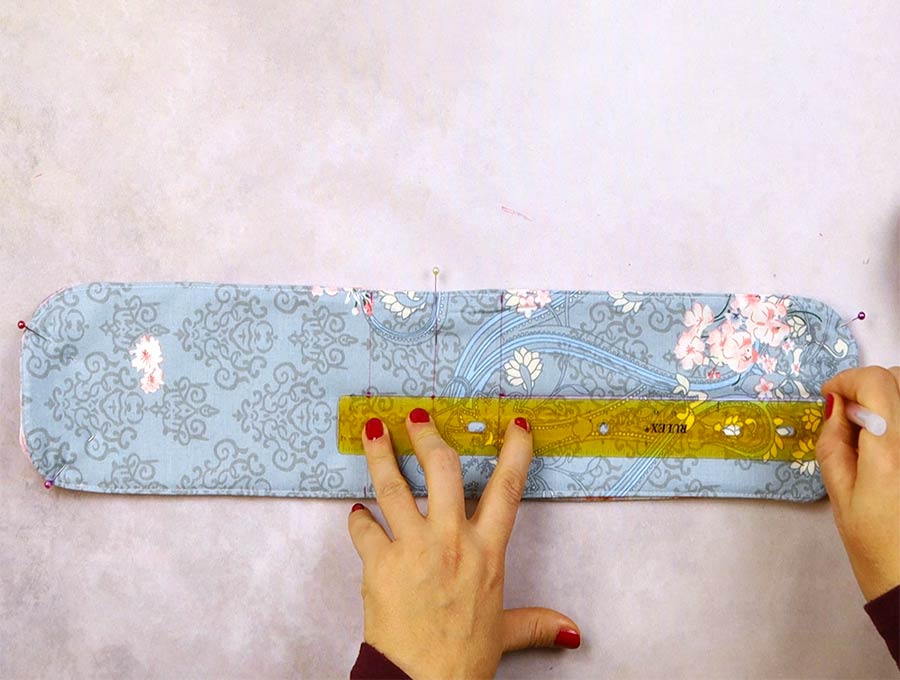
Use a ruler to find the middle of the long edge and mark at each side then join with a straight line.
STEP 12:
Use your tape measure or quilting rule to measure 1 ½ inches (4 cm) on each side of the central line, making marks at the edges then joining, so you have three parallel lines in the middle of the fabric.
STEP 13:
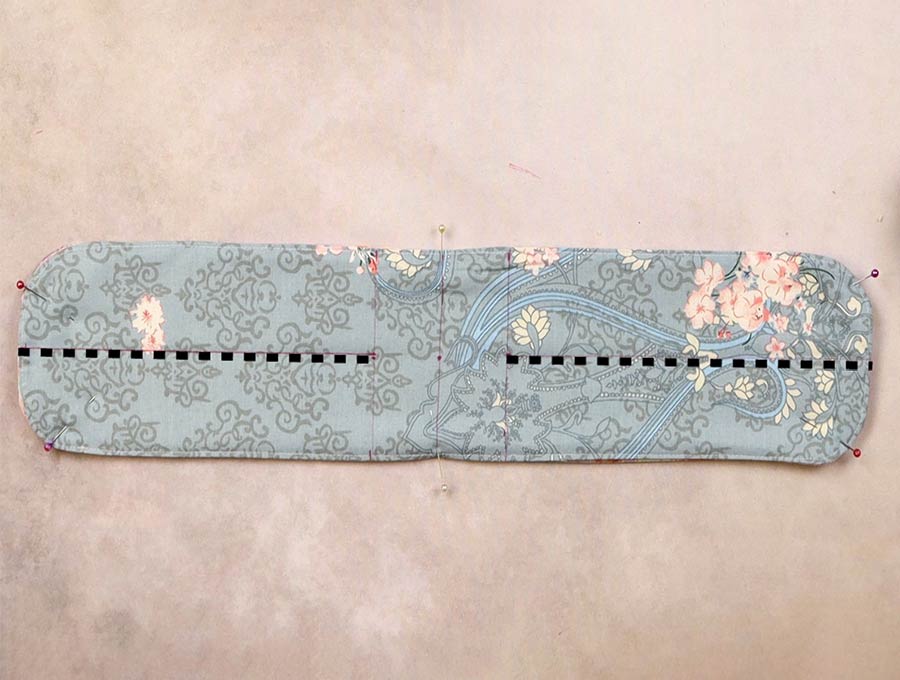
Next mark the mid-points of those three parallel lines, and the mid-point at both ends, then join the dots to create a line that divides the width in half.
STEP 14:
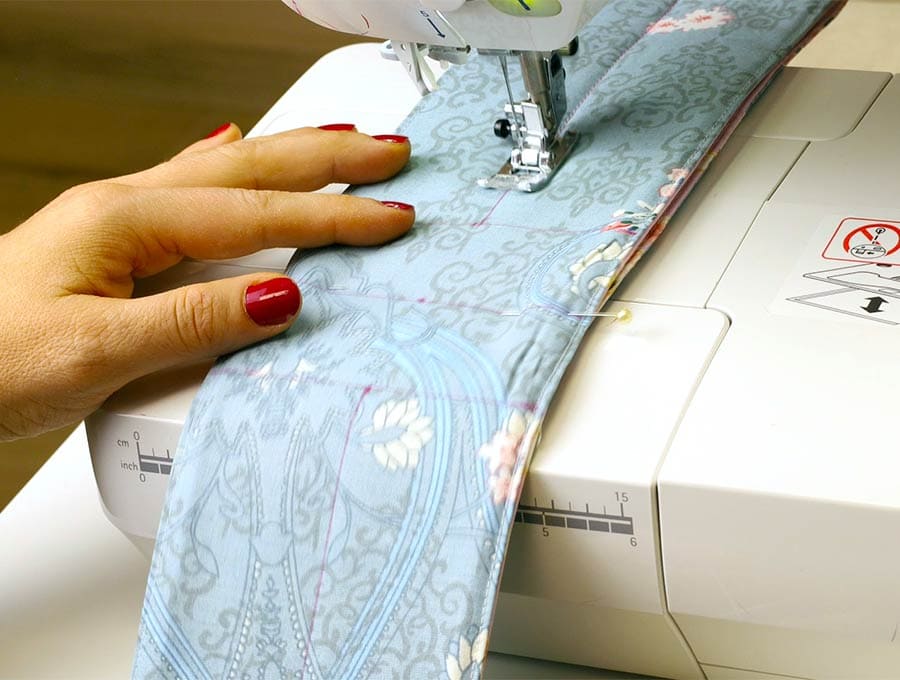
Stitch only from the end of the fabric on the left to the outermost parallel line, backtacking at the start and finish. Then start on the outermost parallel line on the right and stitch to the end, again backtacking at the start and finish.
STEP 15:
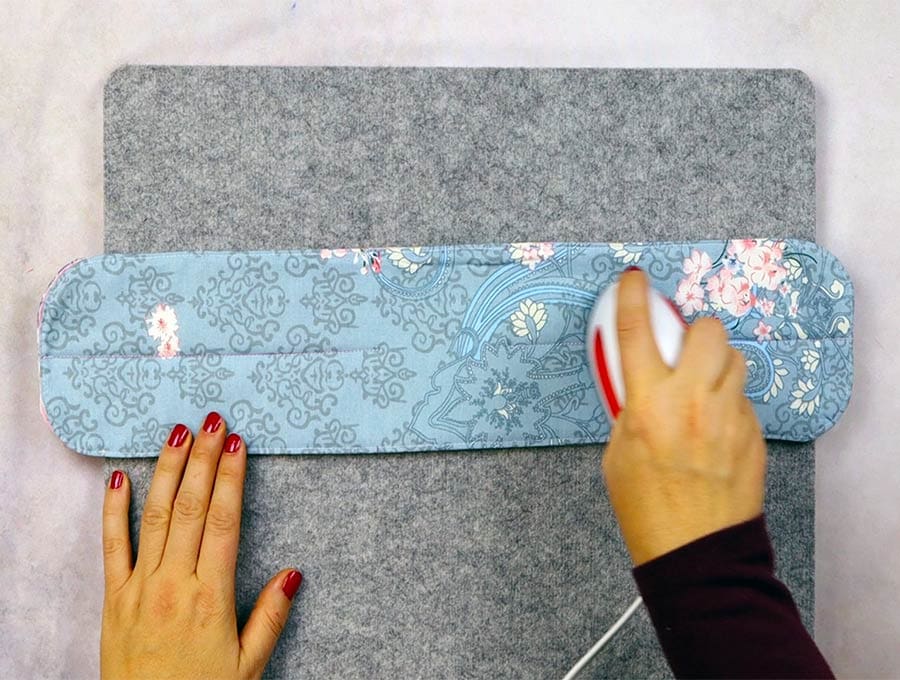
Give the fabric a press.
STEP 16:
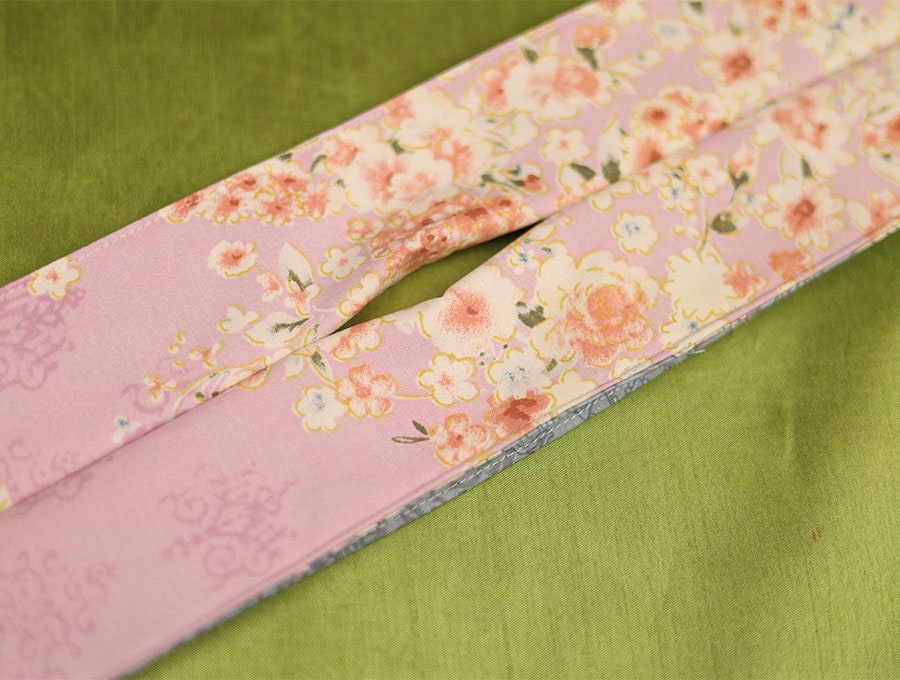
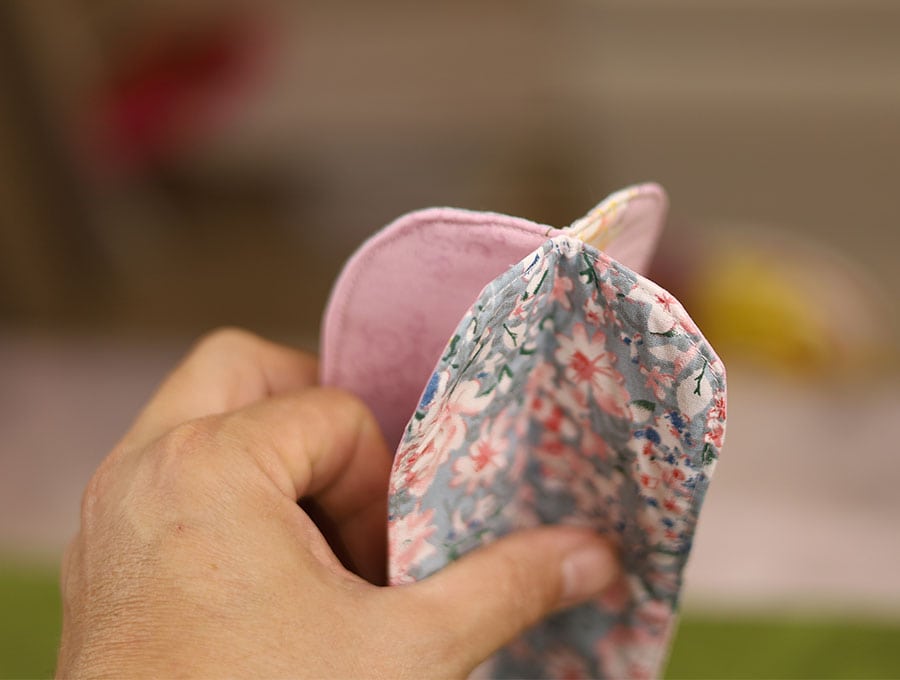
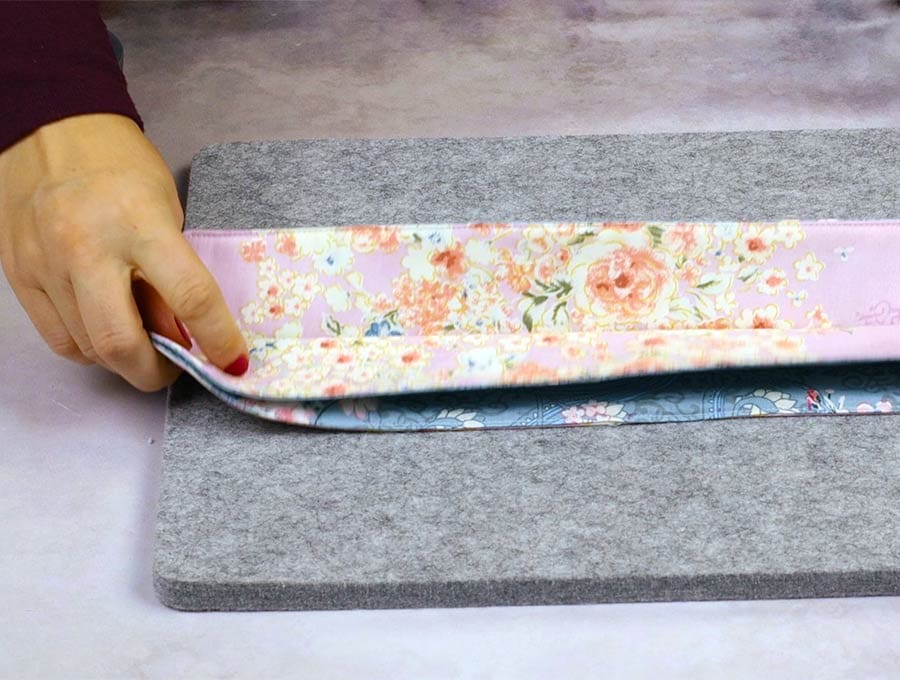
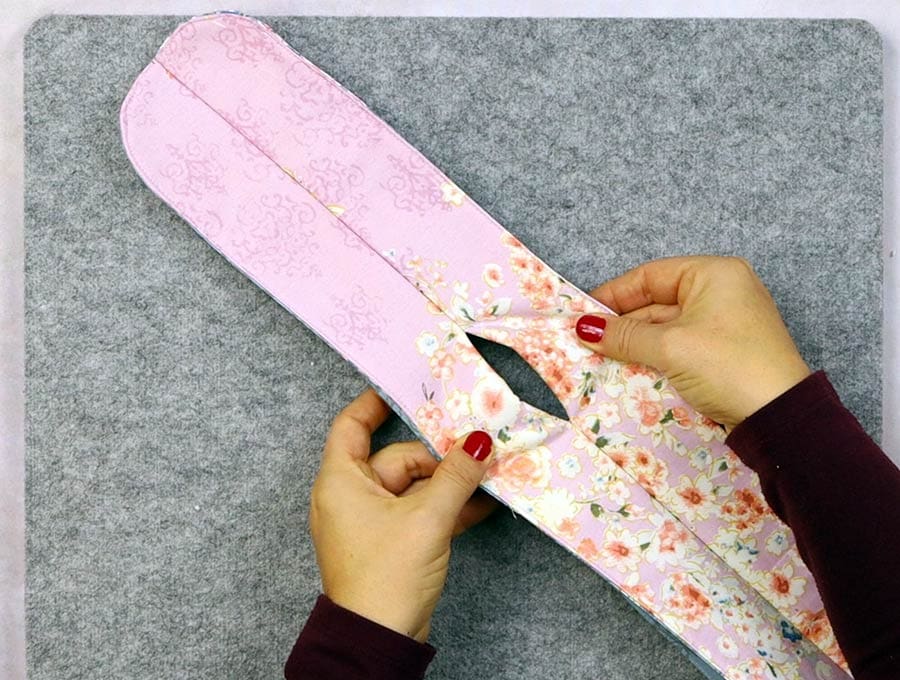
Fold the pieces so the main fabric shows and the accent fabric pieces face each other. You will see you have a gap in the middle which is where the fabric fits over the pot lid.
Give the piece a final press to ensure the folds lie flat.
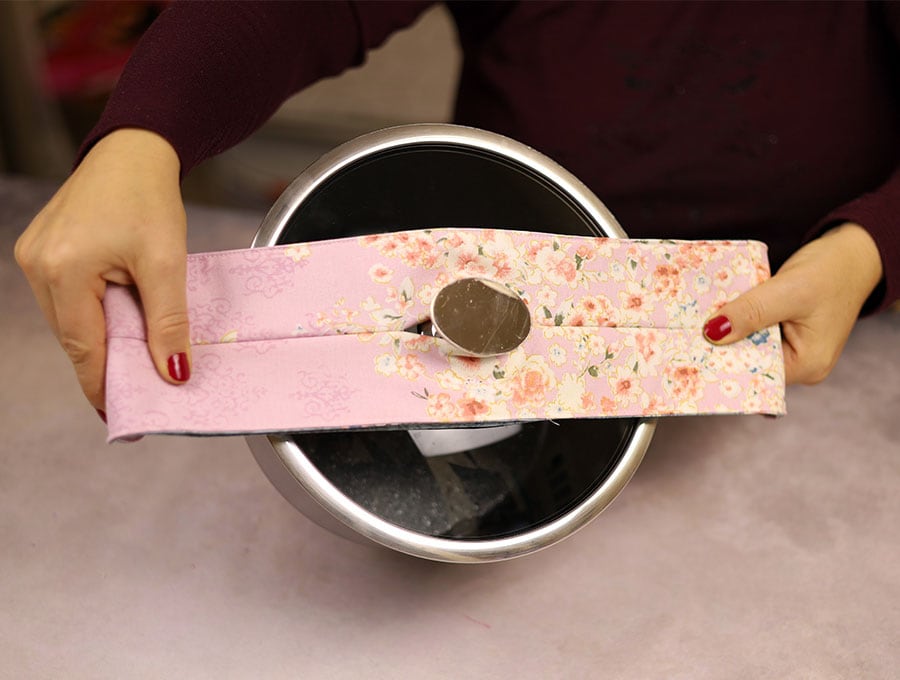
You pot holder is now ready to use. Place the gap in the fabric over the pot lid, and the ends over the pot handles so they fold down giving you insulation from the warm handles and keeping the lid in place as you move the pot. Share this with someone you know who would like to make this DIY pot holder. Some of our readers have extended the length of the pot lid and handle holder so they can thread the ends down through the handles, then thread them back up to hold the pot lid firm during transport to pot luck dinners. To do this all you need is to add a few extra inches to the length of the fabric and batting – everything else remains the same.
Like, subscribe and share! It’s the season to share not only gifts and food but ideas. Merry Christmas everyone.
Do you like this? Pin for later:
Wanna be friends? Click HERE and follow me on Pinterest
RELATED:

