
How to Sew a Sanitary Pad Pouch [Step by Step VIDEO]
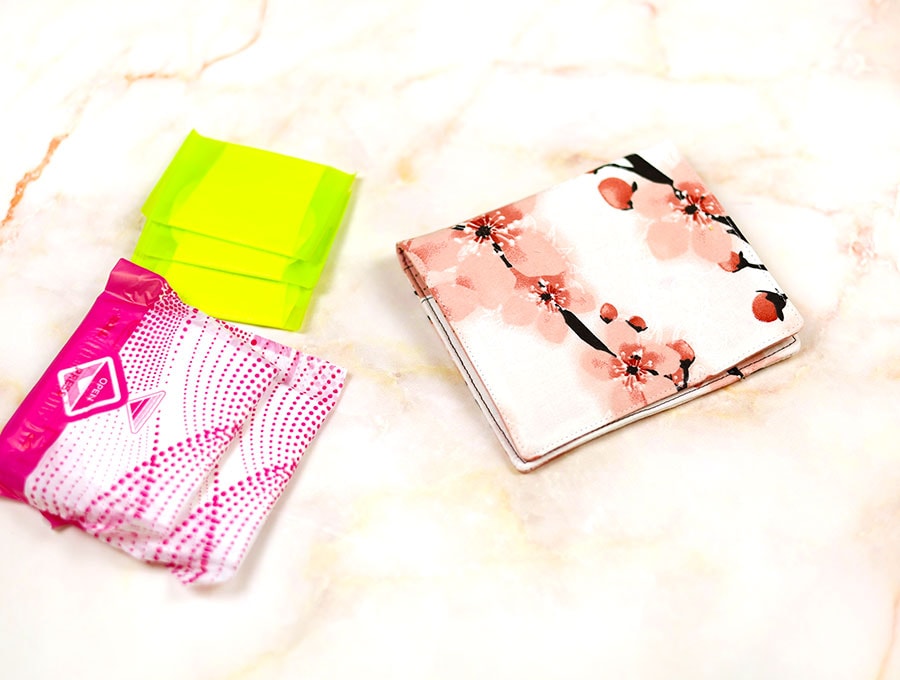
If you have every had the embarrassment of dropping your purse and having the odd tampon or sanitary towel spill out, then you absolutely need this nifty little cotton fabric wallet that keeps those personal supplies discreetly out of sight but ready to grab when you need them. This little pouch is perfect for school girls who can slip it into a pocket before heading out of class for a refresh. They’re great a mom on the go who will often have little fingers digging in her purse for various items like candies or coins. When a child comes up with a tampon they usually proclaim loudly “What’s this?” then try to stuff it in their ears or up their noses, or if it’s a sanitary towel think it must be used to zip their lips. We wish! Follow our visuals and step-by-step instructions to make this peace of mind item.
This takes only a few minutes to stitch up, but the measuring will take a little time. You want to be accurate so all the pockets three pockets in the pouch fit together neatly.
Below you will find my step by step written tutorial how to sew a period pouch with VIDEO instructions for all the visual learners.
We occasionally link to goods offered by vendors to help the reader find relevant products. Some of the links may be affiliate meaning we earn a small commission if an item is purchased.
Table of Contents
How to make a Sanitary pads pouch
Pouch for pads – Supplies and tools
- fabric – 2 pieces of 100% tightly woven cotton (one main, one lining)
- fusible interfacing
- matching thread
- scissors (or rotary cutter and a cutting mat)
- ruler or measuring tape
- iron and ironing board
- sewing clips or pins
- plastic snaps (you will need a sewing owl and snap pliers
- press studs
DOWNLOAD: /coming soon/ sanitary pad pouch pattern [Free pdf file]
Follow us for free patterns & tutorials! [easy-profiles]
How to Sew a Feminine Pad Pouch
Watch the diy sanitary pad purse video first and then follow the written step by step instructions below.
Please enjoy and don’t forget to Like and SUBSCRIBE over on YouTube to be kept up to date with new videos as they come out.
Pouch for sanitary pads VIDEO TUTORIAL
How to make Pouch for pads INSTRUCTIONS:
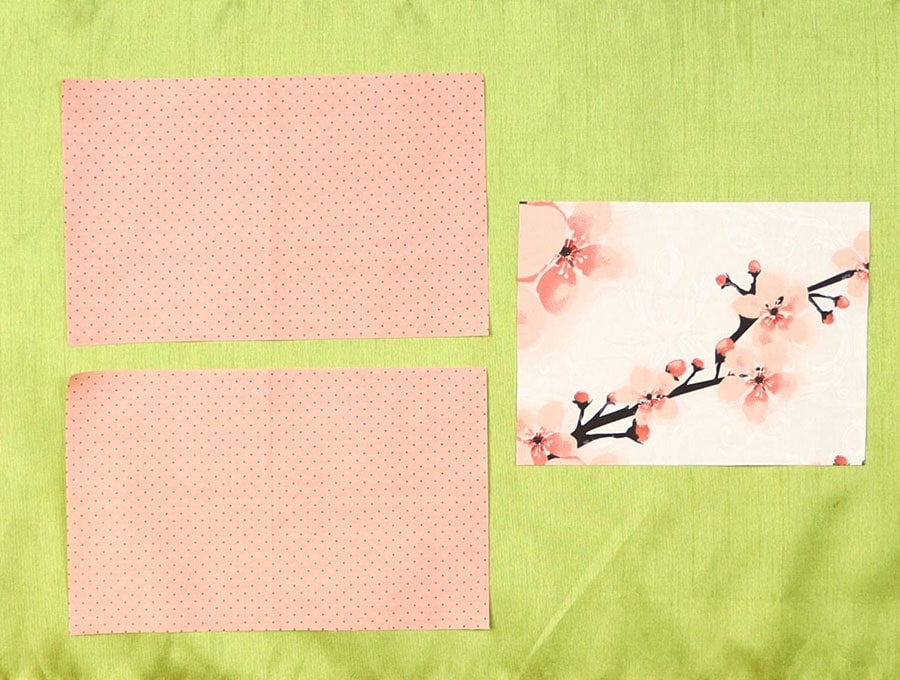
STEP 1: Cut the fabric
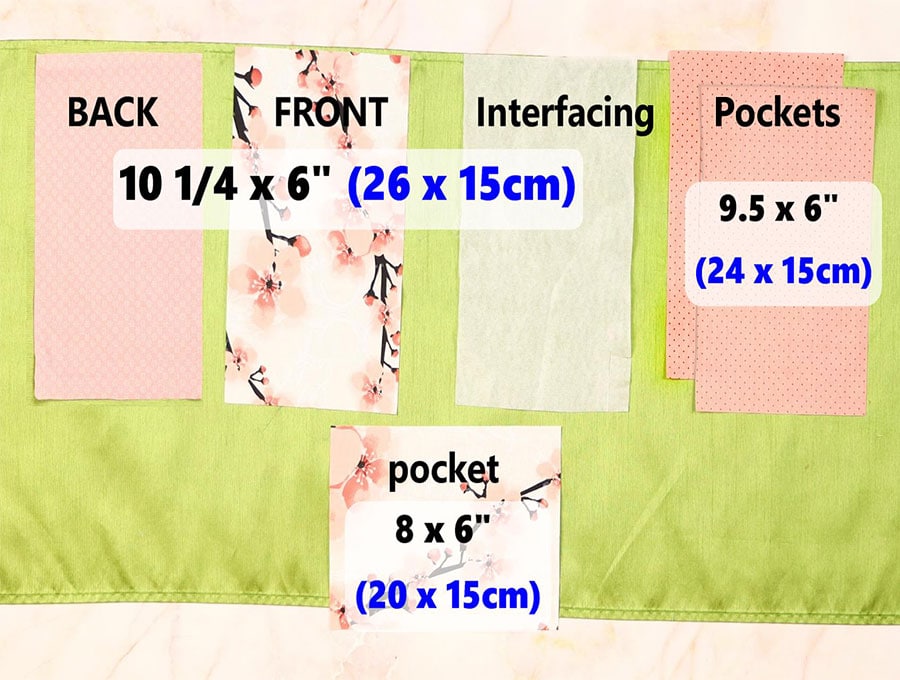
Fabric Measurements as follows:
- FRONT: 1 piece of 10 ¼ x 6 inches (26 x 15cm), printed cotton fabric outer
- BACK: 1 piece of 10 ¼ x 6 inches (26 x 15cm), plain cotton fabric lining
- POCKETS: 2 pieces of 9 ½ x 6 inches (24 x 15cm), cotton fabric, both plain
- POCKET: 1 piece of 8 x 6 inches (20 x 15cm), cotton fabric printed
Fusible interfacing: 1 piece of 10 ¼ x 6 inches (26 x 15cm)
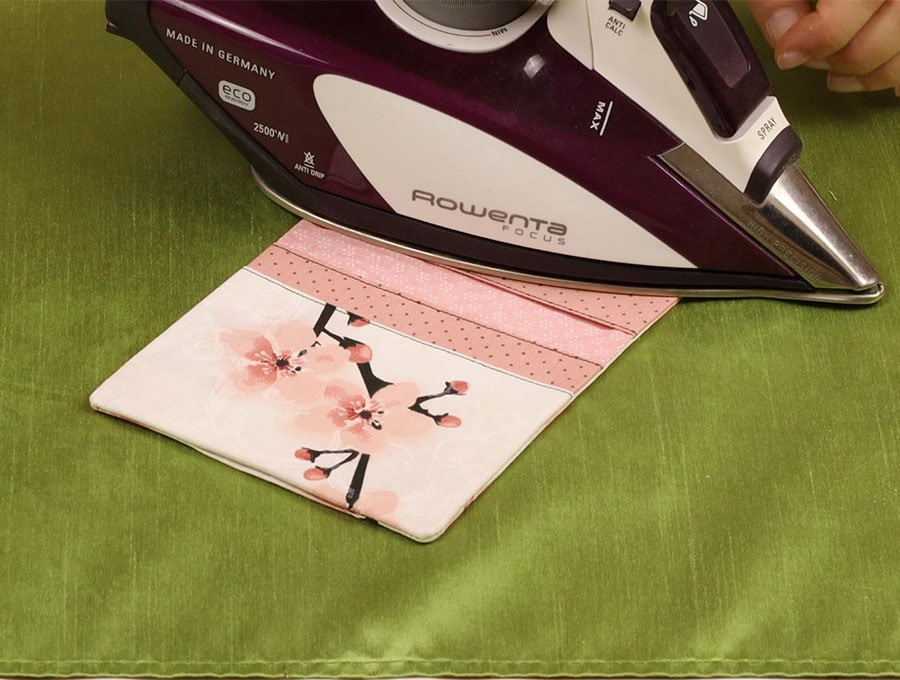
STEP 2:
Lay down the FRONT printed piece of fabric right side down.
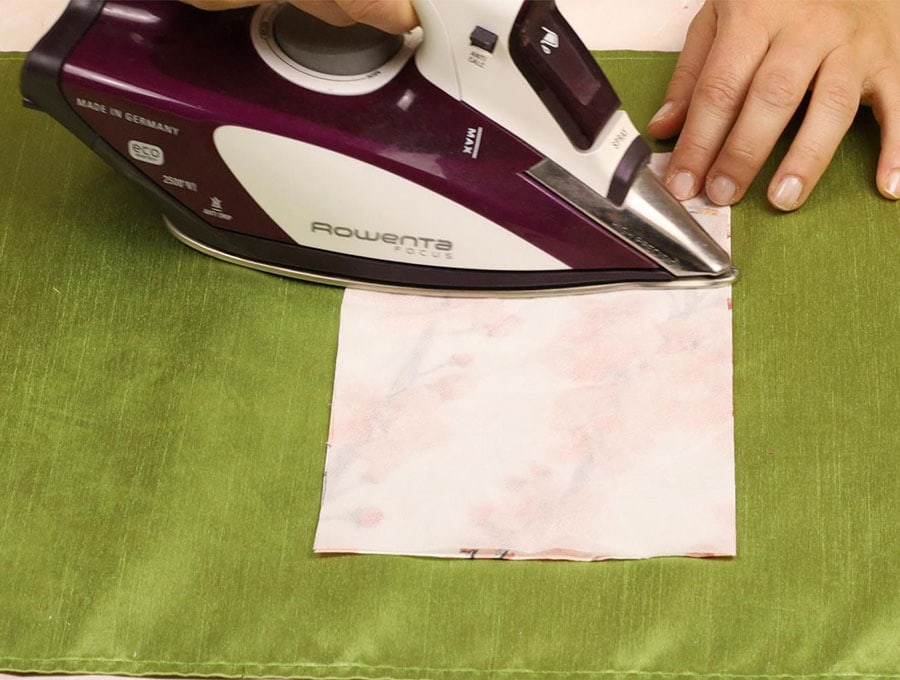
On top of it place the piece of thin fusible interfacing, line up neatly and iron to attach as per the manufacturer’s instructions.
STEP 3:
Take the all 3 pocket pieces (2 pieces of plain fabric and one piece of the printed fabric), fold in half along the long edge. The right sides will be outwards.
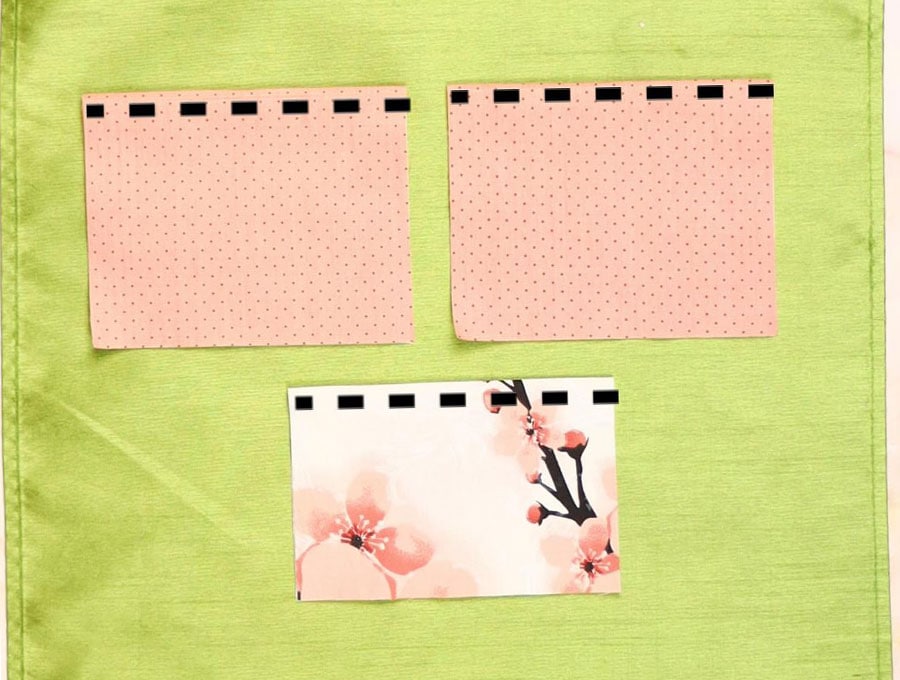
Do a quick top stitch along the folded edge in a matching thread, 1/8 of an inch (3mm) from the fold, backtacking at the start and finish. Set aside.
Step 4:
Take the BACK piece of plain fabric and lay it down right side facing upwards on your worktop.
Step 5
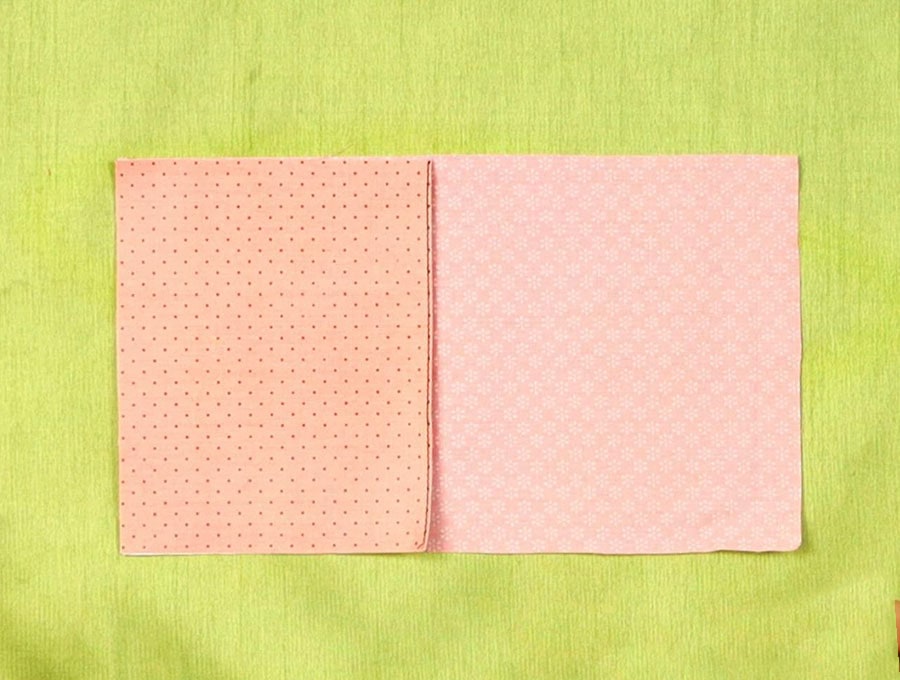
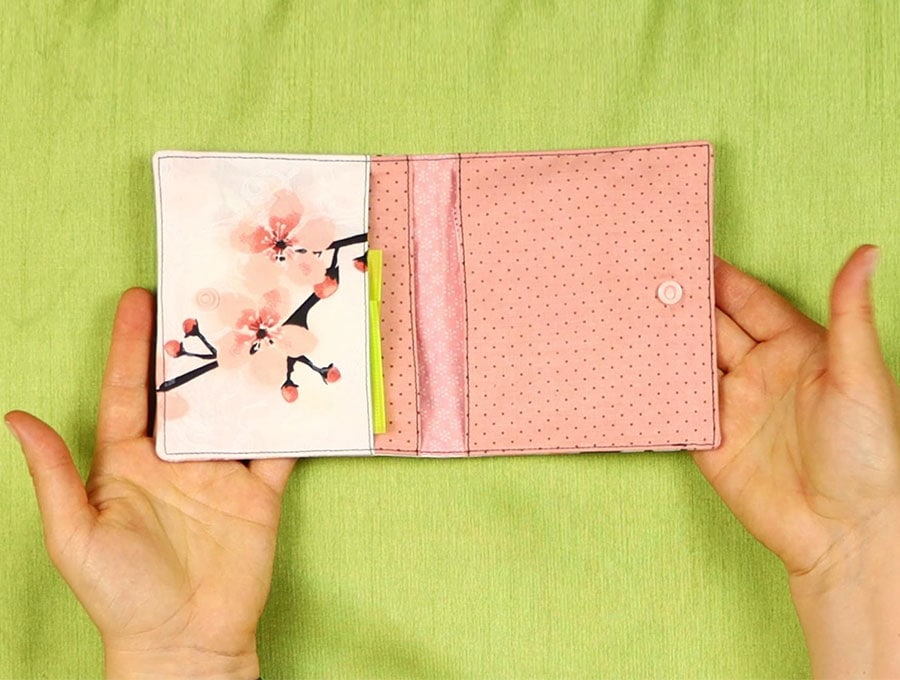
Place one piece of folded and stitched plain fabric with the raw 15cm ends lining up with one raw 15 cm end of the backing fabric.
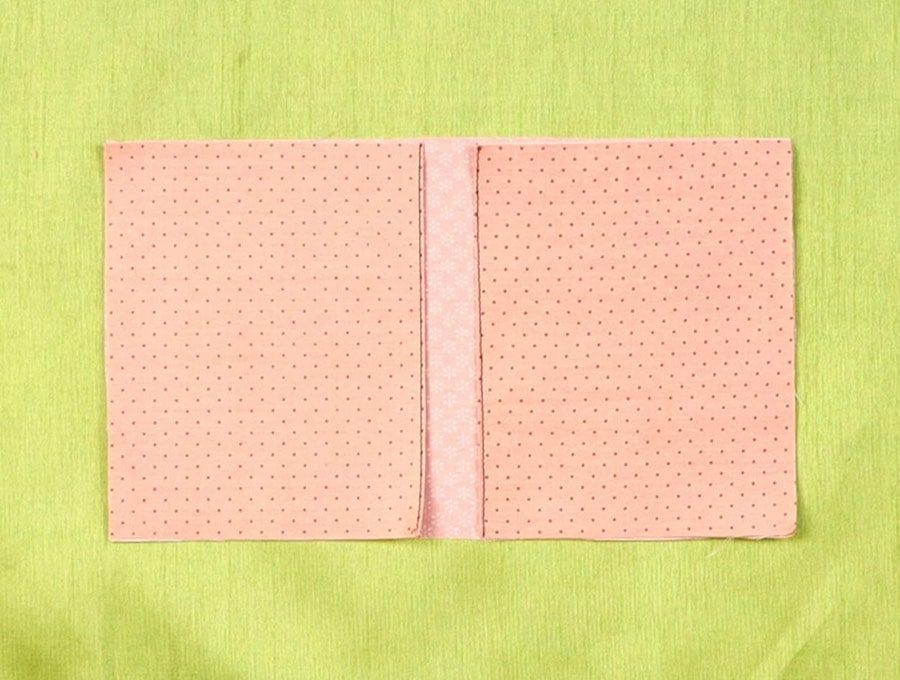
Place the other plain piece on the other end of the fabric.
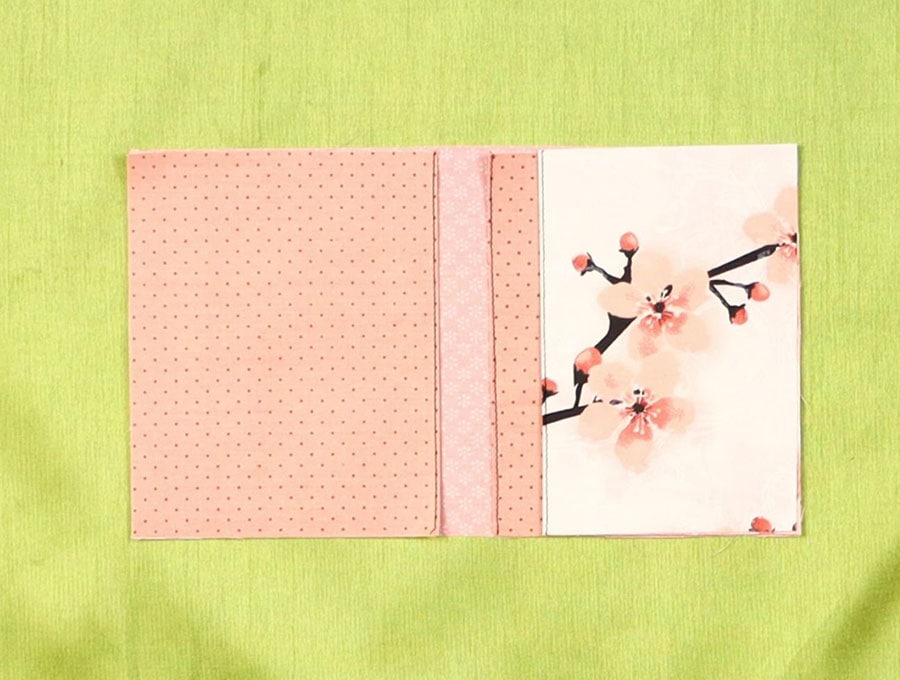 On top of that place the printed folded and stitched fabric. You may want to place a couple of pins towards the middle of the pockets just to keep them in place.
Stitch along the long sides using 1/4″seam allowance
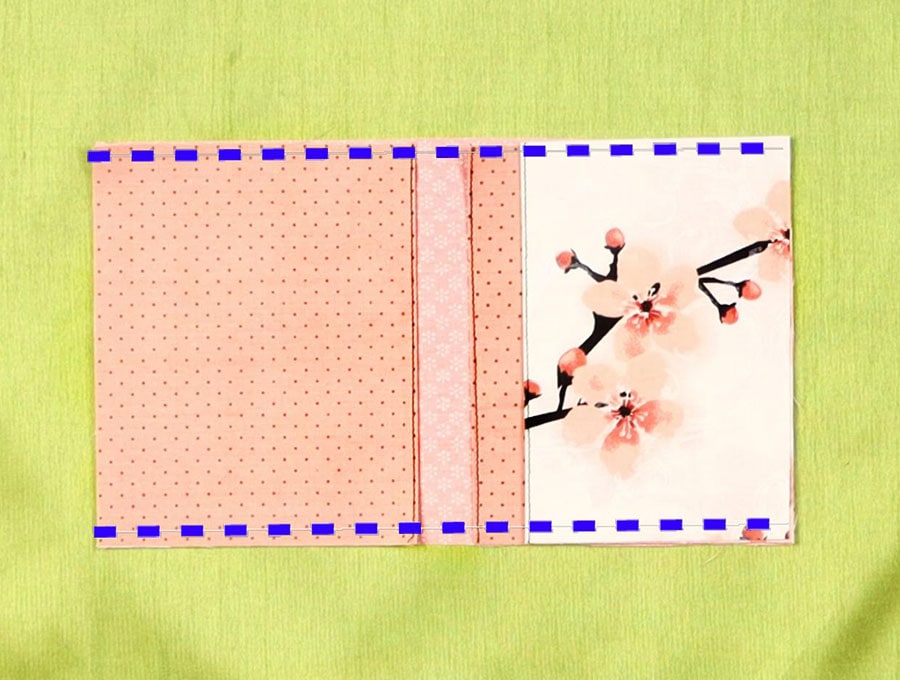
Step 6:
Place the printed fabric with and fusible backing attached, right side down on the assembled pockets and line up the edge before pinning or clipping in place.
Step 7:
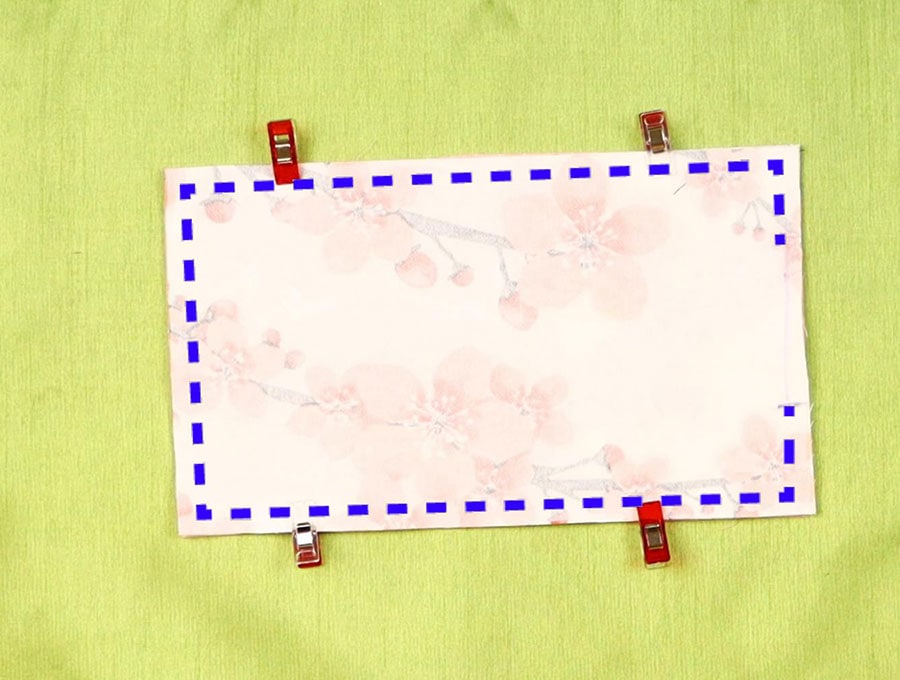
Stitch around the pouch ¼ inch (6mm) from the edge leaving a gap on one of the ends of about around 2.5 inches (6.5 cm) in the middle – this is where you will turn the whole pouch the right way out. Backtack at the start and finish of the gap. We leave the gap in the middle as it is easier to finish than trying to turn in the corners later.
Step 8:
Trim the four corners by cutting off a small triangular piece – this reduces the bulk of the fabric on the corners making them lie flatter.
Step 9:
Pull the fabric gently through the gap, then once the pouch is the right way out press out the corners using a chopping stick or turning tool to make sure the corners are nice and neat.
Step 10:
Give the pouch a press, ensuring the edges of the gap you left are turned inside the pouch in line with the stitching.
Step 11:
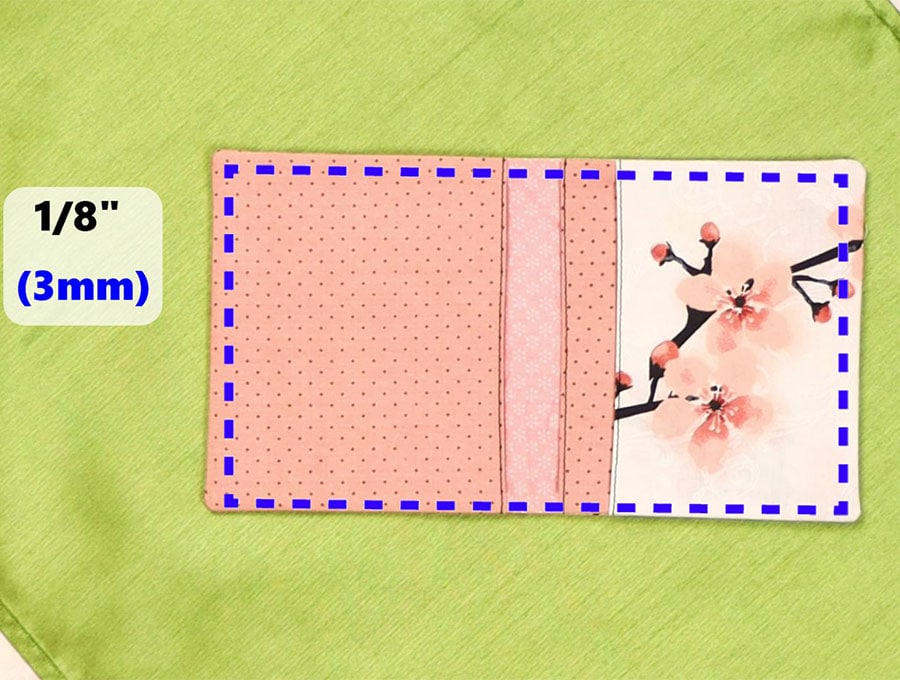
Do a top stitch an 1/8 of an inch (3mm) from the edge right around the pouch, including across the gap.
Step 12:
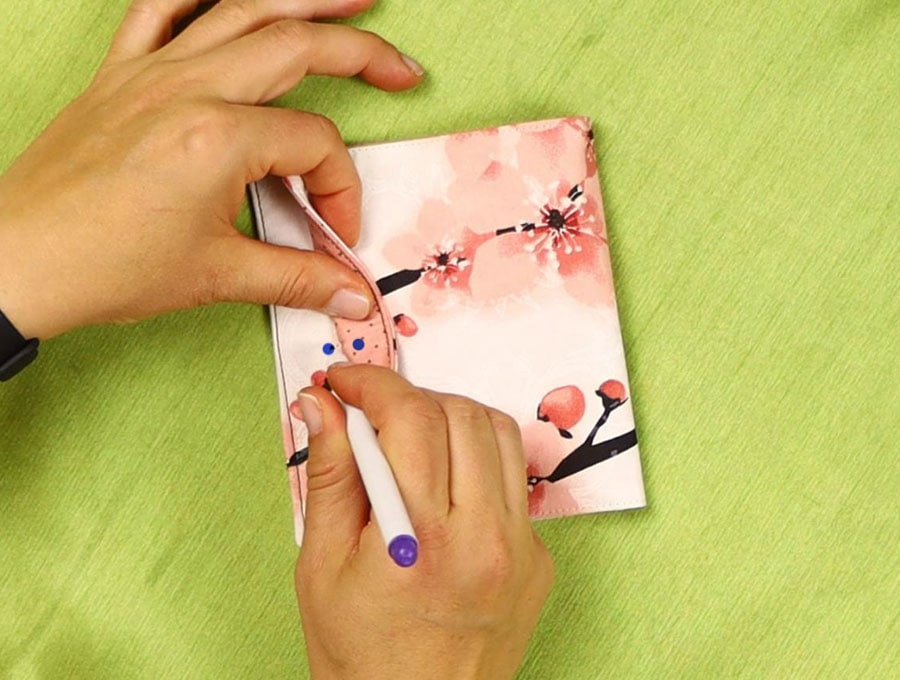
The last step is to use your stud machine to attach a stud so the pouch closes – take care to position the two sides accurately so it closes properly and is not off center. 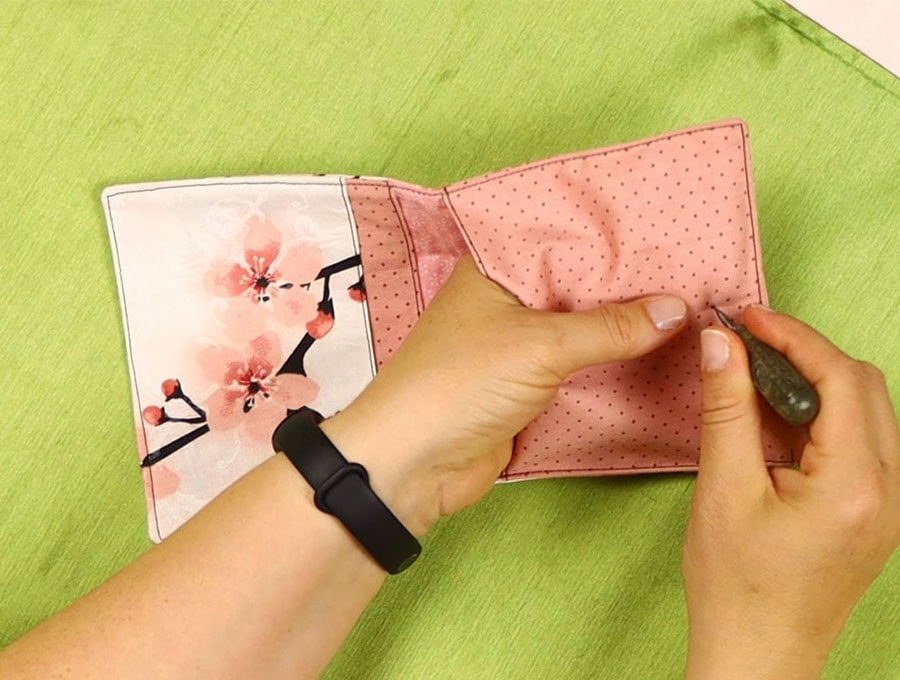
You will insert the stud by pulling down the pocket slightly so the back of the stud is hidden when you open up the wallet. 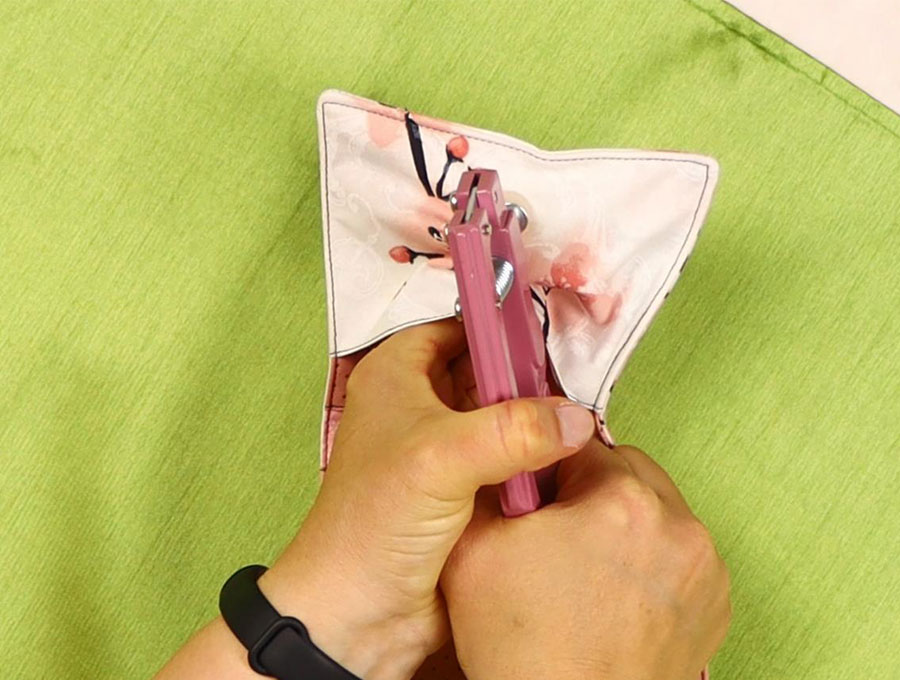
Take care not to accidentally insert the stud into the pocket too otherwise you won’t be able to use it.
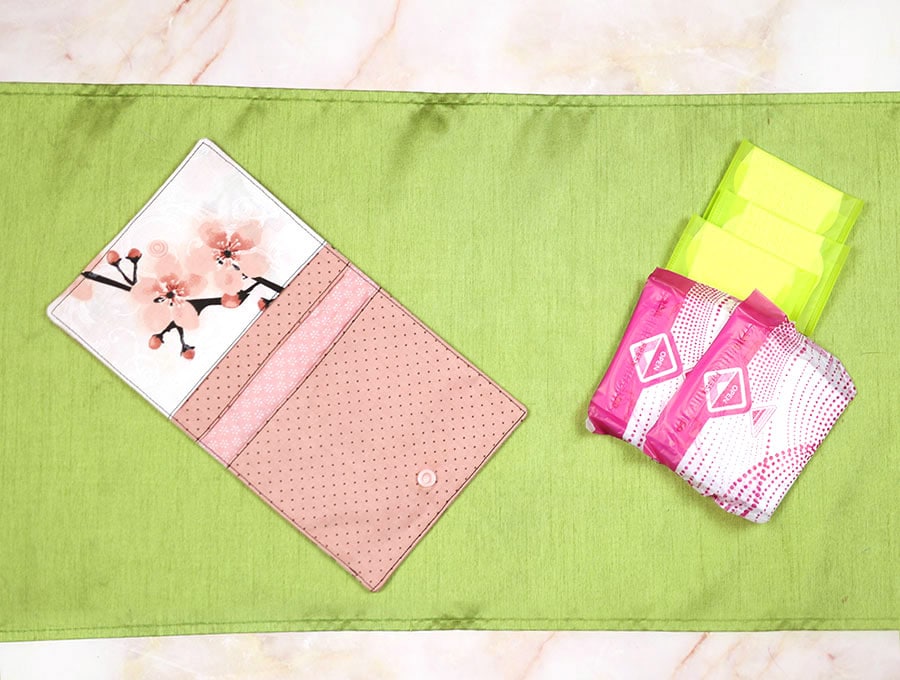
All that remains is to pack the pouch with sanitary supplies and give to your daughter – or as a present to yourself.
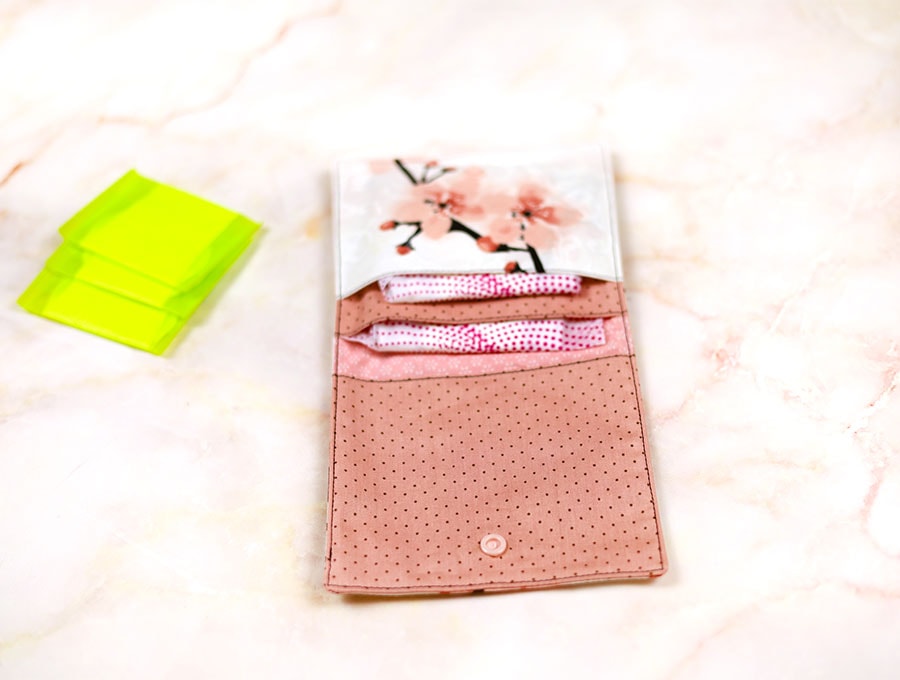
Getting to the bathroom from a classroom or an office can get complicated at ‘that time of the month’. Put a pad in your pocket and you have a tell-tale bulge. Put a tampon in your pocket and it can fall out. Oh, the embarrassment as you bend to retrieve the item while those around you pretend to be blind, or worse pick it up and hand it to you. Enter the neat little pouch that looks like a funky little Boho wallet with three pockets and a stud closure to hold your supplies. It’s neat and nifty, just like our visuals and easy step-by-step instructions.
If you found this useful then please share and hit the like and subscribe buttons. We have new projects every week that use up those cute bits of fabric in your stash converting them into practical and useful items.
Do you like this? Pin for later:
Wanna be friends? Click HERE and follow me on Pinterest
RELATED: