
DIY Seashell Pillow // Easy Shell Pillow Sewing Pattern [VIDEO]
It doesn’t matter whether you live near the beach or not, this lovely shell pillow is going to take your mind to oceanside holiday dreams. So, if your interior space is feeling a little, um, …square, then it’s time to create the shell-shaped cushion statement piece. It’s the one guests will admire and ask where you bought it. Then you get to smile and tell them you made it in less than half an hour using the pattern from HelloSewing… or not.
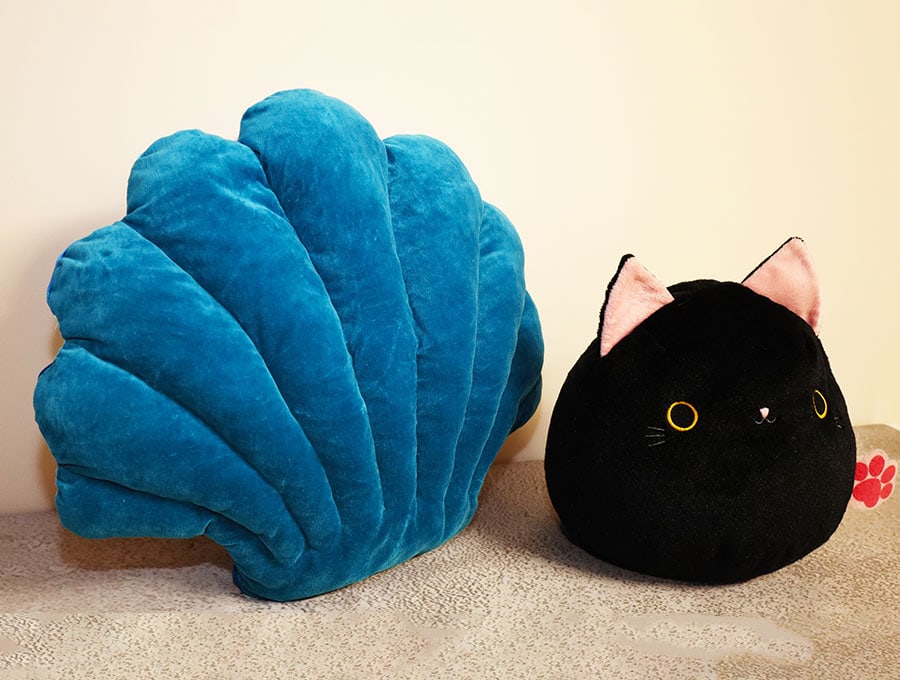
Inspired by the geometry of the scallop shell this cushion brings textural emphasis to a living room. Use a light upholstery fabric or quilting cotton, or even velvet, like we did here. Personally, I’d keep to natural colors like sand or off white but if you want to throw in a scallop pillow in coral it will certainly make a statement. While you’re sewing one, why not make two or three of these great pillows for even more oomph.
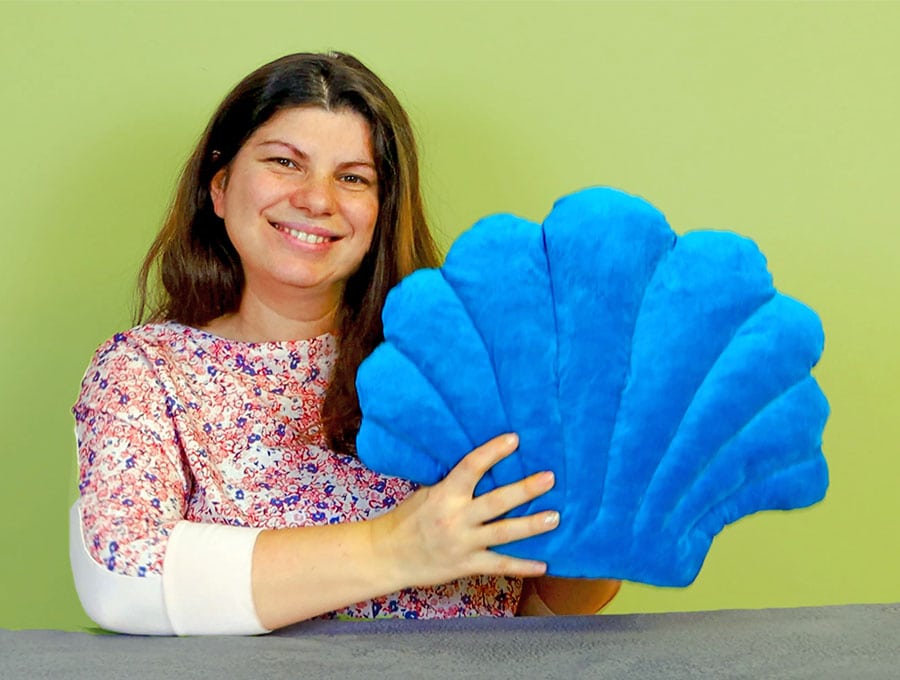
Level up your home decor with this stunning seashell pillow. 30 minutes is all it takes to sew it up and fill it in with polyfill. Let me show you how to make your very own seashell pillow and bring summer vibes in your home now.
Below you will find my step by step written tutorial with VIDEO instructions for all the visual learners.
We occasionally link to goods offered by vendors to help the reader find relevant products. Some of the links may be affiliate meaning we earn a small commission if an item is purchased.
Table of Contents
- 1 How to make the seashell pillow
- 2 Supplies and tools
- 3 How to Sew a Seashell Pillow
- 3.1 Shell Pillow VIDEO TUTORIAL
- 3.2 MATERIALS:
- 3.3 INSTRUCTIONS:
- 3.4 STEP 1:
- 3.5 STEP 2:
- 3.6 STEP 3:
- 3.7 STEP 4:
- 3.8 STEP 5:
- 3.9 STEP 6:
- 3.10 STEP 7:
- 3.11 STEP 8:
- 3.12 STEP 9:
- 3.13 STEP 10:
- 3.14 STEP 11:
- 3.15 STEP 12:
- 3.16 STEP 13:
- 3.17 STEP 14:
- 3.18 STEP 15:
- 3.19 STEP 16:
- 3.20 STEP 17:
- 3.21 STEP 18:
- 3.22 STEP 19:
- 3.23 STEP 20:
- 3.24 STEP 21:
- 3.25 STEP 22:
How to make the seashell pillow
Supplies and tools
- FRONT – medium weight home decor fabric – 1 fat quarter
- fabric – 2 fat quarters of woven cotton (one back, one lining)
- batting
- matching thread
- scissors (or rotary cutter and a cutting mat)
- ruler or measuring tape
- iron and ironing board
- sewing clips or pins
DOWNLOAD: Seashell pillow pattern [Free pdf file]
Follow us for free patterns & tutorials! [easy-profiles]
How to Sew a Seashell Pillow
Watch the diy seashell pillow video first and then follow the written step by step instructions below.
Please enjoy and don’t forget to Like and SUBSCRIBE over on YouTube to be kept up to date with new videos as they come out.
Shell Pillow VIDEO TUTORIAL
Finished size (H x W xD):
35 cm x 40.5 cm x 10 cm
13.75″ x 16″ x 4″
MATERIALS:
Single face pillow (the one shown in the video):
- Outer fabric – 48 x 56cm (18 x 22″)
- Lining fabric – (2 pcs) 48 x 56cm (18 x 22″)
- Backing fabric – 48 x 56cm (18 x 22″)
- Batting – 48 x 56cm (18 x 22″)
Reversible (double-face) pillow:
- Outer fabric (2 pcs)- 48 x 56cm (18 x 22″)
- Lining fabric (2 pcs) 48 x 56cm (18 x 22″)
- Backing fabric (2 pcs) – 48 x 56cm (18 x 22″)
INSTRUCTIONS:
STEP 1:
Print out our shell pattern linked above at 100% (no scaling). Put the 6 pieces of paper that make up the pattern in order by matching up the letters printed on the paper. Do the first row first – A1, A2 and A3. The second row consists of B1, B2 and B3. Tape them together from the back using masking tape or on the front using a clear tape, or use glue.
STEP 2:
Cut out the pattern shape and place aside.
STEP 3:
Pick your fabric for the front of the cushion and lining and have the batting ready.
For the front you will need the following pieces of fabric, large enough to accommodate the shell pattern:
- 1 piece of the outer fabric
- 1 piece of lining fabric
- 1 piece of batting
A 3/8 of an inch (1 cm) seam allowance has already been calculated into the pattern sizing, so there is no need to add a seam allowance.
STEP 4:
Place the pattern on the right side of the outer fabric and using dressmaker’s chalk trace around the outside of the pattern.
STEP 5:
Remove the paper pattern and cut along the solid lines for the flutes in the shell on the pattern.
STEP 6:
Place the pattern back on the fabric and pin, making sure it is inside the outline you made with dressmaker’s chalk. Then transfer the lines by lifting a section at a time to draw the flute lines of the shell onto the fabric.
STEP 7:
Remove the pattern and cut along the outside edge only (not the flute lines), so you have the outline of the shell.
STEP 8:
Place the lining wrong side up on your worktop. On top of the lining place the batting, and on top of that the shell pillow outer piece, right side up. Pin all the layers together, pinning from the centre outwards and avoiding pinning over the chalk lines.
STEP 9:
Stitch down the chalk lines to create the flutes of the shell backtacking at the start and finish of each line. Also stitch the leftmost and rightmost side of the flutes.
Do NOT stitch the TOP and BOTTOM of the shell.
STEP 10:
Trim off the extra batting and lining from the shell shape.
STEP 11:
Start stuffing the pillow to get the 3D effect of the shell by pushing polyfill into each section of the shell, and also into the base.
TIP: You can use a hemostat if you have one – it’s a stainless-steel instrument used by doctors during surgery to temporarily clamp an artery. This scissor-like clamping tool has locking handles and is slender, with serrated jaws. It’s used in doll-making and sewing to push out corners, turn tubes and grab items securely and is perfect for pushing the stuffing into the smaller areas of the shell cushion.
STEP 12:
Once you have finished with the stuffing clip each section, then stitch around the outside edges with a ¼ inch (6 mm) seam allowance.
STEP 13:
This is an optional step. You can now trim the batting sticking out from the stitch line, but be careful not to cut into the lining or outer fabric. This just makes for less bulk when the cushion is turned the right way out later.
STEP 14:
To make the back of the cushion you have TWO OPTIONS:
- option 1: Make it the same way you made the front – if you go this route your pillow will be reversible
- option 2: Use 2 layers of cotton fabric for the back.
I opted for option 2 – I used two layers of fabric – an outer and the same lining as I used for the front piece, but because you won’t see the lining you can use a different color or pattern – the two layers are there to provide stability and ensure the cushion does not look lumpy if you are using quilting cotton and not a heavier décor fabric. Place the two layers with wrong sides facing each other, outer side up, lining side down on your worktop.
STEP 15:
Over the layers place the stuffed cushion front right side down. Pin or clip in place leaving a large portion of the straight section open at the base of the shell. Make sure the opening is large enough so you can turn the cushion right side out after stitching.
STEP 16:
Stitch around the edge, just inside the earlier stitch line you made to enclose the stuffing.
STEP 17:
Cut off the extra fabric around the shell shape in line with the stuffed shell section.
STEP 18:
Cut small V notches into the indents around the shell shape – this stops the fabric from pulling awkwardly when the cushion is turned the right way out.
STEP 19:
Turn the fabric the right way out by pulling it through the gap in the bottom of the shell. Push out the scallops.
STEP 20:
Press out the raw edges of the gap neatly.
STEP 21:
Start stuffing the cushion with polyfill until it in plump and smooth with the filling evenly distributed, then clip the gap closed. Do not overstiff it – we want it to look life a shell.
STEP 22:
Hand stitch the gap using an invisible (ladder) stitches that are not visible on the outside, making sure the raw edges are turned in line with the seam.
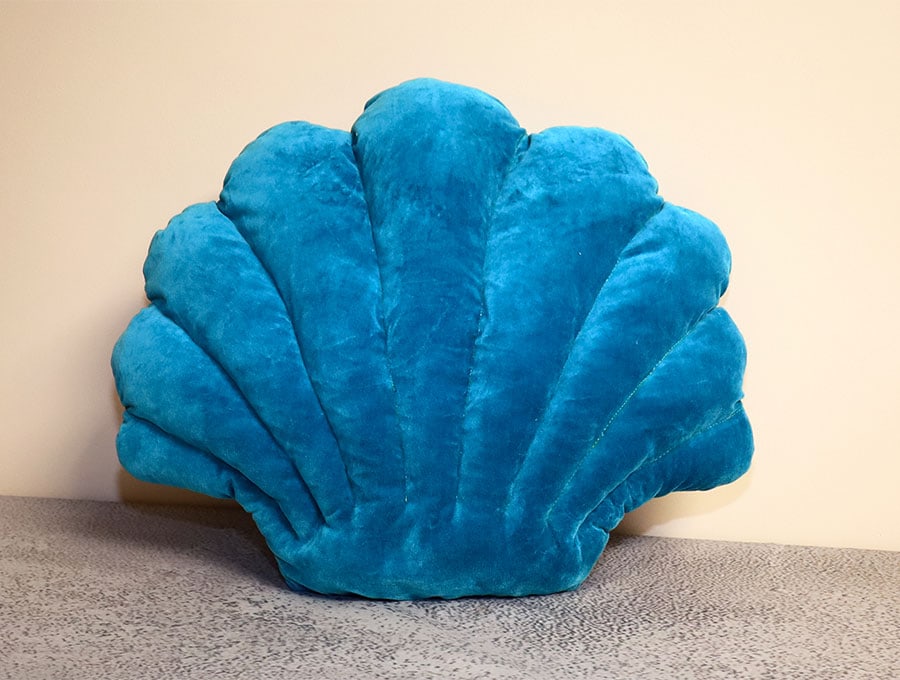
You can now stand back and admire your handiwork. You have an unusual seashell pillow to decorate your home or to give as a gift that is bound to be a conversation piece.
While it looks like something you’d pay a lot for at a boutique home store, the seashell pillow project comes together in 30 minutes to an hour with our free pattern from HelloSewing. You probably have most of the fabrics lurking in your stash somewhere, and the only extras are some batting and polyfill stuffing. Ready to bring a little coastal charm — or just some seriously good sculptural energy — to your living room? Let’s get sewing…
If you enjoyed this tutorial for the scalloped seashell pillow then please don’t forget to like and subscribe for more of our fun projects from HelloSewing.
Do you like this? Pin for later:
Wanna be friends? Click HERE and follow me on Pinterest
RELATED: