
DIY Stuffed Patriotic Fabric Star | 4th July Fabric Stars Sewing Pattern
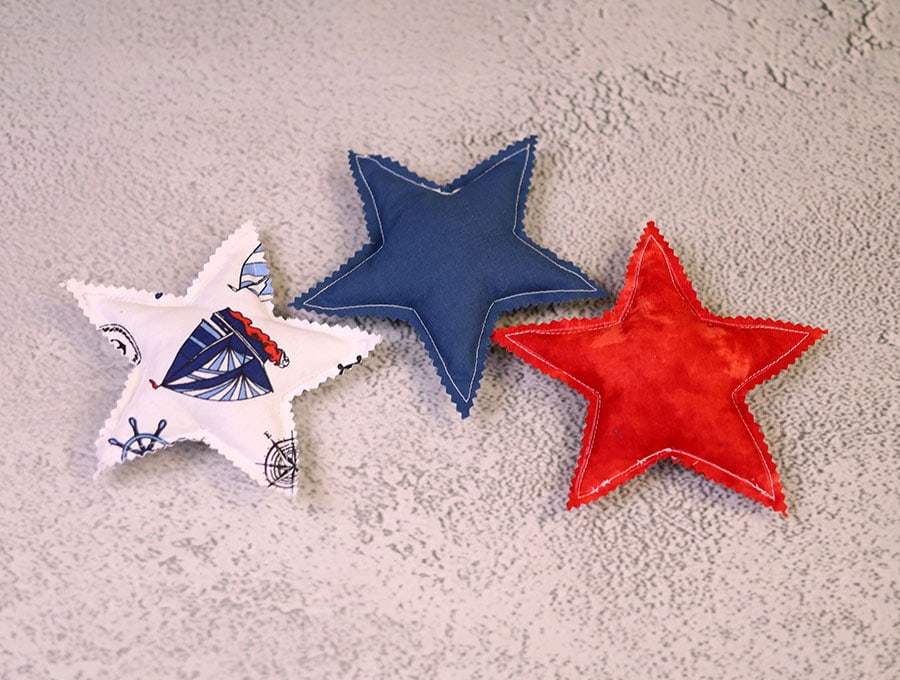
Ready to add a little star-spangled sparkle to your home? This easy-to-sew patriotic stuffed fabric star is the perfect quick craft to bring some red, white, and blue cheer to any space. No fancy skills needed—just simple sewing, fun fabrics, and a dash of creativity. Whether you’re decking out for Memorial Day, the Fourth of July, or just love a bit of Americana flair, these stars are sure to brighten your décor. Let’s dive in and make some festive fabric stars that everyone will love!
Below you will find my step by step written fabric star tutorial with VIDEO instructions for all the visual learners.
We occasionally link to goods offered by vendors to help the reader find relevant products. Some of the links may be affiliate meaning we earn a small commission if an item is purchased.
Table of Contents
How to make a Patriotic Stuffed Fabric Star

Supplies and tools
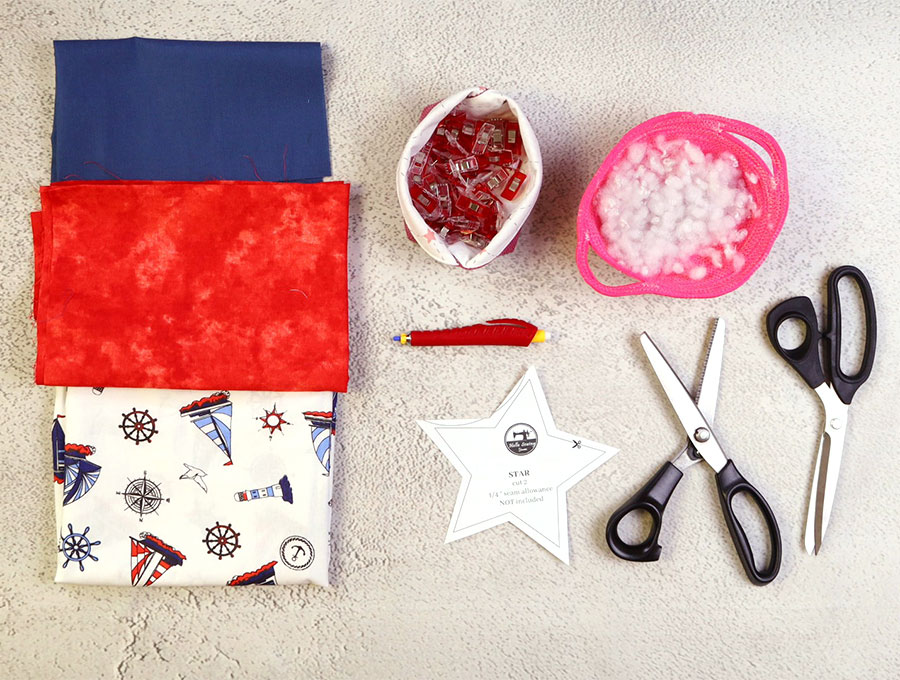
- fabric – 1 piece of woven cotton fabric in red, white or blue
- polyester stuffing
- matching thread
- zipper foot for your sewing machine
- scissors and pinking shears
- ruler or measuring tape
- sewing clips or pins
- fabric marker or tailor’s chalk
DOWNLOAD: fabric star pattern [Free pdf file]
Follow us for free patterns & tutorials! [easy-profiles]
How to Sew a Fabric Star
Watch the diy patriotic fabric star video first and then follow the written step by step instructions below.
Please enjoy and don’t forget to Like and SUBSCRIBE over on YouTube to be kept up to date with new videos as they come out.
fabric star VIDEO TUTORIAL
MATERIALS:
- Fabric – 18 x 36cm (7 x 14”) woven cotton or quilting cotton
- A handful of Polyester stuffing
Finished size: approximately 16 x 16 x 3cm or 6 1/4″ x 6 1/4″ x 1 1/4″
INSTRUCTIONS:
STEP 1: Prepare the star template
Print the star plush pattern at 100% (no scaling) and trim the excess paper. Put it aside.
STEP 2: Prepare the fabric
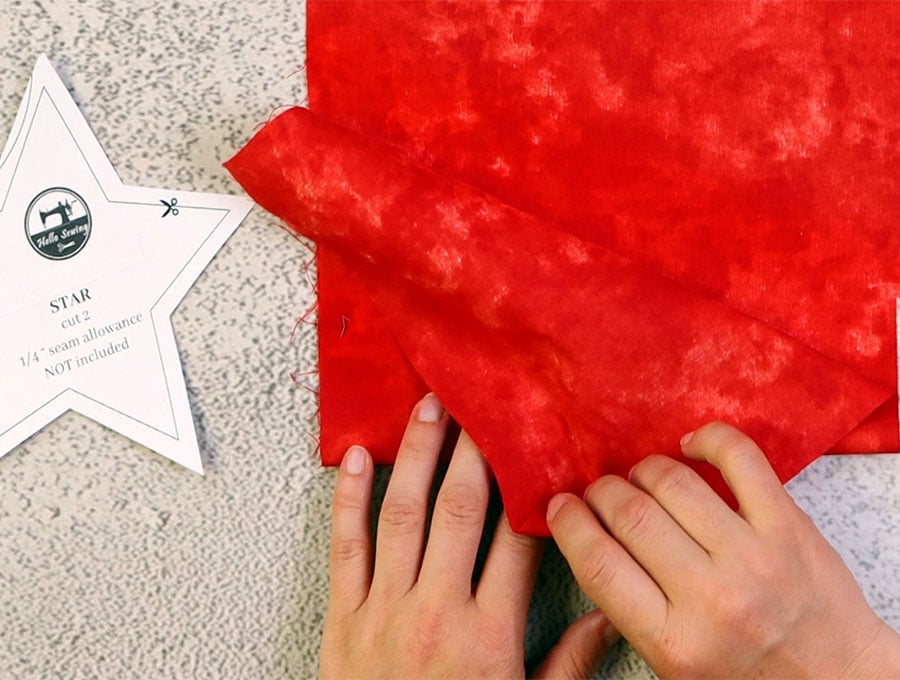
Take the piece of fabric and place it wrong side up on your worktop. Fold the bottom up, pin in place with a couple of pins and place the star pattern on top.
STEP 3: Cut the fabric

Mark around the star pattern and cut out the fabric – you will have two mirror pieces of fabric.
Do not unpin the fabric pieces.
TIP (optional): You can cut out the template along the dashed line and transfer it to the star using a dissapering fabric marker – this would be your stitching line and it would be easier to sew along it in the next step.
STEP 4: Stitch
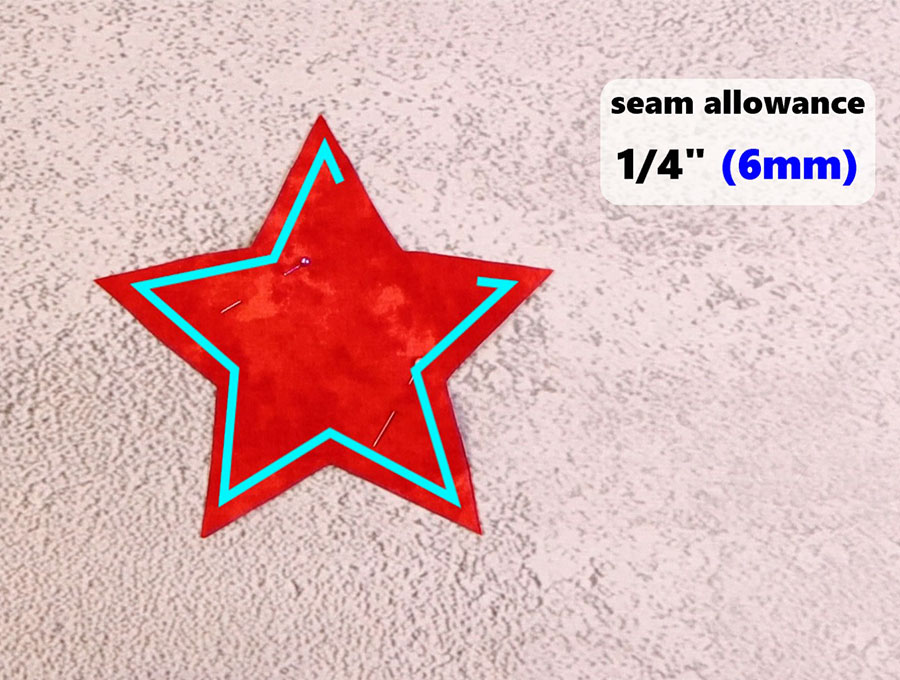
Sew around the fabric star using a 6mm (1/4”) seam allowance, leaving a gap between two points
STEP 5: Stuff
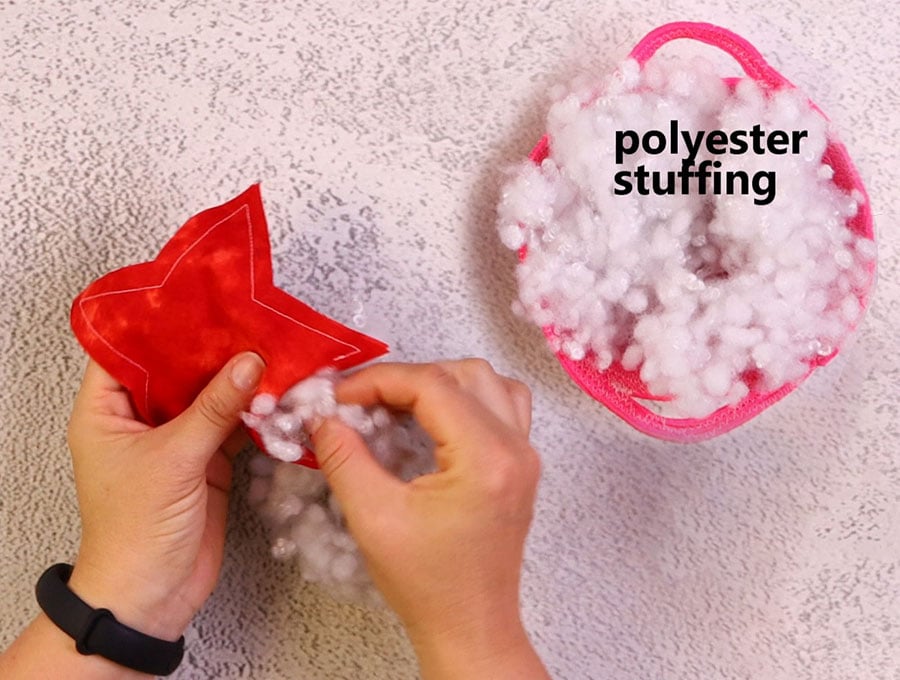
Fill the fabric star with polyester stuffing – make sure to fill in the points but do not overstuff the star or it will look funky.
STEP 6: Pin the gap
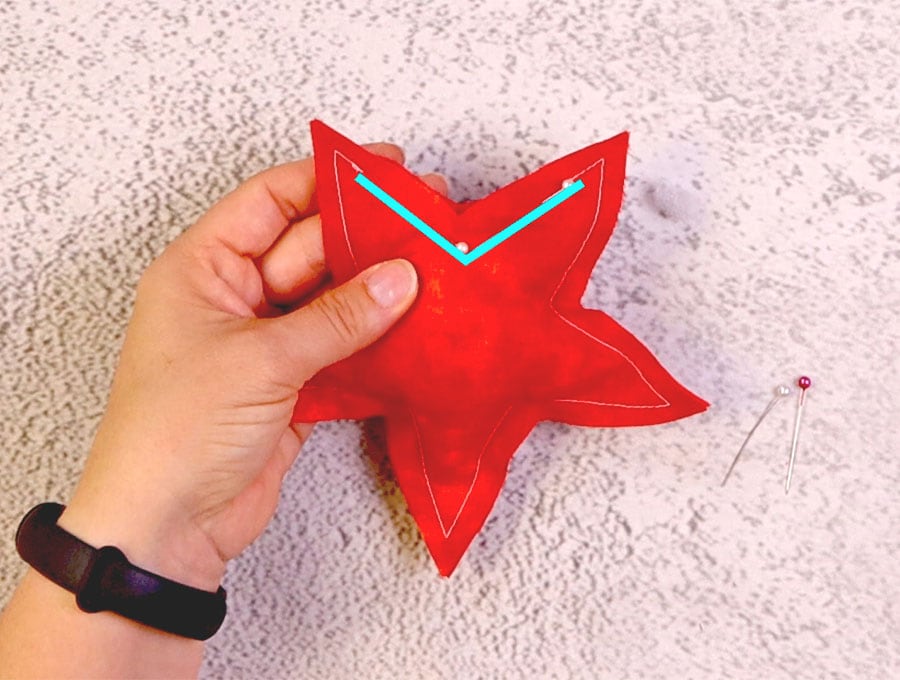
Push the stuffing away from the gap and pin using a couple of pins.
STEP 7: Sew gap
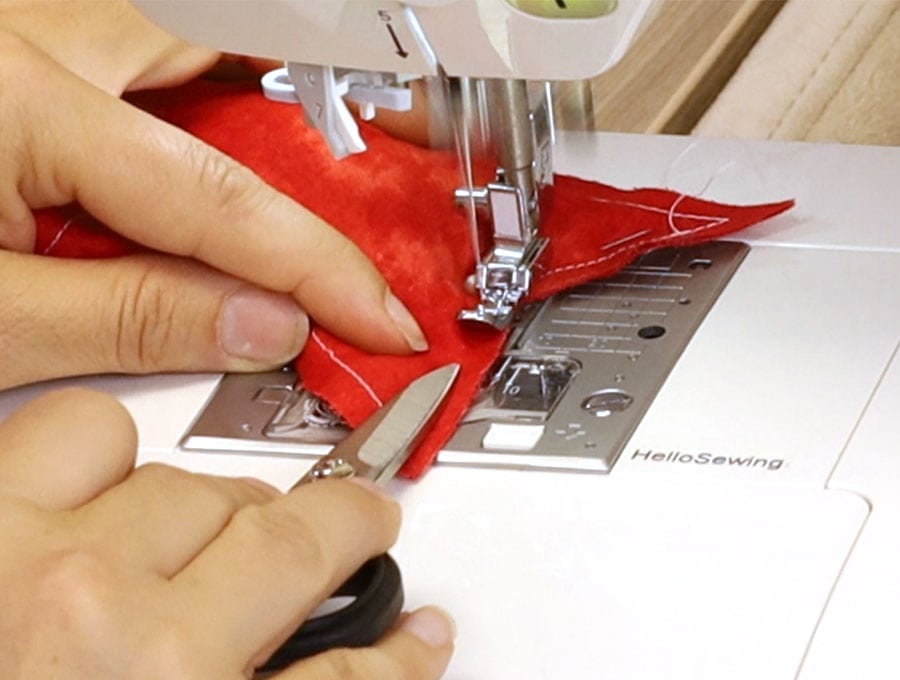
Sew the gap closed with your sewing machine using a 6mm (1/4”) seam allowance
STEP 8: Trim the edges
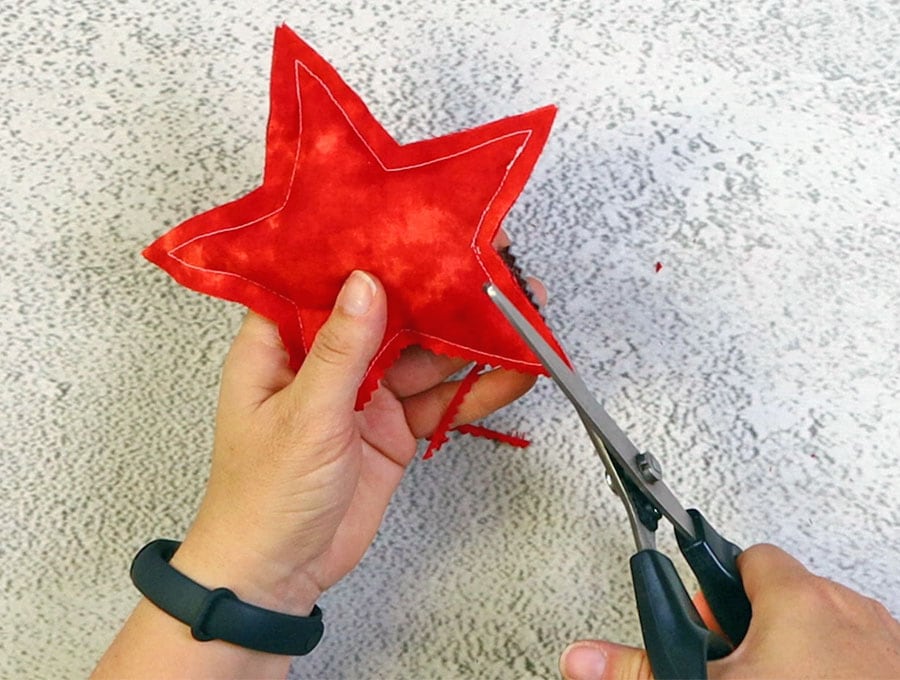
(optional) Trim the edges using pinking shears.
If you don’t have pinking shears you can leave them as is – they will be gorgeous either way
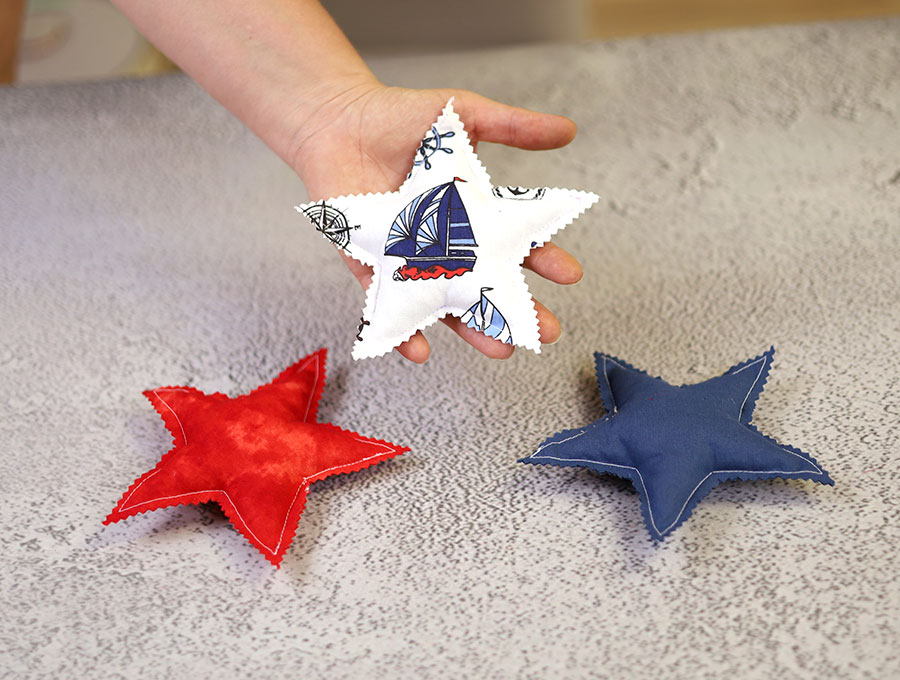
Readjust the stuffing and your patriotic fabric star is ready!
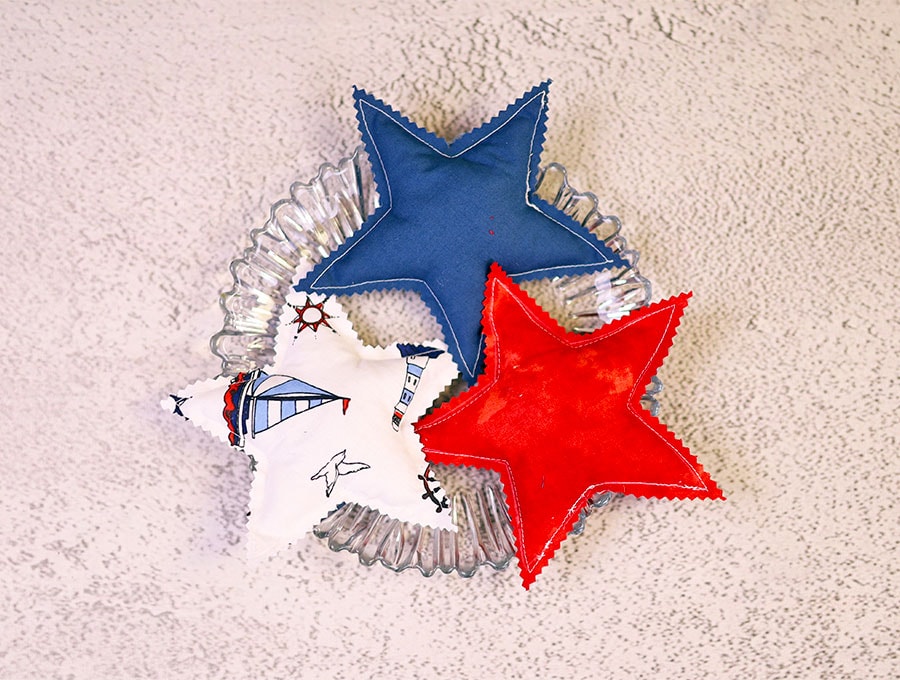
You can use it for decoration, make a garland or bunting, use as favors for guests, make Christmas tree ornaments or patriotic bowl fillers. What I did was to make 2 sets of three stars in blue, red and white. I attached one of the sets to a ribbon and made a simple bunting. I used the second set as table decoration – I simply added some greenery to a tray and added a red, while and blue star into the tray. Simple but effective Memorial Day decoration!
If you like this tutorial, make sure to subscribe to my mailing list – I send out free tutorials just like this several times a week. Let’s sew together!
Do you like this? Pin for later:
Wanna be friends? Click HERE and follow me on Pinterest
RELATED: