
DIY Trick or Treat Bag Pattern – How to Sew a Reversible Trick or Treat Bag [VIDEO]
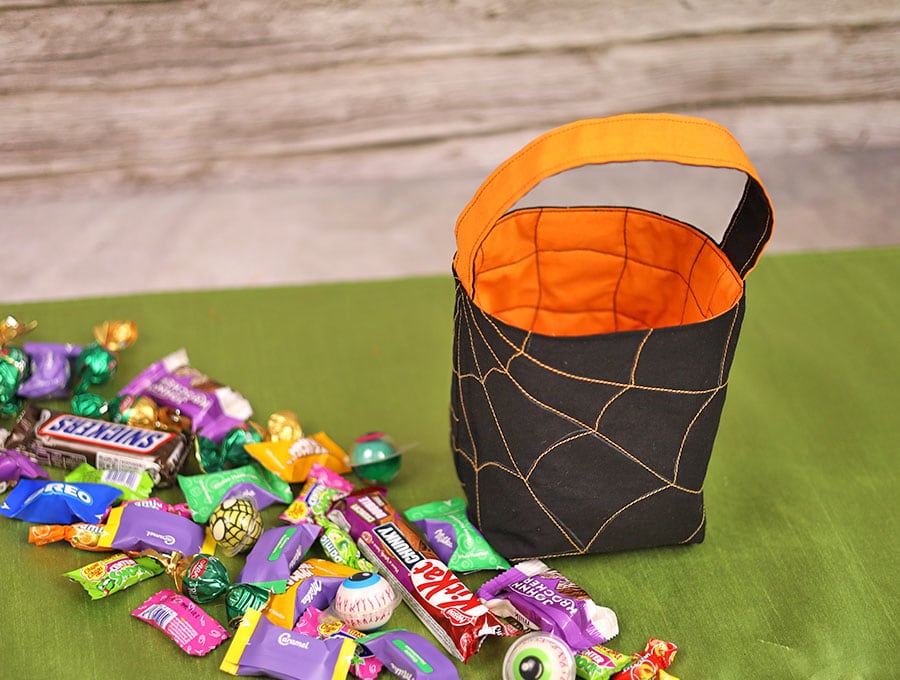
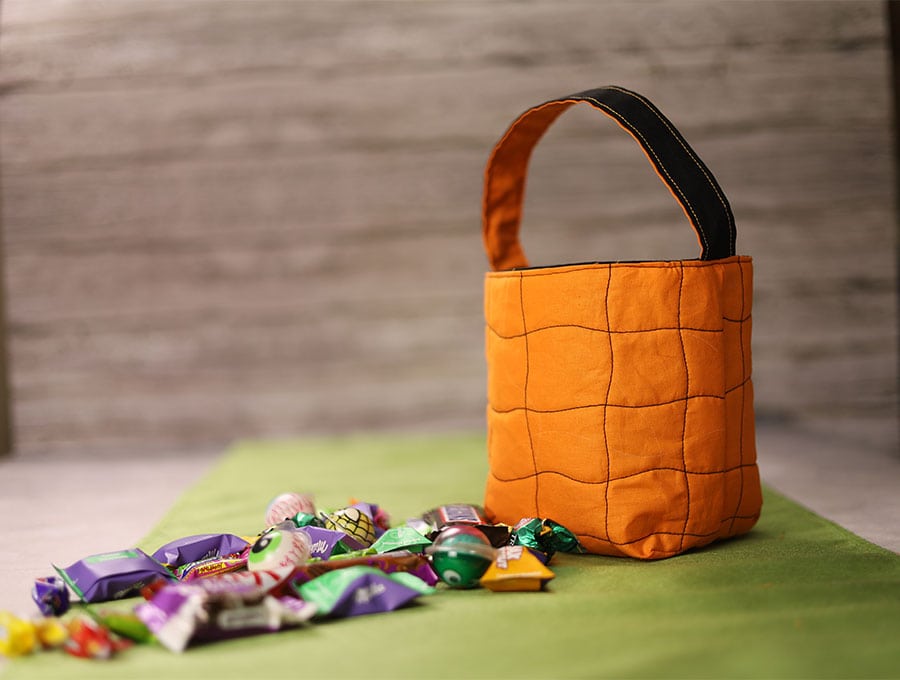
The trick or treat bag is VERY important. Imagine having nothing to stash all the candy loot in after a Halloween outing. Rather than grabbing some random plastic bag to carry round the neighbourhood for the goodies, send the family out in style with these gorgeous Halloween themed trick or treat bags – more treat than trick though. They can choose whether to have it on the bright pumpkin side or reverse to the black spiderweb side for a darker theme. We have an easy to follow pattern and provide you with THREE sizes to choose from. You can also choose Christmas fabric and make it a festive treat bag.
Having a handmade themed treat bag for Halloween will create such wonderful memories for children. Often we are unaware of the impact our creations have on their memories of an event – trust me, they are huge. When looking at photos many years later they will say things like, “Remember those treat bags you made us!” in between reminiscing about their friends and their treats or tricks. The bag is easy to make and you can alter it to make three sizes with my free trick or treat bag pattern. The step-by-step instructions support the visuals, making it easy to follow the instructions.
Below you will find my step by step written tutorial with VIDEO instructions for all the visual learners.
We occasionally link to goods offered by vendors to help the reader find relevant products. Some of the links may be affiliate meaning we earn a small commission if an item is purchased.
Table of Contents
- 1 How to make a trick or treat bag
- 2 Supplies and tools
- 3 How to Sew a trick or treat bag
- 3.1 Trick or Treat bag VIDEO TUTORIAL
- 3.2 INSTRUCTIONS:
- 3.3 STEP 1: Cut your fabrics
- 3.4 STEP 2:
- 3.5 STEP 3:
- 3.6 STEP 4:
- 3.7 STEP 5:
- 3.8 STEP 6:
- 3.9 STEP 7:
- 3.10 STEP 8:
- 3.11 STEP 9:
- 3.12 STEP 10:
- 3.13 STEP 11:
- 3.14 STEP 12:
- 3.15 STEP 13:
- 3.16 STEP 14:
- 3.17 STEP 15:
- 3.18 STEP 16:
- 3.19 STEP 17:
- 3.20 STEP 18:
- 3.21 STEP 19:
- 3.22 STEP 20:
- 3.23 STEP 21:
- 3.24 STEP 22:
- 3.25 STEP 23:
How to make a trick or treat bag

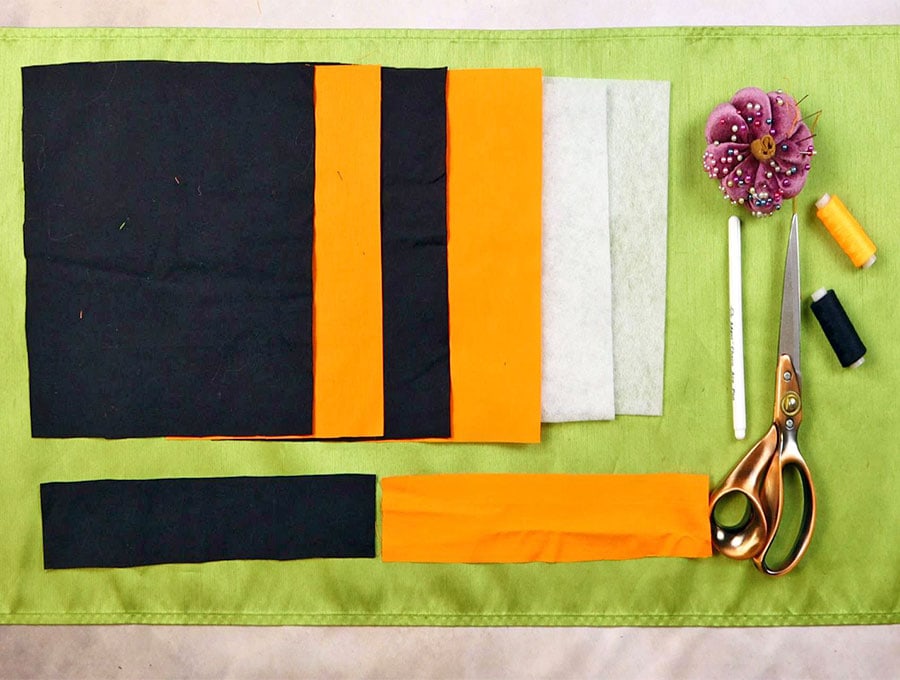
Supplies and tools
- fabric – 2 pieces of woven cotton (one main, one lining) I picked black and orange fabrics
- fusible interfacing
- matching thread
- scissors (or rotary cutter and a cutting mat)
- ruler or measuring tape
- iron and ironing board
- sewing clips or pins
- white fabric marking pen
Follow us for free patterns & tutorials! [easy-profiles]
How to Sew a trick or treat bag
Watch the diy trick or treat bag video first and then follow the written step by step instructions below.
Please enjoy and don’t forget to Like and SUBSCRIBE over on YouTube to be kept up to date with new videos as they come out.
Trick or Treat bag VIDEO TUTORIAL
INSTRUCTIONS:
STEP 1: Cut your fabrics
MEDIUM SIZE:
To make this reversible trick or treat bag in a MEDIUM size
Body of treat bag:
2 pieces of 10 x 9 ¼ inch (25 x 23.5 cm) plain black fabric
2 pieces of 10 x 9 ¼ inch (25 x 23.5 cm) orange fabric
2 pieces of 9 x 8 ½ inch (22.5 x 21 cm) fusible fleece
Reversible handle:
1 piece 12 x 2.5 inches (30.5 x 6.5 cm) black fabric
1 piece 12 x 2.5 inches (30.5 x 6.5 cm) orange fabric
———————————-
For the SMALL size:
Body of treat bag:
2 pieces of 9 x 8 ¼ inch (23 x 21 cm) plain black fabric
2 pieces of 9 x 8 ¼ inch (23 x 21 cm) orange fabric
2 pieces of 8 x 7 ½ inch (20 x 19 cm) fusible fleece
Reversible handle:
1 piece 11 x 2.5 inches ( 28 x 6.5 cm) black fabric
1 piece 11 x 2.5 inches ( 28 x 6.5 cm) orange fabric
———————————-
For the LARGE size:
Body of treat bag:
2 pieces of 11 x 10 ¼ inch (28 x 26 cm) plain black fabric
2 pieces of 11 x 10 ¼ inch (28 x 26 cm) orange fabric
2 pieces of 10 x 9 ½ inch (25 x 24 cm) fusible fleece
Reversible handle:
1 piece 13 x 2.5 inches (33 x 6.5 cm) black fabric
1 piece 13 x 2.5 inches (33 x 6.5 cm) orange fabric
STEP 2:
Place the four pieces of fabric – 2 orange, rights side to right side, and 2 black, right side to right side, on top of each other, then take your quilting ruler and using your fabric marking pen mark off a square of 2 ¼ x 2 ¼ inches (6 x 6 cm) in the lower right hand corner of the stacked fabric.
On the lower left corner also mark off a square 2 ¼ x 2 ¼ inches (6 x 6 cm) with your fabric marking pen.
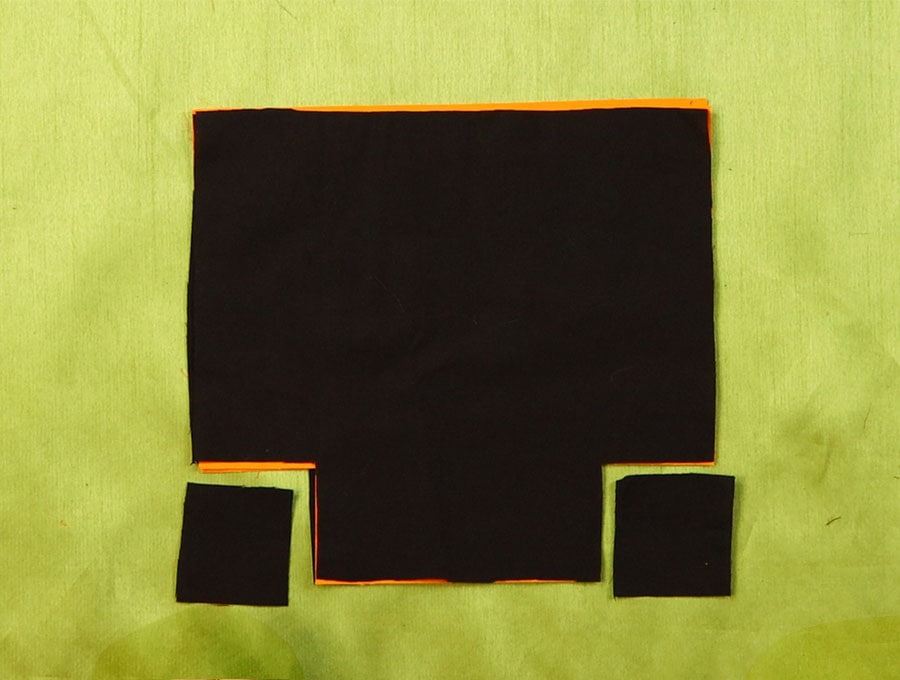
STEP 3:
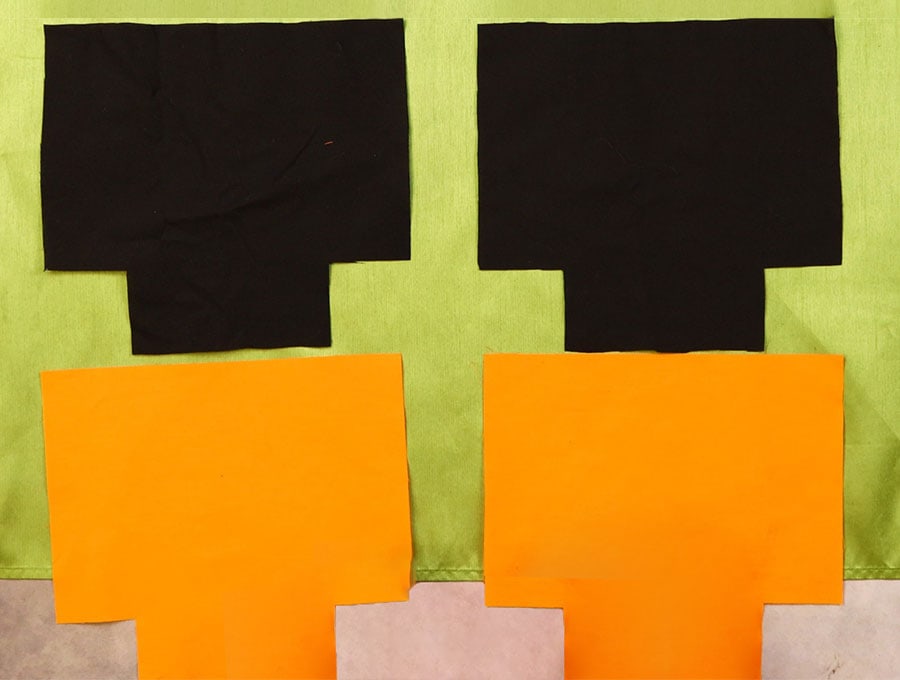
Cut out the corners as marked on the left and right hand sides of the four pieces of fabric.
STEP 4:

To save time, grab two of the little squares you cut off and place them on the left and right hand bottom corners of one piece of your fusible fleece and snip around to remove the 2 ¼ x 2 ¼ inches (6 x 6 cm) piece of fabric on either side. Repeat with the other piece of fusible fleece.
STEP 5:
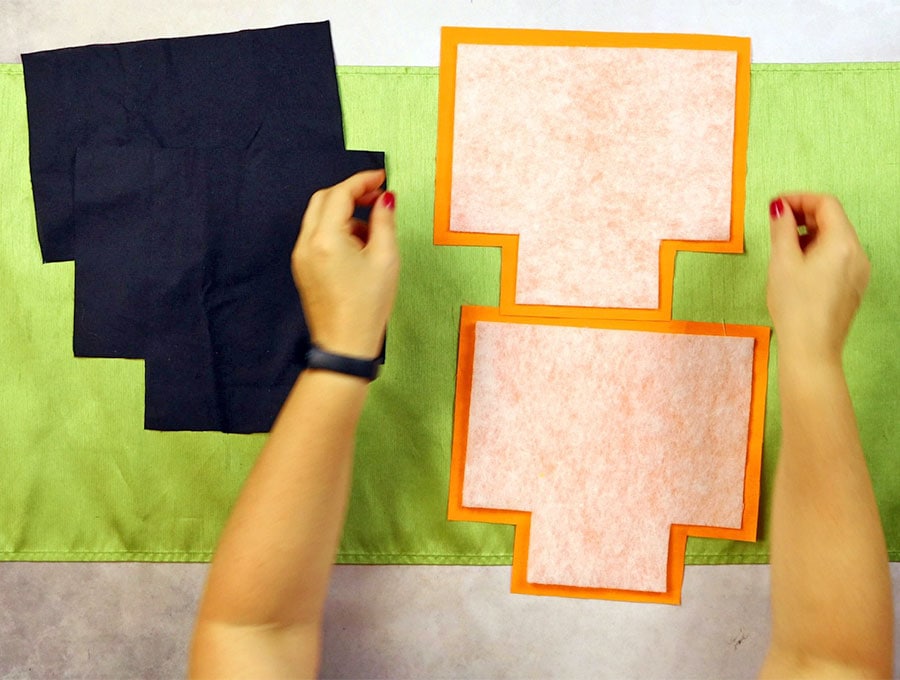
Separate the black and orange layers, placing one piece of fusible fleece over the wrong side of an orange piece, repeat with the other piece of fusible fleece and the second orange side, making sure the fusible side is facing towards the fabric. Line up the pieces equidistant from the edges – you will see the fusible fleece is slightly smaller to reduce bulk on the seams later.
STEP 6:
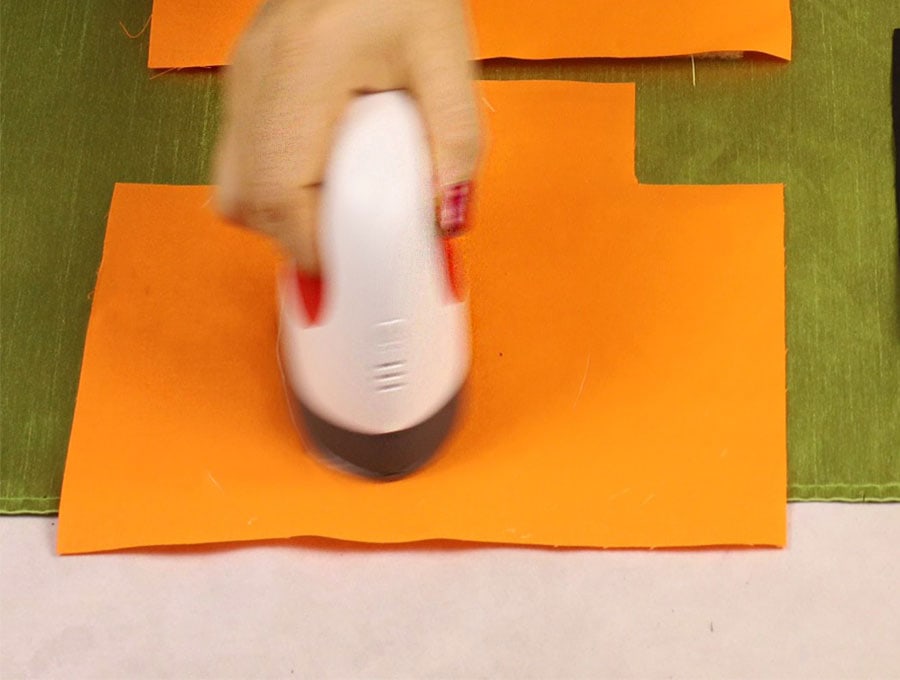
Flip the piece over and iron on the fabric side, not the fleece side, to attach. Repeat with the other orange piece.
STEP 7:
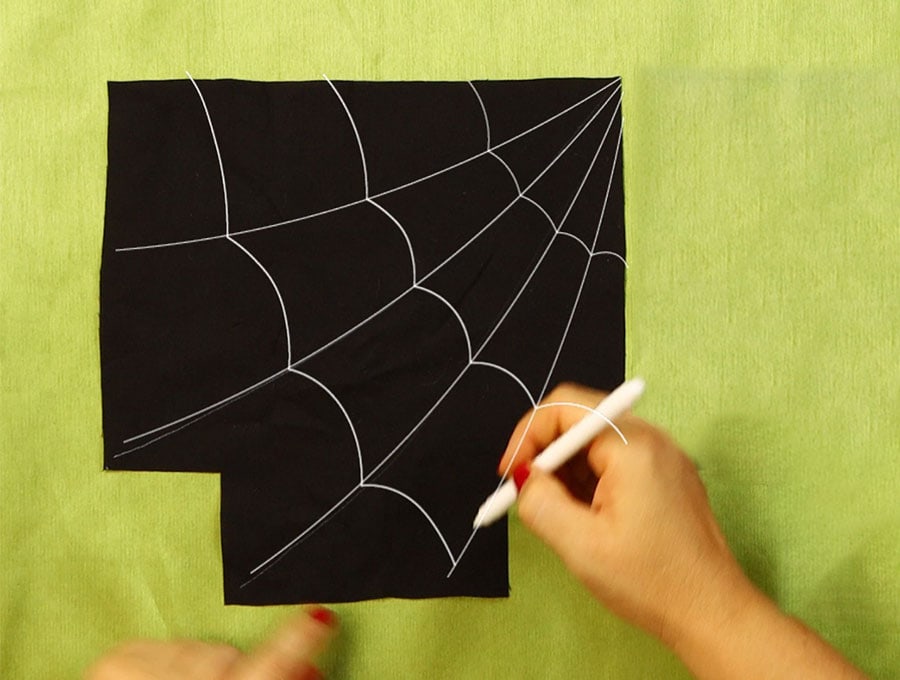
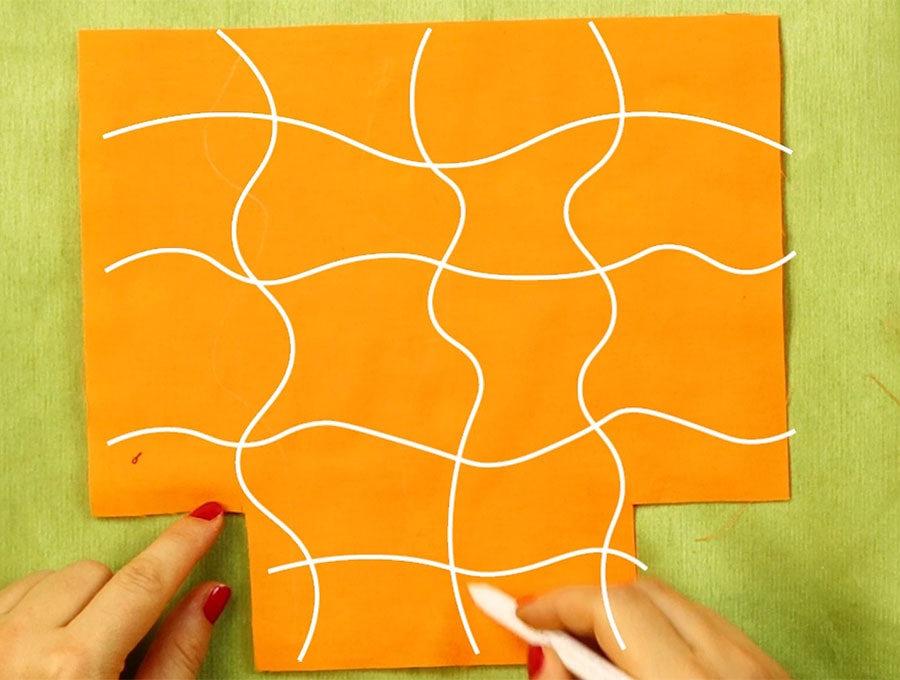
Place your two pieces of black fabric right side up on your worktop, the cut-out sectons at the bottom. From the top right hand corner of the piece on the left hand side, draw a line using the white fabric marking pen to the opposite side in a gentle curve. Carry on making lines to form a spider web pattern – our visuals make this step easy to follow.
 Repeat with the other piece only this time you will start from the top left hand corner of the fabric and carry on with the spiderweb pattern.
STEP 8:
Place you two orange piece of fabric with fusible fleece attached right side up on your worktop and draw some wavy lines to guide you in your quilting – see our visuals.
STEP 9:
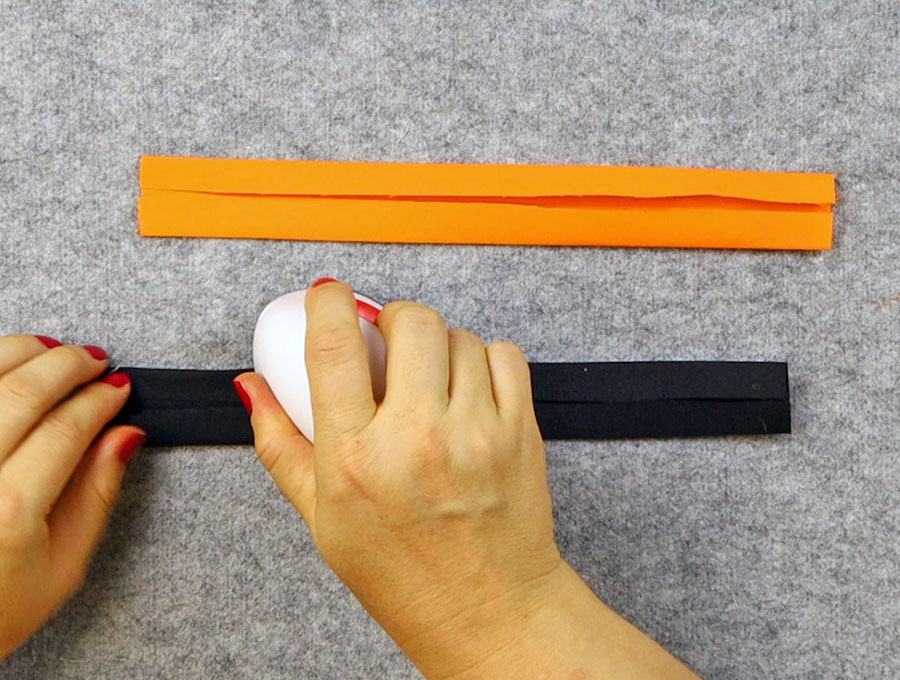
Prepare the handles by folding in half on the long edge and ironing in a crease. Then open out and fold in the edges on the left and right to the crease and press. Repeat for the other handle – one will be black and on orange.
STEP 10:
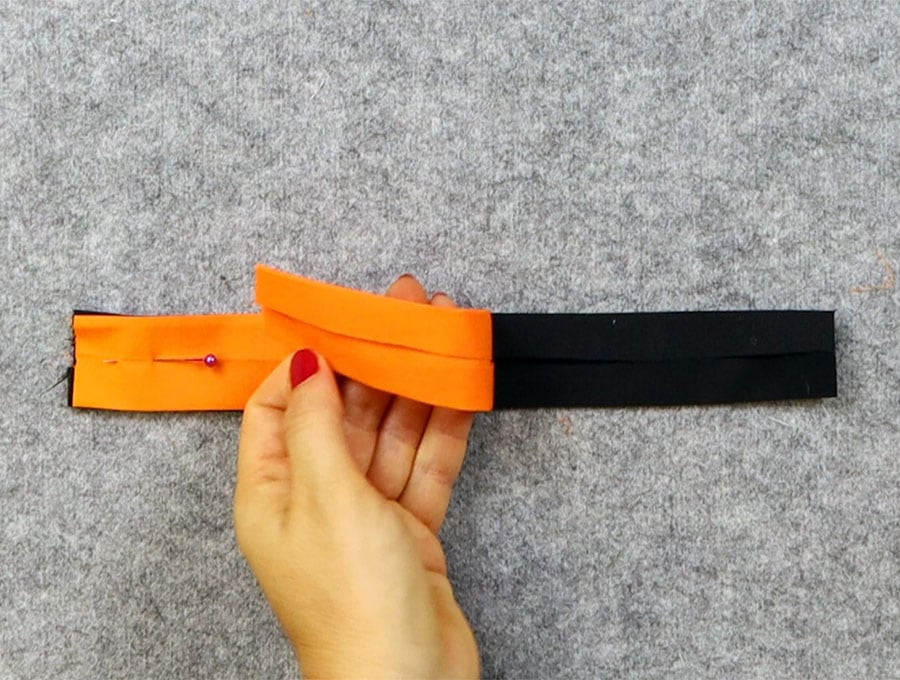
Place the two handles on top of each other with the right sides facing outwards and the folded bits on the inside. Pin together.
STEP 11:
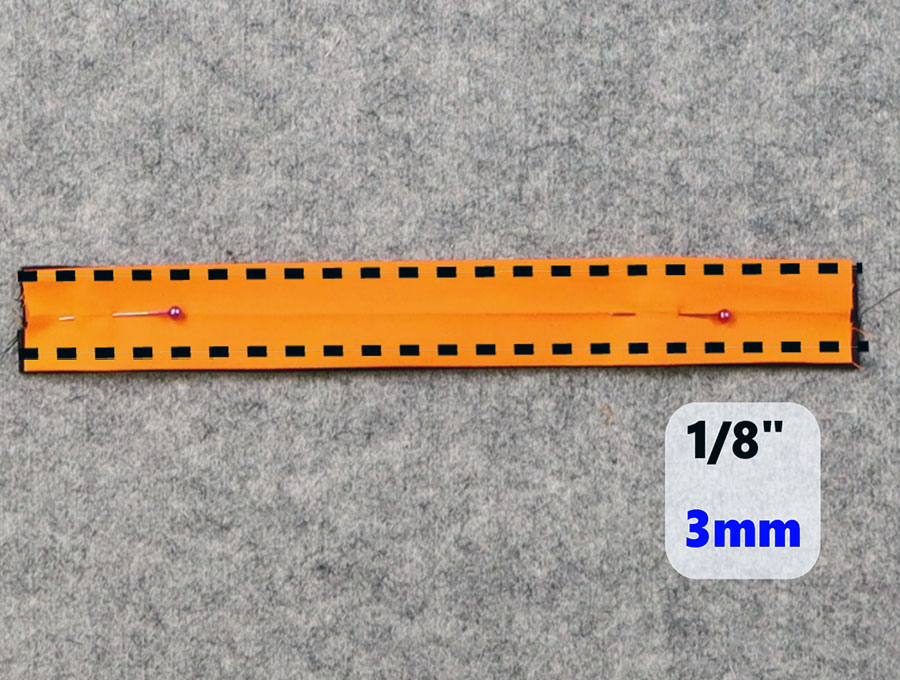
Stitch the handles together 1/8 of an inch (3mm) from the edge on each side, backtacking at the start and finish. Do not stitch across the short ends.
STEP 12:
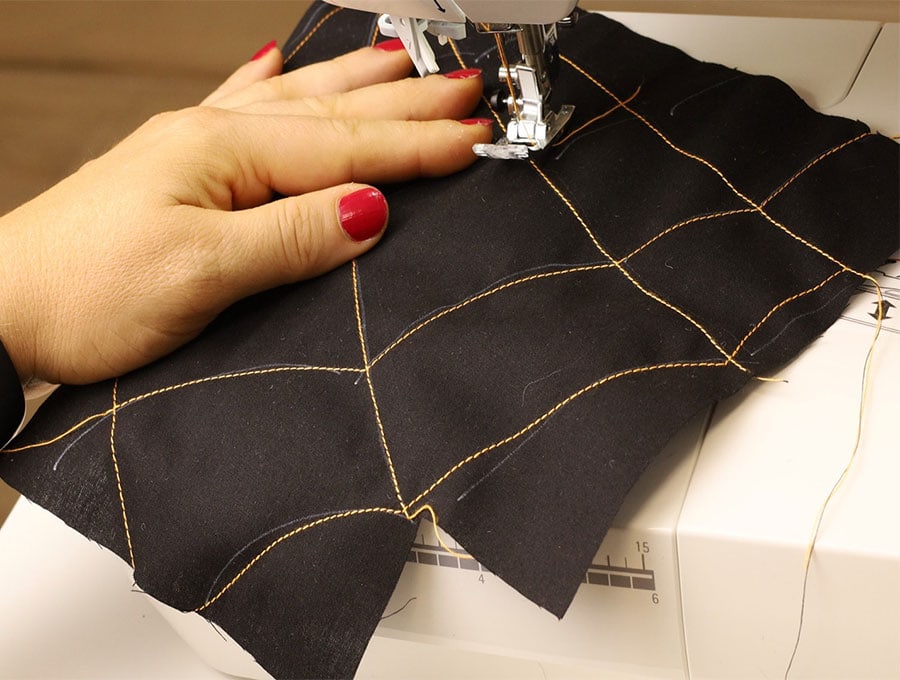
Make sure you have orange thread in your machine before taking a black piece of fabric and using the fabric marking pen guide, stitch in the spiderweb pattern. Repeat with the other piece of black fabric.
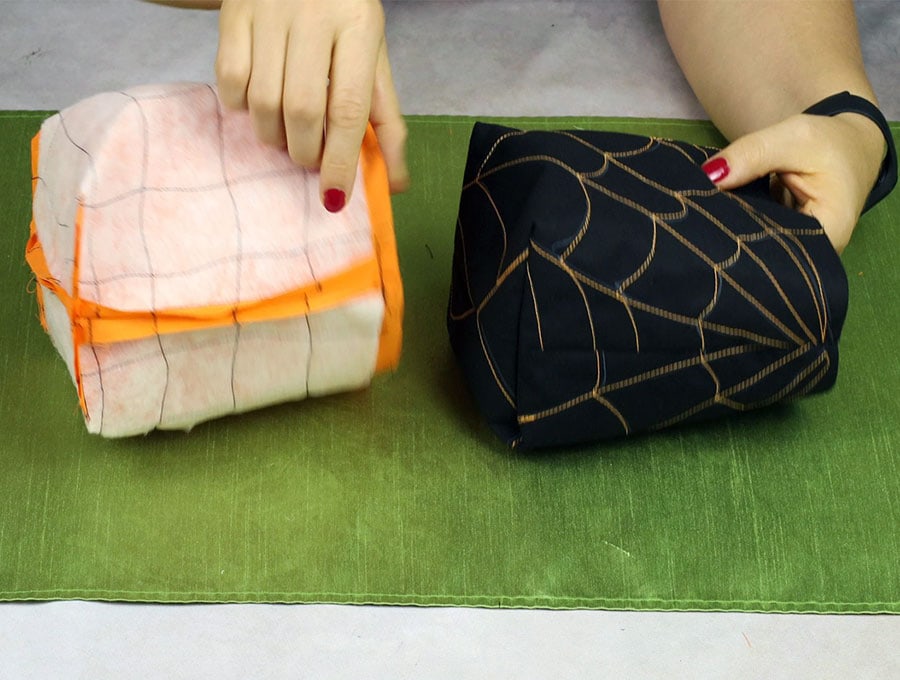
STEP 13:
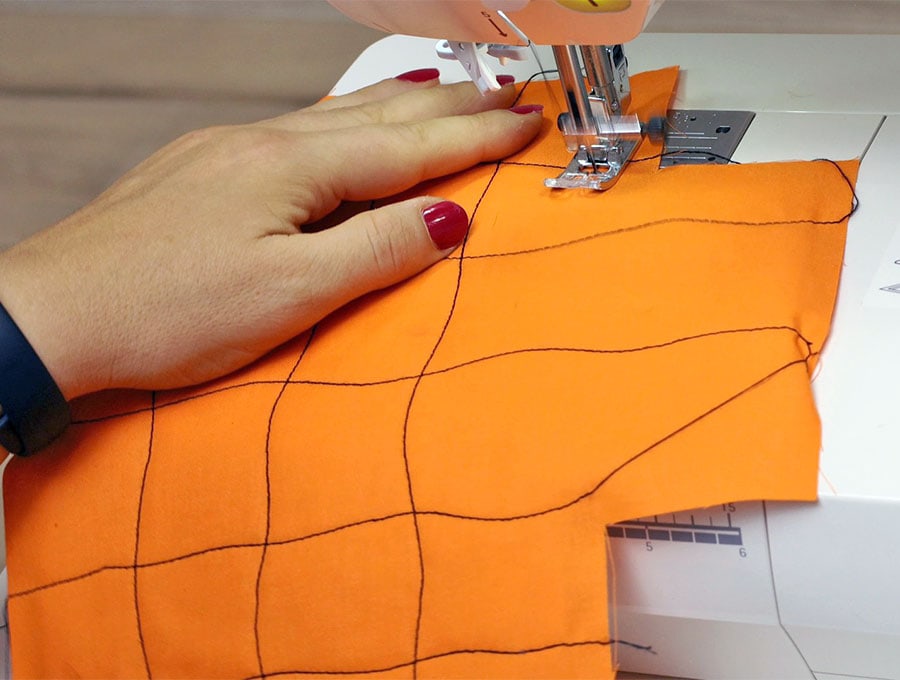
Swap your thread to black and stitch in the wavy lines on each of the orange pieces of fabric with their fusible fleece backing.
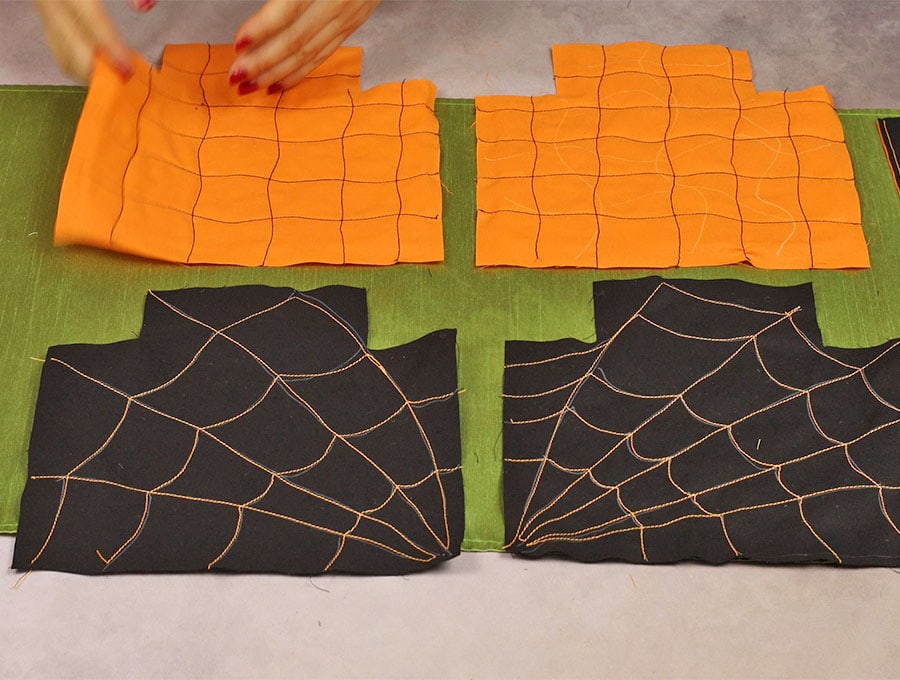
Your quilted pieces will look like this:
STEP 14:

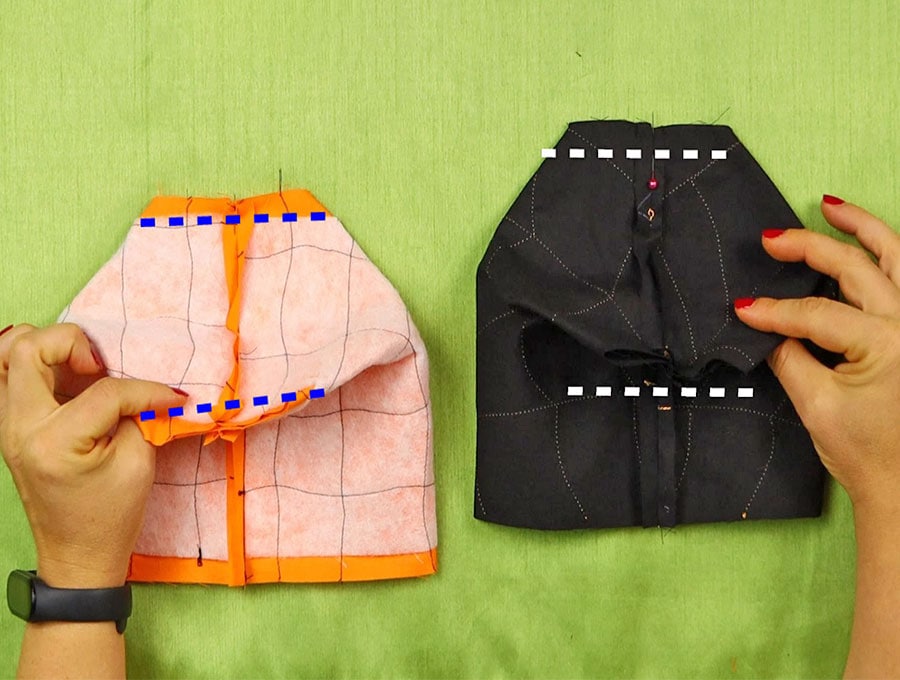
Place the right sides of the orange pieces together, pin in place and stitch along the sides and the bottom 1/2 an inch (1.2 cm) from the edge. Use your fingers to press open the three seams so they lie flat.
STEP 15:
Place to the two black pieces with right sides facing, pin or clip together and stitch along the edge and bottom ½ an inch (1.2 cm) from the edge. Finger press the three seams open
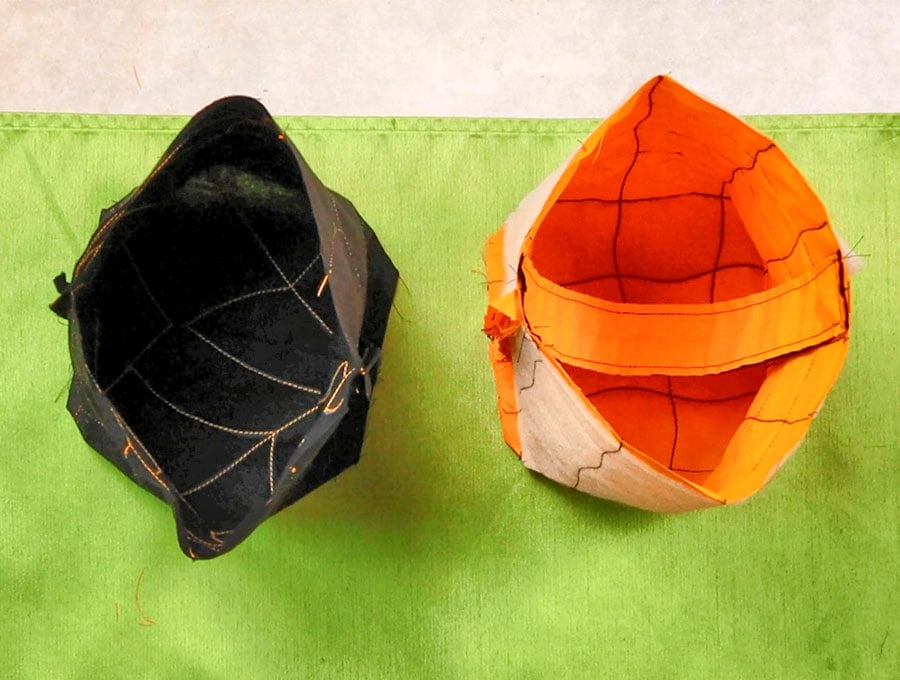
STEP 16:
Take the orange section and flatten the corners to make a triangle – the visual will show you how to do this. Stitch across the flattened corner ½ an inch (6 mm) from the edge. Repeat with the other corner.
Repeat the with the black pieces.
STEP 17:
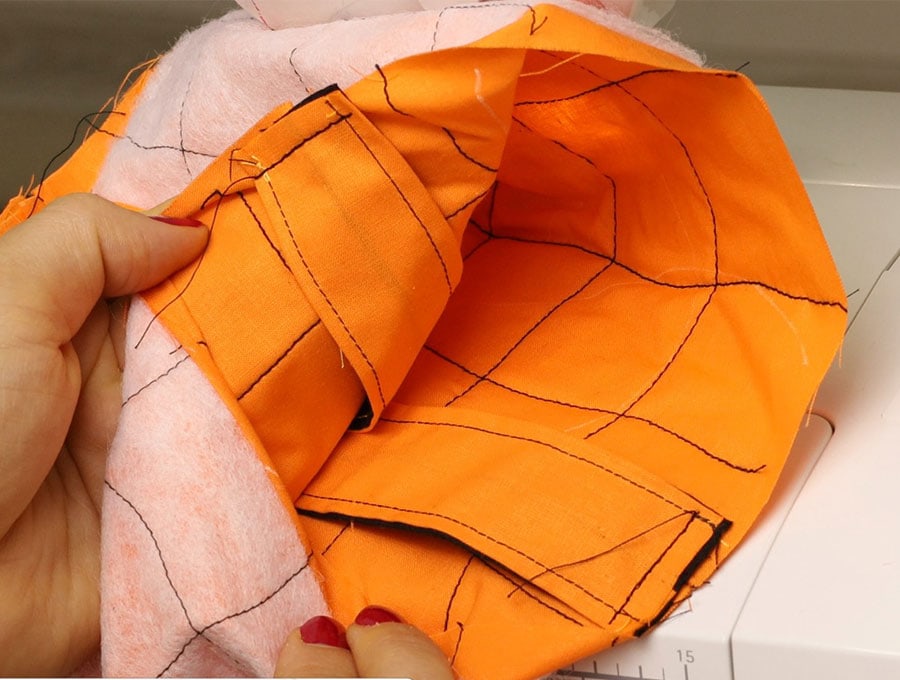
Take the orange bag, still with the wrong side outwards and pin the handle in line with one edge on the right side , and the other end of the handle in line with the opposite edge. The handle itself will dip down into the basket.
STEP 18:
Run a line of stitching across the end of each handle ¼ inch (6 mm) from the edge , backtacking at the start and finish to hold the handle in place.
STEP 19:
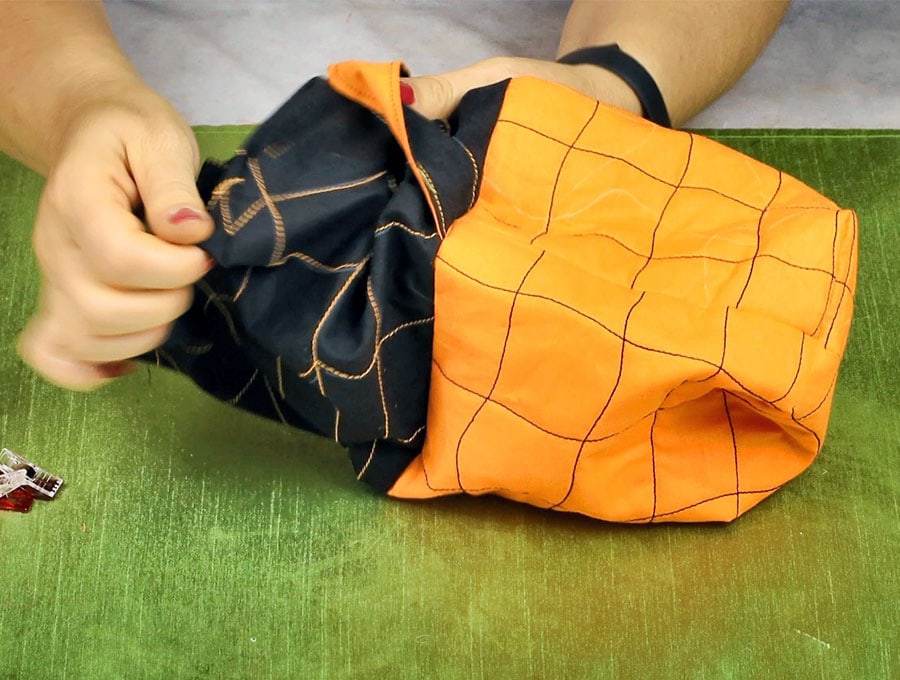
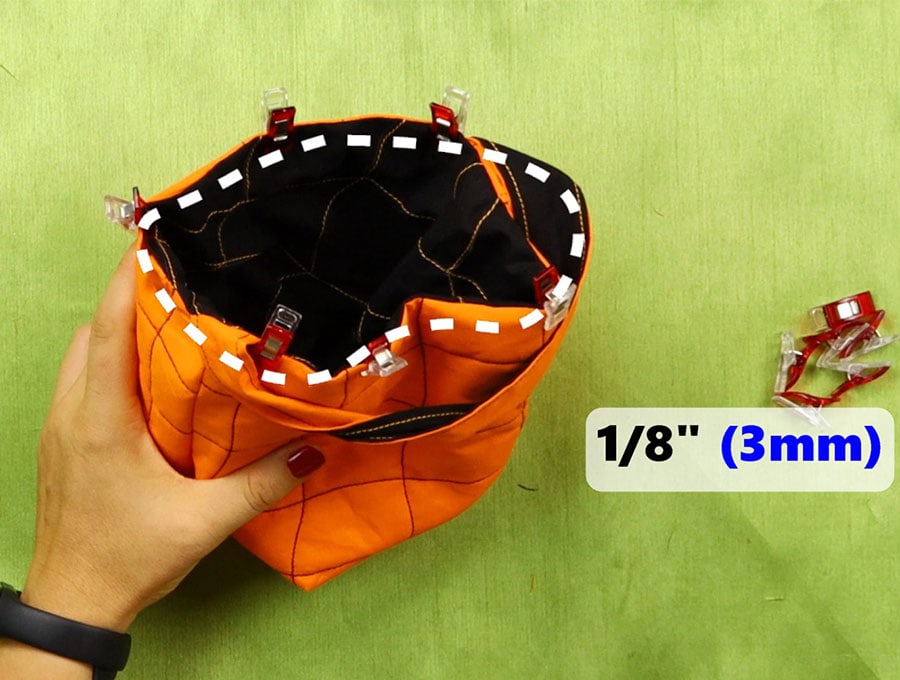
Place the black bag inside the orange bag, the right sides will be facing each other. Pin or clip together as you line up the edges of the top, Leaving a gap of three inches on one side.
STEP 20:
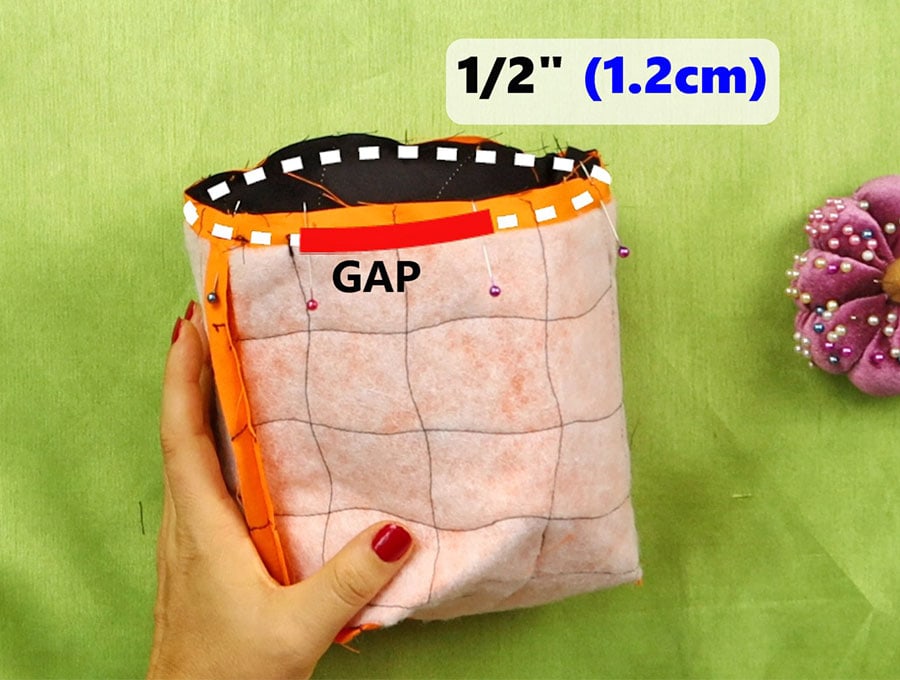
Stitch around the edge ½ an inch (1.2 cm) from the top, backtacking before and after the gap.
STEP 21:
Carefully ease the bag through the gap so the fabric is the right way out, then neatly seat the orange part of the bag inside the black outer.
STEP 22:
Fold the raw edges of the gap in line with the seam and pin in place.
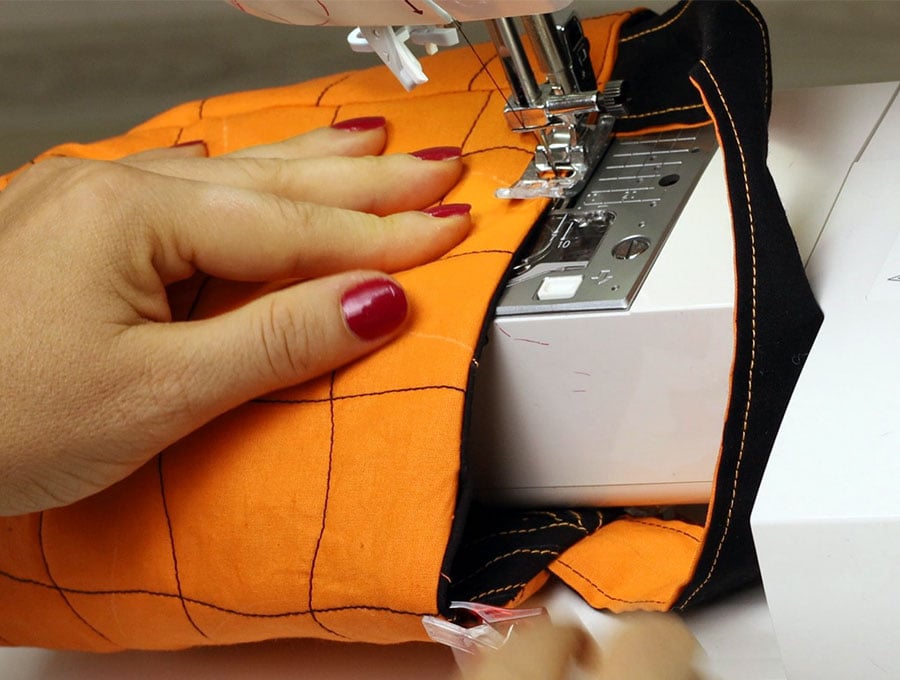
STEP 23:
Before top stitching around the edge of the of of the reversible treat bag, ensure the handle will not get caught by the machine stitching, and carefully stitch all around the edge of the top, 1/8 of an inch (3 mm) from the edge, backtacking at the finish.
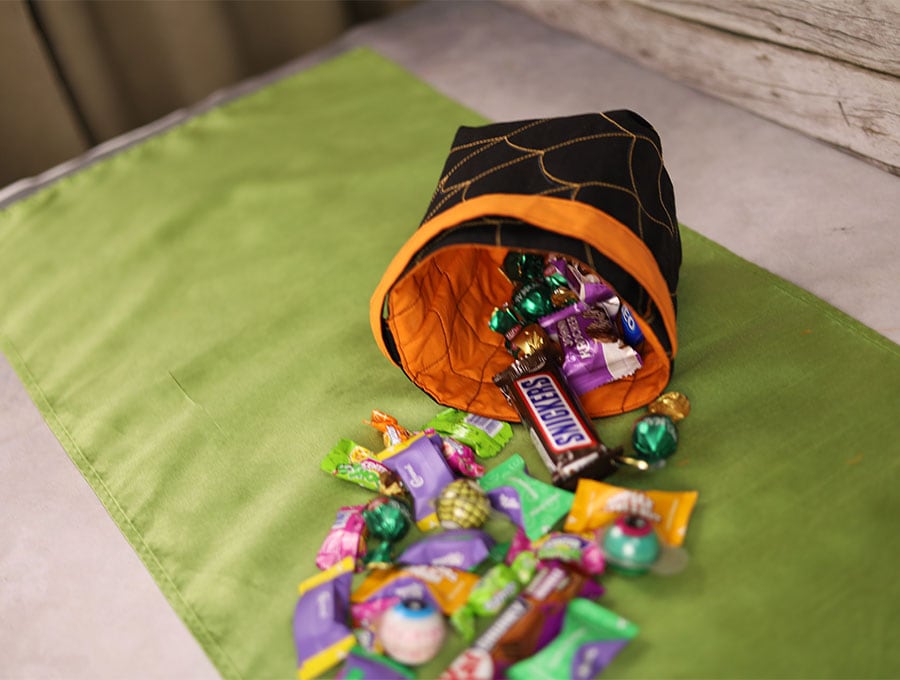
The reversible treat bag is all ready to be loaded with treats for Halloween.
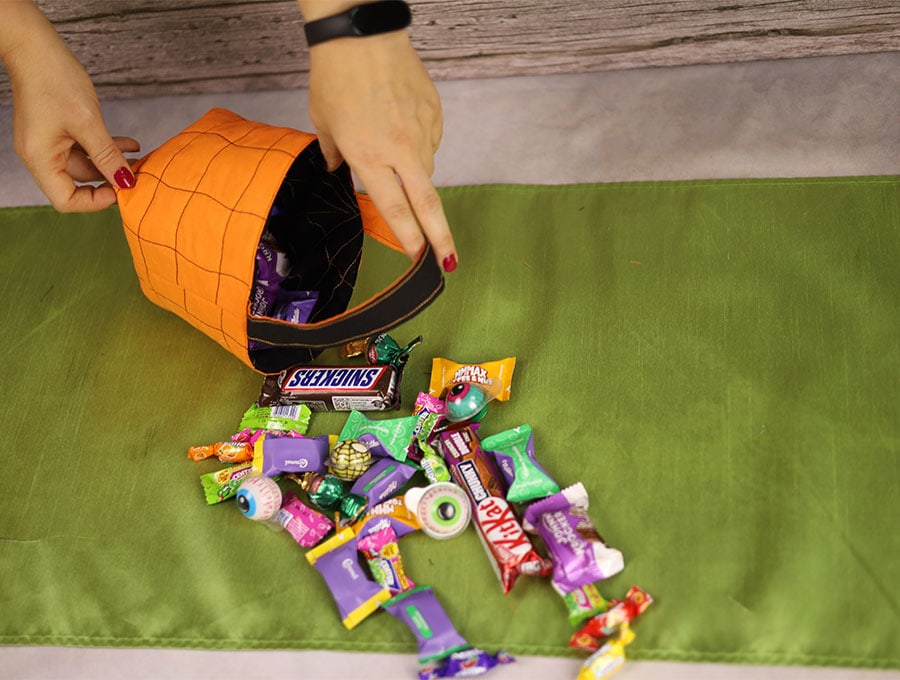
Kids will have great times with the themed treat bag. Please remember to subscribe if you found this project easy and fun, and we will deliver more straight to your inbox. If you have made these treat bags then do send us a picture of the youngsters using them at Halloween.
Do you like this? Pin for later:
Wanna be friends? Click HERE and follow me on Pinterest
RELATED: