
DIY Round Fabric Trinket Tray
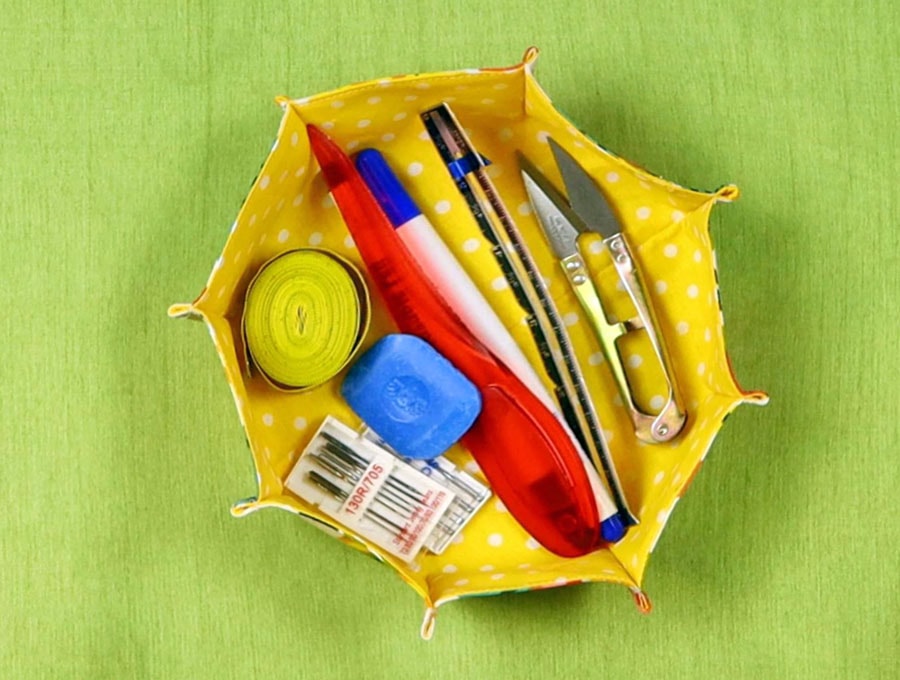
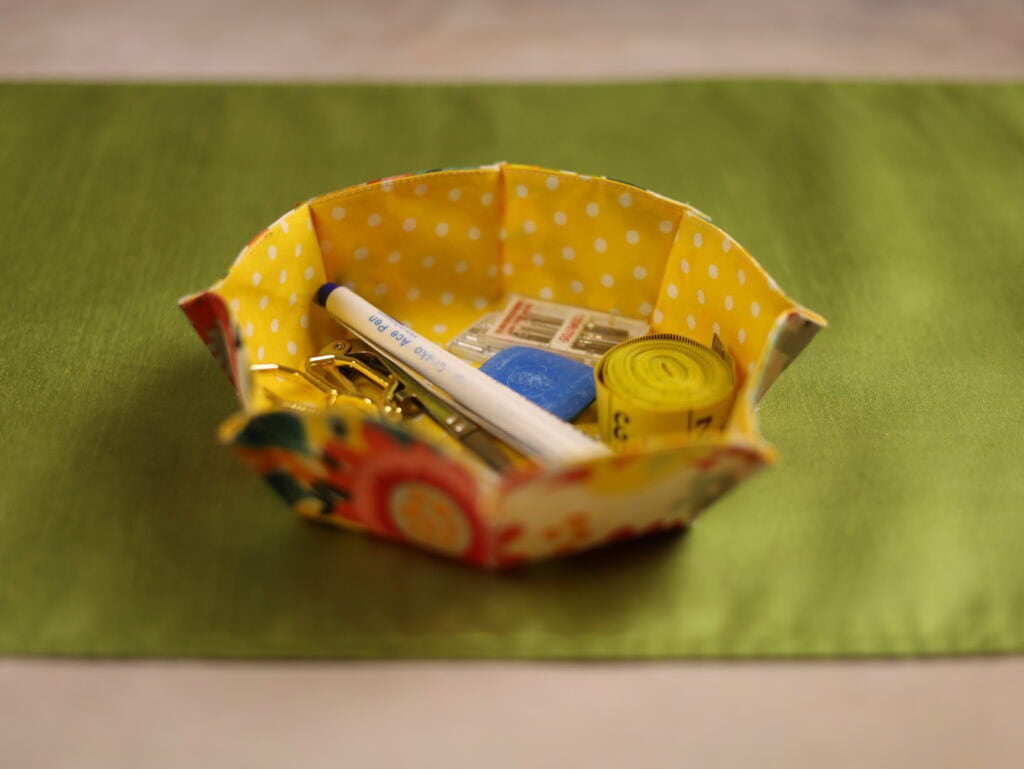
The 20-minute DIY trinket tray is one of those items you need, need, need – for sewing odds and ends, make up that’s easy to get to, hair grips and scrunchies, stationery, costume jewellery and lots more stuff. I love that the design of this one is shallow and open so you don’t need to scratch for what you need as you would if using a deeper container.
When the fabric trinket tray gets grubby just dump it in the wash and it will come out fresh and ready to re-use unlike the commercial ones you buy that have cardboard in them, are made from a fabric that tends to disintegrate and are cleaned only with difficulty.
This tray is sustainable and can be used for many years. Use fabric scraps from your collection, – preferably a firm quality cotton. You can increase or reduce the size of the circle to suit the trinkets you want to store – from TV remotes to keys. If you make a few they will serve you well as party décor for wrapped chocolates or candies co-ordinated to the party theme.
Below you will find my step by step written tutorial with VIDEO instructions for all the visual learners.
We occasionally link to goods offered by vendors to help the reader find relevant products. Some of the links may be affiliate meaning we earn a small commission if an item is purchased.
Table of Contents
How to make a Round fabric Trinket Tray

Supplies and tools
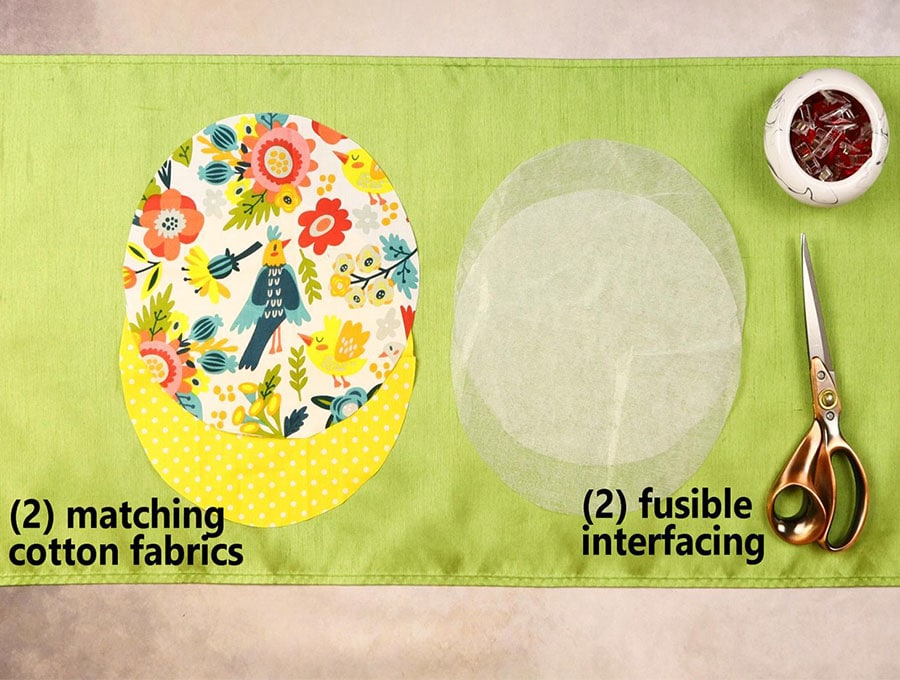
- fabric – 2 x 8 inch (20 cm) circles of woven cotton (one main, one lining)
- fusible interfacing – 2 x 8 inch (20 cm) circles
- matching thread
- scissors (or rotary cutter and a cutting mat)
- ruler or measuring tape
- iron and ironing board
- sewing clips or pins
- sewing machine
DOWNLOAD: pattern coming soon [Free pdf file]
Follow us for free patterns & tutorials! [easy-profiles]
How to Sew a Round fabric trinket tray
Watch the diy round fabric trinket tray video first and then follow the written step by step instructions below.
Please enjoy and don’t forget to Like and SUBSCRIBE over on YouTube to be kept up to date with new videos as they come out.
Round Fabric Trinket Tray VIDEO TUTORIAL
INSTRUCTIONS:
STEP 1:
Use a dinner plate of 8 inches (20 cm) size or slightly larger to trace your circles onto the fabric and the fusible interfacing.
TIP: If you don’t have a suitable plate, you can use a compass and mark the circle on the wrong side of the fabric. Alternatively just download my free template above and use it instead.
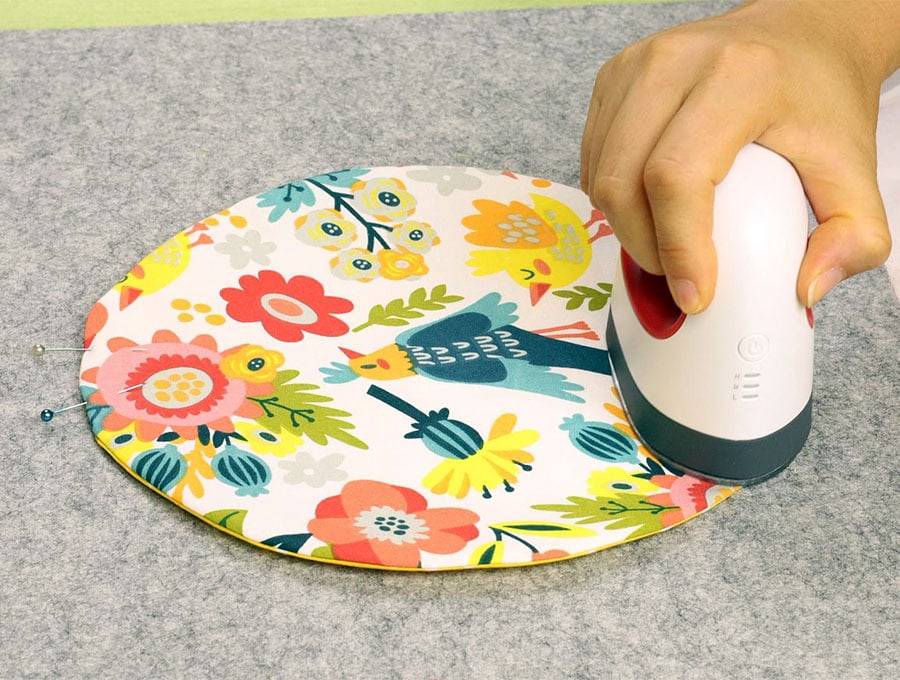
STEP 2:
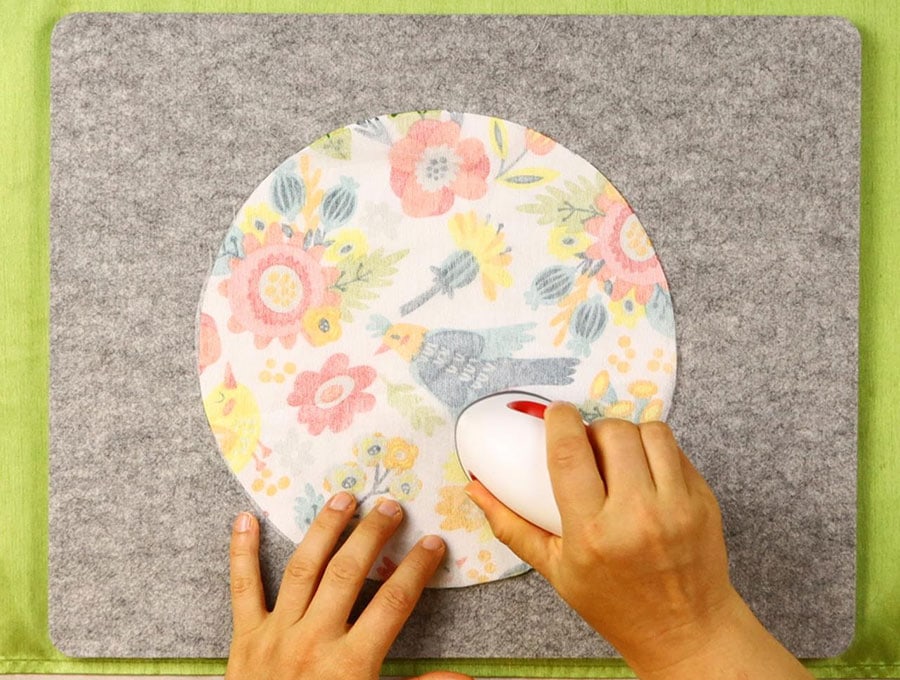
Place the two fabric circles wrong side up on your ironing board and iron to attach the interfacing – just make sure the adhesive side of the interfacing is in contact with the wrong side of the fabric. If it faces upwards by mistake it won’t stick to the fabric and is a pain cleaning the stickiness off your iron!
STEP 3:
Place your two circles with the right sides of the fabric facing each other and clip in place.
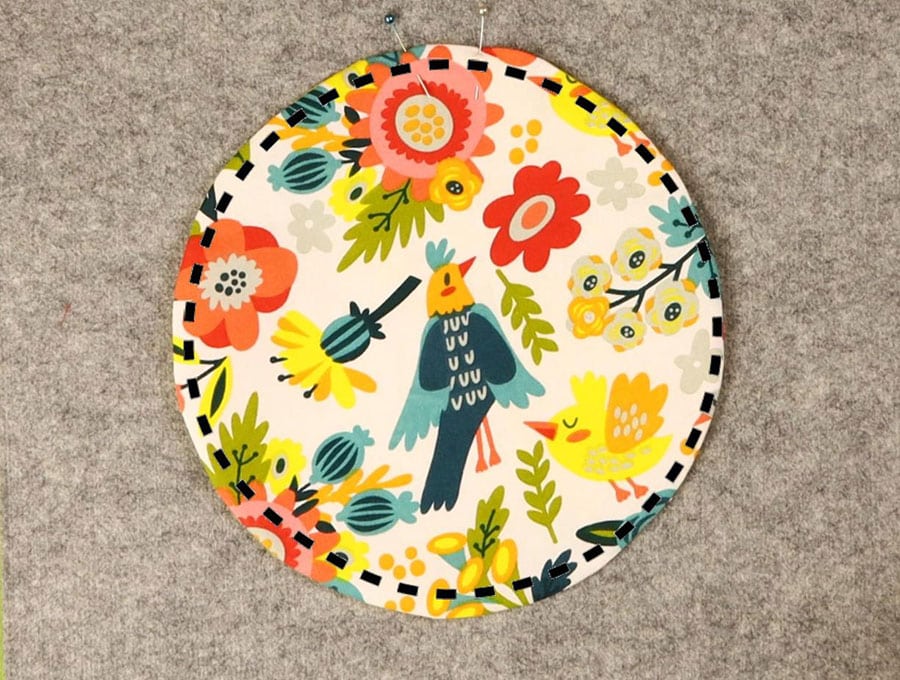
STEP 4:

Mark a gap of 3 inches anywhere on the edge of the circle – you will not stitch over this area as this is where you will pull the fabric through to turn the trinket tray the right way out.
Stitch around the edge of the circle ¼ of an inch (6mm) from the edge starting at one side of the gap and ending at the other side. Remember to backtack at the start and finish of the stitching.
STEP 5:

Turn the trinket tray the right way out by pulling the fabric gently through the gap. Use pinking shears to trim down the seam allowance.
Use a turning tool or chopstick to smooth out the seam, then turn in the raw edges of the gap in line with the seam and press the whole circle flat.
STEP 6:
Toptitch all around the circle 1/8″(3mm) from the edge.
STEP 7:
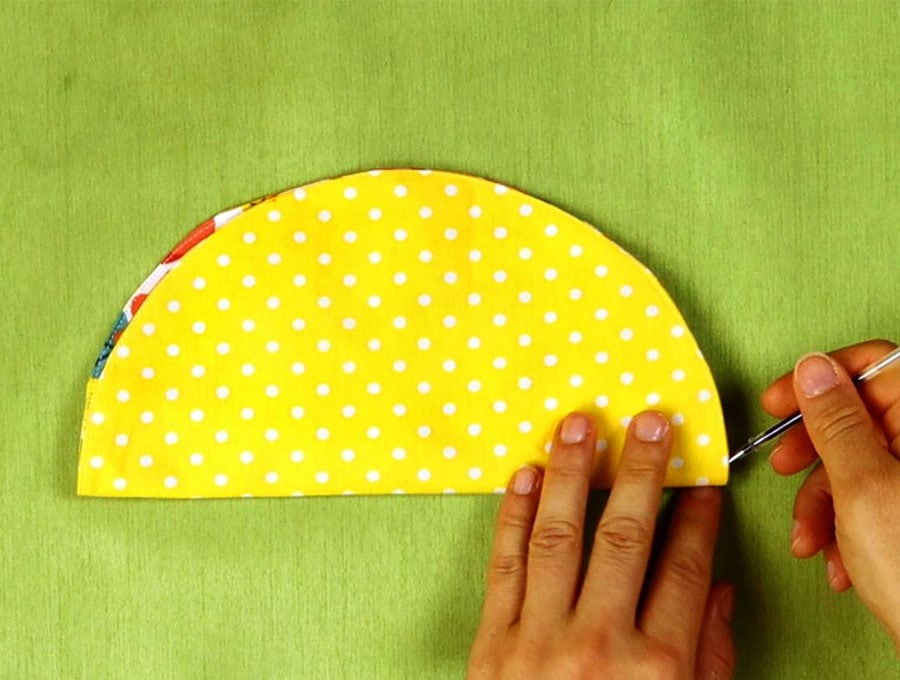
Fold the circle in half and pin about ½ an inch (13 mm) from the fold at the edge, on each side of the circle. Mark the end of the dart 2 inches (5cm) in from the edge.
STEP 8:
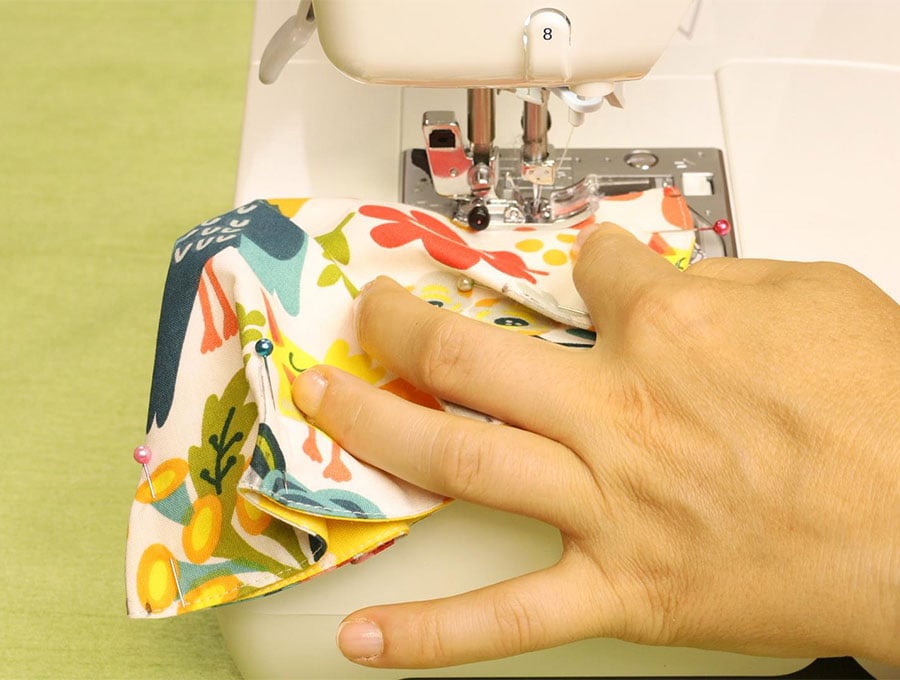
Stitch from the end of the pinned dart and broaden out to ½ an inch (13 mm) at the edge of the basket, over the distance of two inches. Remember to backtack at the start and finish of the dart. Repeat on the other side of the circle.
STEP 9:
Now line up the stitched darts and fold so you can pin the next two darts. Stitch in place as you did in Step 7 and 8.
STEP 10:
Repeat with the 4 spaces between the darts so you have 8 darts in total. Trim off any loose threads. Your trinket tray will look like a large cupcake case.

And that is it – your DIY trinket tray is ready to use! It can be used on its own, or as a liner for a wooden, glass or ceramic bowl near your entrance – perfect for throwing keys in and not scratching the bowl, besides the myriad other uses mentioned in the introduction. If you have found a novel use for the DIY fabric trinket tray then do let us know, and upload a picture of your project in the comments section!
This easy DIY fabric trinket tray is a project that will take you around 20 minutes to make. It’s incredibly useful for keeping ‘stuff’ neat and tidy – from remotes to keys and a hundred more things. We have supplied the visuals and step-by-step instructions to make this cute tray using the scraps in your fabric collection. What I love about it is that it takes around 20 minutes to make from start to finish and can be used as a gift, cellophane wrapped with candies or nuts in it. The recipient can use the DIY fabric trinket tray afterwards for years as it is machine washable.
Remember to share, like, and subscribe to keep the circle of creativity going.
Do you like this? Pin for later:
Wanna be friends? Click HERE and follow me on Pinterest
RELATED: