
DIY Tool Hanger Holder from Fabric – Simple Storage Solution
If you have been subjected to bellows of “Where are the scissors?” or “I can’t find a screwdriver!” followed by the sound of slamming drawers then you need to make this tool hanger holder. It will save hours of frustration rummaging around for tools you need on a daily basis whether in your kitchen, kid’s homework area, sewing or craft room. It keeps tools together and if fastened inside a cupboard door they are out of sight yet readily available. All it needs is around 15 minutes of your time, two bits of fabric, a clothes hanger and your sewing machine. It’s as easy as that.
You know how it’s a little hard to find something useful as a gift for a handy person? Well, here’s a super practical gift for the women or men in your life who appreciate having their tools together. Yes, our video shows a tool hanger holder in pink but you can make it in camo, brown or khaki for a guy.
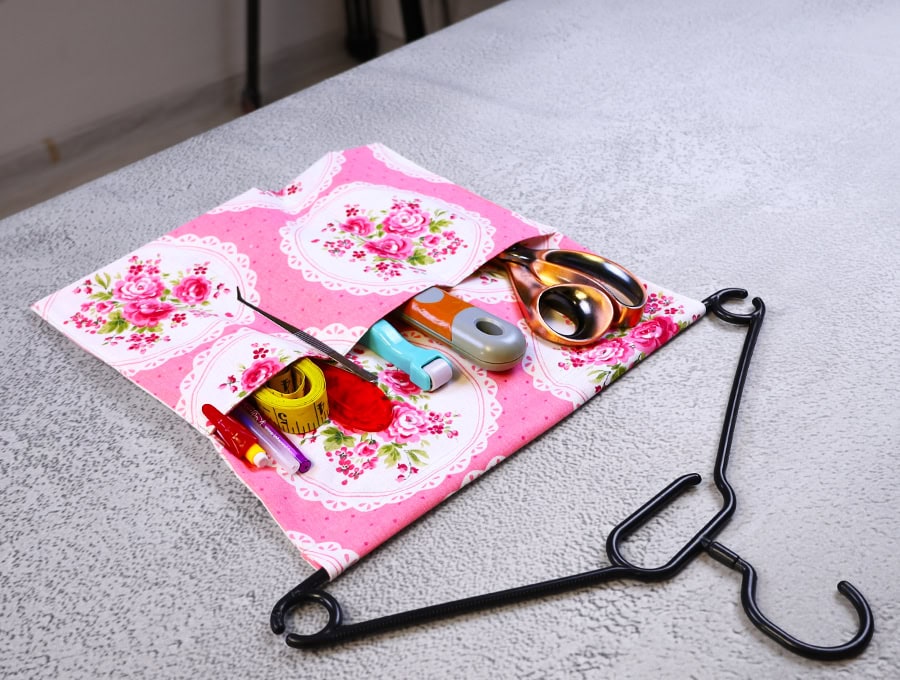
This has a myriad of uses – make it to hold candles, matches/lighter and a torch or two for emergencies when the power goes out. Make it to hold household quick fix tools – screwdrivers for battery changes on kids toys and other household items, a tube of strong glue, craft knife/box cutter, scissors. A seamstress may need a tape measure, scissors, fabric marking pen, ruler, and a turning tool.
![]()
Below you will find my step by step written tutorial with VIDEO instructions for all the visual learners.
We occasionally link to goods offered by vendors to help the reader find relevant products. Some of the links may be affiliate meaning we earn a small commission if an item is purchased.
Table of Contents
How to make the Tool Hanger Holder
Supplies and tools

- a sturdy plastic or wooden clothes hanger
- fabric – 2 pieces of woven cotton
- matching thread
- scissors (or rotary cutter and a cutting mat)
- ruler or measuring tape
- iron and ironing board
- sewing clips or pins
- Fabric marking pen
- Turning tool
Follow us for free patterns & tutorials! [easy-profiles]
How to Sew a Tool Hanger Holder
Watch the diy tool hanger holder video first and then follow the written step by step instructions below.
Please enjoy and don’t forget to Like and SUBSCRIBE over on YouTube to be kept up to date with new videos as they come out.
Tool Organizer VIDEO TUTORIAL
INSTRUCTIONS:
STEP 1:
Measure the with of the hanger and add an extra ¾ inch (2 cm).
I used a standard plastic hanger and needed: 2 pieces of fabric 22 ½ x 13 ¾ inches (57 x 35 cm)
Cut your fabric to the right size, then place the pieces right side to right side, the long sides parallel to the top and bottom of your work top, and clip in place.
TIP: If you are using a wooden hanger with a wider lower bar then you’ll need to increase the length of the fold over to accommodate it. Tools can be heavy so a wooden or a sturdy plastic hanger might be a good idea.
STEP 2:
Mark a gap in the lower long side of 3 inches (7.5 cm) around the middle area but slightly to the right.
STEP 3:
Stitch around the edges of the fabric allowing a 1 cm (3/8 of an inch) seam allowance, starting at one side of the gap, backtacking, and then working your way around the edges to the other side of the gap, where you will finish with a backtack.
TIP: to get neat corners stitch to the point where you need to turn the fabric. leave the machine needle down in the fabric, lift the presser foot, swing the fabric 90 degrees then depress the foot and keep sewing – the result is a perfect corner!
STEP 4:
A) Fold the raw edges of the gap back in line with the seam and finger press – this pressed line helps later when closing the gap.
B) Next, snip off small triangular pieces at the corners to reduce bulk when turning the right way out.
C) Trim any uneven raw edges using pinking shears, but do not reduce the fabric at the gap which you will need to turn in.
STEP 5:
Use your turning tool to push out the corners and make sure the seams lie flat.
STEP 6:
Give the whole piece a press, making sure the raw edges of the gap are turned in so they are in line with the rest of the seam.
STEP 7:
If there is a difference in prints and you want one side to be the right side then place that side face down on the worktop with the long sides parallel to the top and bottom of the worktop – the gap area should be towards the right. Turn over the short side on the left 1 inch (2.5 cm) and press.
STEP 8:
Place the hanger inside the fold to check it fits well. Do not stitch it into place just yet otherwise the hanger becomes awkward when you stitch the pockets.
STEP 9:
Fold the bottom up according to the size of the tools you need to accommodate – if the pocket isn’t deep enough the tools are at risk of falling out, so make sure they fit at least 2/3 of the way into the pocket.
The fold I used was 8 inches (20 cm).
STEP 10:
Once the fold is in place, clip to hold it firm on each side, then decide how many pockets you will need to hold the tools – you can have between 2 and four pockets.
Slip tools into the clipped pocket to test how much room they need and from there use your tape measure to measure the width of the pockets. Use a fabric marking pen to mark the top where the fabric fold over meets the back, then lining up with the base of the fold and marking the distances. Use a ruler to join the marks with vertical lines and add a pine so the fabric doesn’t move when working.
STEP 11:
Join the sides, backtacking at the start and finish. You will be stitching over the turned in edges of the gap to seal it.
STEP 12:
Stitch the vertical lines starting from the fold and ending at the top – backtacking at the start and finish.
STEP 13:
Once all the lines are stitched insert the hanger into the top fold, pin in place and stitch 1/8 of an inch (3mm) from the edge backtacking at the start and finish.
STEP 14:
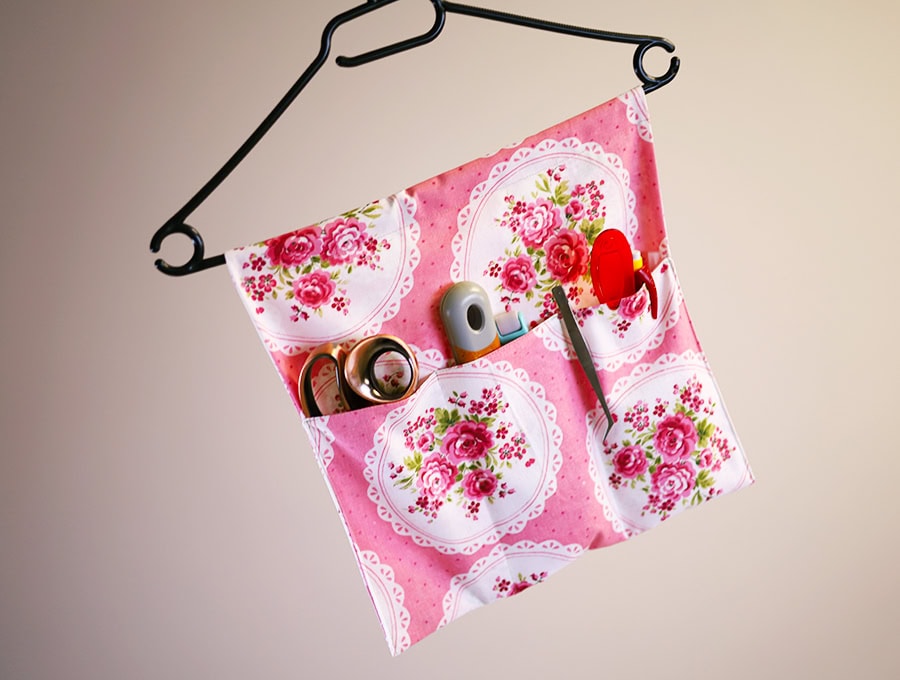
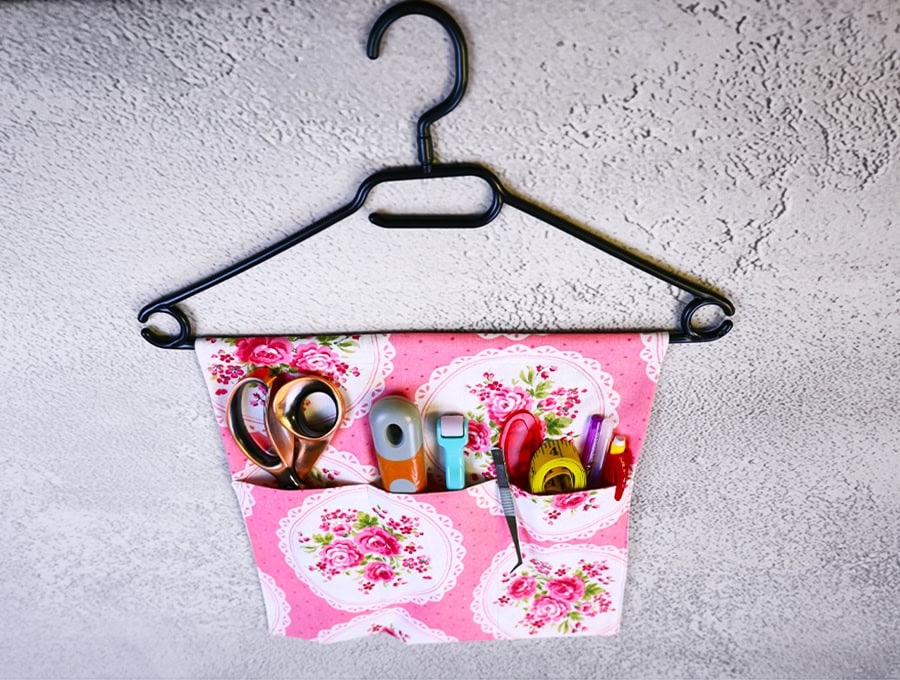
Load your hanger with the tools – depending on who you are making it for – a seamstress, a handy person around the house, emergency lighting supplies or whatever other use you have in mind.
If you are making this for keeping tools handy around the house then a screwdriver or two, a craft knife, a tube of all-purpose glue, a set of Allen keys/hex keys, should cover most minor household fixes.
If you enjoyed this tutorial then please give us a like and subscribe to Hello Sewing to get loads more practical ideas delivered straight to your inbox.
Do you like this? Pin for later:
Wanna be friends? Click HERE and follow me on Pinterest
RELATED: