
DIY Lined Denim Hobo Bag out of Old Jeans
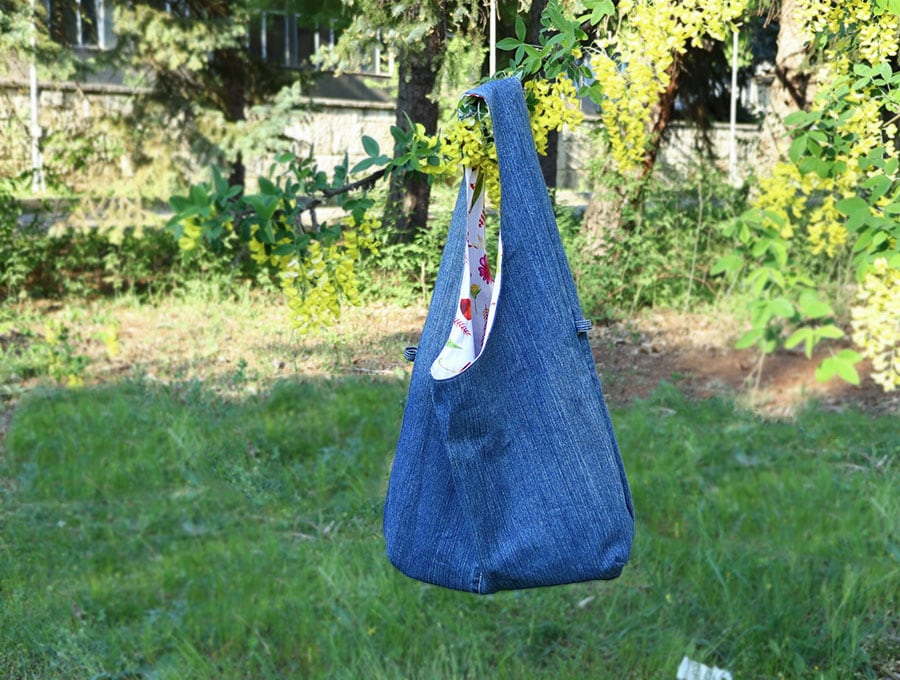
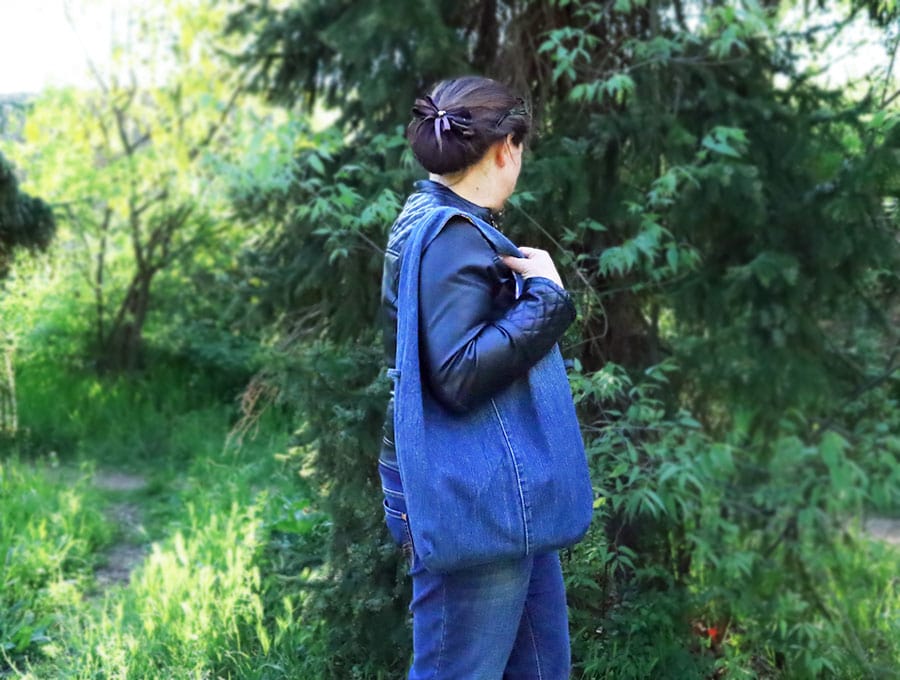
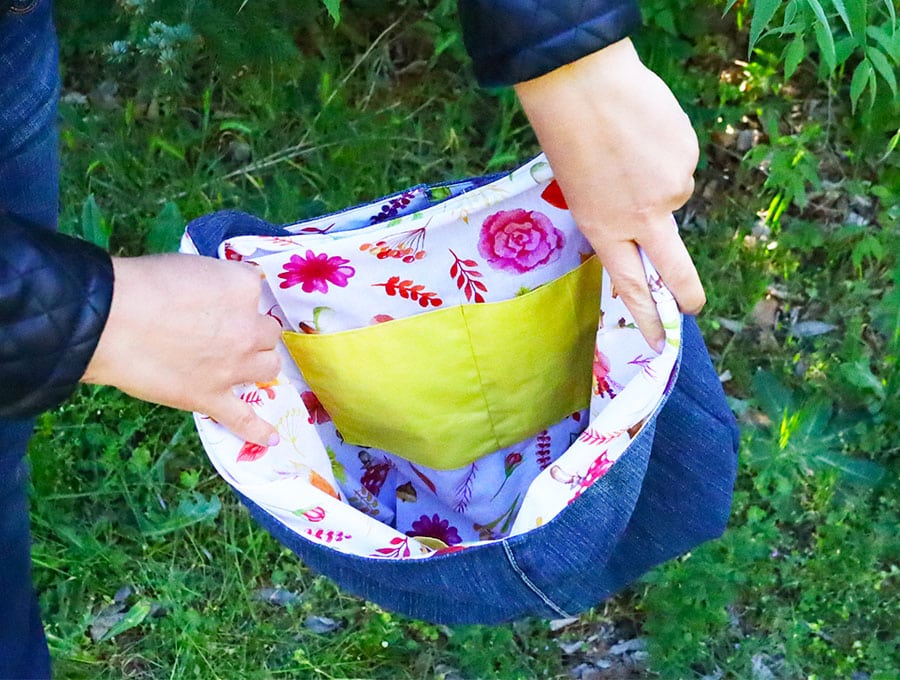
The lined denim hobo bag is one you will reach for time and time again. It is just so easy to use. Did I mention that it’s also easy to make too? It also has interior pockets to keep items like your phone and wallet easily accessible.
Make it from some stashed lining fabric and the legs from a pair of jeans that are no longer being used. This easy tutorial will open up your eyes to the creative way denim can be recycled instead of going to landfill.

I’m so excited by this because it uses the legs from jeans you may no longer wear and turns them into a lined denim hobo bag with two interior pockets. We have visuals and step-by-step instructions to guide you through the process of creating a bag you can use for shopping, trips to the beach, picnics and meanders through craft markets on the weekend
Below you will find my step by step written tutorial with VIDEO instructions for all the visual learners.
We occasionally link to goods offered by vendors to help the reader find relevant products. Some of the links may be affiliate meaning we earn a small commission if an item is purchased.
Table of Contents
- 1 How to make the lined denim hobo bag
- 2 Supplies and tools
- 3 How to Sew a lined denim slouchy bag
- 3.1 Lined denim hobo bag VIDEO TUTORIAL
- 3.2 INSTRUCTIONS:
- 3.3 STEP 1:
- 3.4 STEP 2:
- 3.5 STEP 3:
- 3.6 STEP 4:
- 3.7 STEP 5:
- 3.8 STEP 6:
- 3.9 STEP 7:
- 3.10 STEP 8:
- 3.11 STEP 9:
- 3.12 STEP 10:
- 3.13 STEP 11:
- 3.14 STEP 12:
- 3.15 STEP 13:
- 3.16 STEP 14:
- 3.17 STEP 15:
- 3.18 STEP 16:
- 3.19 STEP 17:
- 3.20 STEP 18:
- 3.21 STEP 19:
- 3.22 STEP 20:
- 3.23 STEP 21:
- 3.24 STEP 22:
- 3.25 STEP 23:
- 3.26 STEP 24:
- 3.27 STEP 25:
How to make the lined denim hobo bag
Supplies and tools
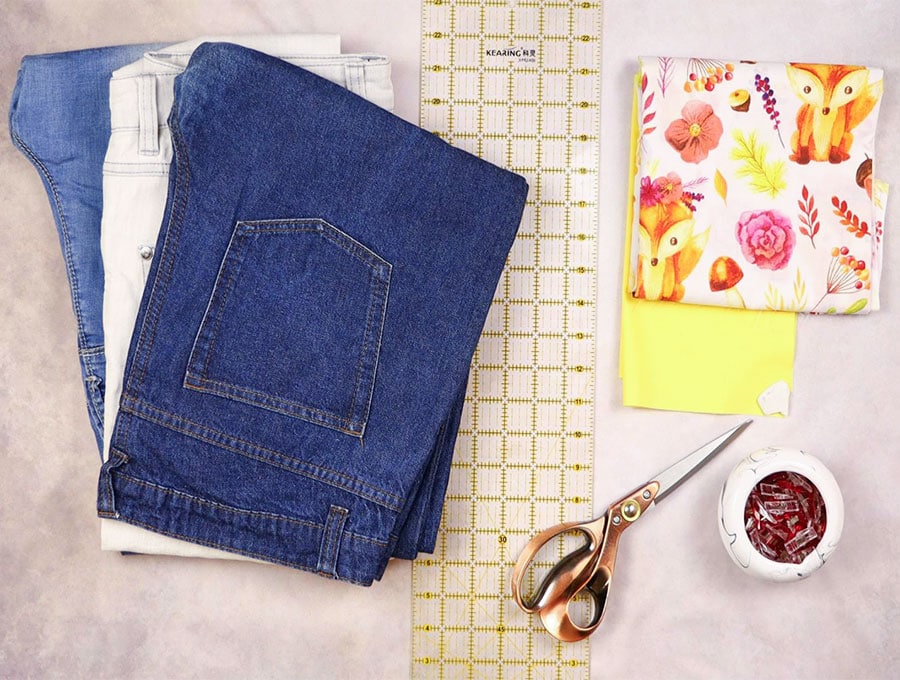
- a pair of old jeans
- fabric – woven cotton for the lining and pockets
- Quilting ruler ( it’s easier to use than a straight ruler, but an ordinary ruler will work too)
- matching thread
- scissors (or rotary cutter and a cutting mat)
- ruler or measuring tape
- iron and ironing board
- sewing clips or pins
Follow us for free patterns & tutorials! [easy-profiles]
How to Sew a lined denim slouchy bag
Watch the diy lined denim hobo bag video first and then follow the written step by step instructions below.
Please enjoy and don’t forget to Like and SUBSCRIBE over on YouTube to be kept up to date with new videos as they come out.
Lined denim hobo bag VIDEO TUTORIAL
MATERIALS:
- One pair of adult denim jeans – lower legs intact. Don’t choose ones with the fashionable splits in the knees.
- Lining fabric
- Fabric for pockets:
1 of 10 x 12 inches (25 x 30 cm)
1 of 8 x 12 inches (20 x 30 cm)
INSTRUCTIONS:
STEP 1:
Lay out the jeans with the legs lined up over each other. Snip off the hems.
STEP 2:
Measure 27 ½ inches (70 cm) from the lower hem upwards and mark, then cut off the legs of both the jeans.
STEP 3:
Use your scissors to open out the inner seams of the legs – not the top-stitched ones of the outer leg. Cut away the extra thickness of fabric of the seam.
STEP 4:
Place the two legs folded like when you first cut them, on top of each other, with the topstitched seams towards the top of your worktop. Mark a straight line from the opened out seam to the top of the leg in line with the hem. This is to straighten out that slight flare where the fabric increases towards the thigh area.
STEP 5:
Measure 15 inches (38 cm) from the bottom of the leg upward and make a mark. Measure 2 inches (5cm) into the fabric from the first mark you made and make another mark.
STEP 6:
At the bottom left corner, where you drew a straight line to correct the flare, measure 2 inches (5cm) upwards, make a mark, then measure 3 inches (7.5cm) down towards the bottom of the leg. Join up the two marks you made in Step 15 and 16 with a gentle curve.
STEP 7:
Trim off the excess fabric of the flare, then cut away the fabric on the upside of the curved line you have drawn. You can cut through both legs at the same time, but if you are more comfortable doing one leg at a time you will have to make the marks on the second leg too.
STEP 8:
You will now have two pieces of fabric that when opened out look like a giant baby bib.
STEP 9:
Before proceeding further, refold the one leg along the top stitched seam. Place two layers of lining 27 ½ inches (70 cm) long and the width of the opened out leg, right side to right side then fold along the long edge. Place the folded leg piece on top and cut the lining to the shape of the leg piece. Set aside.
STEP 10:
To make the 2 pockets , fold the pocket pieces in half, right side to right side. Pin or clip the edges in place. Make two marks 2 inches apart on the side opposite the fold. This is where you will pull the fabric through to turn the pocket the right way out.
STEP 11:
Starting ¼ inch (6mm) from the edge, at one of the marks, sew right the way around the edge until you meet up with the mark on the other side of the gap you have left. Remember to back tack at the start and finish. When turning corners leave the needle in the fabric, lift the presser foot and swing the fabric around 90 degrees, depress the presser foot and keep stitching for perfect corners. Once done clip off the corners to reduce bulk. Repeat with the other pocket.
STEP 12:
Turn the pocket pieces the right way out by pulling the fabric carefully through the gap.
Smooth out with a turning tool so the corners are well pressed out and seams flat. Turn in the raw edges of the gap in line with the seam and press each pocket piece.
STEP 13:
Take the lining pieces and finger press on the fold to help you place the pockets correctly. Fold the pocket piece in half and finger press. On the right side of one lining piece place the pocket 4 inches (10cm) down from the edge of the curve of the fabric, lining up the fold marks. Remember the fold in the stitched pocket piece is the top of the pocket. Pin in place. Repeat with the other lining piece and the other pocket.
STEP 14:
Top stitch around the edge of the pocket starting on one side, back tacking and going down, along the bottom and up the other side. For the larger pocket attach it first then divide in half by running a line of stitching down the center fold where it lines up with the centre fold of the lining piece. The top stitching will automatically close the turned in edges of the gaps in the pocket pieces.
STEP 15:
Fold the lining pieces with wrong sides outwards and place on top of each other. Take a coffee mug or similar item with a circular base and place over the lower corners. Lining up with the edges and draw a semi circle. Trim off the corners along the mark. Repeat with the outer denim pieces.
STEP 16:
To create the darts in the corners of the lining and the outer pieces of the bag place all 4 pieces wrong side up on your worktop. Take a ruler or tape measure and measure across the rounded corner 5 inches (11cm)across and make a mark in the middle. Then measure up 2 ¾ inches (7cm ) from first mark and make another mark. Draw a line down to the corner from that second mark. Now place your ruler across the line and find the midpoint of 2 3/8 of an inch (6cm) and make marks at either end of the measurement. The three marks will form a triangle, so you can fold the lower marks to meet and pin up to the point of the dart. Repeat with the other 3 corners.
STEP 17:
Stitch the darts, back tacking at the start and finish, then trim off the excess fabric of the dart leaving a 6mm seam allowance.
STEP 18:
Place the denim bag pieces right side to right side. Remove two belt loops from the top of the jeans you cut and fold in half right side out. Place one on either side of the hobo bag with the fold of the loop facing into towards the bulk of the material. Place them 14 inches (35.5 cm) from the top of the fabric and pin or clip. In place. Clip all round the outer edge.
Place the lining pieces right side to right side and clip in place.
STEP 19:
Stitch around the edge of the denim on the outer side only with a ¼ inch (6mm) seam allowance. Do the same with the lining pieces, except you will leave a gap on the one side of around 5 inches (13cm) to allow you to pull the fabric through later. Press the denim seam open – this reduces bulk when sewing. Do the same with the lining seam.
STEP 20:
Turn the lining bag right way out and place inside the denim outer – the right sides will be facing each other. Pin or clip in place around the curves.
STEP 21:
For the one end fold back the lining ¼ of an inch (6mm) on itself and do the same with the denim. This creates a sleeve to allow you to insert the other end of the bag handle later. Clip in place before stitching around the edge ¼ inch (6mm) from the edge. Once stitched make little snips along the curves to ease the fabric once it is pulled the right way out.
STEP 22:
Pull the whole bag through the gap you left in the lining. Top stitch the gap in the lining closed after turning in the raw edges in line with the seam.
STEP 23:
Clip the edges where the outer meets the lining neatly. Place the end of the handle that has not been folded back into the folded back portion. Pin in place.
STEP 24:
Stitch across the seam where the one handle is inserted into the other. If you want to make doubly sure the bag is strong do two lines of top stitching ¼ of an inch (6mm) apart.
STEP 25:
Top stitch as close to the edge as possible around the handles where the lining meets the outer.
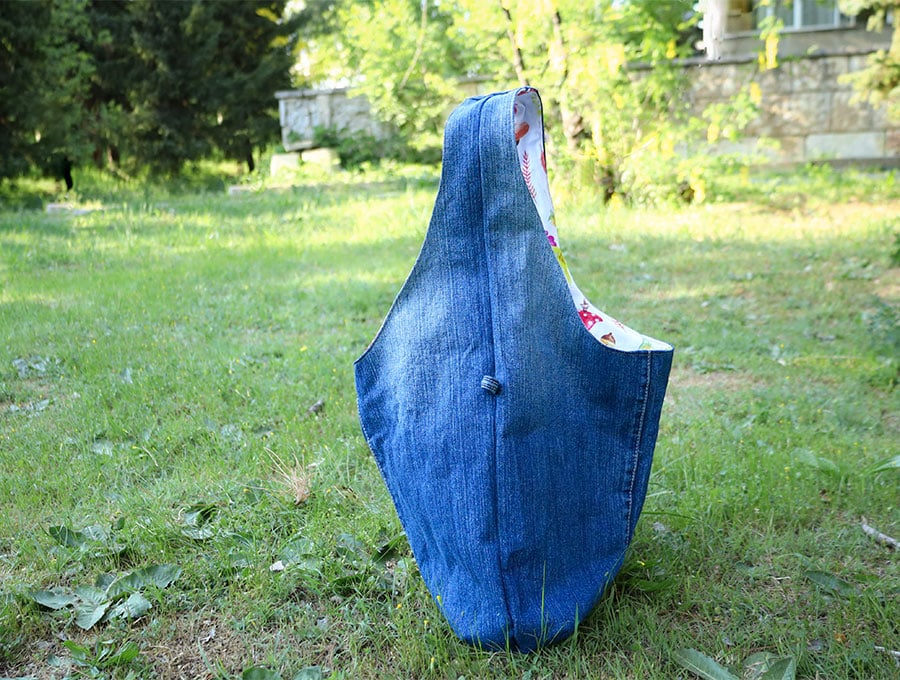
Your lined denim hobo bag is now ready to use for most occasions. The little belt loops on the sides of the bag will allow you to attach items securely such as sunglasses or a cap.
Please give us a like and subscribe to the Hello Sewing channel for more fun projects that will help you recycle denim clothing into useful items. We would love to see how your bag turned out, so feel free to share a photo in the comments section.
Do you like this? Pin for later:
Wanna be friends? Click HERE and follow me on Pinterest
RELATED: