

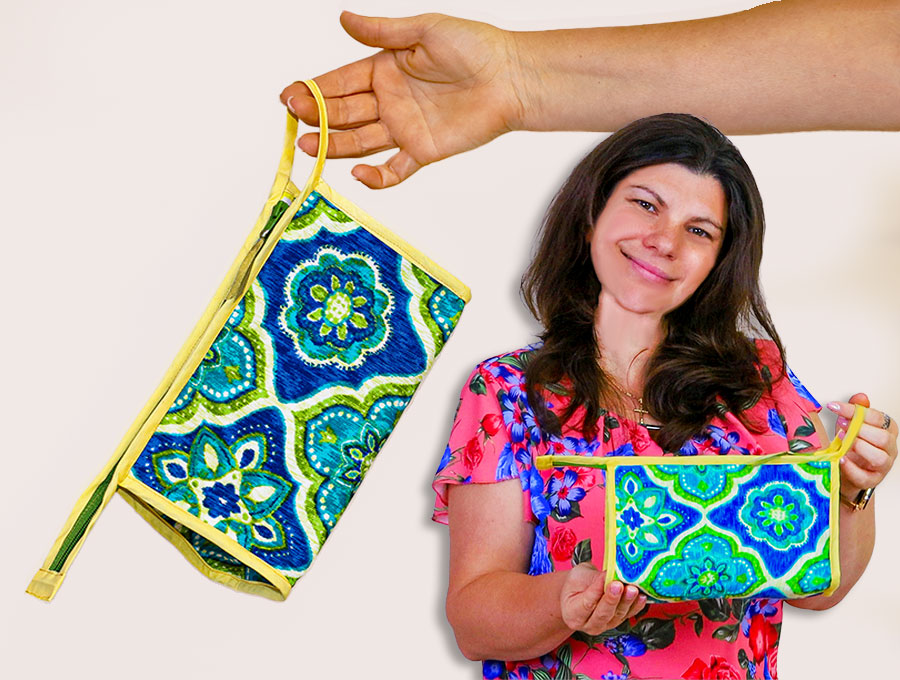
DIY Bias Tape Toiletry Bag
Let’s sew a cute bias tape toiletry bag. It is very pretty with the bias providing a contrast to the fabric. Grab the free printable pattern below, cut it out and you are ready to make these quick and easy bags. Everyone needs a couple of toiletry bags – one to keep packed for those spontaneous weekend getaways or overnight stays, filled with travel size items, and a couple at home for either make-up or toiletries. This bag can be used for stationery, tubes of glitter, tiny nail polishes or anything else that kids and teens love collecting.
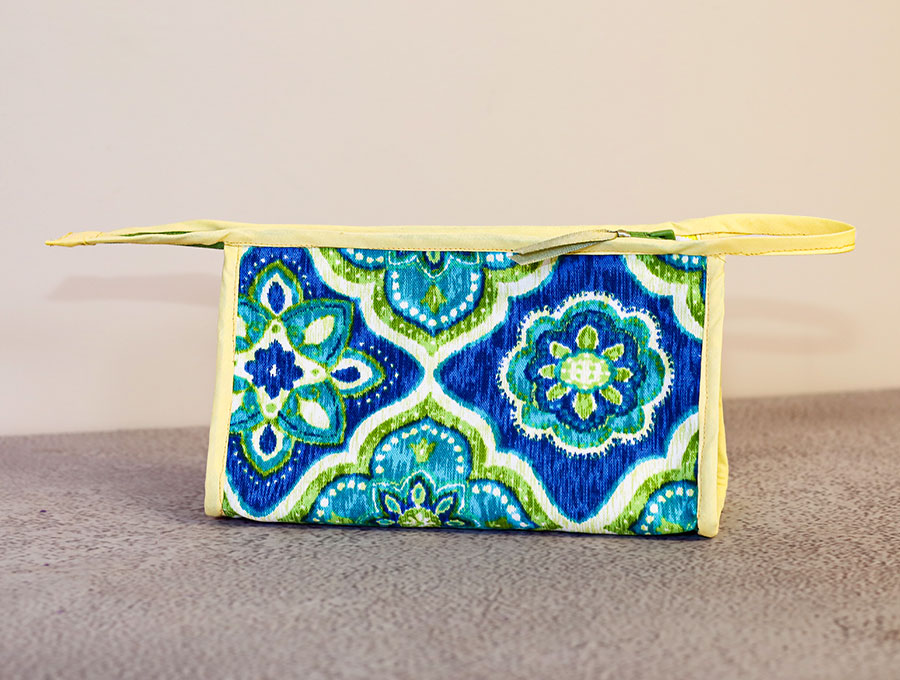
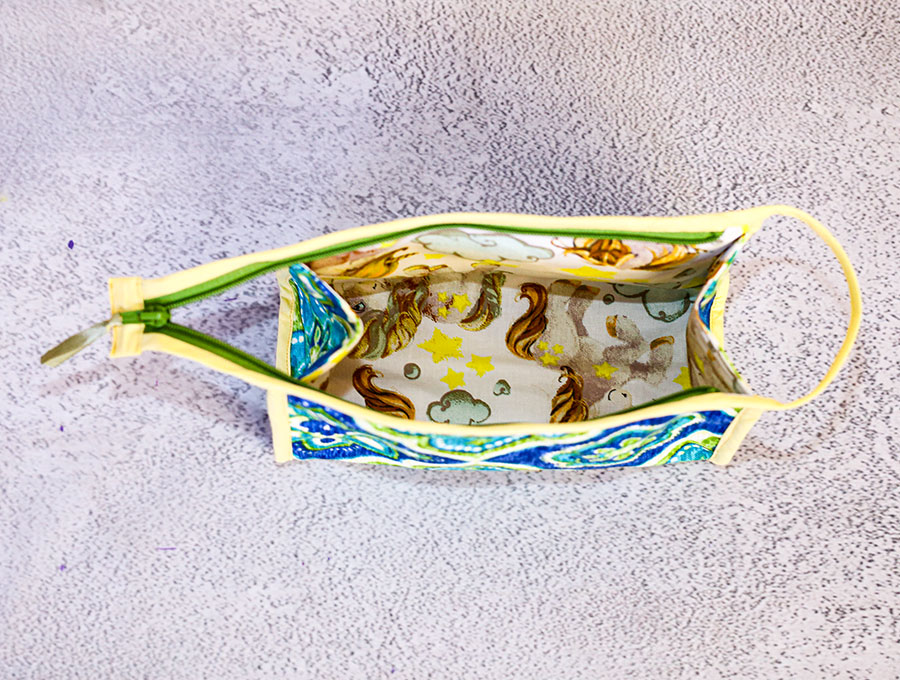
The top opens wide and offers convenient access to the cosmetics inside. Make these toiletry bags as gifts, tailoring each to the colors and prints you know family members and friends would enjoy. Fill with a few goodies for those going on holiday. After all, holiday season will soon be upon us, and now is the time to start accumulating a bunch of handmade gifts.
Below you will find my step by step written tutorial with VIDEO instructions for all the visual learners.
We occasionally link to goods offered by vendors to help the reader find relevant products. Some of the links may be affiliate meaning we earn a small commission if an item is purchased.
How to make the bias tape toiletry bag
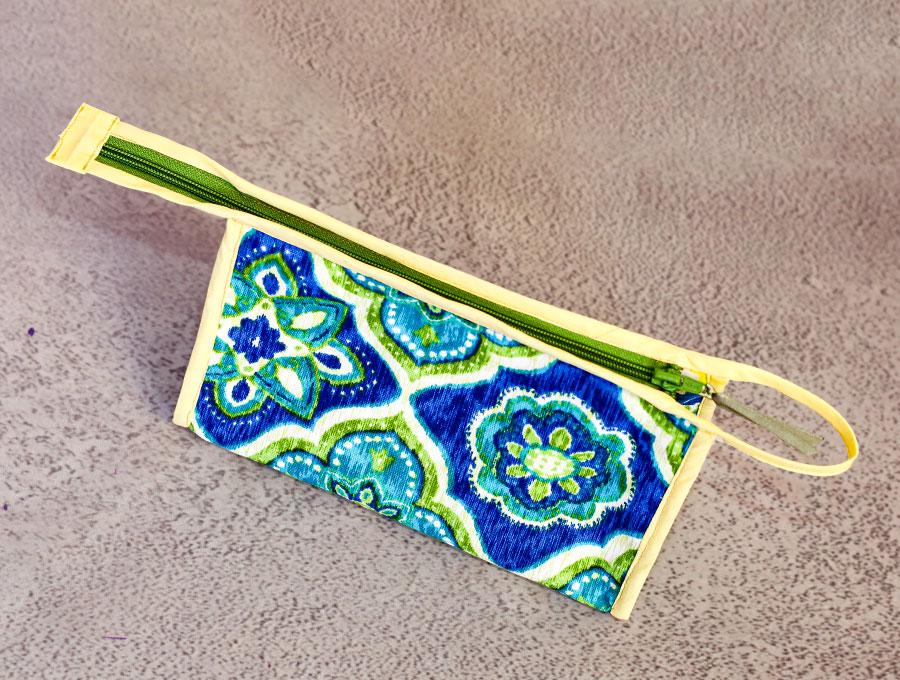
Supplies and tools
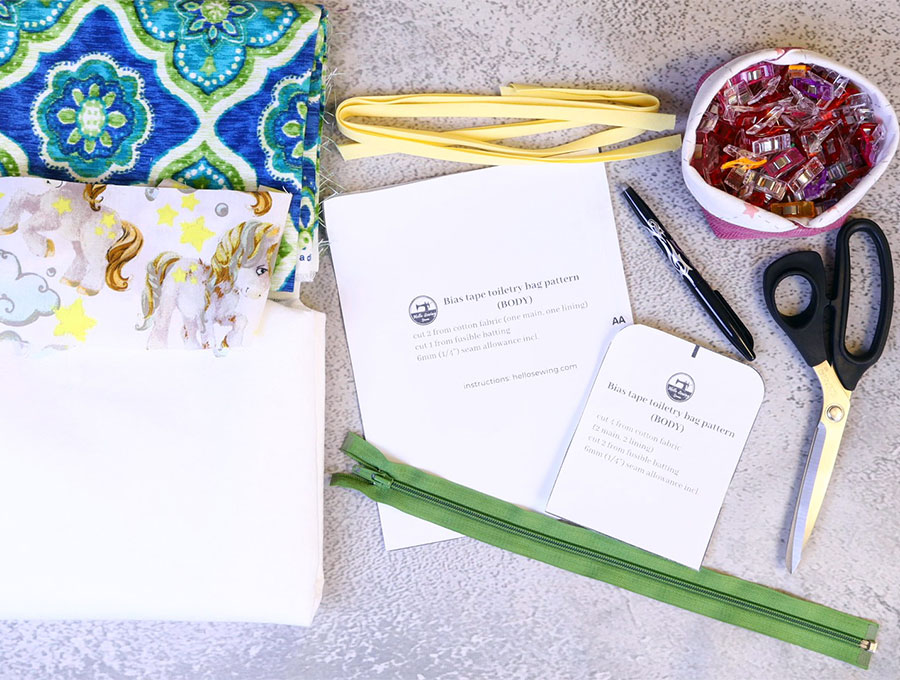
- fabric – 2 pieces of woven cotton (one main, one lining)
- fusible batting
- matching thread
- scissors (or rotary cutter and a cutting mat)
- ruler or measuring tape
- iron and ironing board
- sewing clips or pins
- zipper
DOWNLOAD: Toiletry bag pattern [Free pdf file]
Follow us for free patterns & tutorials! [easy-profiles]
How to Sew a bias tape toiletry bag
Watch the diy bias tape cosmetics bag video first and then follow the written step by step instructions below.
Please enjoy and don’t forget to Like and SUBSCRIBE over on YouTube to be kept up to date with new videos as they come out.
Bias tape Toiletry bag VIDEO TUTORIAL
MATERIALS:
Main body of toiletry bag:
- Cut 2 of outer fabric 15 x 9 ½” (38 x 24 cm)
- Cut 2 of lining fabric 15 x 9 ½” (38 x 24 cm)
- Cut 2 of fusible batting 15 x 9 ½” (38 x 24 cm)
Side panels of toiletry bag:
- Cut 2 of outer fabric 4 3/8 x 5 ½” (11 x 14 cm)
- Cut 2 of lining fabric 4 3/8 x 5 ½” (11 x 14 cm)
- Cut 2 of fusible batting 4 3/8 x 5 ½” (11 x 14 cm)
Zipper 11” (28 cm)
Double fold bias tape 63” (160 cm)
INSTRUCTIONS:
STEP 1:
Print and cut out your free pattern, then select sufficient outer fabric , lining and fusible batting from your stash to accommodate the pattern pieces.
STEP 2:
Take the outer fabric for the main body of the bag 15 x 9 ½” (38 x 24 cm), lay it wrong side up on your ironing pad and over it lay the fusible batting, sticky side down. Press lightly around the edge to fuse, then flip over and complete the fusing from the front of the fabric.
STEP 3:
Take the side panels of 4 3/8 x 5 ½” (11 x 14 cm) for the main body of the bag, place fusible batting sticky side up on your ironing pad. Over each piece of batting place the outer fabric, lining up the edges, then press to fuse.
STEP 4:
Place the main body piece of lining wrong side up, then over it place the outer piece right side up. Clip or pin the edges to hold securely.
STEP 5:
Stitch around all four sides using a 1/8” (3 mm) seam allowance. There is no gap as the fabric for the outer and lining are already the right way out.
STEP 6:
Take the 2 side panels of the outer fabric, and place right side up on your worktop, side by side, curved side to the top. Over the outer pieces line up the two pieces of lining – right sides facing right sides. Clip along the lower edge – the side with no curves.
STEP 7:
Stitch each piece together using a ¼” (6 mm) seam along the bottom edge only.
STEP 8:
Place each piece, flipped open so both right sides show, on your ironing pad and press the seam open.
STEP 9:
Fold each side panel so the right sides of lining and outer show and press, then clip around the edges.
STEP 10:
Stitch around all 4 sides, 1/8” (3 mm) from the edge on each piece.
STEP 11:
Take the zipper, open the zipper to around ½ way. With right side of zipper facing up, fold 3/8” (1 cm) of the zipper onto itself, to the back on each side and clip.
STEP 12:
Stitch the small sections you folded back, backtacking to ensure they are securely stitched.
STEP 13:
Take the main body piece of the toiletry bag and fold so the short sides meet. Mark the fold with an erasable fabric marking pen at the top and bottom of the fold.
STEP 14:
Take the 2 side panels and fold in half so curved edge meets curved edge and mark the center.
STEP 15:
Lay the main body panel on your worktop, right side up. Open out one side of the bias binding and line up a length with the raw edge of each long side and clip in place. You will leave an extra bit of binding of ½” (1.25 cm) at each end.
STEP 16:
Stitch the binding in place on the first fold-line of the tape on each side, backtacking at the start and finish.
STEP 17:
Lay the main body piece lining side up on your worktop, bias tape to the back.
Take a side piece and fit into place, lining facing lining, matching up the center mark you made on the curved edge with the center mark at the middle of the main body piece.
STEP 18:
Work your way around the bottom clipping or pinning in place, then up the sides of the panel until you reach the top.
STEP 19:
Stitch around the pinned edges ¼” (6 mm) from the edge, backtacking at the start and finish. Repeat to pin and attach the other side panel.
STEP 20:
Turn the binding in over the raw edges on each side panel, folding the binding back into its pre-ironed folds, easing around the curves, and pinning or clipping in place.
STEP 21:
Stitch around each side panel to attach the binding. Trim off the excess binding tape.
STEP 22:
At the top, on the long side of the toiletry bag measure ¾” (2 cm) in from the outer edge and make a mark. Flip and mark on the other long side, opposite the first mark – this is for placement of the zipper.
STEP 23:
Remove the zipper pull from the zipper and place the zipper, right side up, folded and stitched end on the ¾” (2 cm) mark, and start pinning on the lining side. Pin to the end of the long side. Repeat with the other side, making sure the raw edges of the toiletry bag are in line with the edges of the zipper tape.
STEP 24:
Stitch the zipper tape to the body of the bag on each side using a 1/8” (3 mm) seam allowance.
STEP 25:
Open out your bias binding and lay the raw edge on top of the zipper tape, where it has been folded and stitched, folded edge of the bias tape facing the body of the bag. Leave a small tail when you start pinning. Pin to the end of the zipper.
DO NOT CUT THE TAPE, but carry it on to make a hanging loop for the bag, and continue pinning down the other side.
STEP 26:
Stitch along the first fold line of the bias tape on each side of the zipper. Do not stitch across the hanging loop area yet. Backtack at the start and finish of each line.
STEP 27:
Fold the bias tape to the outer side of the bag and clip in place. Also clip the hanging loop area of the tape so the edges line up.
STEP 28:
Stitch along the outer edge, across the hanging loop and down the other side, Backtack at the start and finish.
STEP 29:
To slide on the zipper-pull easily, clip the side of the bag together so the zipper ends are alongside each other. One side may be just slightly longer than the other, so start with the longer side to slide on the zipper-pull. If the sides are exactly equal just snip a teeny bit off one side of the zipper to get the one runner in, then insert the other side and pull up.
STEP 30:
To finish the end of the zipper, take a small piece of binding and fold it around the ends, folded side towards the zipper, unfolded edge to the raw edges. Use a fabric marking pen to indicate where the folded bias tape meets the edge of the binding on the right side.
Take off and clip.
STEP 31:
Stitch along the marking to form a small tube, one edge of the tape unfolded, the other folded. Backtack at the start and finish.
STEP 32:
Slip the tube over the ends of the zipper, folded edge facing body of bag, raw unfolded edge to the end of the zipper. Stitch across the end, backtacking to secure.
STEP 33:
Fold the end down and stitch across the folded edge of the bias tape, then another row close to where it joins the zipper. Backtack on each line of stitching.
STEP 34:
Take a small piece of ribbon, fold in half and thread through the hole in the zipper pull, looping the ribbon back on itself and pulling to secure. Clip the ends of the ribbon at an angle, and singe the ends to prevent fraying. This makes it easier to open and close the zipper pull. If the ribbon gets a bit worn over time it is super easy to replace.
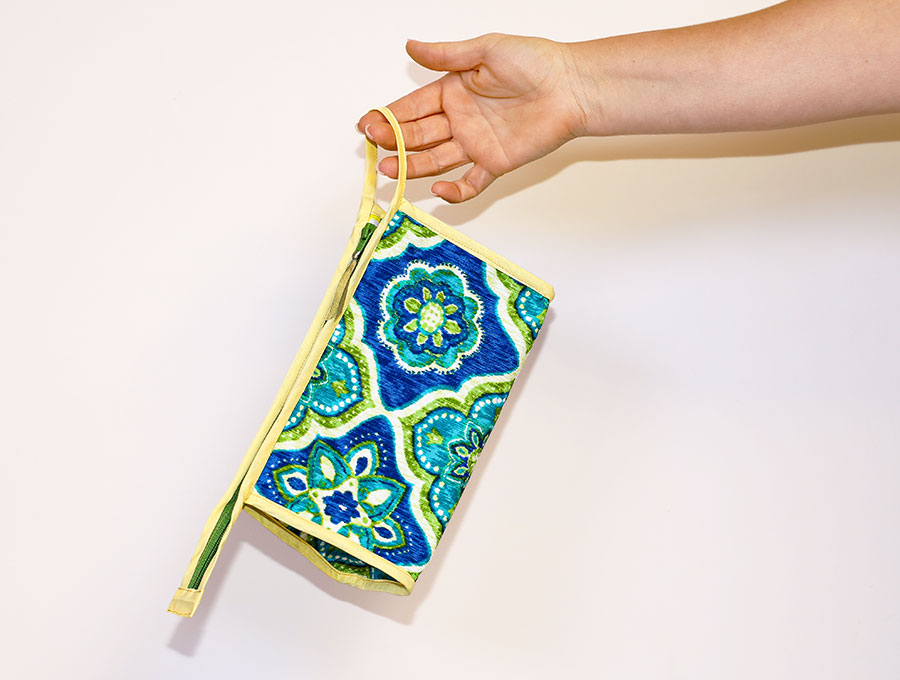
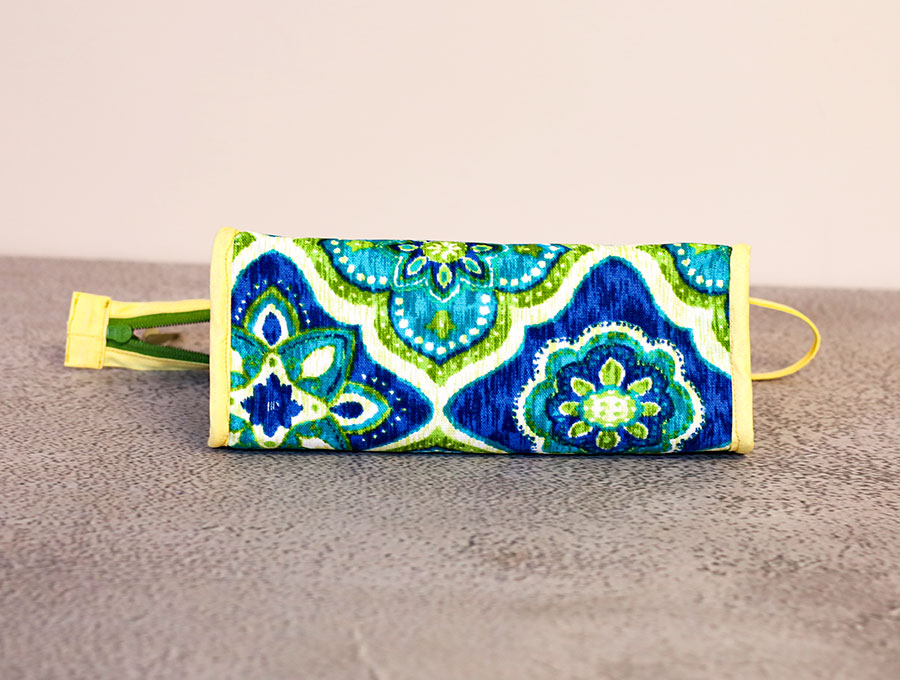
That’s it. This bias tape toiletry bag is ready. This is a remarkably unfussy project with a free printable pattern available from HelloSewing.com.
Love this project? Then spread the love and share with a friend who enjoys sewing. Hit the like and subscribe icons if you want our new projects delivered straight to your inbox as they drop on our YouTube channel and website.
Do you like this? Pin for later:
Wanna be friends? Click HERE and follow me on Pinterest
RELATED: