
Christmas Gift Card Holder – Video and FREE Pattern
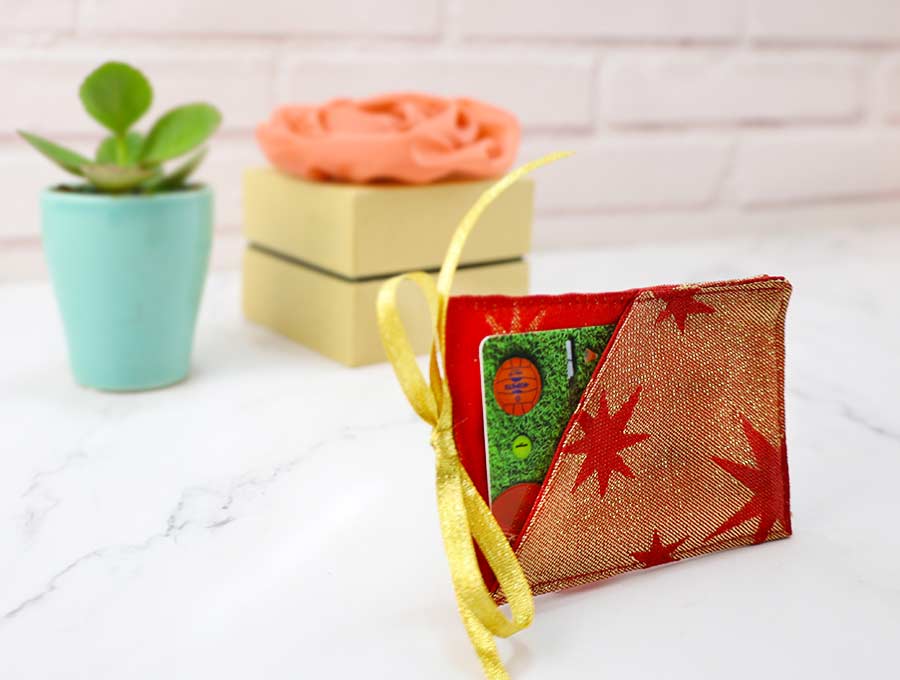
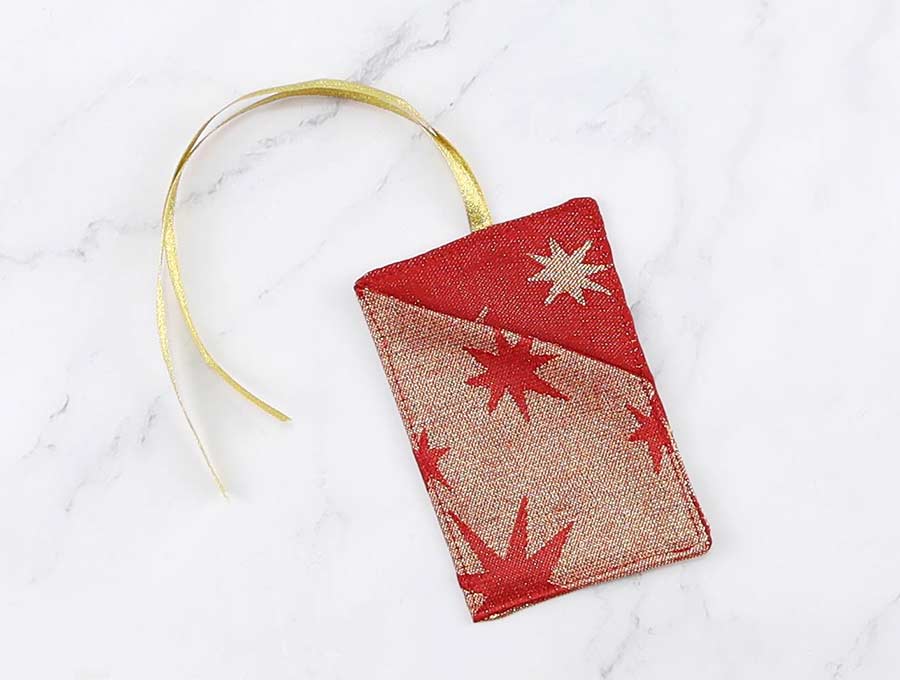
A perfect way to use up small bits of fabric, this gift card holder makes giving a gift card so much more special than putting it in a plain envelope. I love to give gifts, but I also love the process of wrapping – and step-by-step I show you how to make this really easy gift card holder with a ribbon or cord loop, to hang on the Christmas tree. It makes the gift card so much more special. And afterwards the holder can be used again by the recipient with a sprig of holly or other cute ornament on the tree.
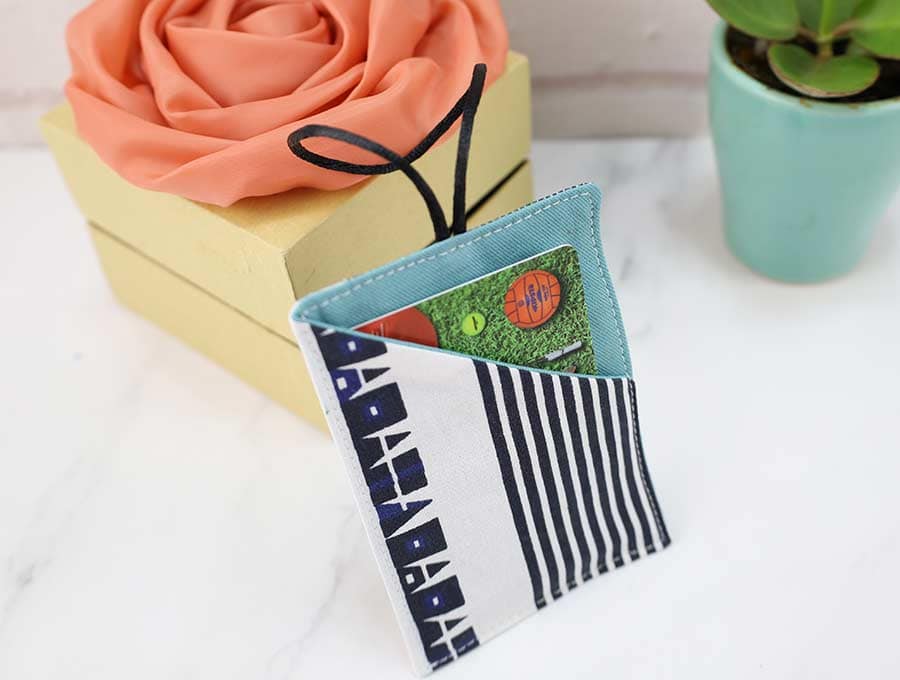
If you make the DIY gift card holder in a non-Christmas print it can be used for birthdays, for example a tropical island style print for holding a gift of a plane ticket or hotel voucher, or a classy silver and black holder for a spa voucher – the possibilities are endless…
Below you will find my step by step written tutorial with VIDEO instructions for all the visual learners.
We occasionally link to goods offered by vendors to help the reader find relevant products. Some of the links may be affiliate meaning we earn a small commission if an item is purchased.
Table of Contents
How to make a Gift Card Holder
Supplies and tools
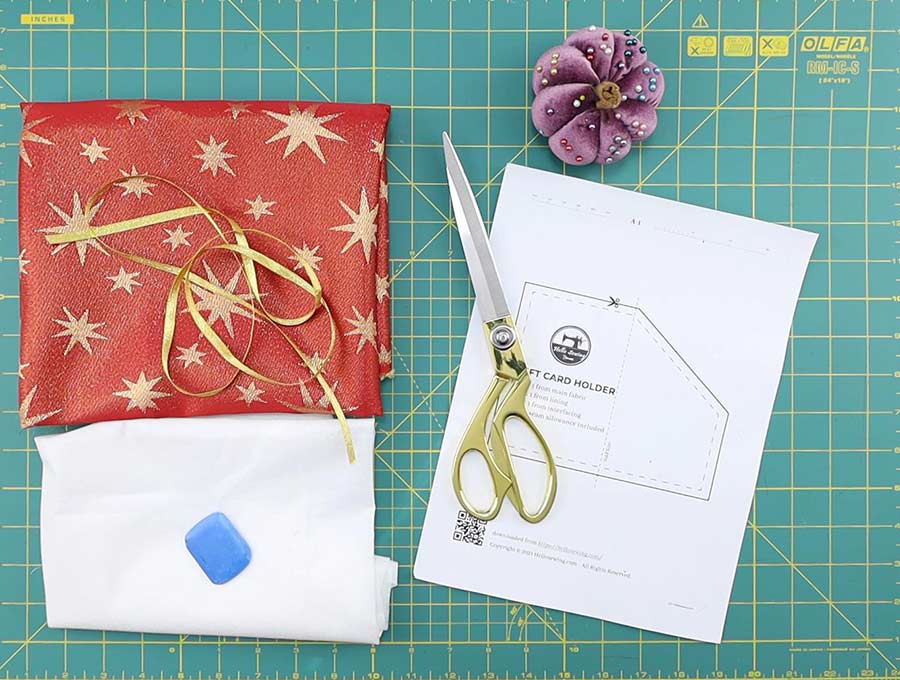
- fabric – 2 pieces of woven cotton (one main, one lining)
- 1/8″ ribbon
- matching thread
- scissors (or rotary cutter and a cutting mat)
- ruler or measuring tape
- iron and ironing board
- sewing clips or pins
- sewing machine
DOWNLOAD: Christmas gift card holder pattern (Free PDF file)
Follow us for free patterns & tutorials! [easy-profiles]
How To Sew a Gift Card Holder
Watch the diy gift card holder video first and then follow the written step by step instructions below.
Please enjoy and don’t forget to Like and SUBSCRIBE over on YouTube to be kept up to date with new videos as they come out.
Gift Card Holder VIDEO TUTORIAL
INSTRUCTIONS:
To make this you will need two pieces of fabric that coordinate – for example, a Christmas print for the outside and a plain red or green for the lining. You’ll also need a small bit of mid-weight fusible inter-lining and a piece of ribbon or silk cord – between 10 to 16 inches long.
STEP 1: Prepare the gift card holder pattern
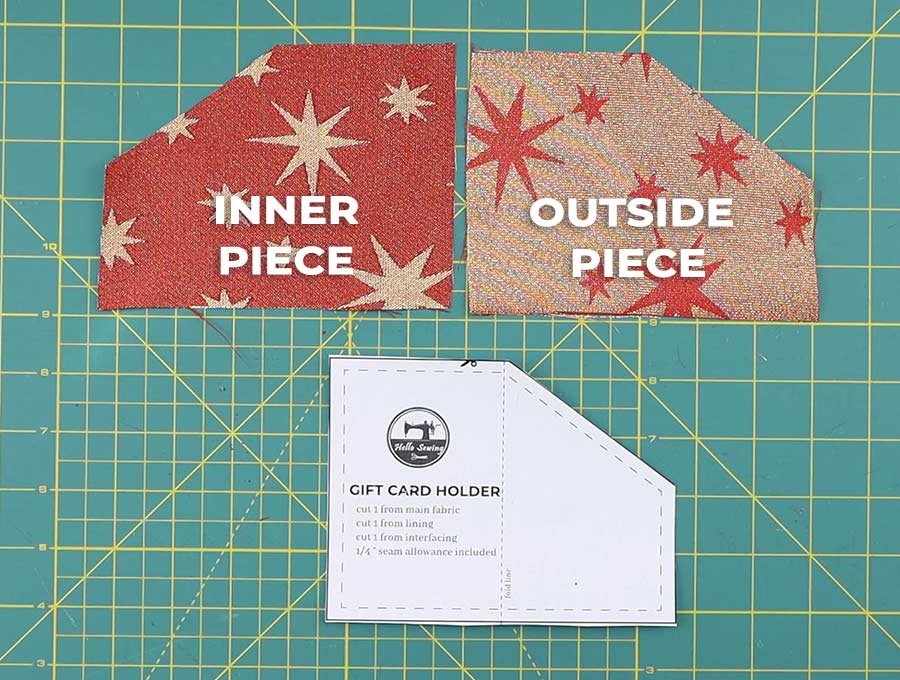
Using the Christmas gift card holder template that we have provided, cut out the outer fabric, and the inner fabric pattern pieces. There is a ¼ inch seam allowance on the template. Mark on the outer fabric where the ribbon or cord will be inserted – your template will indicate the position.
STEP 2: Cut and fuse the interlining
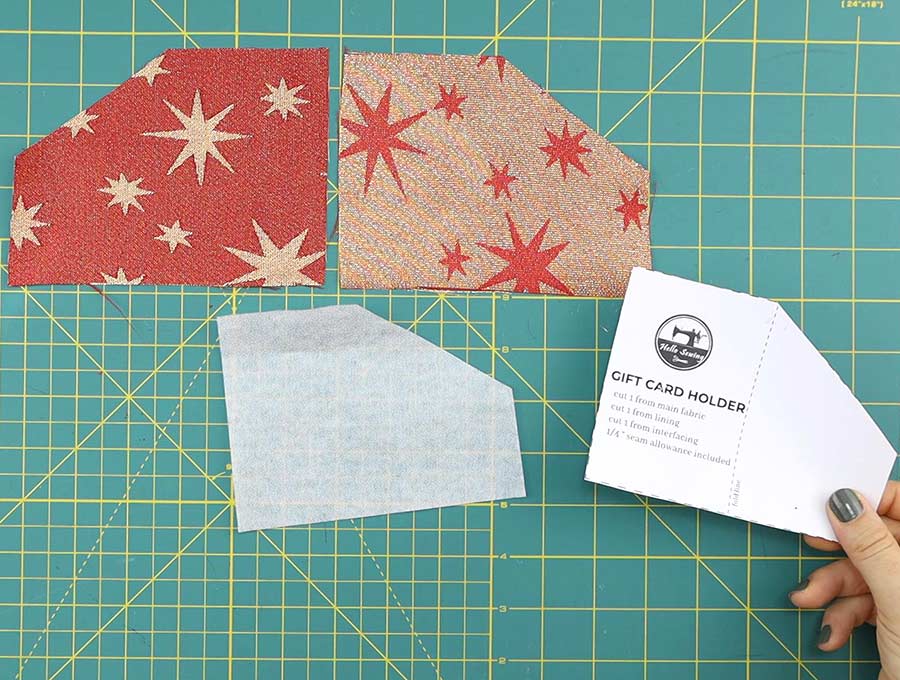 Cut out the fusible inter-lining according to the size of the outer fabric, but to avoid creating a thick seam cut it on the seam allowance – meaning it will be ¼ inch smaller than the outer fabric all the way around. Apply the inter-lining according to the manufacturer’s instructions to the wrong side of the outer piece of fabric.
STEP 3: Add the ribbon
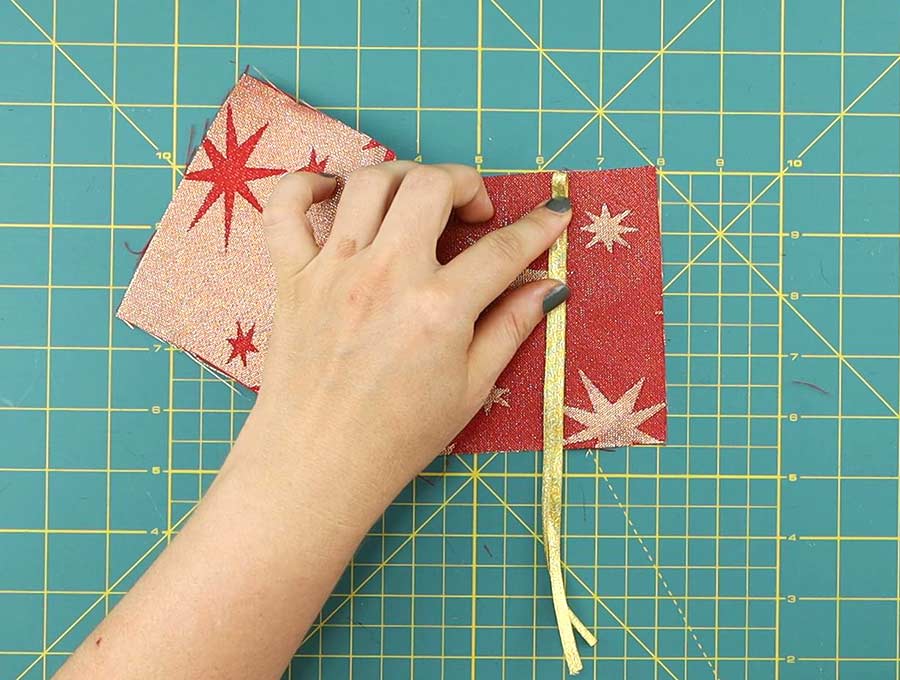 Now take your piece of ribbon or cord and fold it in half with the right side of the ribbon outwards. Pin the ribbon, or cord, in position on the right side of the outer fabric, with the ribbon’s raw edges facing the raw edge of the fabric, and the loop facing into the fabric. Use a small safety pin to secure the loop end in position so it does not twist later and get sewn into the seam.
STEP 4:
Turn over the outer piece so the right side is lying upwards on your workspace, and the loop with its small safety pin is not touching any edges but facing straight down the outer piece. Place the lining, right side facing the right side of the outer piece, squaring it up neatly so the corners meet. Pin or clip the edges in place.
STEP 5:
On your machine, sew right around the edge on the ¼ inch seam allowance, leaving a gap in the base of around 1 ½ to 2 inches that will allow you to pull the fabric through, to turn the gift card holder the right way out. Back tack when you start and finish on either side of the opening so the seam does not rip when you turn the gift card holder.
STEP 6:

Snip off the corners to reduce bulk, but don’t snip too close to the stitching. Turn the gift card holder the right way out by pulling the fabric through the opening. Press out the corners using a chopstick or knitting needle, taking care not to poke a hole in the fabric.
STEP 7: Press
Once flattened, and the safety pin that held the ribbon loop in place has been removed, use an iron to press the gift card holder, turning in the raw edges across the gap, in line with the seam allowance, to create a neat edge.
STEP 8: Fold in half
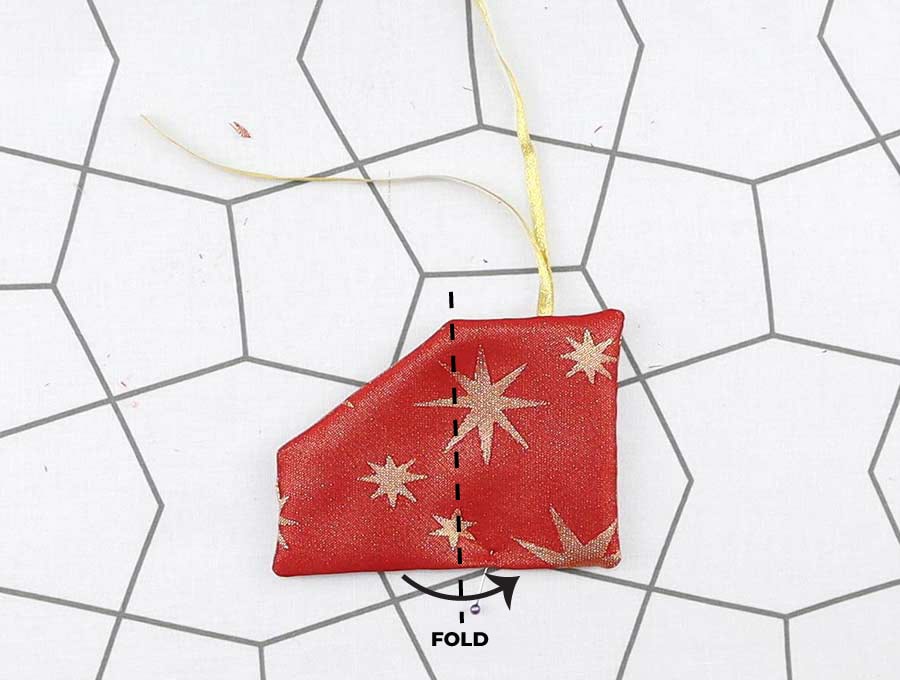 Almost there – now it’s time to fold the gift card holder in half, with the cut away corner over the solid corner, so you have created a little pocket to slip in the gift card. All that remains is to line up the edges neatly and clip or pin in place, making sure the ribbon or cord loop is not caught up inside.
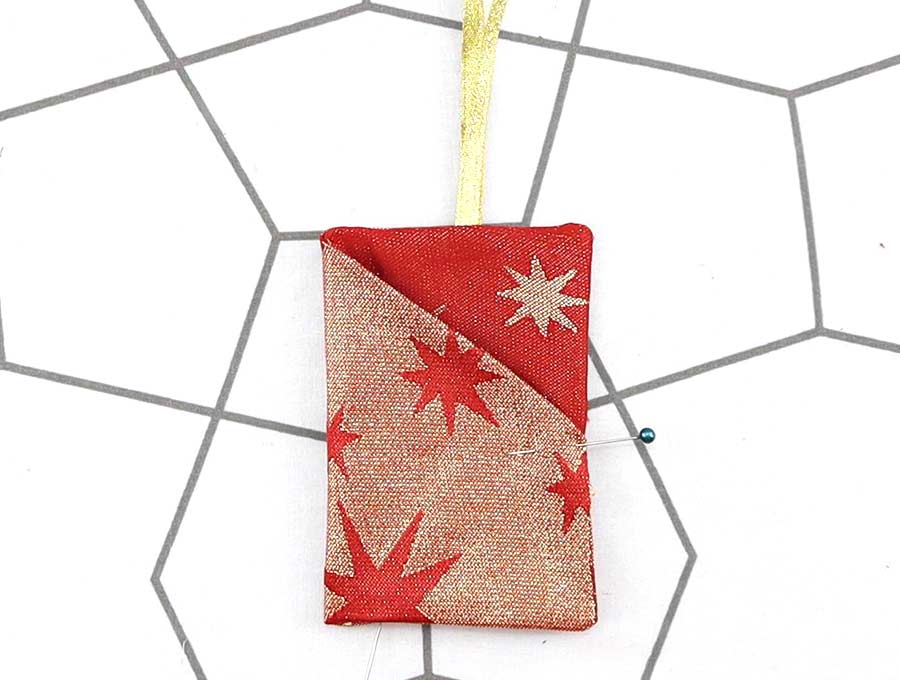
STEP 9: Topstitch
Now top stitch right around the edge of the DIY gift card holder.
Step 10: (optional) Tie the bow
Tie the bow and then you are all ready to slip in the gift card and to hang it on the tree.
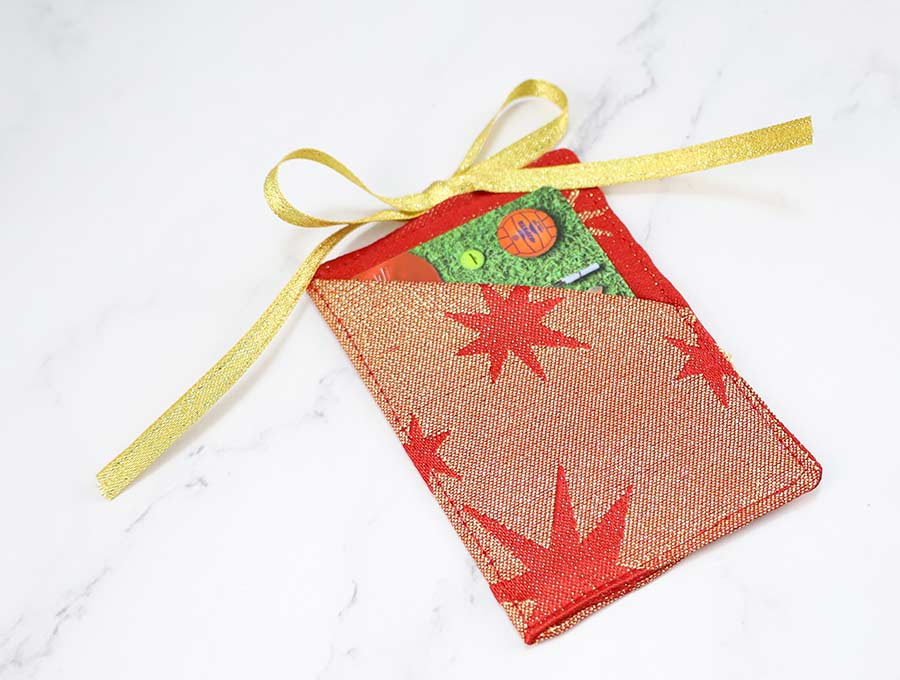
That’s it your Christmas Gift card holder is ready!
DIY Gift Card Holders FAQs, Tips and Troubleshooting:
Q: What if the gift card is a large one?
A: The template we have supplied is scalable on your printer – you can always print it out larger or smaller to suit the size of the gift card.
Q: Is it really necessary to have a ribbon loop?
A: If you are not planning on hanging the gift card holder on a tree, by all means dispense with the loop. To decorate the DIY gift card holder, you may want to pin on a bow or attach a charm.
Q: Do I have to use a fusible inter-lining?
A: Use inter-lining if the fabric is fairly thin in order to give the gift card holder some substance, but if your fabric is fairly firm then you can eliminate this step.
Q: Could the gift card holder be used as a bookmark?
A: It may be a little thick, but it is possible. When you give the gift card holder you could always include a special photo or inspirational quote that peeks out of the pocket, in case the recipient wants to use it as a bookmark.

Now you have our easy step-by-step instructions for making the gift card holder, you may want to use up your fabric stash to make a few more, so you always have them ready for birthdays and special events. The gift card holder can be re-used by the recipient when they give a gift card, or can be repurposed to hold a few tissues, a couple of pens, hair bands, or extra cards they don’t want weighing down their wallet. If you liked this idea please subscribe by hitting the button below to have more exciting ideas and free patterns delivered straight to your inbox.
Do you like this? Pin for later:
[***pin img****]Wanna be friends? Click HERE and follow me on Pinterest
RELATED: