

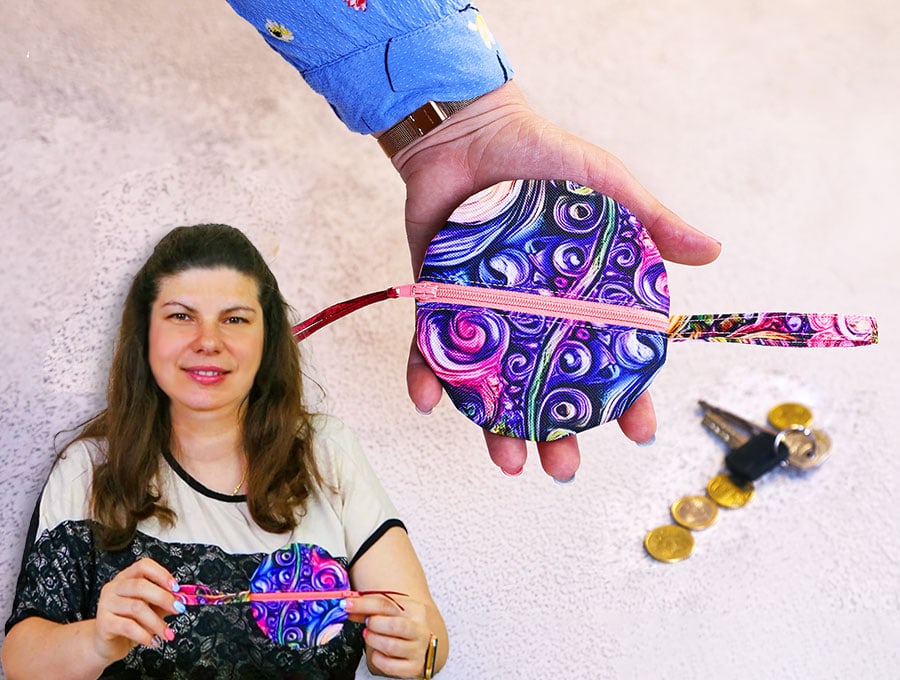
DIY Circle Earbuds Holder / Circle Coin Purse in 2 sizes // Easy Sewing Pattern
Sew your own circle coin purse or earbud holder pouch with zipper closure. It is perfect if you want to carry around your airpods or earbuds and don’t want to break them or get them tangled. It’s great to carry around small change, a card, keys, a lighter, chapstitch or any other little necessities you don’t have a place for. It is perfect for gift-giving as it is a simple, small thing you can make quickly with just some scraps of fanric you probagbly already have.
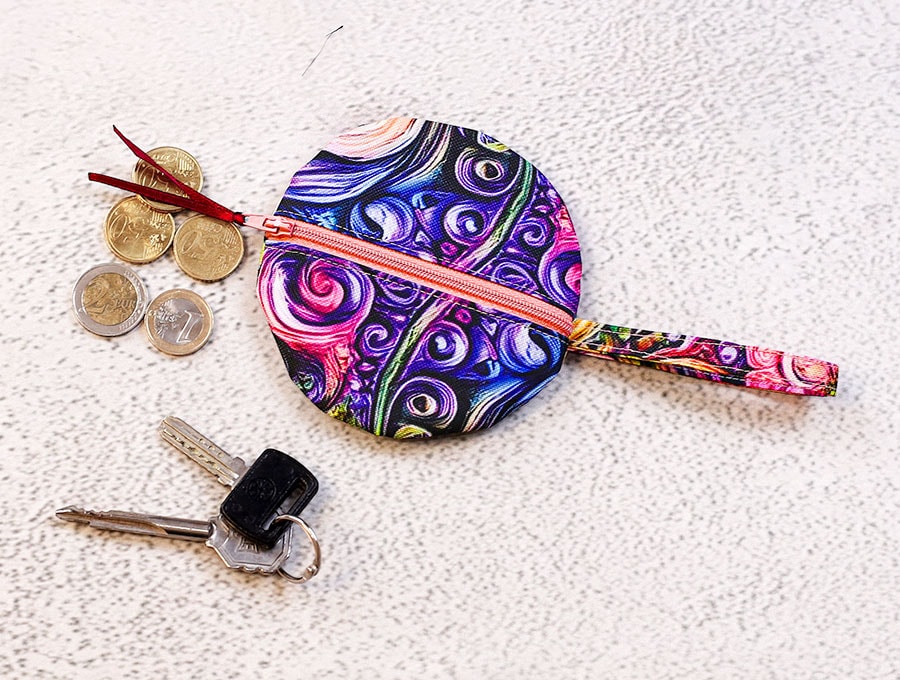
The circle earbud holder or circle keyring coin pouch is a nifty way to keep things together.
I wanted to give you options. You can choose from:
• 2 sizes – small (8cm or 3 1/8″) or large 11 cm (4 3/8″)
• 2 styles – Wristlet or keyring
Just download the circle earbud sewing pattern print it out, cut out the pattern pieces, then choose appropriate small, but gorgeous, pieces of fabric from your stash to get going with the making. Below you will find my step by step written tutorial with VIDEO instructions for all the visual learners.
We occasionally link to goods offered by vendors to help the reader find relevant products. Some of the links may be affiliate meaning we earn a small commission if an item is purchased.
How to make the circle purse
Circle purse Supplies and tools
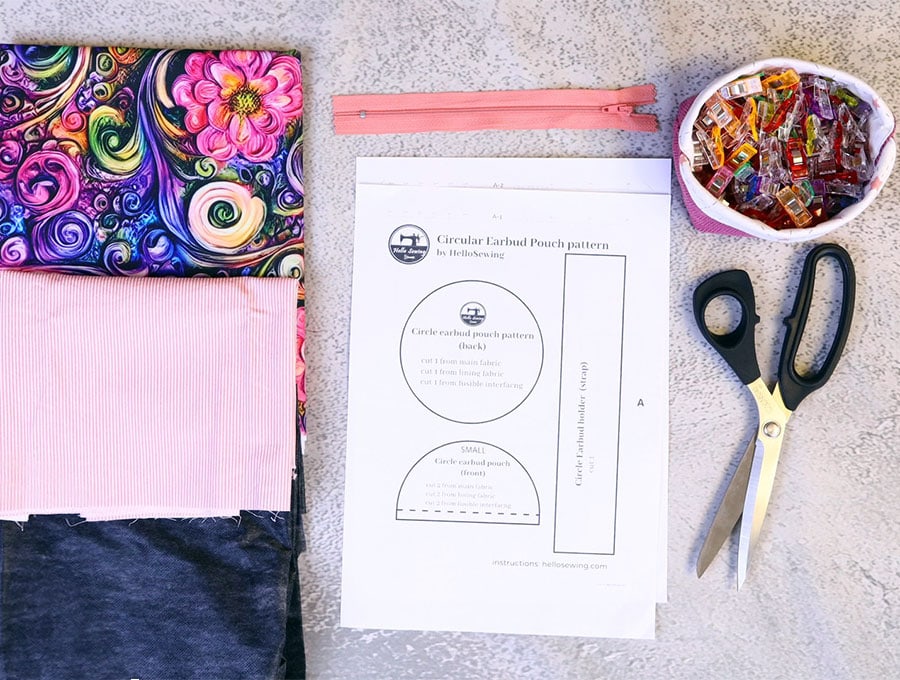
- fabric – 2 pieces of woven or quilting cotton (one main, one lining)
- fusible interfacing
- #3 zipper
- matching thread
- scissors (or rotary cutter and a cutting mat)
- ruler or measuring tape
- iron and ironing board
- sewing clips or pins
DOWNLOAD: Circle purse pattern [Free pdf file]
Link not working? Try this ALTERNATIVE link instead
Follow us for free patterns & tutorials! [easy-profiles]
How to Sew a circle earbuds holder
Watch the diy circle coin purse video first and then follow the written step by step instructions below.
Please enjoy and don’t forget to Like and SUBSCRIBE over on YouTube to be kept up to date with new videos as they come out.
Circle Coin Purse or Earbuds holder VIDEO TUTORIAL
INSTRUCTIONS:
STEP 1:
Choose your size and style, then print and cut out the 3 paper pattern pieces you need.
There are 3 pattern pieces for each size – small (8cm or 3 1/8″) or large 11 cm (4 3/8″). When making the wristlet or keyring style the only things that will alter is the length of the strap – one pattern piece is long enough to fit over the wrist and the other pattern piece is short to slip onto a keyring.
STEP 2:
Prepare your supplies. You will need to accommodate the 2 front and 1 back pattern piece in the main fabric, the lining, and the interfacing, and will need enough of the main fabric for the strap or tab.
STEP 3:
Lay the front and back pattern pieces over the main and lining fabric, pin and cut.
STEP 4:
Cut the 2 front and 1 back pattern piece from fusible interfacing.
STEP 5:
Cut the strap or the tab piece from the main fabric.
STEP 6:
Place the 2 front and back piece of the main fabric right side down on your ironing pad and over each piece place the corresponding pieces of fusible interfacing, sticky (fusible) side down and position. Flip over each set to the right side of the fabric, and press with your iron to fuse the interfacing.
STEP 7:
Place the fused half circle of fabric right side up on your worktop, over it place the zipper, right side down, the edge of the tape lining up with the straight edge, teeth facing towards the body of the fabric. Over this place the lining, right side down, straight edge lined up with the straight edge. Clip all three layers together.
STEP 8:
Change to a zipper foot on your machine and stitch as close to the zipper teeth as the machine allows. Backtack at the start and finish.
STEP 9:
Flip over the main and lining so the wrong sides are facing each other, and the zipper is exposed, then press along the seam you just stitched.
STEP 10:
Place the stitched piece with the right side of the zipper and main fabric upwards, then over the other half of the zipper place the next half circle of main fabric right side down, lining up the straight edge with the edge of the zipper. Clip in place. Flip over so the lining side is uppermost from the first half you stitched, add the next half circle of lining, wrong side up and reposition the clips so you have the zipper sandwiched between the two layers of fabric, as in STEP 7.
STEP 11:
Stitch next to the zipper teeth as close as the zipper foot allows.
STEP 12:
Open out the seams and press as you did in STEP 9.
STEP 13:
Open the zipper about 1/3 towards the middle of the circle, then either clip or pin the open zipper ends together or you can choose to try knit the zipper teeth together. stitch across the open end, down one side close to the zipper teeth, across the other end and up the other side, backtacking at the start and finish.
STEP 14:
Cut off the extra zipper ends in line with the fabric and singe the tape ends with a quick pass of a lighter to prevent fraying.
STEP 15:
Make the wristlet strap or tab to attach to a keyring; the method is the same for both.
Place the fabric wrong side up on your ironing pad, fold the long sides so the raw edges meet, press in the center fold.
STEP 16:
Open out the fabric, place right side down on your work top and fold each long edge in toward the center fold mark. Press each side, then fold again so the pressed edges line up and no raw edges are visible except for the short ends and press again, then clip the open length.
STEP 17:
Stitch along the long edge 1/8” (3 mm) from the edge, backtacking at the start and finish.
STEP 18:
Fold the wristlet or tab in half. If making the wristlet, pin the raw edges to the side where the zipper is slightly open, fold facing the main fabric, and raw edges of ends to the raw edges of the zipper. If making a keyring holder then insert the lobster clasp onto the fabric before pinning.
STEP 19:
Place the circle with zipper right side up on your worktop, over it place the circle of main fabric right side to right side. Over this place the lining, right side up. Pin or clip in place around the circle.
STEP 20:
Stitch around the circle 1/4” (6 mm) from the edge, backtacking at the start and finish.
STEP 21:
Zigzag around the edge to prevent frying or use pinking shears to trim the extra fabric, or use a serger (overlocker) to finish the edges neatly.
STEP 22:
The final reveal! Turn the circle earbud holder the right way out by pulling the fabric through the open zipper. Use a turning tool to press out the seams so it lies flat and give it a final press. The circle earbud holder or coin wristlet is ready to use.
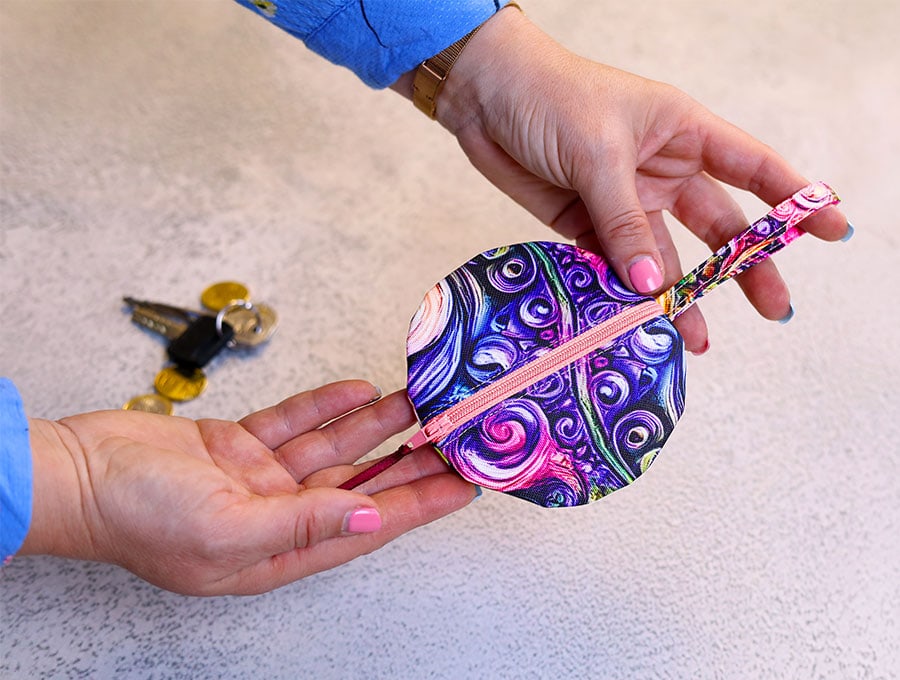
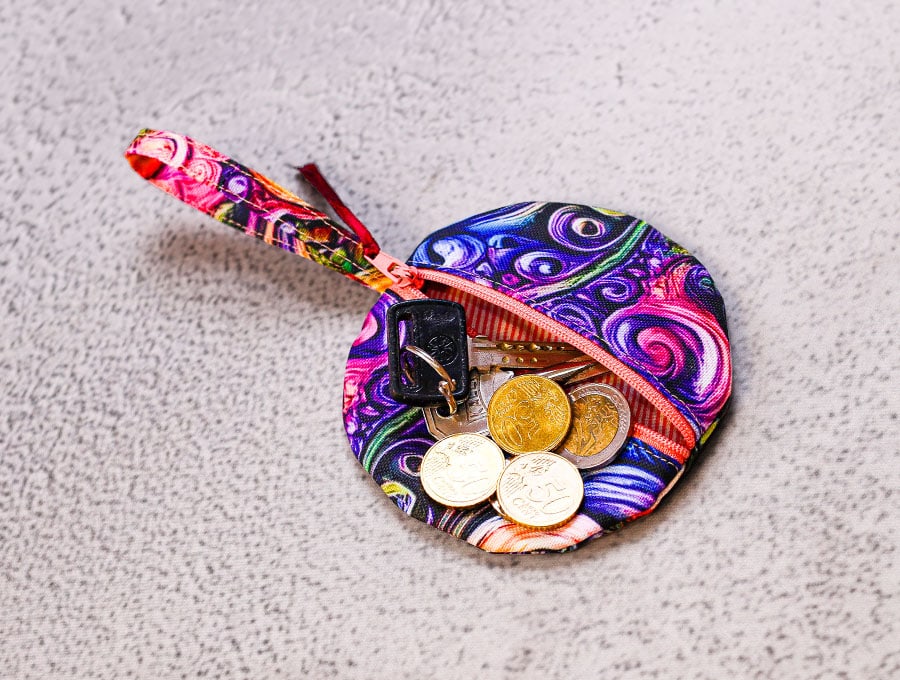
backside view (and, yes I did fussy cut both the front and the back 🙂 OCD, you know – these little things bring me immense joy.
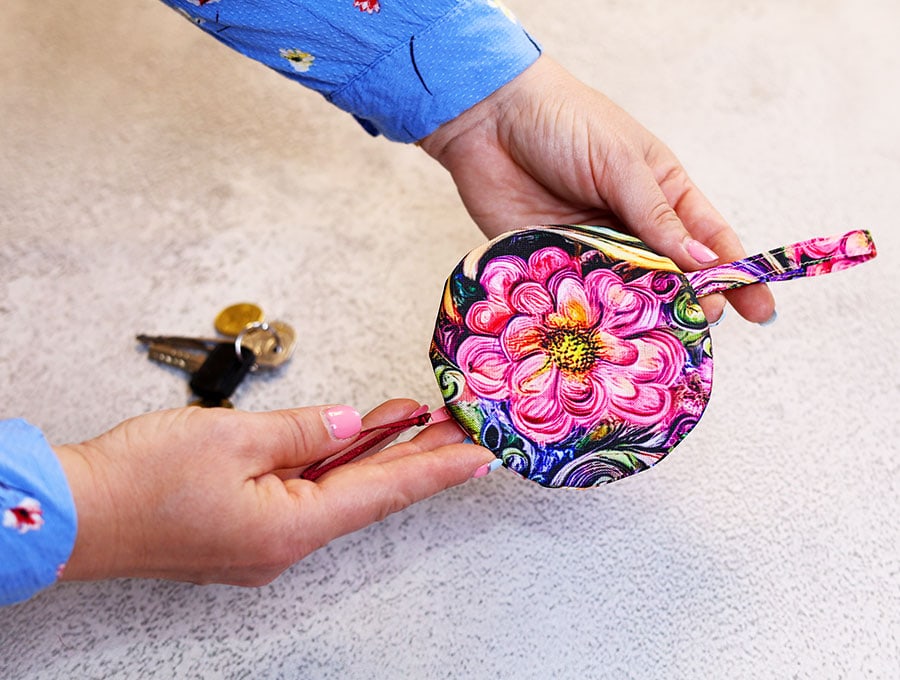 The circle earbud holder doesn’t just have to hold earbuds – it can be used for many items, from a few dog treats or some poop collecting bags when you take your best friend for a walk, to coins, a lip-gloss, a plaster or two – whatever you feel you need to have handy whether it is a workday or playday. It is an easy sew project that you can create in a few minutes using left over scraps from your stash; and we provide a free printable pattern in two sizes with two options – a wristlet strap or a tab to fasten to a keyring.
Please share this tutorial with anyone you think will benefit. It has many uses – pop a few dog poop bags in and attach to the leash before taking your dog for a walk; a lip gloss and a sachet of sunscreen before a beach trip; a hairband, lip-gloss and sachet of moisturizer for work days. If you have found an unusual use for this circle wristlet holder then please pop a photo into the comments section after liking and subscribing to HelloSewing.com, where we keep the video and instructions for a vast array of quick and easy sewing projects flowing your way.
Do you like this? Pin for later:
Wanna be friends? Click HERE and follow me on Pinterest
RELATED: