

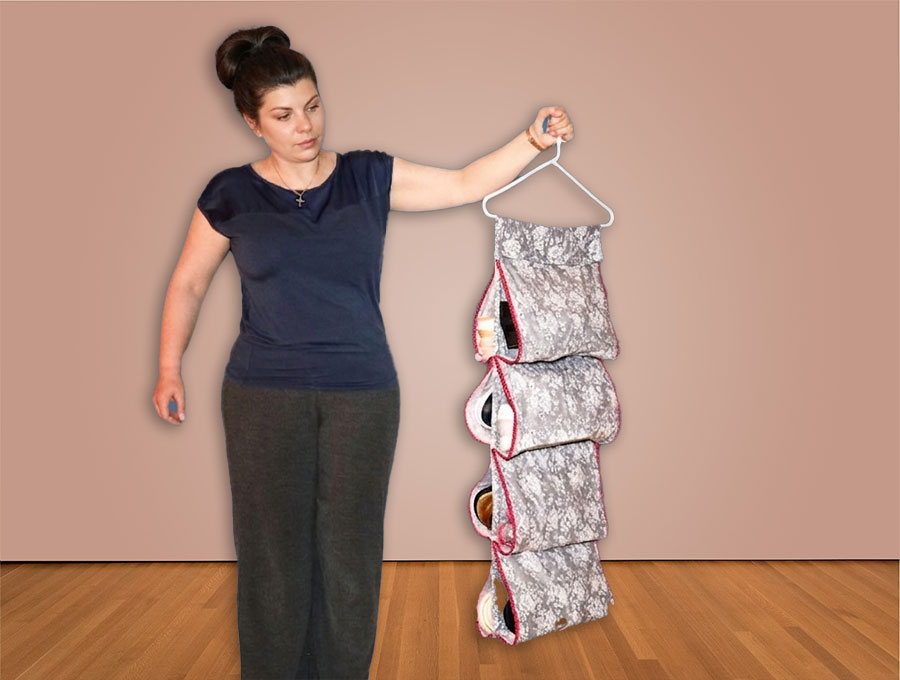
DIY Closet Hanging Shoe Organizer
Do you need a Closet Hanging Shoe Organizer? If your closet floor currently a “no-go zone” filled with a mosh pit of mismatched sneakers, then the answer is most definitely a loud “YES”. My closet used to be a graveyard for lost shoes—I’d find the left boot, but the right one had apparently moved to a different dimension. If you’re tired of tripping over your own fashion choices, this hanging sling organizer is your new best friend.
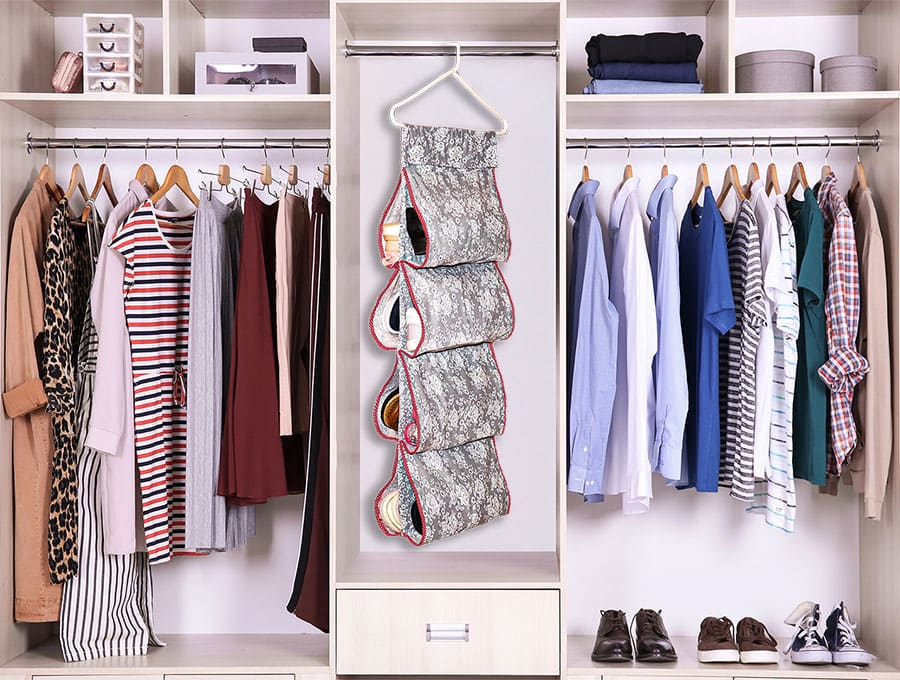
Using a simple hanger and 8 sturdy fabric compartments, we’re going to get those shoes off the ground and up at eye level. It’s the ultimate way to keep your floors clear and your sanity intact. Let’s get sewing
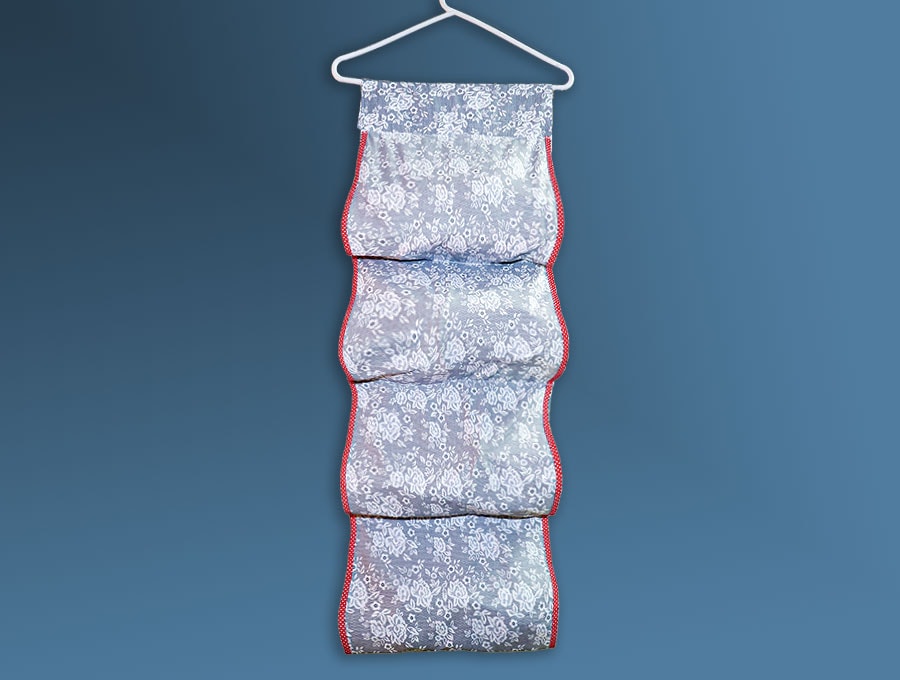
Below you will find my step by step written tutorial with VIDEO instructions for all the visual learners.
We occasionally link to goods offered by vendors to help the reader find relevant products. Some of the links may be affiliate meaning we earn a small commission if an item is purchased.
How to make the sling shoe holder
Supplies and tools
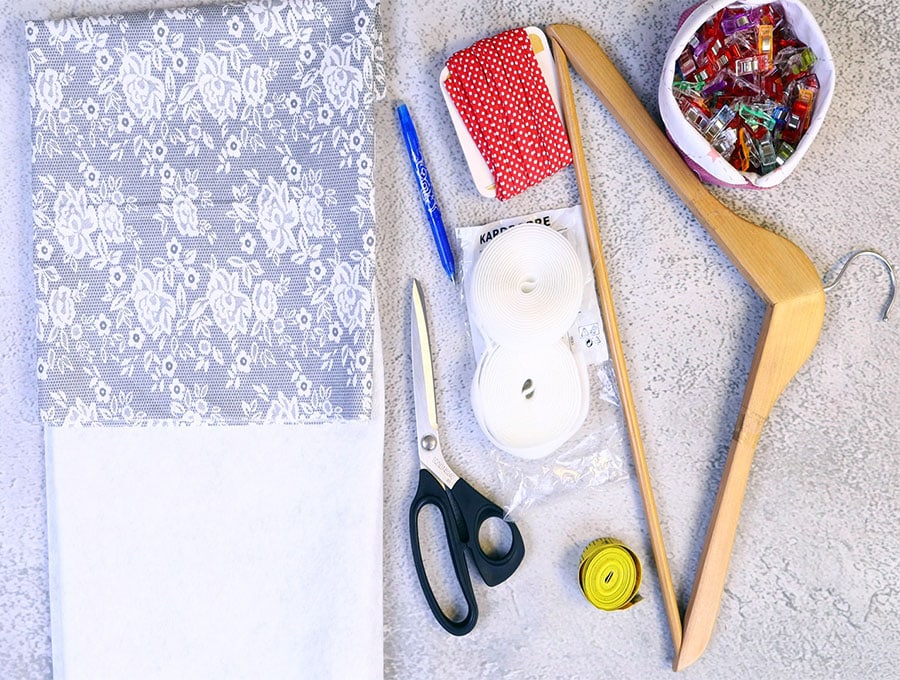
- fabric – quilting or woven cotton
- fusible batting
- 1/4″ bias tape
- matching thread
- scissors (or rotary cutter and a cutting mat)
- ruler or measuring tape
- clothes hanger
- iron and ironing board
- sewing clips or pins
Follow us for free patterns & tutorials! [easy-profiles]
How to Sew a closet hanging shoe organizer
Watch the diy closet hanging shoe holder video first and then follow the written step by step instructions below.
Please enjoy and don’t forget to Like and SUBSCRIBE over on YouTube to be kept up to date with new videos as they come out.
hanging shoe organizer VIDEO TUTORIAL
INSTRUCTIONS:
STEP 1:
Cut the fabric to the following sizes:
- 2 of 54 ½ x 14” (138 x 36 cm) fabric for the shoe sling
- 2 of 41 ½ x 15” (105 x 38 cm) fabric for the body of the organizer
- 1 of 41 ½ x 15” (105 x 38 cm) fusible batting for the body
- Double fold bias tape ¼” x 2 ½ yd (6 mm x 6 m)
STEP 2:
Take one piece of the fabric for the body of the organizer, place it wrong side up or your ironing pad, over it place the batting with the fusible side down and iron to fuse. Turn over, and iron on the right side of the fabric to complete the fusion.
STEP 3:
Place the other fabric piece of the body of the organizer right side facing the right side, align neatly and clip around the edges.
STEP 4:
Mark a gap of around 5” (12.5 cm) on the lower side somewhat to the right of center.
STEP 5:
Stitch round the rectangle with a seam allowance of 3/8” (1 cm), starting from one side of the gap with a backtack and ending on the other side with a backtack to finish.
STEP 6:
Snip off small triangles at each corner to reduce bulk when turning the right way out. Turn back the raw edges of the gap in line with the seam and finger press.
STEP 7:
Turn the item the right way out by pulling the fabric through the gap. Use a turning tool to press out the corners neatly and ensure the seams are pushed out and lie flat.
STEP 8:
Turn the raw edges for the gap in line with the seam and give the whole item a press with your iron.
STEP 9:
Top stitch all around the edge using a 1/8” (3 mm) seam allowance, including over the gap.
STEP 10:
Place the topstitched body piece with the long edges horizontal to the top and bottom of your worktop. Then, measuring from the left-hand side (which will be the top when it hangs vertically) mark as follows at the top and bottom of the long sides, then join the marks using a quilting ruler:
- 7 ½” (19 cm)- this is where it will fold over the hanger bar.
- 8 ¼” (21 cm) – do this 4 times – to give the position where the shoes will fit on each side, 4 pairs per side.
STEP 11:
To sew the shoe slings, take the 2 pieces of 54 ½ x 14” (138 x 36 cm) fabric and fit the raw edges of the long sides to the middle of the bias tape. Fold over the tape on each side and clip in place.
STEP 12:
Top stitch on the right side of the fabric down each of the four long sides, making sure to catch the bias on the other side. Trim off any extra binding at the ends.
STEP 13:
Fold each of the short edges in 3/8” (1 cm) towards the wrong side of the fabric and press.
STEP 14:
Fold each fabric piece in half, clip the folded ends together and press in the center fold, then fold in half again and press in the fold – you now have a piece of fabric divided into 4 equal sections.
STEP 15:
Fold out each piece and on the right side of the fabric, mark the 3 ironed in folds with a fabric marking pen and ruler.
STEP 16:
Place the body of the shoe organizer on your worktop and align the one end of the sling section with its folded over end, with the first mark you made in Step 10, then the other 3 marks on the sling with the marks on the body section, pinning each in place and ensuring they line up accurately. Pin or clip the other folded end in line with the bottom of the body section.
STEP 17:
Now, pin the loops where the shoes will fit in to the body just to keep them out of the way while you stitch– you don’t want to accidentally stitch a loop of fabric to the marked sections.
STEP 18:
Top stitch down the marked lines and the folded ends, but don’t remove the pins from the looped fabric. ( You may need to swap to a thicker needle to get through all the layers for this step.)
STEP 19:
Flip over the body and repeat Steps 16 to 18 with the other side of the shoe sling, matching the marks of the shoe sling fabric with the stitch marks on the body.
STEP 20:
Remove all the pins from the folded loops and give the item a quick press to remove the marks of the fabric marking pen.
STEP 21:
Take the strip of Velcro and separate the two sides, then stitch one side of Velcro to the top of the shoe organizer, and the other side just above the stitching for the first shoe sling. Stitch 1/8” (3 mm) from the edges of the Velcro, backtacking at the start and finish.
STEP 22:
Trim off any excess threads. Place the end with the Velcro over the bar of a wooden hanger and connect it with the other section of Velcro. Your shoe organizer is now ready to hang up. Slip in your favorite pairs of fancy shoes and you’re all organized.
If you have any friends complaining about lack of space for shoes then please share this post with them. If you choose to do only one side of the shoe organizer you can hang it on a hook behind a door, making sure the kids have their school and sports shoes easily accessible, so there isn’t the morning hunt for shoes kicked off in weird and wonderful places.
Please remember to like and subscribe so you will be the first to know about our upcoming projects – all designed to help make your life better organized and save you enough time to enjoy the things you really love doing.
Make our double-sided closet hanging shoe organizer with space for eight pairs of shoes using our video and step-by-step instructions. It’s super easy to sew, using just straight stitching, and will be ready to use in around half an hour. And if you don’t have closet hanging space then make this single-sided to fit on a hook behind a door. All you need is some left over fabric, some bias tape and a piece of Velcro – plus a sturdy wooden hanger.
Even if you don’t have larger piece of fabric you could join fabric pieces to make this shoe organizer.
Do you like this? Pin for later:
Wanna be friends? Click HERE and follow me on Pinterest
RELATED: