
Continuous Zipper Pouch – How To Make Zongzi zipper bag / coin pouch
The continuous zipper pouch can be made a couple of ways – into a triangle pouch or a rectangular pouch. We show you both ways for this nifty little item- it’s basically the same except for the length of the zipper. Besides being useful it’s a great talking point, especially if you chose a bright zipper with metallic zipper teeth. I love these in a bright red, yellow, black or neon green – but you can choose whatever zipper color you like ranging from a neon pink to a royal blue and every hue inbetween.
How to use the continuous zipper pouch:
- Attach with a jump ring to your dog’s leash so you have a little bag to hold the new plastic poop bags to clean up after your dog, or to hold a couple of dog treats.
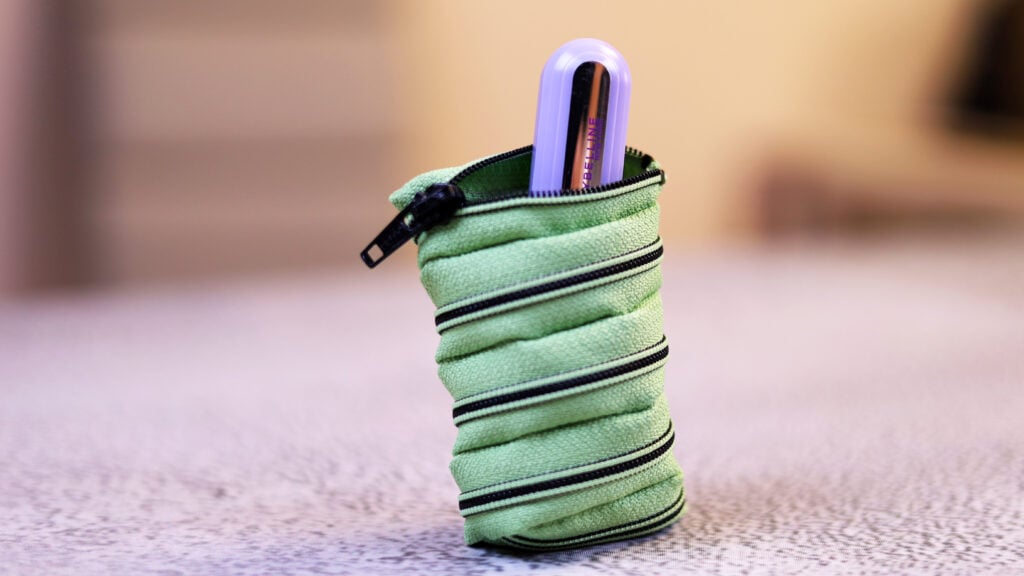
- Attach to your keys with a mini lipstick or lip balm inside for a quick touch up.
- Attach to the inside of your purse so you have coins at the ready when needed.
- Use to store jewellery when on the move and taking off rings at someone’s house to wash dishes, or at your hotel.
- Keep medications in there so you have them at hand when you travel.
- Keep a plaster or two and a couple of single use sealed disinfect wipes for a minor mishap – especially when you have children.
- The rectangular purse can be used to store a credit card or two for a night out, leaving you hands-free to dance.
Below you will find my step by step written tutorial with VIDEO instructions for all the visual learners.
We occasionally link to goods offered by vendors to help the reader find relevant products. Some of the links may be affiliate meaning we earn a small commission if an item is purchased.
Table of Contents
How to make the continuous zipper pouch
Supplies and tools
- one long zipper – 20 inch (50 cm) for the triangle pouch and 26″ (66 cm) for the rectangular pouch
- zipper foot for your sewing machine
- matching thread
- scissors (or rotary cutter and a cutting mat)
- ruler or measuring tape
- sewing clips or pins
Follow us for free patterns & tutorials! [easy-profiles]
How to Sew a continuous zipper pouch
Watch the diy Zongzi zipper bag video first and then follow the written step by step instructions below.
Please enjoy and don’t forget to Like and SUBSCRIBE over on YouTube to be kept up to date with new videos as they come out.
Zongzi zipper bag VIDEO TUTORIAL
INSTRUCTIONS:
Option 1 : Triangular continuous zipper pouch
You will need a 20 inch (50 cm) zipper
STEP 1:
Place the zipper horizontally on your worktop right side up – the zipper end facing the left and the top of the zipper with the zipper pull facing the right.
Measure 3 1/8 inches (8 cm) from the bottom end of the zipper and make a mark with a fabric pen.
STEP 2:
Open the zipper and fold the side where you made the mark back on itself and pin.
STEP 3:
Stitch as close to the edge of the tape as possible, starting with a backtack from the fold to the end of the zipper to join the tape together.
STEP 4:
When you come near the end, turn the tape at right angles to stitch across the bottom of the zipper end – avoiding the metal bits, then turn and stitch up the other side.
STEP 5:
When near the end of the zipper tape fold the end at a 45 degree angle to the edge away from the zipper teeth. Backtack to finish.
STEP 6:
Take the other end of the zipper tape and bring it over in line with the end you just stitched and bend the end of the tape to also face outwards away from the zipper teeth and stitch to the fold. Backtacking at the start and finish.
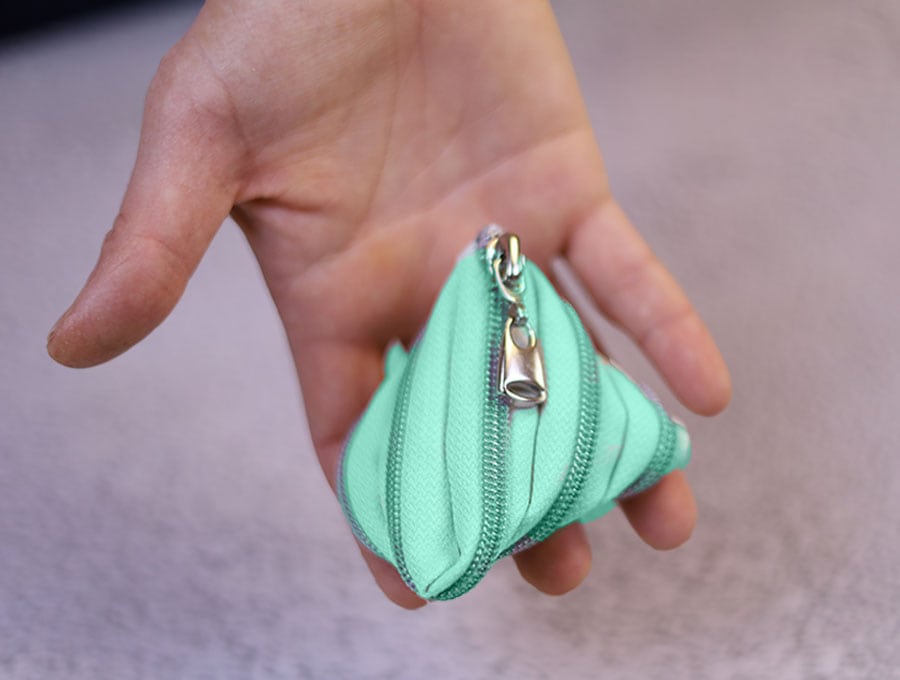
STEP 7:
To make the little triangular pouch close the zipper. One zipper, one seam – done. A fascinating little project.
Option 2: The rectangular continuous zipper pouch
For this option you will need one 26-inch (65 cm) zipper
STEP 1:
Place the zipper horizontally on your worktop right side up – the zipper end facing the left and the top of the zipper with the zipper pull facing the right.
Measure 2 ¾ inches (8 cm) from the bottom end of the zipper and make a mark.
STEP 2:
Open the zipper and fold the side where you made the mark back on itself and pin.
STEP 3:
Stitch as close to the edge as possible, starting with a backtack from the fold to the end of the zipper to join the tape together.
STEP 4:
When you come near the end, turn the tape at right angles to stitch across the bottom of the zipper end – avoiding the metal bits, then turn and stitch up the other side.
STEP 5:
When near the end of the zipper tape fold the end at a 45 degree angle to the edge away from the zipper teeth. Backtack to finish.
STEP 6:
Take the other end of the zipper tape and bring it over in line with the end you just stitched and bend the end of the tape to also face outwards away from the zipper teeth and stitch to the fold, backtacking at the start and finish.
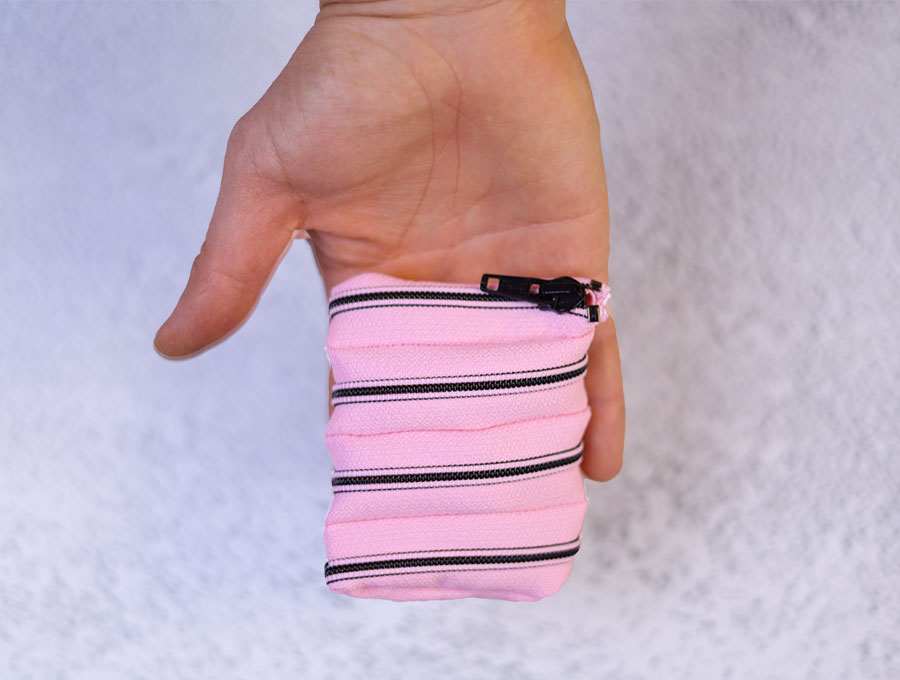
STEP 7:
To make the rectangular pouch close the zipper. One zipper, one seam – done. With the rectangular shape you can slip in just the essential card or cards you may need for a night out, slip in a lip gloss and attach to a belt, or to a chain around your neck, so you can dance the night away without having to mind your purse.
The continuous zipper pouch is such a fun upbeat project that takes one zipper and less than 10 minutes of your time to create. Have fun creating these conversation starter pouches that have a myriad of uses, all for the price of a zipper. One is a triangle shape and one a rectangular pouch.
Love this project? Then don’t forget to join our 97 000 subscribers who get the videos and instructions for our projects first.
Do you like this? Pin for later:
Wanna be friends? Click HERE and follow me on Pinterest
RELATED: