")
DIY Diagonal Zipper Pouch with just 2 Seams (so easy!)
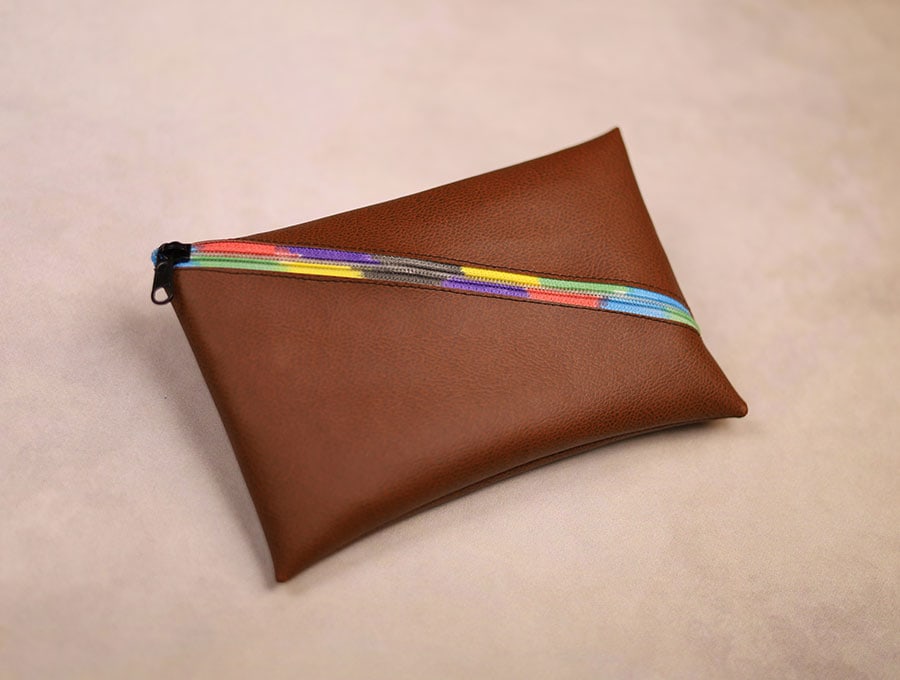
This diagonal zip pouch sews up in under 5 minutes. It’s useful and cute, and is a great way to sew up a zip pouch to store some necessities. The best thing? It has only two seams. Sounds good? Let me show you how easy it is to make this cute little zip pouch in literally any size you want.
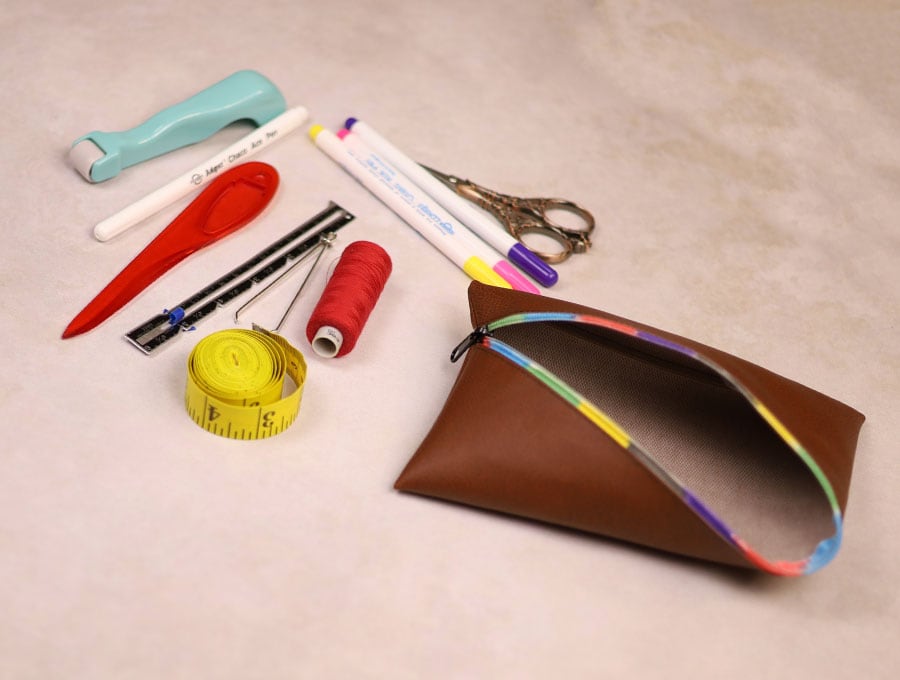
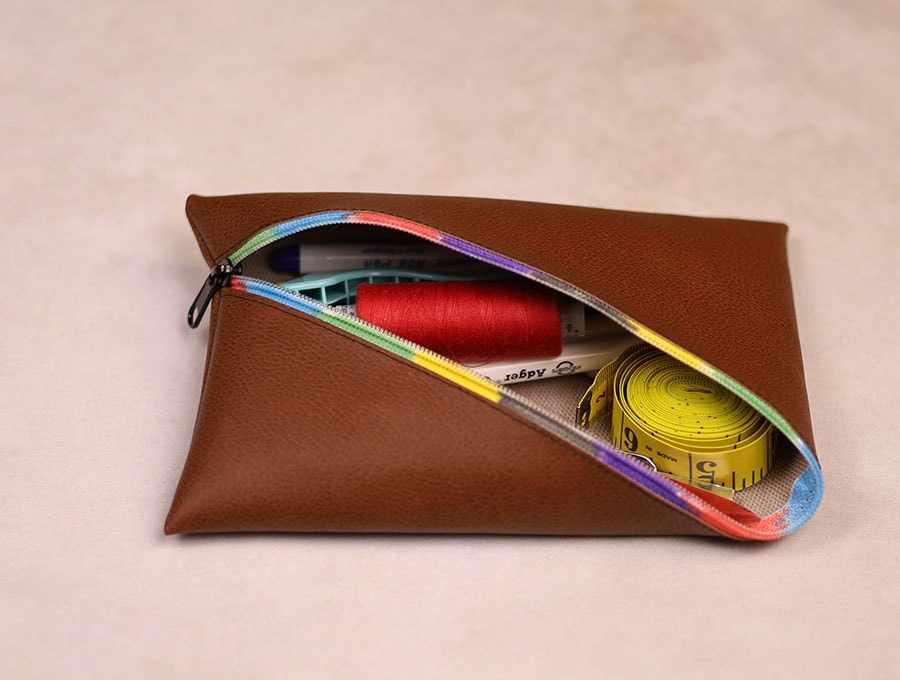
It’s great for cosmetics, pens and pencils, and makes a great little pouch for the small sewing tools we need most often. The zip design is really clever and it opens wide for easy access to the items inside.

Below you will find my step by step written tutorial with VIDEO instructions for all the visual learners.
We occasionally link to goods offered by vendors to help the reader find relevant products. Some of the links may be affiliate meaning we earn a small commission if an item is purchased.
Table of Contents
How to make a Diagonal Zipper Pouch
Supplies and tools
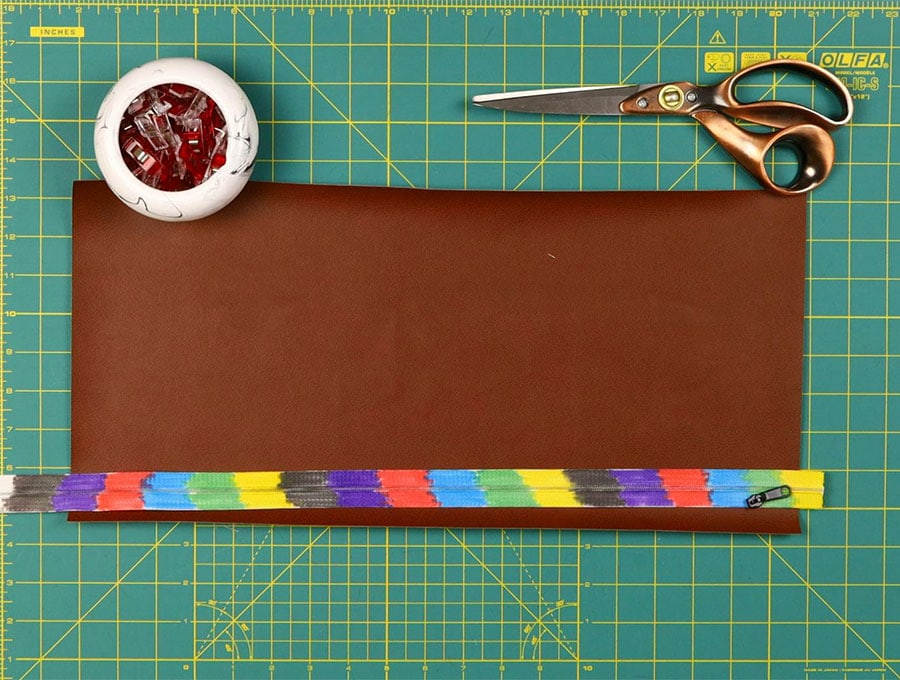
- fabric – faux leather piece 9 x 19″(28 x 43 cm)
- zipper (actually just a half of a zipper)
- matching thread
- scissors (or rotary cutter and a cutting mat)
- ruler or measuring tape
- sewing clips
Follow us for free patterns & tutorials! [easy-profiles]
How to Sew a diagonal Zipper pouch
Watch the diy diagonal zipper pouch video first and then follow the written step by step instructions below.
Please enjoy and don’t forget to Like and SUBSCRIBE over on YouTube to be kept up to date with new videos as they come out.
Diagonal Zip Pouch VIDEO TUTORIAL
INSTRUCTIONS:
STEP 1:
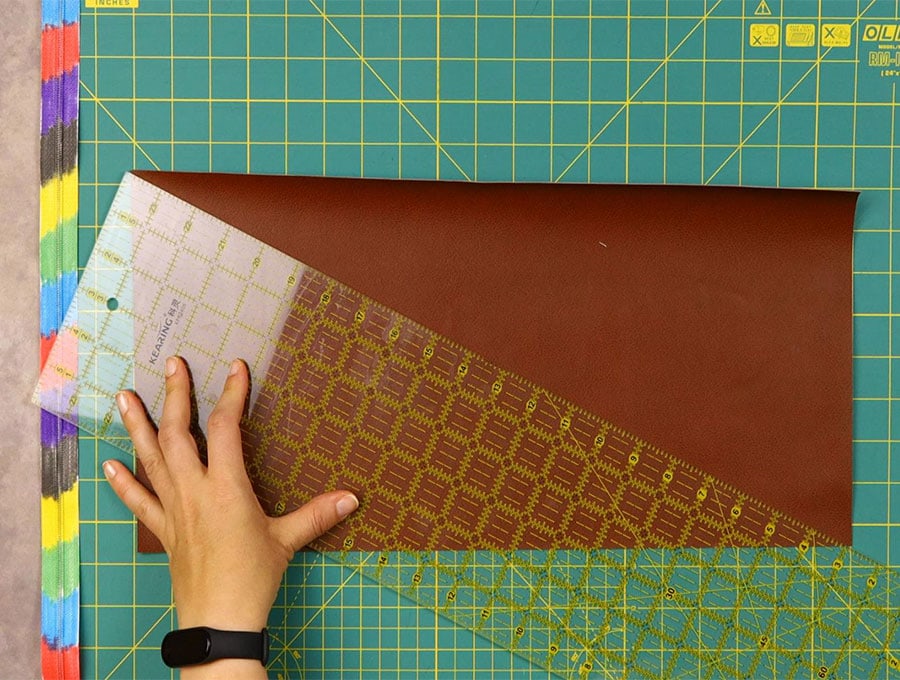
Cut the faux leather. You can make it any size you want. For this zip pouch I just cut a rectangle of faux leather measuring 9 x 19″ / 23 x 48cm,
Then cut along one of the diagonals. That’s right you can make two pouches out of the rectangle!
STEP 2:
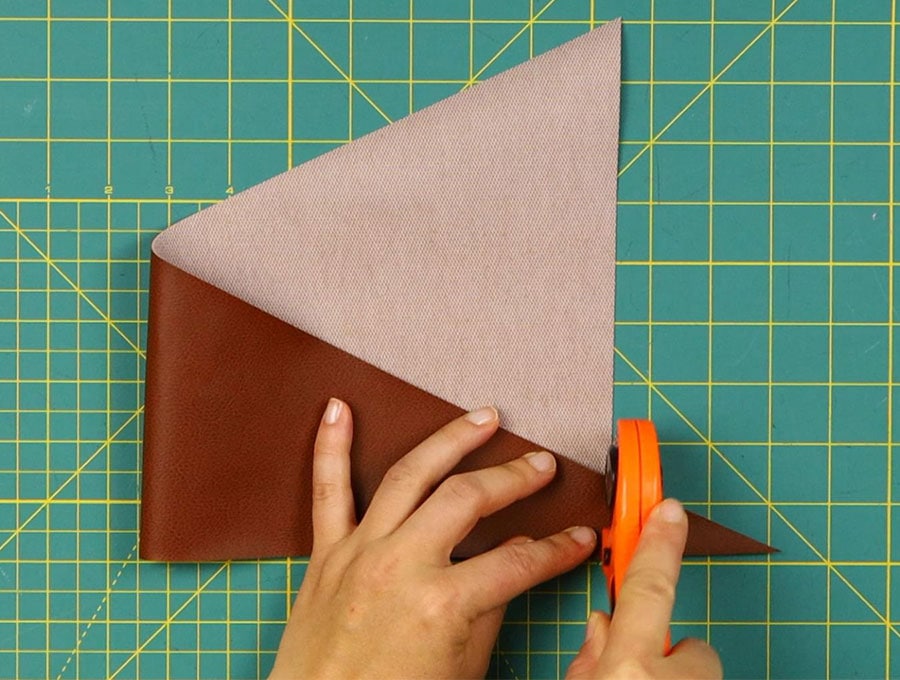
Fold the cut piece in half, aligning the bottom edge so that a small triangle piece sticks out about 3 inches. Cut that piece.
STEP 3:
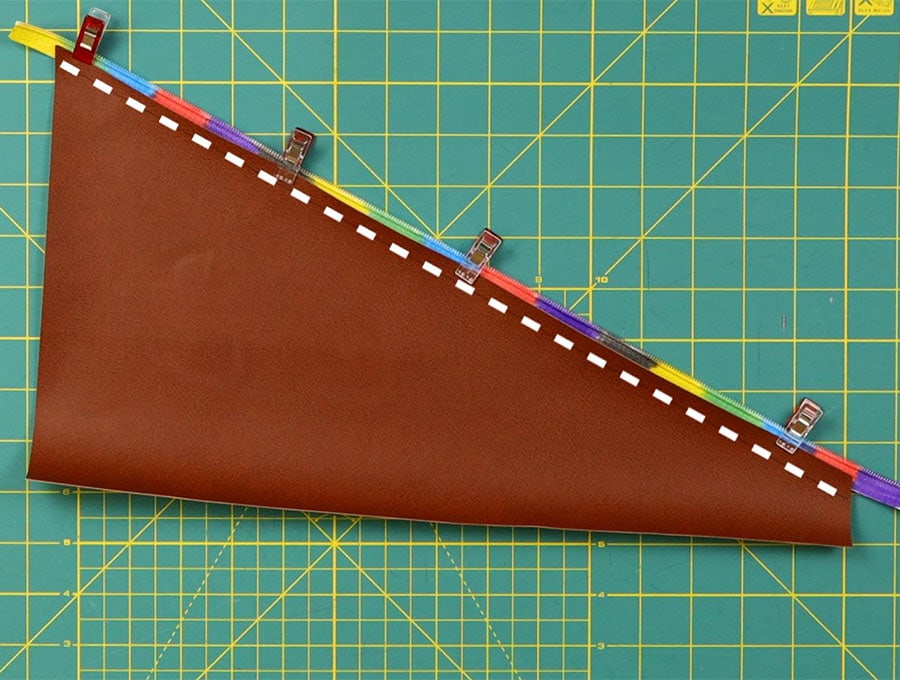
Place the faux leather piece with the right side up on your workspace. Place the half zipper (without the zipper pull) under the part that was cut at a diagonal. The zipper should be about 1″ (2.5cm) longer than the leather. Use the clips to hold it in place. Sew using a zipper foot
STEP 4:
Fold the faux leather piece in half again, aligning the bottom edge, fold the top down so the zipper parts meet.
STEP 5:
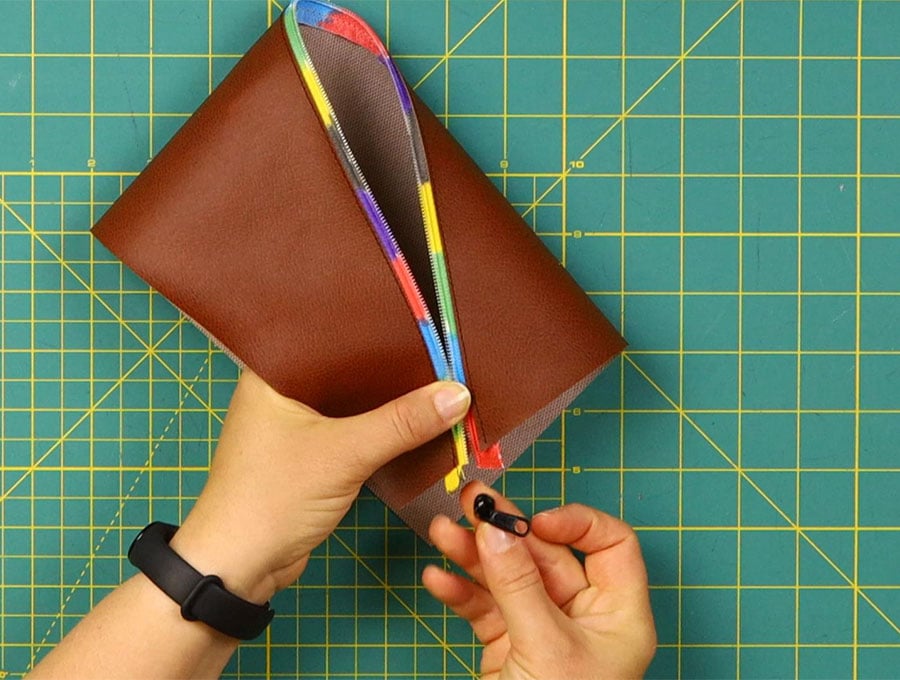
Insert the zipper pull: cut a small piece of the zipper teeth on one of the sides. Meet the zipper sides and carefully slide in the zipper pull.
Pull it halfway
STEP 6:
Turn the zip pouch inside out and align the edges. Use clips to hold it in place
STEP 7:
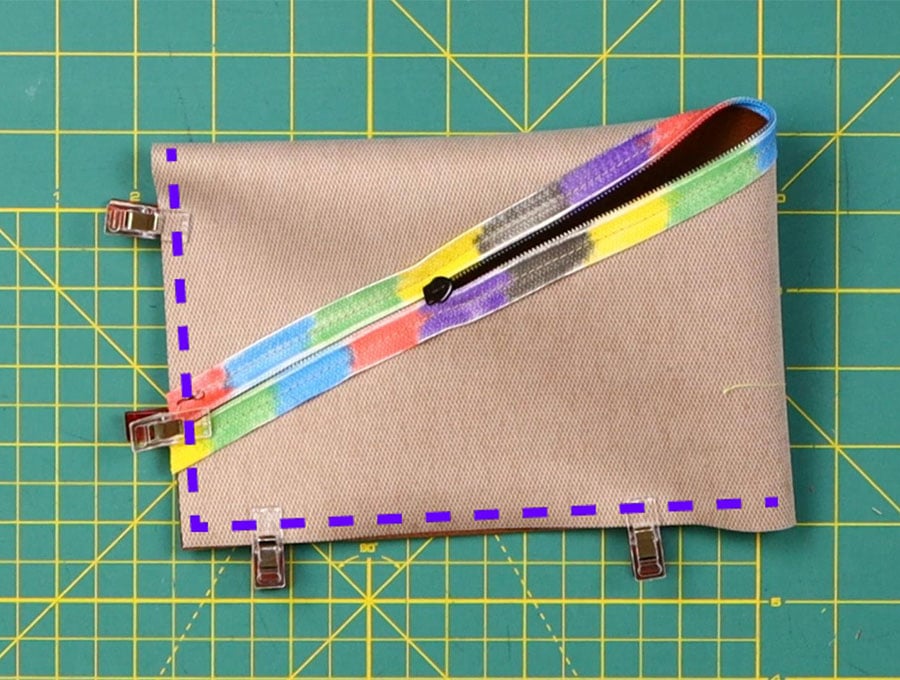
Stitch along the side and the bottom of the zip pouch. Clip the corners and cut the excess zipper
STEP 8:
Turn the zip pouch right side out, carefully poking out the corners with a dull tool. Voila The zip pouch is ready
Do you like this? Pin for later:
Wanna be friends? Click HERE and follow me on Pinterest
RELATED: