
DIY Cat Ear Headband
Need to make an outfit for a party, birthday, 4th of July, or Halloween? One of the easiest costumes is a cat! It makes me think of the gorgeous costumes from the hit musical Cats. All you need to make, and you can do it within minutes, is the Cat Ear Headband. Plain black tights and a black long-sleeved T-shirt complete the outfit for the cutest kitten look. The cat ear headbands suit everyone from three years upwards. All you need to purchase is the correct size headband, then use felt scraps from your stash.
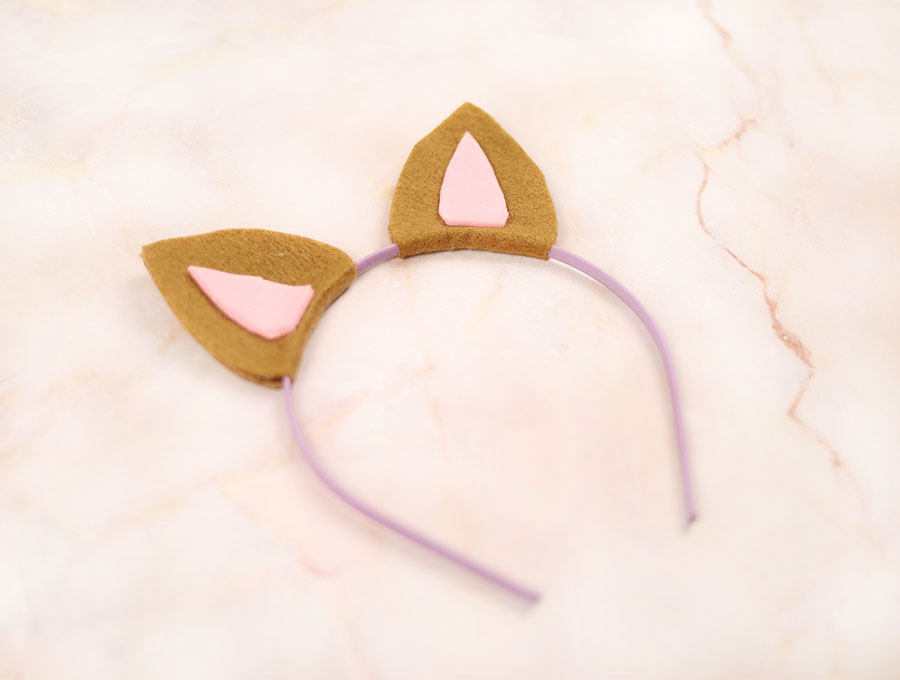
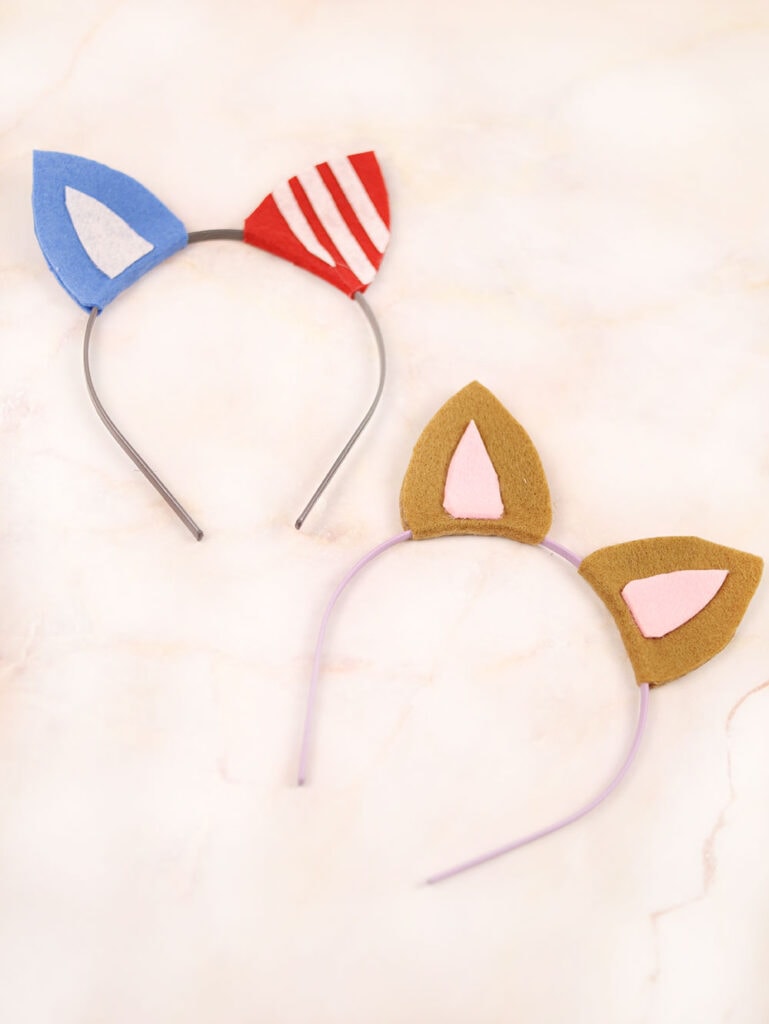
If you’re into making costumes for kids, you may have a couple of headbands in stock. Choose one similar to the hair color of the person for whom you are making the DIY cat ear headband. It allows the headband to blend with the hair so the cute little ears peek out. The felt fabric color chosen for the ears is up to you – you can go realistic with white ears with a pink lining, black ears with a white lining, or brown with a pale orange lining. Maybe you want to go wild and do purple ears with a lilac lining or whatever color combination takes your fancy. Perhaps consider the color choices of the person for whom you are making the DIY cat ear headband.
Below you will find my step by step written tutorial with VIDEO instructions for all the visual learners.
We occasionally link to goods offered by vendors to help the reader find relevant products. Some of the links may be affiliate meaning we earn a small commission if an item is purchased.
Table of Contents
- 1 How to make a Cat Ear Headband
- 2 Supplies and tools
- 3 Making of the Cat Ear Headband
- 3.1 Cat ear headband VIDEO TUTORIALS
- 3.2 INSTRUCTIONS:
- 3.3 STEP 1: Prepare the cat ear pattern
- 3.4 STEP 2: Cut out the felt
- 3.5 STEP 3: (optional) Mark the center of the headband
- 3.6 STEP 4: Mark and Prepare the glue gun
- 3.7 STEP 5: (optional) Sand a bit
- 3.8 STEP 6: Glue the ears
- 3.9 STEP 7: Assemble
- 3.10 STEP 8: Add details and finishing touches
How to make a Cat Ear Headband
Supplies and tools
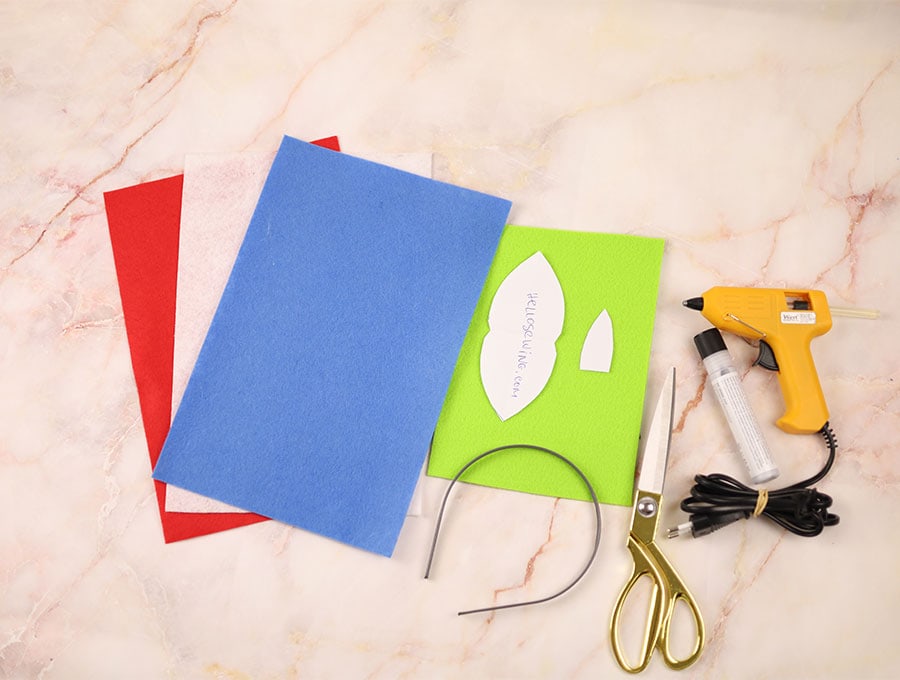
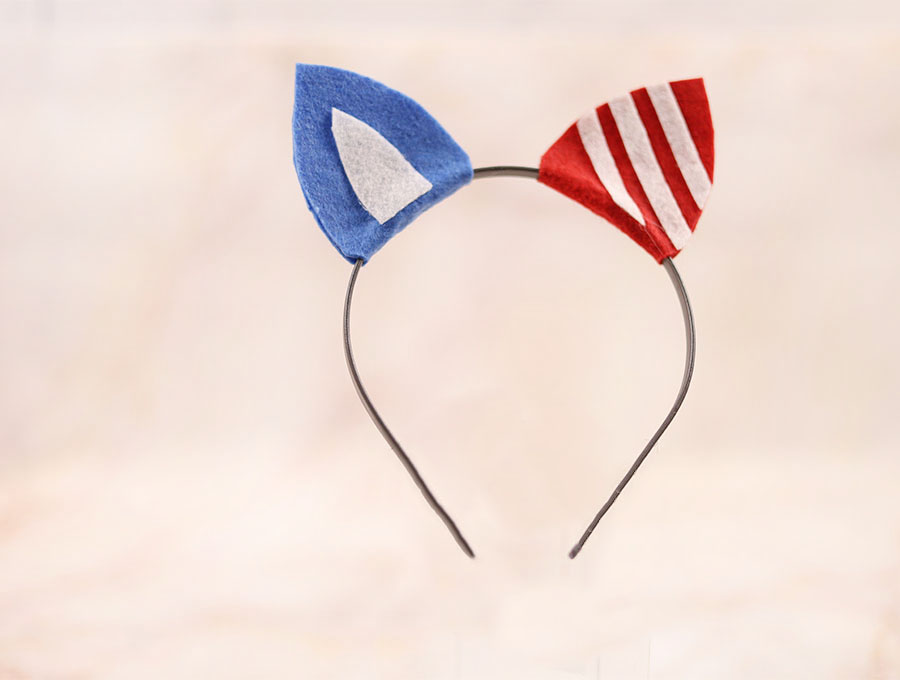
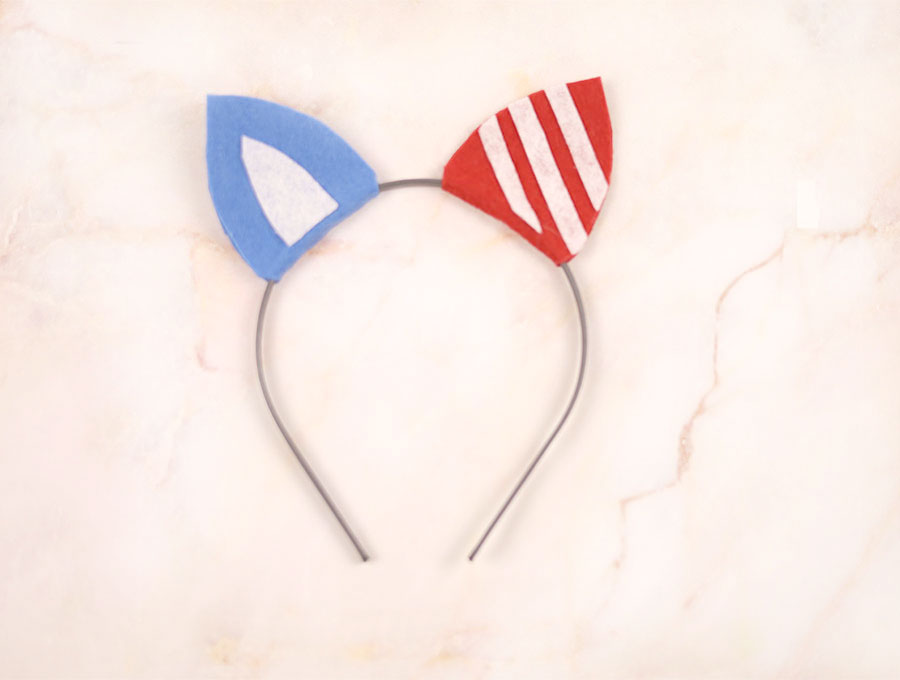
- fabric: small quantities of felt – two pieces for the outer ear and a contrasting color for the inner ear. If you are making the 4th of July headband you will need blue, red and white
- Free printed cat ear headband paper pattern
-
Fabric marking pen or a pencil or ballpoint pen will do
-
Glue Gun with a glue stick
-
A plastic headband
-
Small piece of sandpaper (optional)
DOWNLOAD: CAT EAR PATTERN [Free pdf file]
Follow us for free patterns & tutorials! [easy-profiles]
Making of the Cat Ear Headband
Watch the diy cat ear headband video first and then follow the written step by step instructions below.
Please enjoy and don’t forget to Like and SUBSCRIBE over on YouTube to be kept up to date with new videos as they come out.
Cat ear headband VIDEO TUTORIALS
VIDEO #1: 4th of July cat ear headband tutorial:
VIDEO #2: Standard cat ear headband
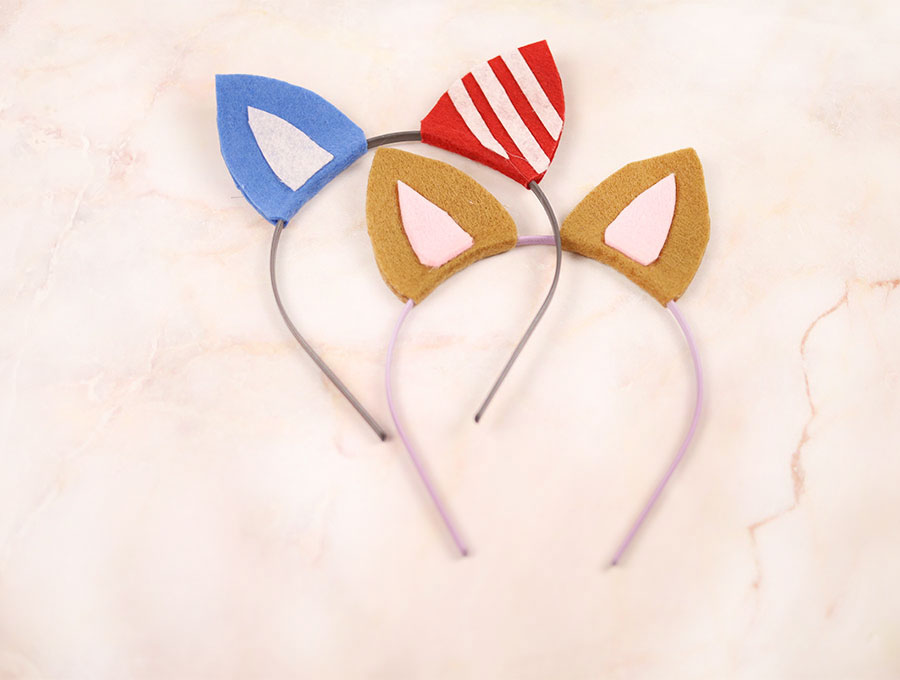
This tutorial is for the standard cat ear headband – these are great for parties, halloween or birthdays!:
INSTRUCTIONS:
STEP 1: Prepare the cat ear pattern
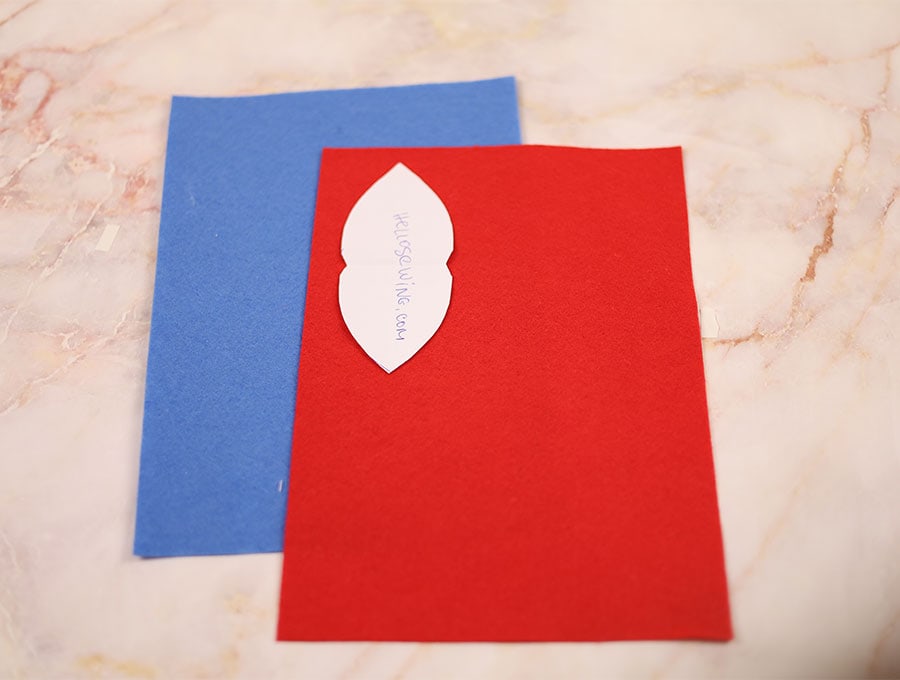
Print and cut out the free pattern supplied for the kitty ear itself and the inner ear piece. Mark around the pattern using a fabric marking pen onto the chosen color felt.
STEP 2: Cut out the felt
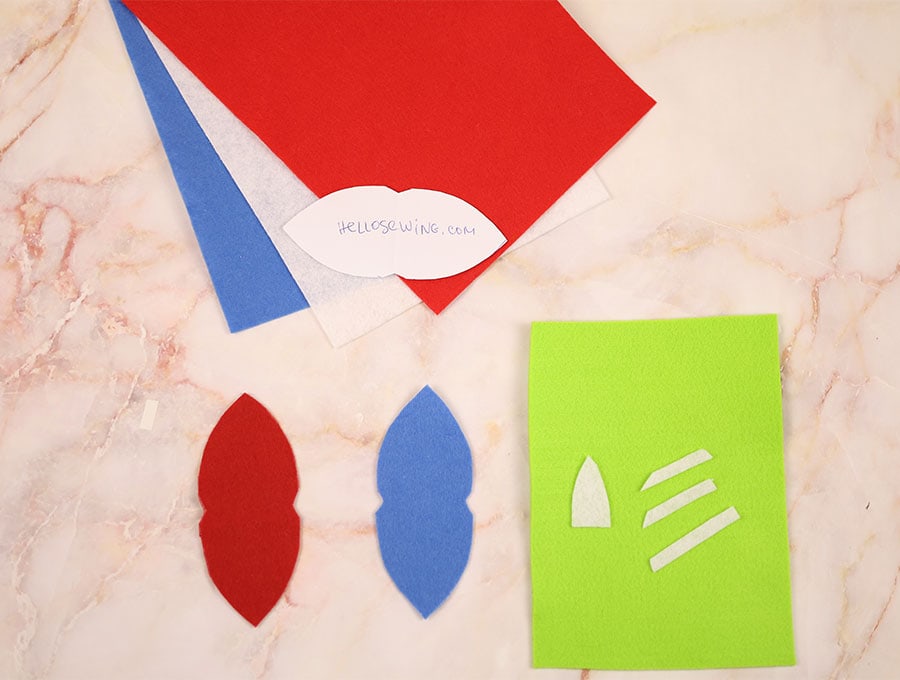
Cut out two kitty ears with the base of the ear on the fold of the felt.
Cut out two of the inner ear pieces in your color of choice. Cut out any other details you want to have (e.g. white stripes for the 4th of July cat ear headband)
STEP 3: (optional) Mark the center of the headband
Find the center of the headband and make a mark on the underside of the headband. This will allow the ears to be placed equidistantly on either side of the center so you don’t have crooked kitty ears.
Of course, if you are confident in your skills, you can just eyeball the placement.
STEP 4: Mark and Prepare the glue gun
Set up your glue gun to warm up while you mark the distance from the center where you want to place the ear’s inner edge from the headband’s center point. One inch (2.5 cm) should be sufficient, making the total width between the ears 2 inches (5 cm)
STEP 5: (optional) Sand a bit
Use a small piece of sandpaper over the section on the headband where you have decided to place the ears – if it’s a plastic headband, the area where the ear folds and attaches to the headband needs to be a little rough so the glue sticks well and you don’t risk the ears sliding around on the headband.
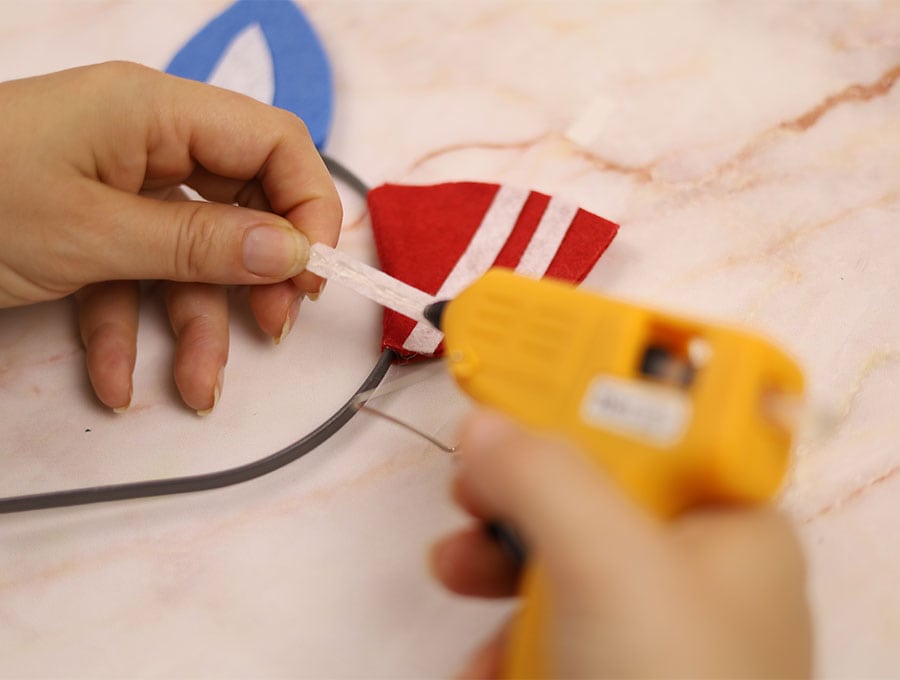
STEP 6: Glue the ears
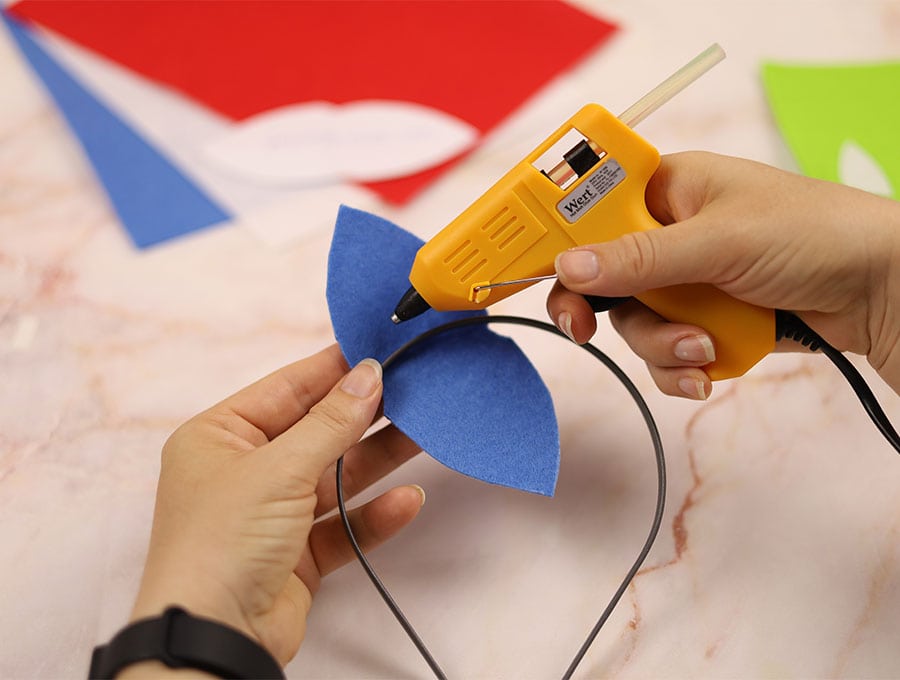
Lay out one ear, and using the glue gun, place a line of glue right around the edge of the ear and some across the center fold where it will touch the headband.
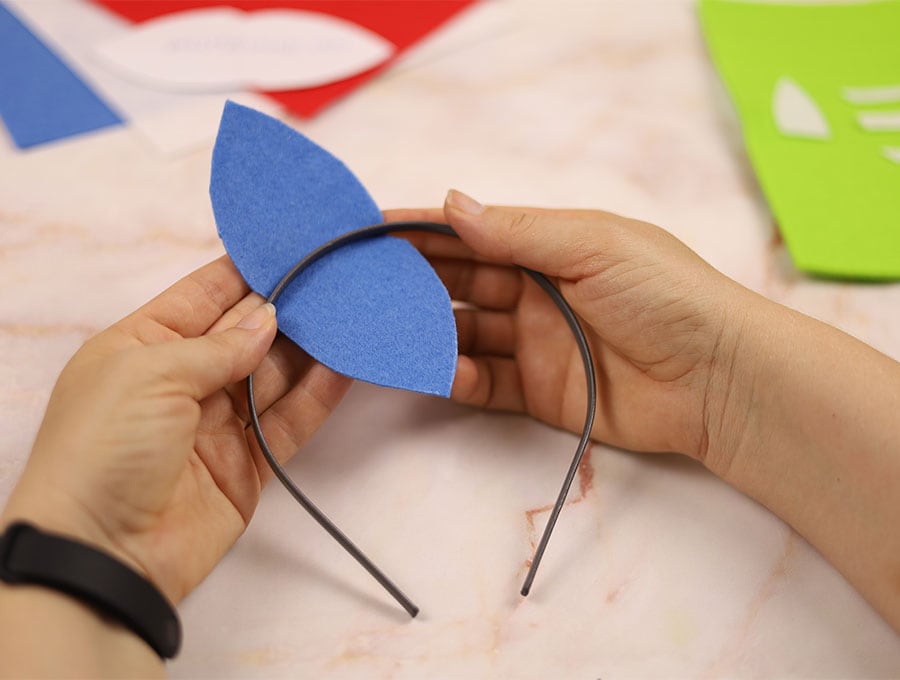
STEP 7: Assemble
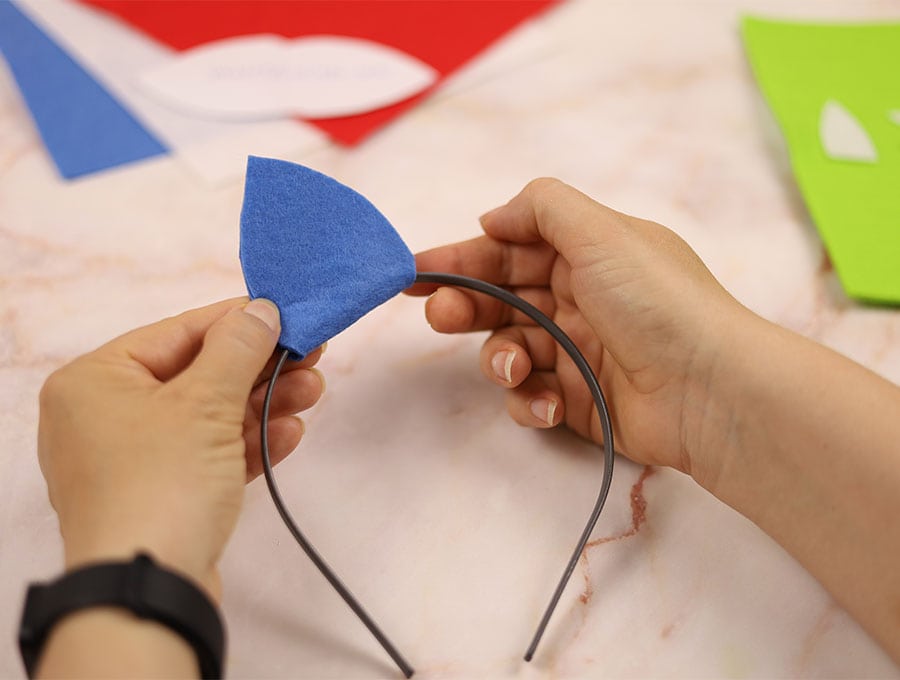
Place the inner edge of the fold of the ear on the point you marked and fold the ear over the headband, lining up the edges and press them together to seal. Make sure the glue is attached to the headband across the fold – you don’t want the ear slipping around on the headband.
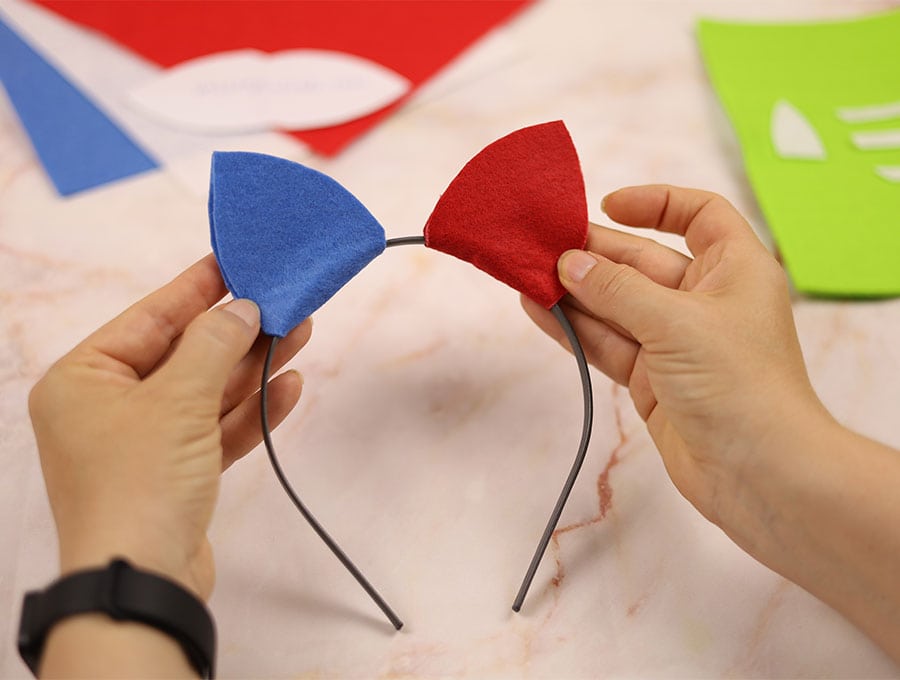
Repeat the process with the other ear.
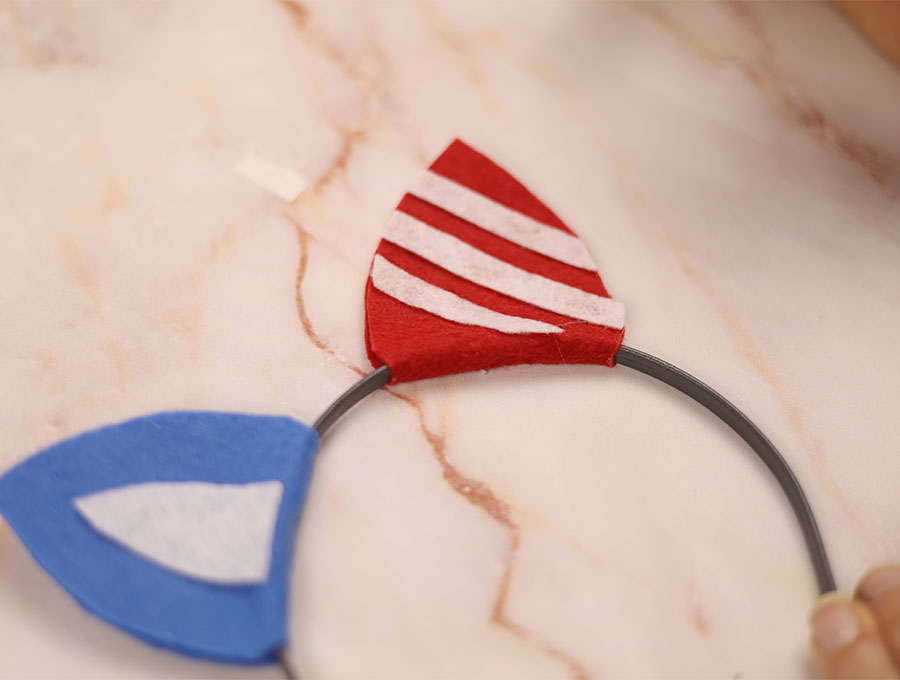
STEP 8: Add details and finishing touches
Take the inner ear pieces (or other ear details) and place glue around the edges.
Then place them centrally on the cat ears on the headband, pressing down firmly.

Your DIY cat ears are ready to use.
If you enjoyed this tutorial, click on the link below and subscribe for more easy tutorials like this delivered straight to your inbox. Of course if you want to make the cat outfit more kitty-like you can add a tail and white mittens for paws. You can make these easy mittens out of an sweater or an old t-shirt.
Watch our visuals, and follow the step by step instruction to make a DIY cat ear headband in minutes. It is super easy using some felt, a ready-made headband, and felt scraps from your stash. Next time you need a kid’s costume in a hurry this is going to be so easy! All you need is some tights and a long-sleeved T-shirt to complete the look and you may want to attach a cat tail made of some scrap fur fabric. There’s your costume done in minutes – no fuss and it will look super cute.
Do you like this? Pin for later:
Wanna be friends? Click HERE and follow me on Pinterest
RELATED: