
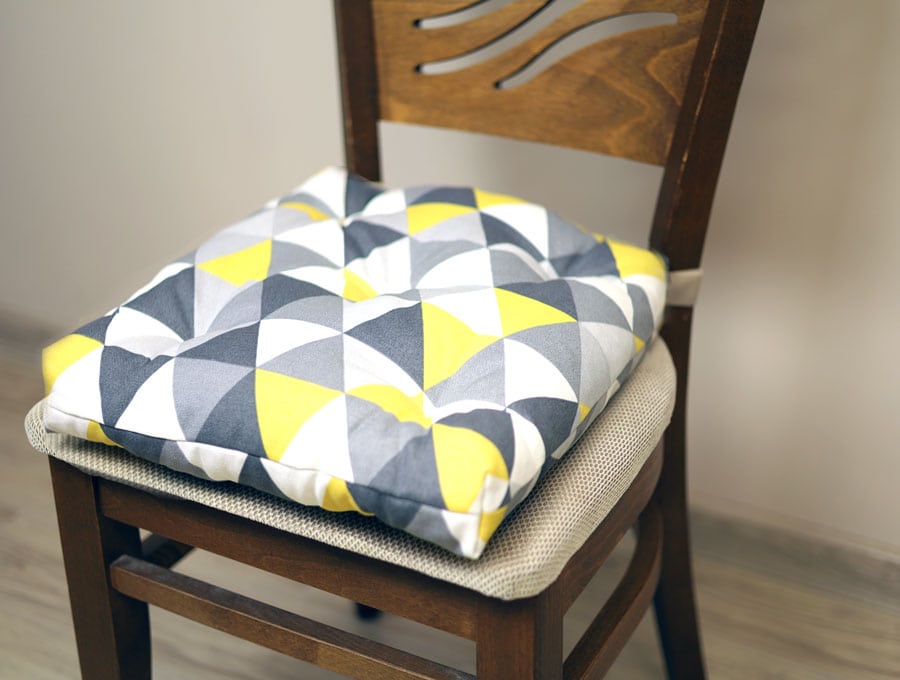
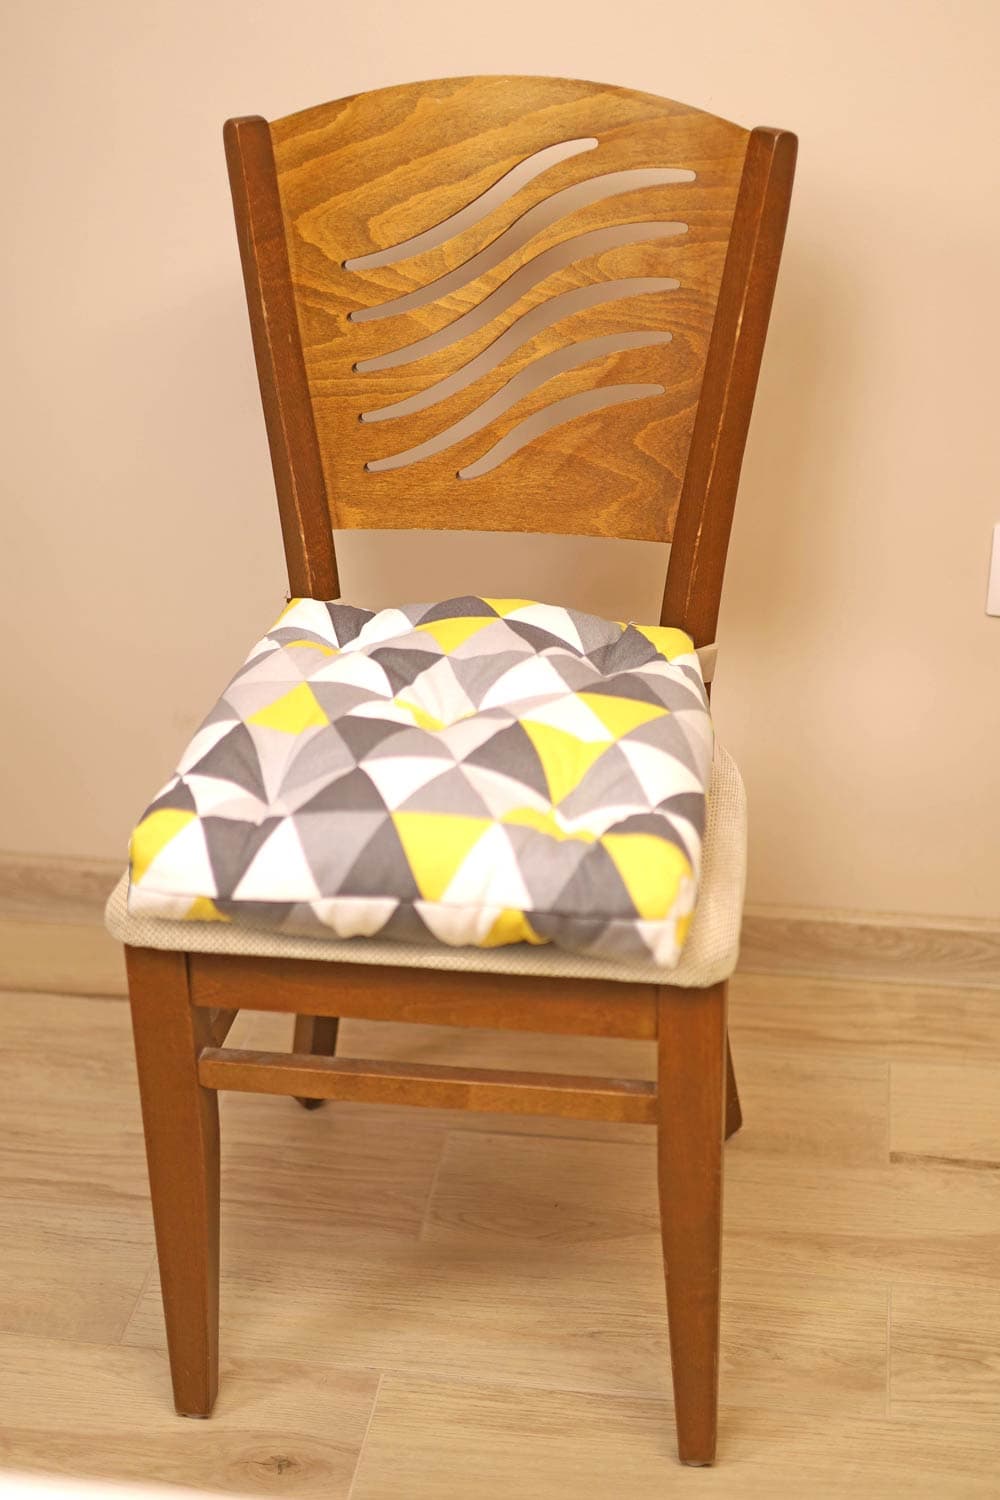
DIY Chair Cushion – How to Make a Chair Cushion [VIDEO]
Outside chair cushion tend to fade in the sun and having a beautiful outdoor area relies on fresh looking cushions. The ready-made ones come in a limited variety of colors and patterns, so why not make your own chair cushion? This DIY chair cushion is super easy to make and will cost far less than a ready-made cushion, plus you’ll have cushions that no one else has, if you choose an exclusive fabric. It may even be the start of quite a lucrative home business.
Are your outside chair cushions looking worn, but you don’t want to spend a fortune on new ones? Our step-by-step tutorial with easy-to-follow visuals shows you exactly how to make a chair cushion with either ties or velcro, so it stays securely on the chair. The DIY chair cushion is deeply quilted and quick to make. If you enjoy making these for your own home you can even turn your skills into a small business making cushions for people who say, “I can’t find ready-made cushions in the type of fabric that I like.” Now you can have fun sourcing stunning fabrics to create the handmade chair cushions of their dreams.
Below you will find my step by step written tutorial how to make a seat cushion with VIDEO instructions for all the visual learners.
We occasionally link to goods offered by vendors to help the reader find relevant products. Some of the links may be affiliate meaning we earn a small commission if an item is purchased.
Table of Contents
- 1 How to Make a Seat Cushion
- 2 Supplies and tools
- 3 How to Sew a Chair Cushion
- 3.1 Chair Cushion VIDEO TUTORIAL
- 3.2 DIY chair cushion INSTRUCTIONS:
- 3.3 Step 1: Lay the fabrics
- 3.4 Step 2: Stitch around
- 3.5 Step 3: Box the corners
- 3.6 Step 4: Insert vecros
- 3.7 Step 5: Stitch the corners
- 3.8 Step 6: Turn around
- 3.9 Step 7: Mark a grid
- 3.10 Step 8: Transfer the marks
- 3.11 Step 9: Stuff the chair pillow
- 3.12 Step 10: Sew the gap closed
- 3.13 Step 11: Create puffing effect
- 3.14 OPTIONAL (IF MAKING TIES):
How to Make a Seat Cushion
Supplies and tools
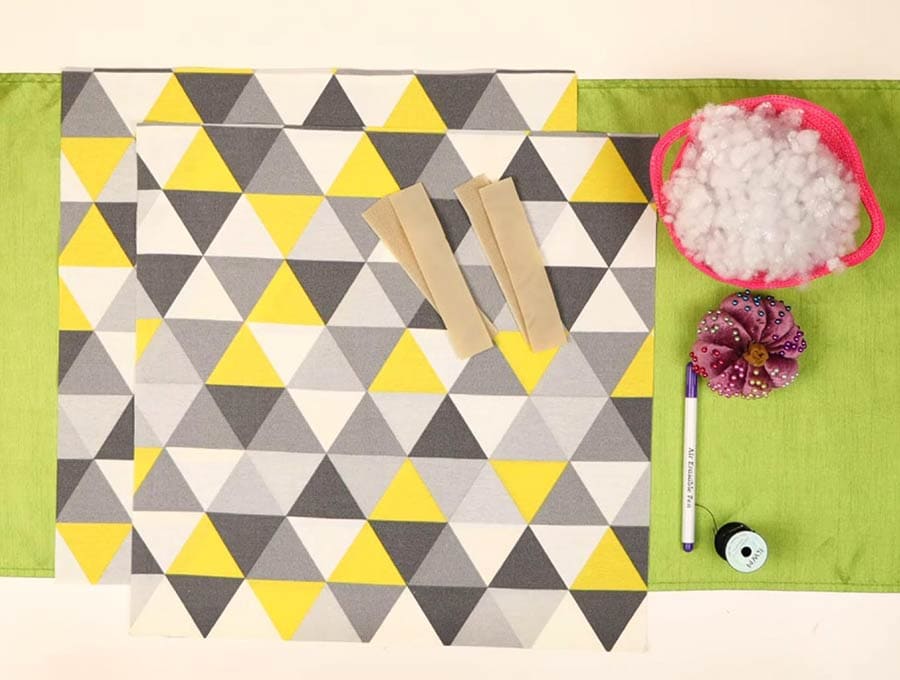
- fabric – 2 pieces canvas (home decor) fabric
- 2 strips of 3/4″ (2cm) wide velcro strips or you can make your own ties out of the fabric
- matching thread
- poly stuffing
- scissors (or rotary cutter and a cutting mat)
- ruler or measuring tape
- iron and ironing board
- sewing clips or pins
Follow us for free patterns & tutorials! [easy-profiles]
How to Sew a Chair Cushion
Watch the diy seat cushion video first and then follow the written step by step instructions below.
Please enjoy and don’t forget to Like and SUBSCRIBE over on YouTube to be kept up to date with new videos as they come out.
Chair Cushion VIDEO TUTORIAL
DIY chair cushion INSTRUCTIONS:
For the cushion you will need a strong cotton fabric suitable for outdoor use or a canvas type fabric.
- Cut two pieces 16.5 x 16.5 inches (42 x 42 cm)
You can either use hook and loop closure or ties for this chair cushion:
- If using velcro – cut 2 pairs 5″ (13cm) long each. I’m using 3/4″ (2cm) wide strips
- To make the ties for the cushion to fasten it to the chair you will need 2 pieces of 1.5 x 20.5 inches (3.7 cm x 52 cm).
NOTE: If you want to make and use ties instead of velcro, scroll down to the end of the article and make the ties first!
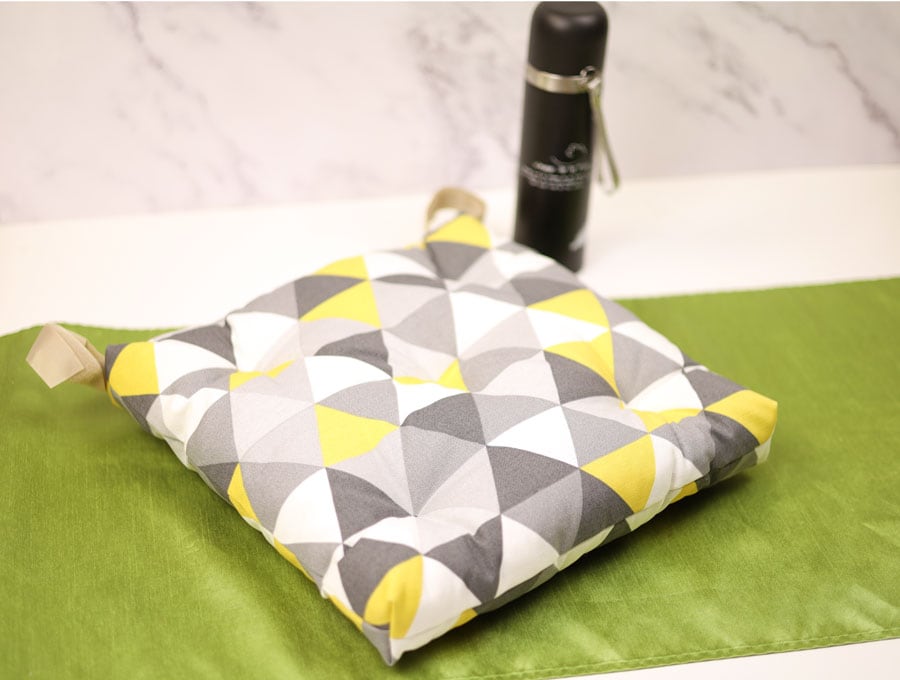
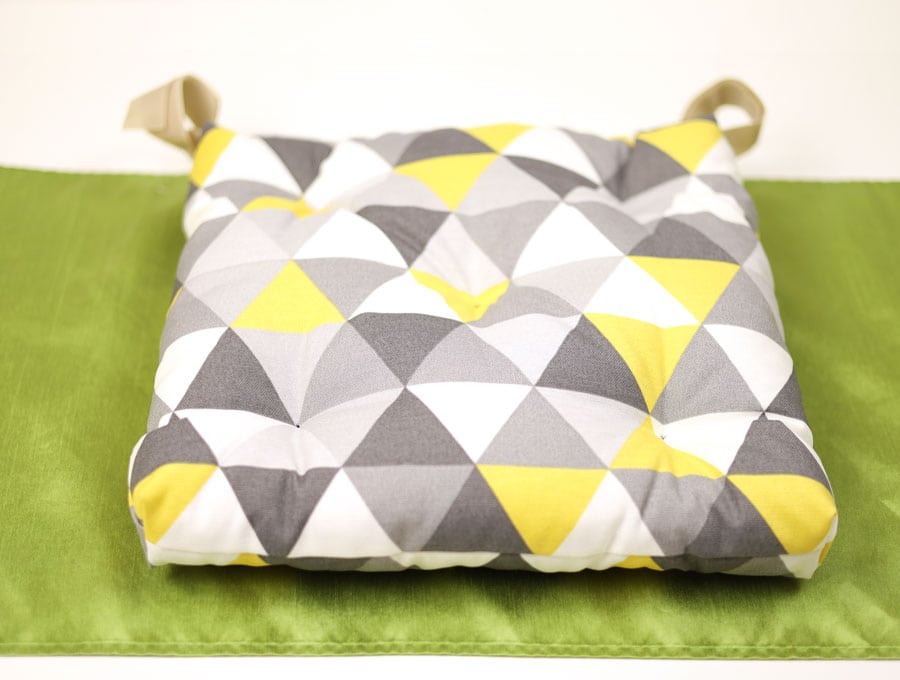
FINISHED SIZE:
DIY chair cushion W x H x D – 16 x 16″ x 1.5 (40 x 40 x 4 cm)
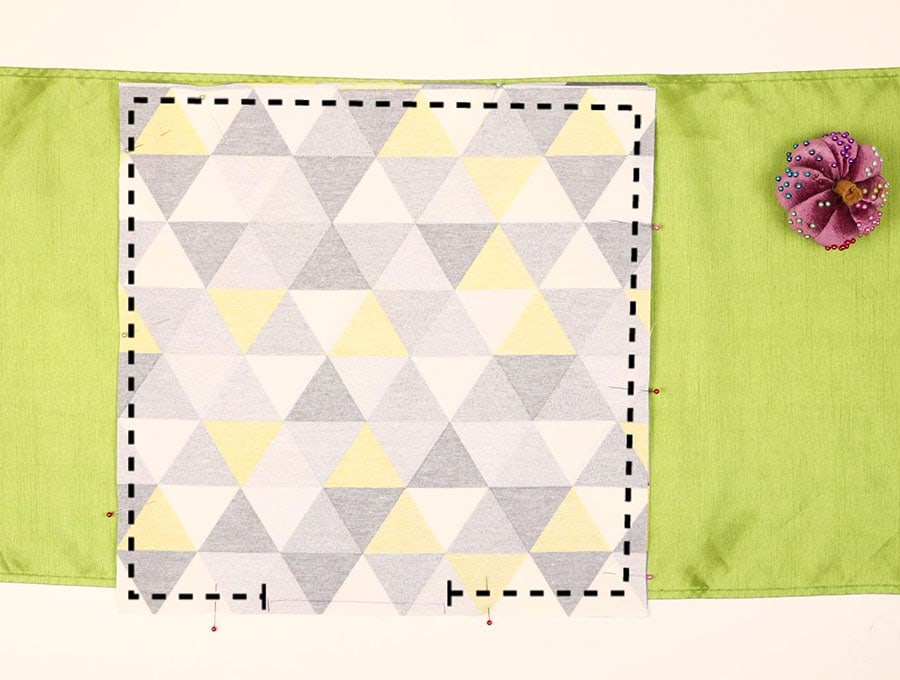
Step 1: Lay the fabrics
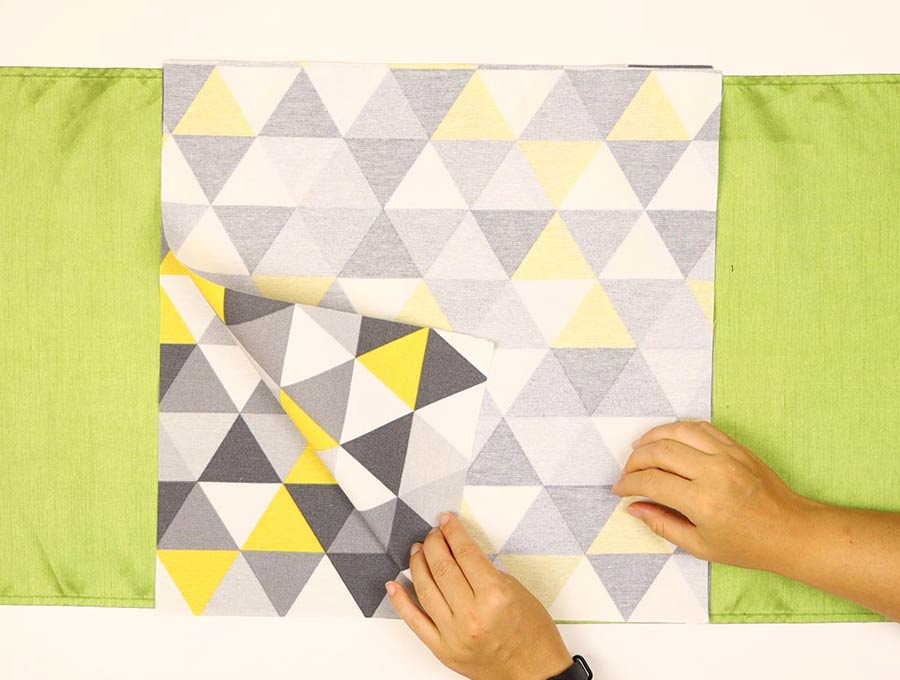
Place the cushion square right side up on the worktop and place the second square over it, right side facing the first square. Mark a 6-inch (15-cm) gap equidistant from the sides – this is where you will insert the cushion stuffing. Line up the edges and pin in place, making sure you pin at either edge of the 6-inch (15 cm) gap.
Step 2: Stitch around
Stitch around the edge of the cushion starting at one end of the gap and working around the cushion until you come to the other edge of the gap. Back tack at start and finish. To get sharp 90-degree corners, stitch to the corner, lift the presser foot while the needle is still in the fabric, carefully swing the fabric 90 degrees, depress the foot and carry on sewing.
Step 3: Box the corners
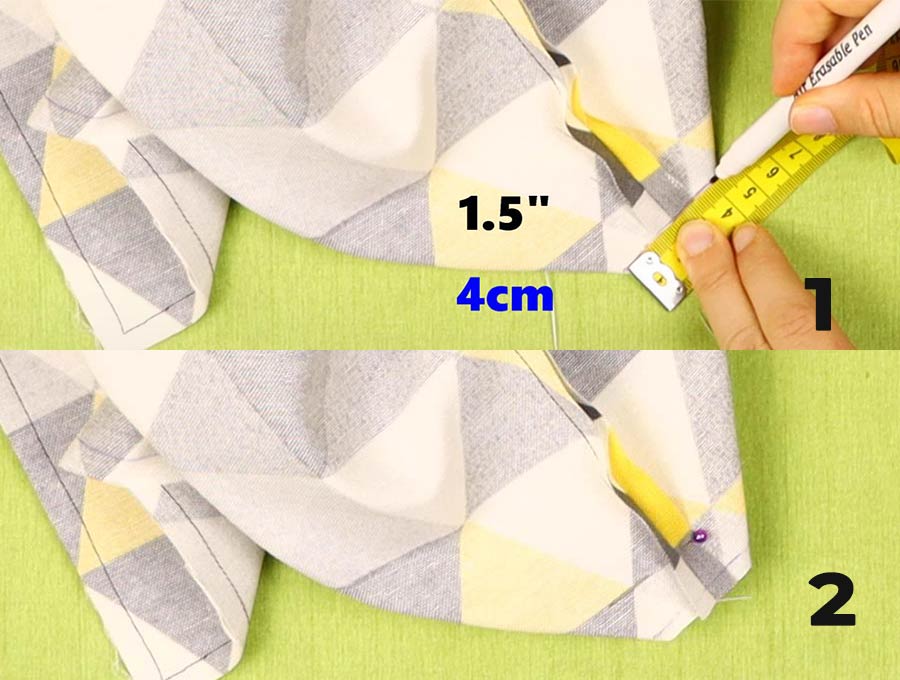
Take each corner, open it up and fold to match the seams. Pin together and take your tape measure. Measure 4cm (1.5″) across each corner and mark with a pen.
Clip off the corners 1/4″ (6mm) away from the marks so there isn’t a lot of bulk when you turn the fabric, but take care not to clip too close to the stitch line.
Step 4: Insert vecros
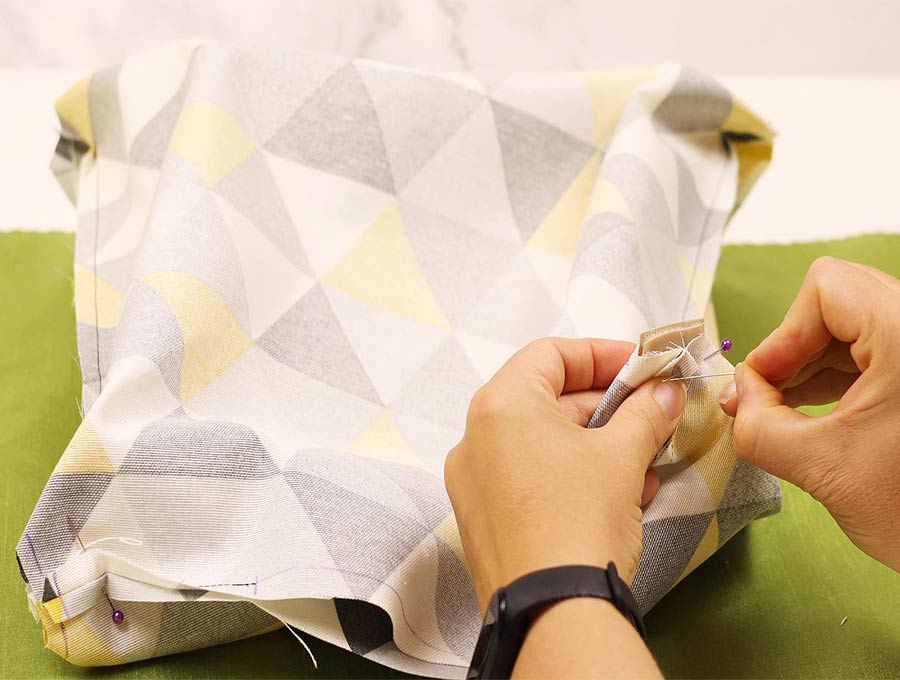
Unpin two of the corners that lie on the same side as the gap while they are still pinned. Insert the hook and loop strips. Pin again.
Step 5: Stitch the corners
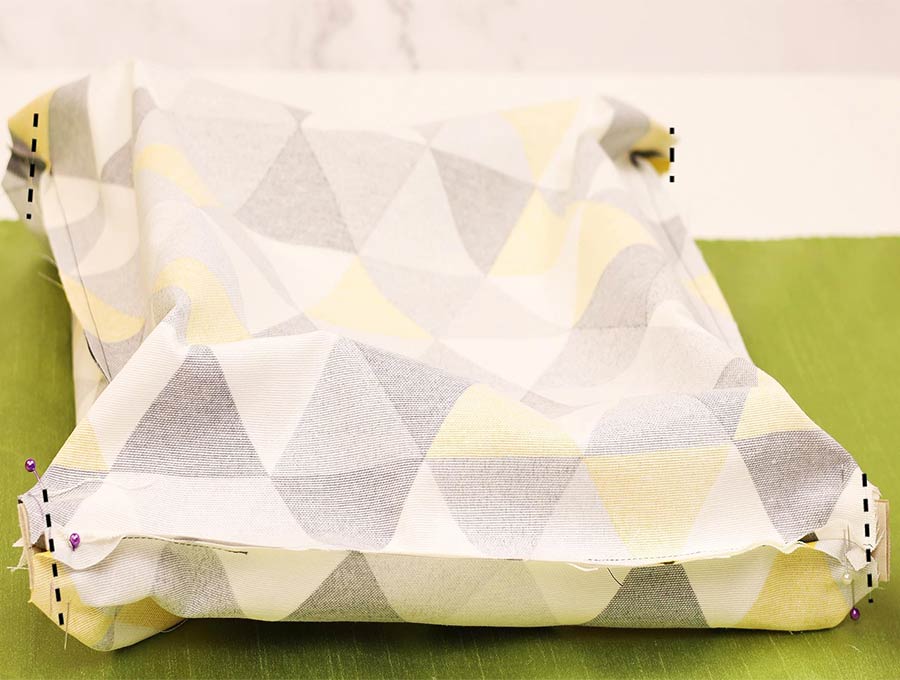
Stitch all corners along your markings
Step 6: Turn around
Pull the fabric through the gap until the right side of the cushion is smooth, then make sure the corners are neatly turned by using a knitting needle or chop-stick to make sure they lie flat. Fold in the edges of the gap in line with the edge and press.
Step 7: Mark a grid
On the one side of the cushion cover mark off a grid of squares 4 inches (10 cm) apart.
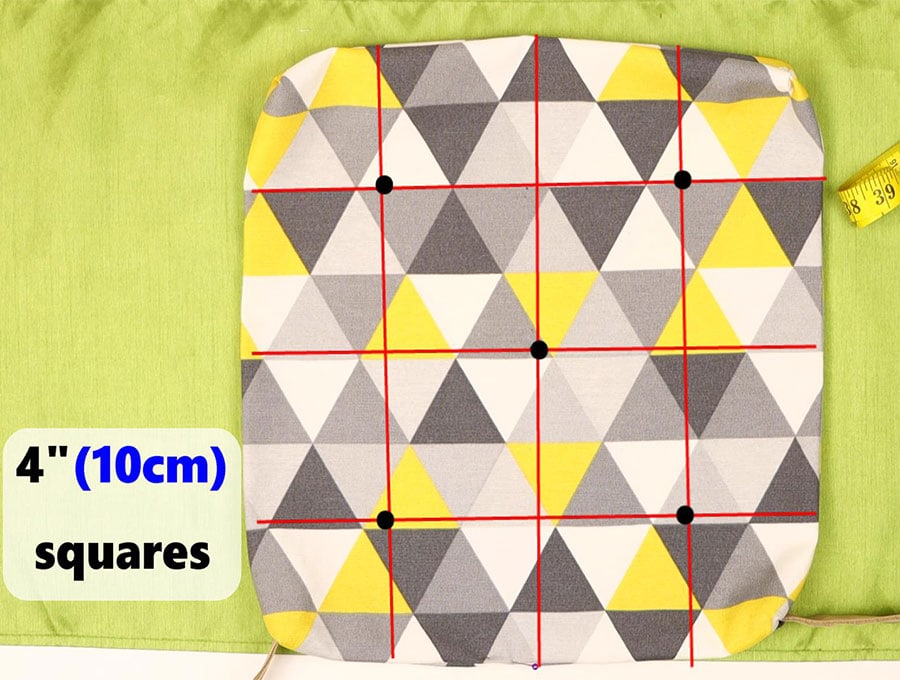
You do this by measuring 4 inches (10 cm) from one side, and 4 inches (10 cm) from the opposite side making marks with an erasable fabric pen.
We will use 5 of these dots as indicated in the drawing – the top 2, the middle one and the bottom 2.
Step 8: Transfer the marks
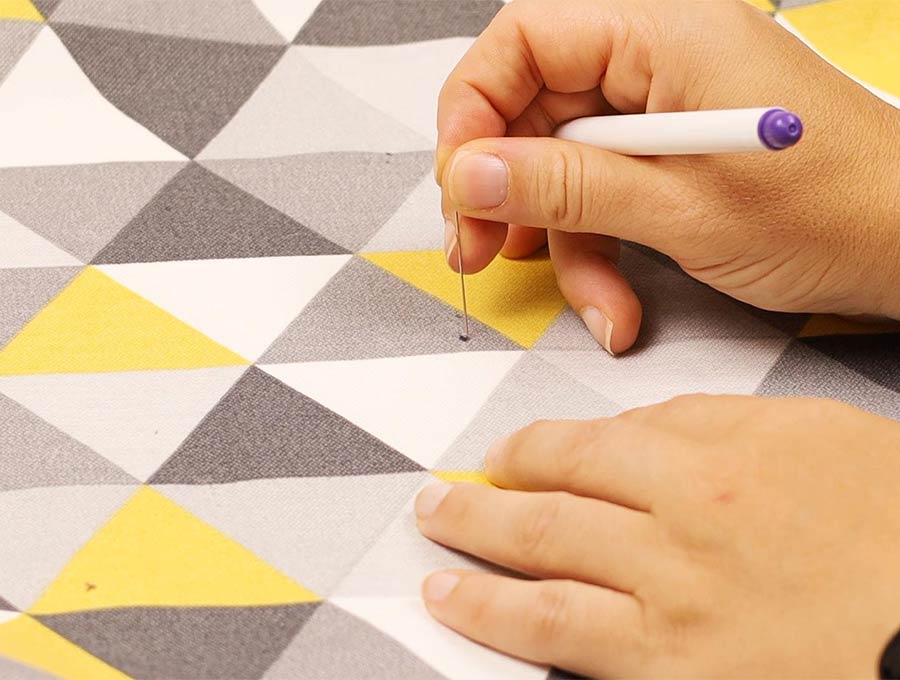
Using a pin to indicate the position, poke it through the fabric marks to the other side and mark where the pin exits, so you have grids on the back and front of the cushion that line up with each other.
Step 9: Stuff the chair pillow
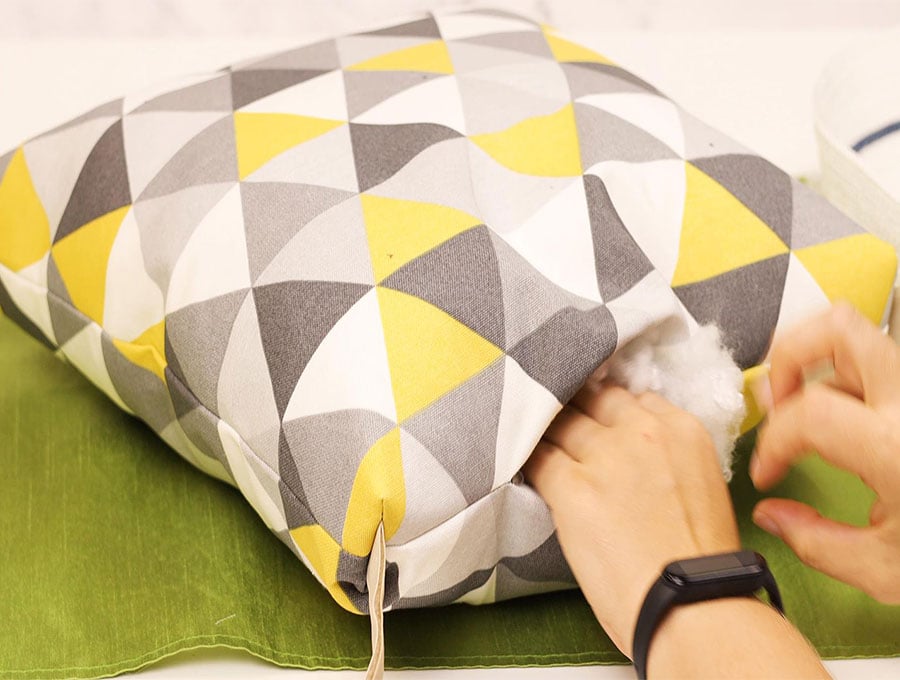
Using loose fibre fill, stuff the cushion, making sure the filling is spread equally across the whole cushion, and that it is sufficiently full and puffy.
Pin the gap closed, lining up the edges carefully.
Step 10: Sew the gap closed
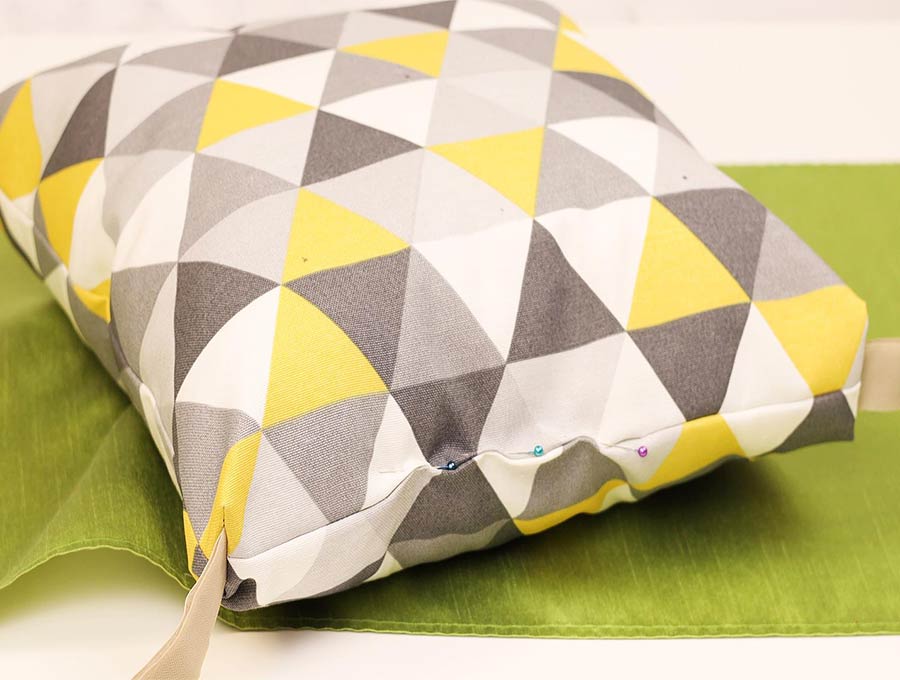
Stitch across the edge of the gap as close to the edge as possible, making sure you catch both edges of the fabric.
Step 11: Create puffing effect
Take a strong needle and thread with double thread that is the same color as the cushion.
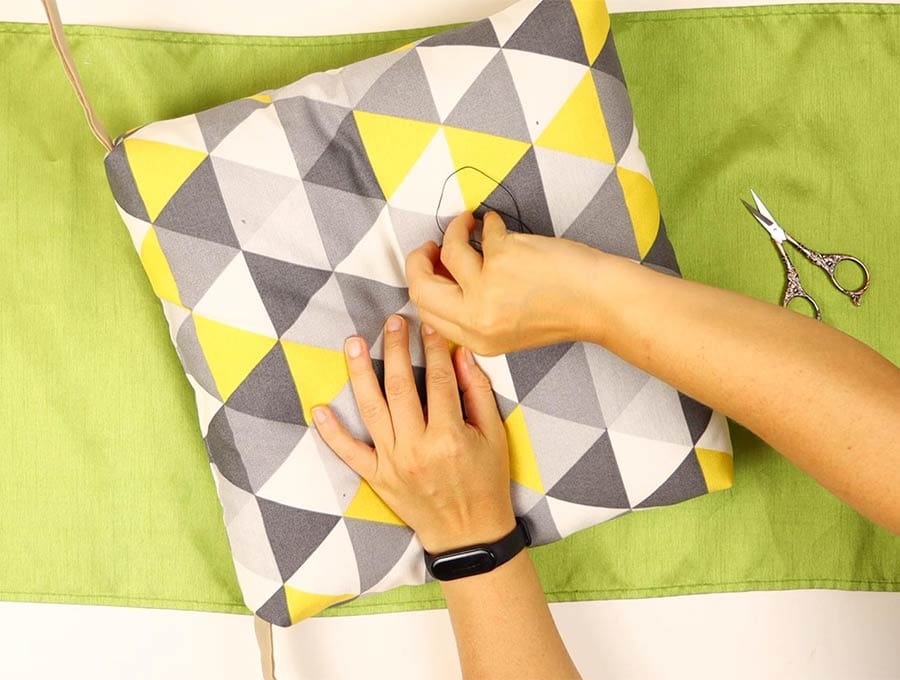
Starting in the middle marking stitch from the one side of the cushion though to the other side, pulling the cotton tight to create a puffed effect. When you are done, tie of the ends of the thread and cut.
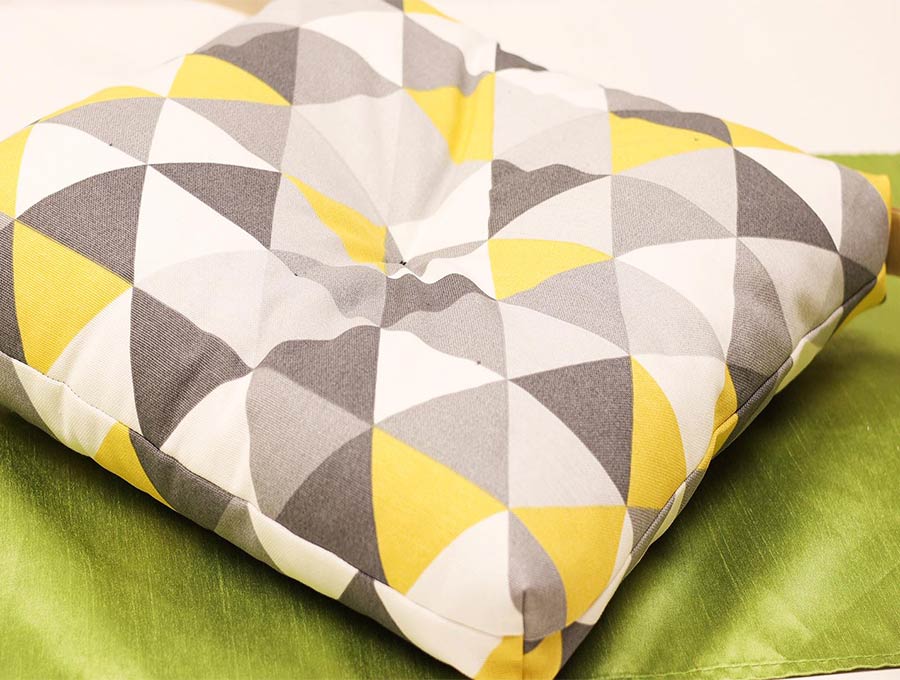
Repeat with the other 4 marks on the grid, until you have a deep quilted effect on the cushion.
Your chair cushion is now ready to use. If you are able to do these quickly you can create made-to-order chair cushions. Most people find it difficult to find a ready-made cushion in the fabric they want. This could be the start of a lucrative home business – especially as you can sit in front of the TV and do the hand sewing of the quilted part of the cushion. If you liked this step-by-step tutorial for DIY chair cushions with accompanying visuals for the handmade seat cushion then please click on the subscribe button to have clever sewing projects delivered straight to our inbox. You need never miss out on a project again.
OPTIONAL (IF MAKING TIES):
STEP 1.1:
Starting with the ties lay one flat on an ironing board, with the wrong side facing upwards and turn over the short ends ½ inch (1cm) and press.
Fold the fabric in half along the whole length and press. Open out the length of the fabric and press one side in towards the opened-out fold on the long side, repeat with the other side, folding in to meet the pressed mark of the middle and pres. Finally fold along the original fold your pressed, so all the raw edges are neatly tucked inside and press again.
Stitch all along the length of the folded edge as close as possible to the edge of the tie, and along the short side edges, back taking at start and finish. When this is complete, repeat steps 1 to 3 with the other tie.
Step 1.2
Take one of the squares for the cushion place with the right side facing upwards on the worktop. Along the side at the top measure 1 inch (2.5 cm) in from the left-hand and right-hand sides and make a mark. This is where you will place the ties.
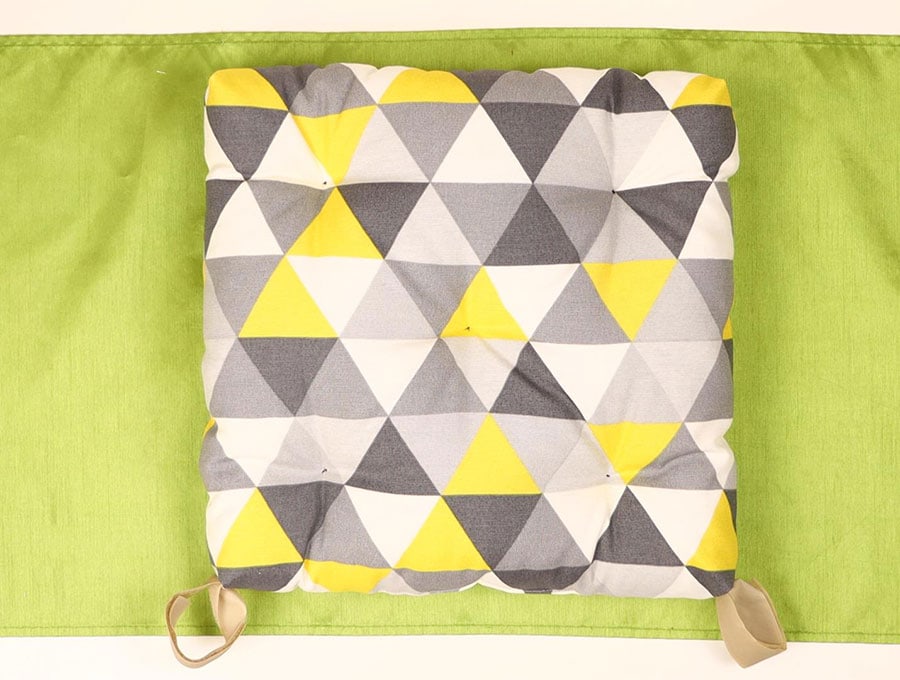
Step 1.3
Take each tie and fold it in half, then place the folded edge against the top edge of the fabric where you made the marks and pin in place, level with the edge of the square piece.
Step 1.4
Stitch the ties in place ¼ inch (0.5 cm) from the edge stitching back and forth 4 times. This stitching has to be strong so the ties don’t pull out from the fabric.
Do you like this? Pin for later:
Wanna be friends? Click HERE and follow me on Pinterest
RELATED: