
DIY Christmas Cutlery Holder with Free Pattern [Christmas Cutlery Pocket Tutorial]
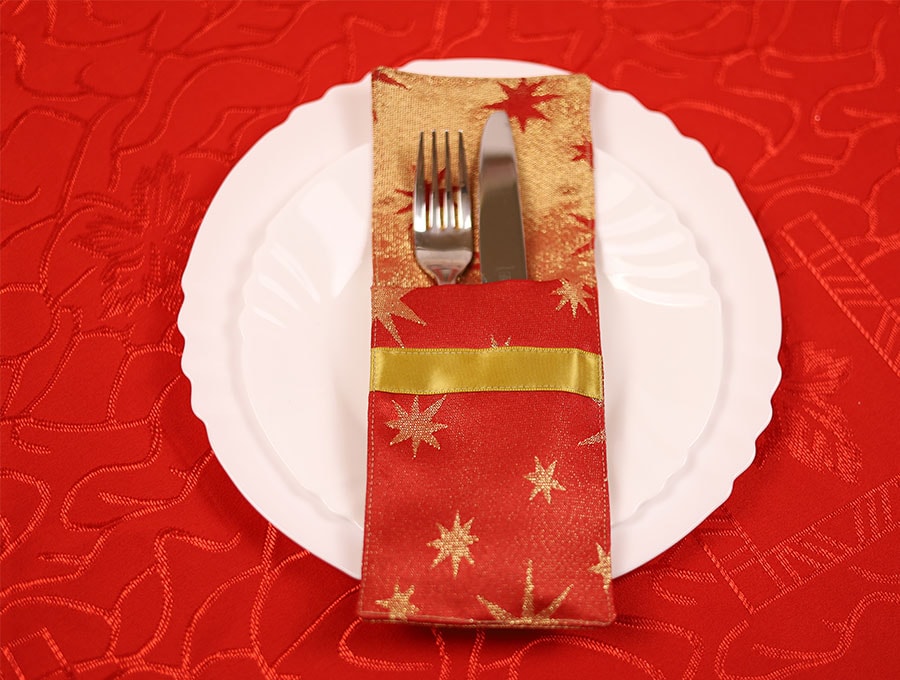
I love these neat little Christmas cutlery pockets for placing the cutlery ready for a meal. It makes it simple for table settings as each guest has everything they need – you can even slip in a paper napkin too. Children can pack these ready for the event placed either next to the plate or lined up on top of the plate. Our step-by-step instructions are very clear and you’ll soon be churning out these neat pockets for all your Christmas guests, making the occasion one to remember. Although these are labelled Christmas cutlery pockets, you can adjust them for any occasion by choosing different color combinations and prints.
A Christmas cutlery pocket will add a touch of finesse to a festive table and let your guests know you care about them. They can be reused over the festive season and again the following year. Our visuals show you just how easy these are to make, and our step-by-step instructions show you exactly what to do. Make this festive season one to remember with these handmade Christmas cutlery pockets – and remember, once you have learned to make these you can make cutlery pockets for any occasion – birthdays, anniversaries, spring or fall events. They will make the occasion extra special, and that is what Christmas is all about: making memories.
Below you will find my step by step written tutorial with VIDEO instructions for all the visual learners.
We occasionally link to goods offered by vendors to help the reader find relevant products. Some of the links may be affiliate meaning we earn a small commission if an item is purchased.
Table of Contents
- 1 How to make a Christmas Cutlery pocket
- 2 DIY Christmas Cutlery pockets Supplies and tools
- 3 How to Sew a Christmas Cutlery Pocket
- 3.1 Christmas Cutlery pocket VIDEO TUTORIAL
- 3.2 DIY Christmas Cutlery pockets INSTRUCTIONS:
- 3.3 STEP 1: Prepare the materials
- 3.4 STEP 2: Fuse the fleece on the back piece
- 3.5 STEP 3: Prepare the front pocket piece
- 3.6 STEP 4: Fuse fleece to front pocket
- 3.7 Step 5: Attach the ribbon
- 3.8 Step 6: Sew the ribbon
- 3.9 Step 7: Assemble the cutlery holder
- 3.10 Step 9: Sew around the cutlery pocket
- 3.11 Step 10: Clip the corners
- 3.12 Step 11: Turn RSO
- 3.13 Step 12: Pin the gap
- 3.14 Step 13: Topstitch
How to make a Christmas Cutlery pocket
The size of the finished cutlery pocket is 4 x 10″ (or 10 x 30cm) which is just perfect for most silverware.
DIY Christmas Cutlery pockets Supplies and tools
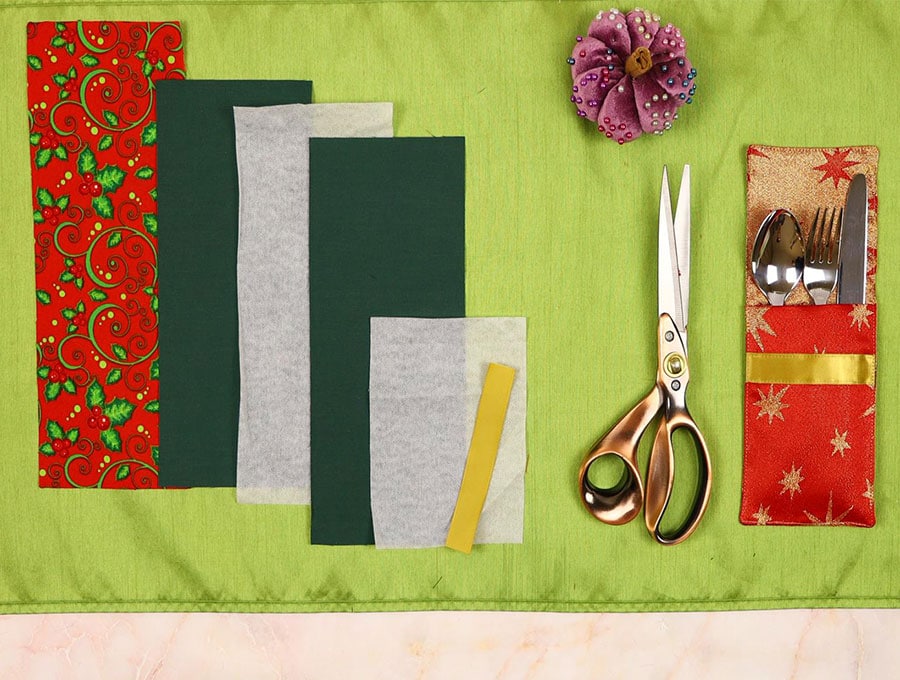
- fabric – 2 pieces of 100% tightly woven cotton (one pattered for the front pocket and one plain for the back, see the sizes below)
- fusible fleece or interfacing
- matching thread
- scissors (or rotary cutter and a cutting mat)
- ruler or measuring tape
- iron and ironing board
- sewing clips or pins
Follow us for free patterns & tutorials! [easy-profiles]
How to Sew a Christmas Cutlery Pocket
Watch the diy *** video first and then follow the written step by step instructions below.
Please enjoy and don’t forget to Like and SUBSCRIBE over on YouTube to be kept up to date with new videos as they come out.
Christmas Cutlery pocket VIDEO TUTORIAL
DIY Christmas Cutlery pockets INSTRUCTIONS:
STEP 1: Prepare the materials
Cut the pieces to the dimensions supplied below. To make one Christmas cutlery pocket you will need
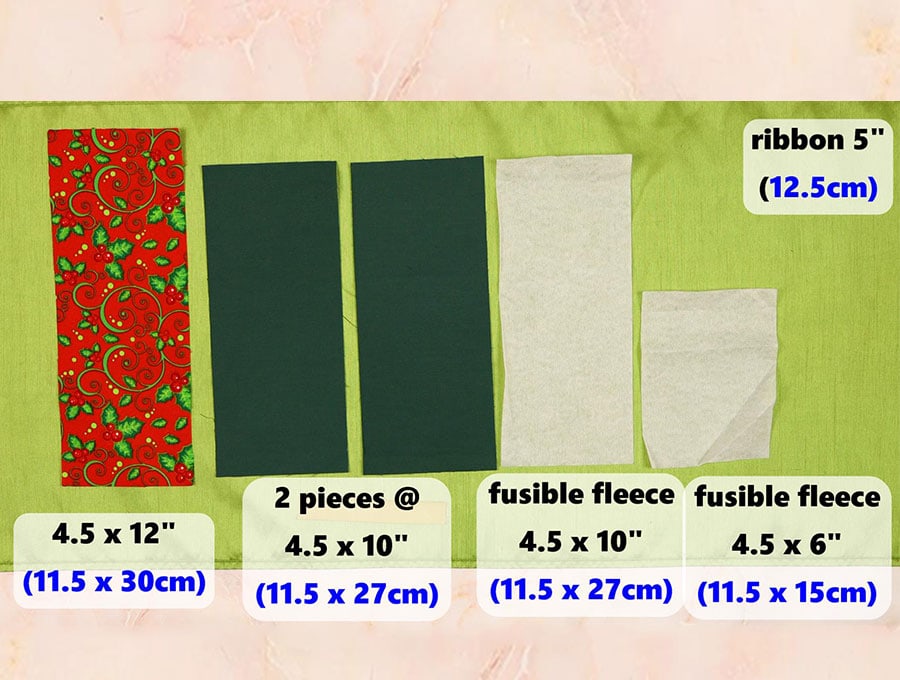
FRONT POCKET
- 4 1/2” x 12” (11.5 x 30 cm) print fabric (for the front) – 1 piece
- 4 1/2” x 6” (11.5 x 15 cm) fusible fleece or interfacing (for the front) – 1 piece
BACK:
- 4 1/2” x 10 1/2” (11.5 x 27 cm) plain or print fabric (for the back) – 2 pieces
- 4 1/2” x 10 1/2” (11.5 x 27 cm) fusible fleece or interfacing – 1 piece
OTHER:
- 5” (13cm) ric-rac braid (or ribbon)
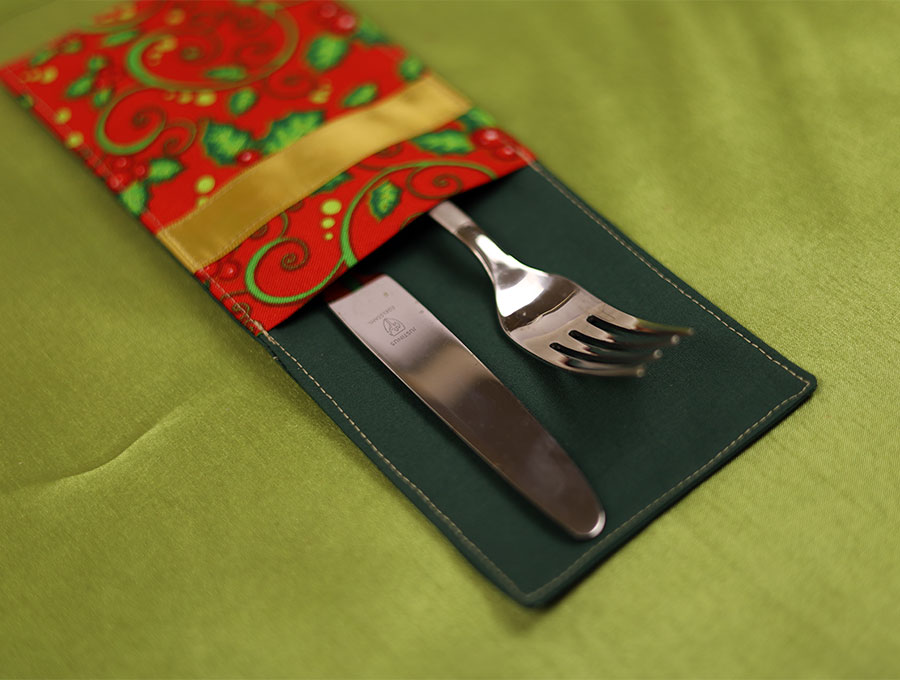
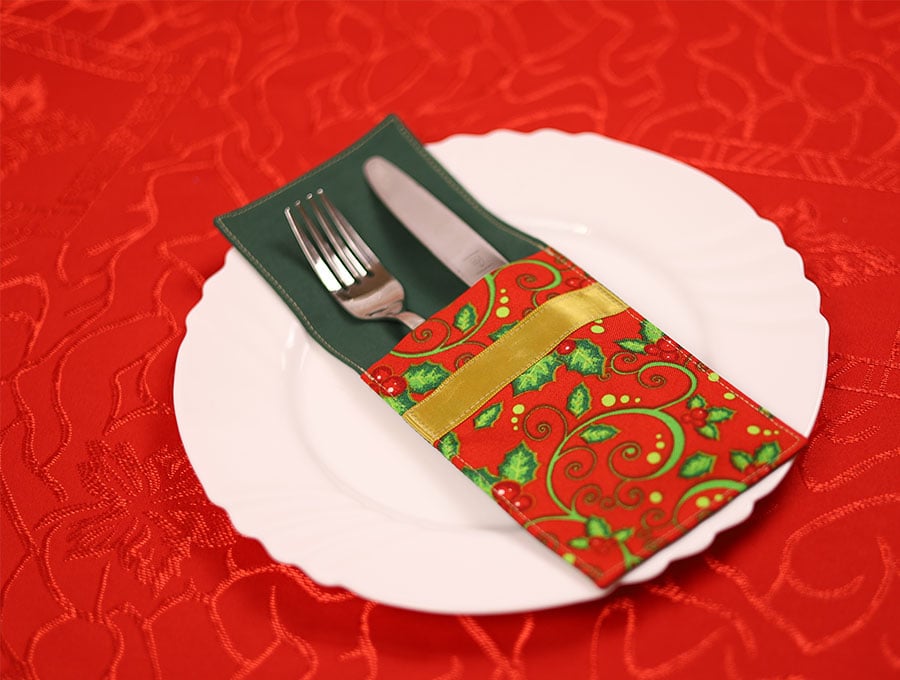
I like to use contrasting prints that have the same color theme- for example a predominantly red print for the backing piece with a white front piece that has some red in it. It just ties together better than Christmas prints that don’t have any colors or motifs in common. Reindeer, snowmen, angels, Christmas trees or candy canes – there are plenty of motifs to choose from. You can either do the Christmas cutlery pockets all the same, which is great for a more formal table, or you can mix and match prints for a casual cottagey look.
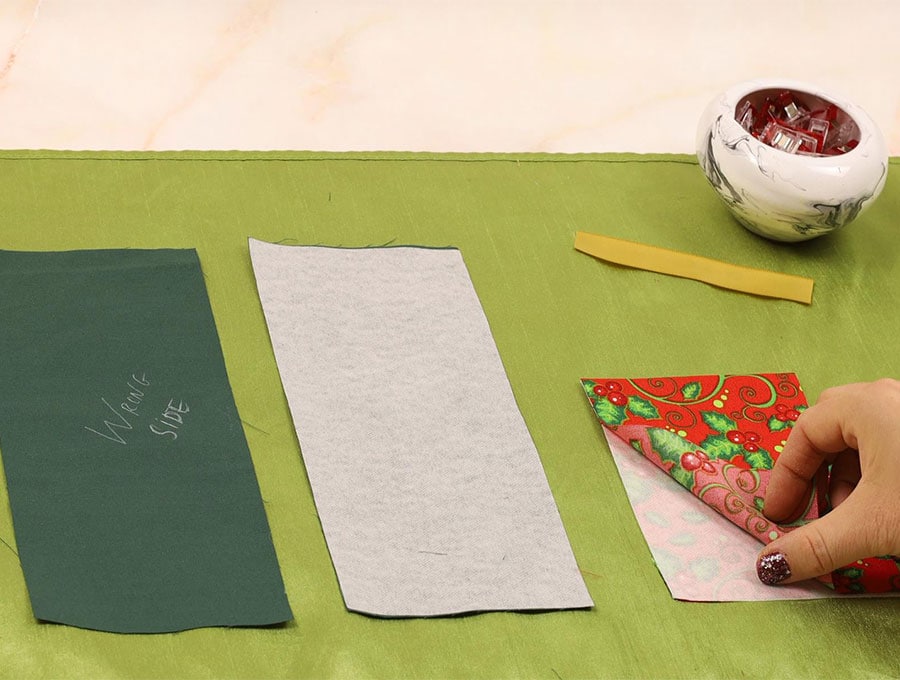
I’m using plain fabric for the back pieces and patterned fabric for the front pocket here to make this tutorial more clear.
STEP 2: Fuse the fleece on the back piece
Take one of the back pieces [4 ½ x 10 ½ inches or 11.5 x 27 cm] and fuse the same size fleece to the wrong side of the fabric.
STEP 3: Prepare the front pocket piece
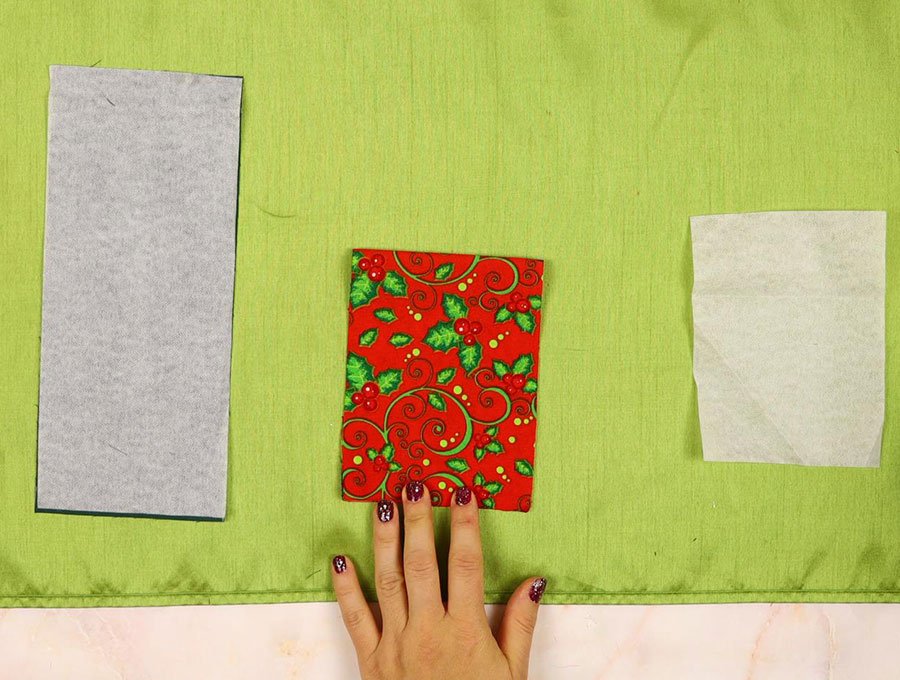
Starting with what will be the front of the pocket take the piece of fabric from No 1 (4 ½ x 12 inches [11.5 x 30 cm]) and fold it in half so you have a piece 4 ½ x 6 inches (11.5 x 15 cm). Make sure the corners are lined up neatly before pressing along the fold with a hot iron, right sides out
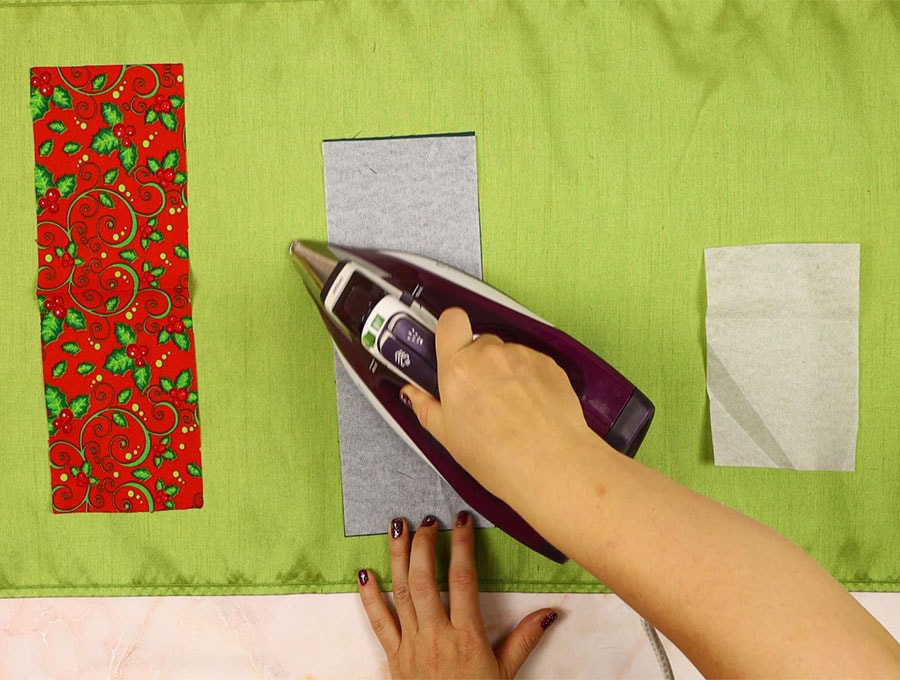
STEP 4: Fuse fleece to front pocket
Unfold the pressed piece of fabric and lay it on the ironing board, wrong side facing upwards, the short sides at the top and bottom. Take the smaller piece of fusible fleece, and place it on the bottom half of the 12-inch (30 cm) piece, lining up the remaining side with the pressed fold. Fuse the fleece in place according to the manufacturer’s instructions, using the hot iron.
Step 5: Attach the ribbon
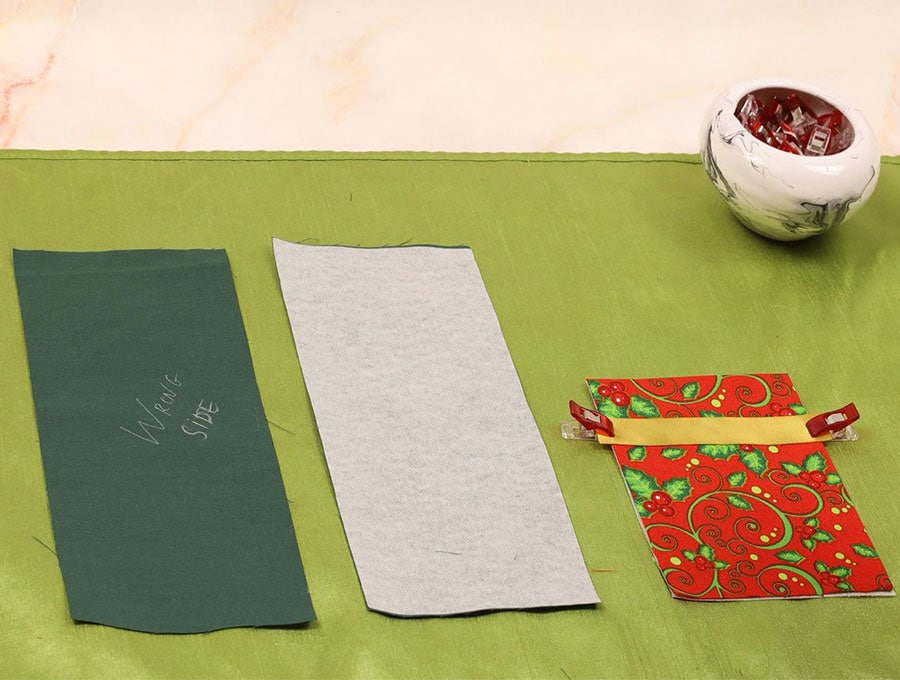
Flip the pressed-in fold over to enclose the fusible fleece, then pin the ricrac braid or piece of ribbon across the top 1 inch (2.5cm) below the fold, and secure in place with pins once you have ensured it is straight. We gave a 5-inch (13 cm) measurement to allow for any fraying at the ends of the braid or ribbon since the front width is only 4 ½ inches (11.5)
Step 6: Sew the ribbon
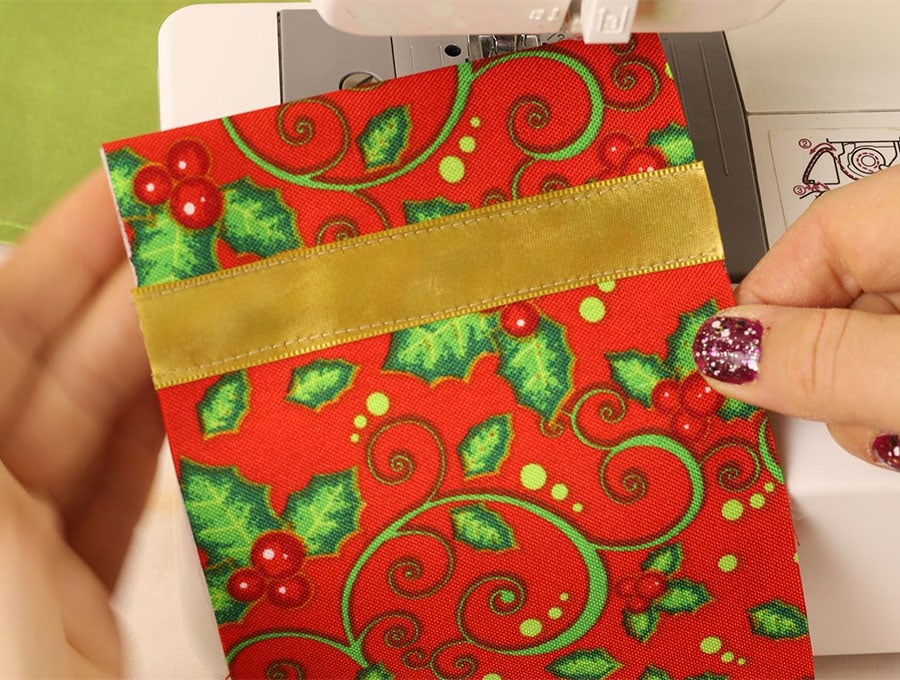
For the ricrac set the machine to a small zig zag stitch. For the ribbon – depending on the width either sew down the middle of the strip of ribbon if it is narrow with a straight or zig-zag stitch in a matching cotton color, or stitch along both edges of the ribbon if it is ½ inch (6mm) or wider. Stitch the ricrac or ribbon, through all the layers, remembering to back tack at the start and finish of the stitching. Set the front of the pocket aside.
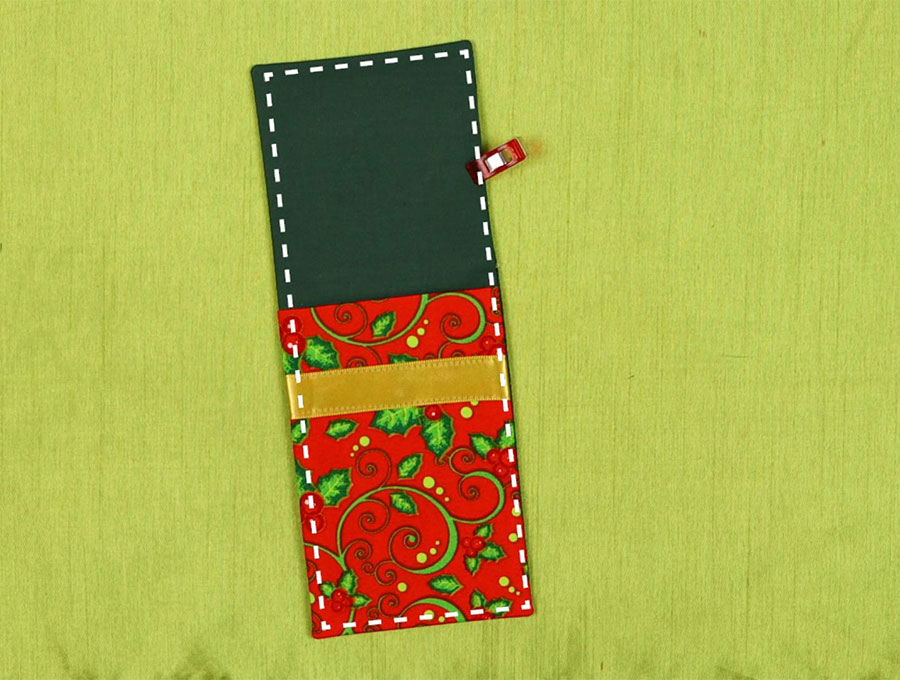
Step 7: Assemble the cutlery holder
Assemble the cutlery pocket by placing the the back piece backed with fusible fleece right way up on your worktop with the short sides at the top and bottom.
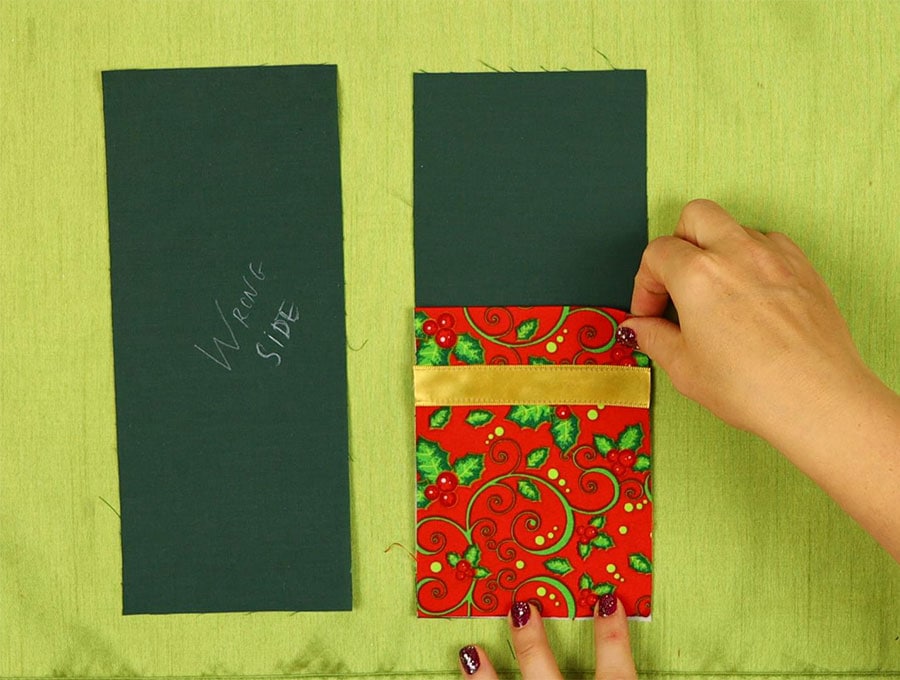
On top of that align the front pocket, with the braid or ribbon facing up, lining up the raw edges with the bottom half of the rectangle.

On top of these two pieces lay the second back piece with the right side facing down and lining up the corners.
Step 9: Sew around the cutlery pocket

Pin or clip in place and then sew all around the edges ¼ inch (6mm) in from the edge, except for a 3-inch (7.5 cm) gap at the top of the pocket.
Step 10: Clip the corners
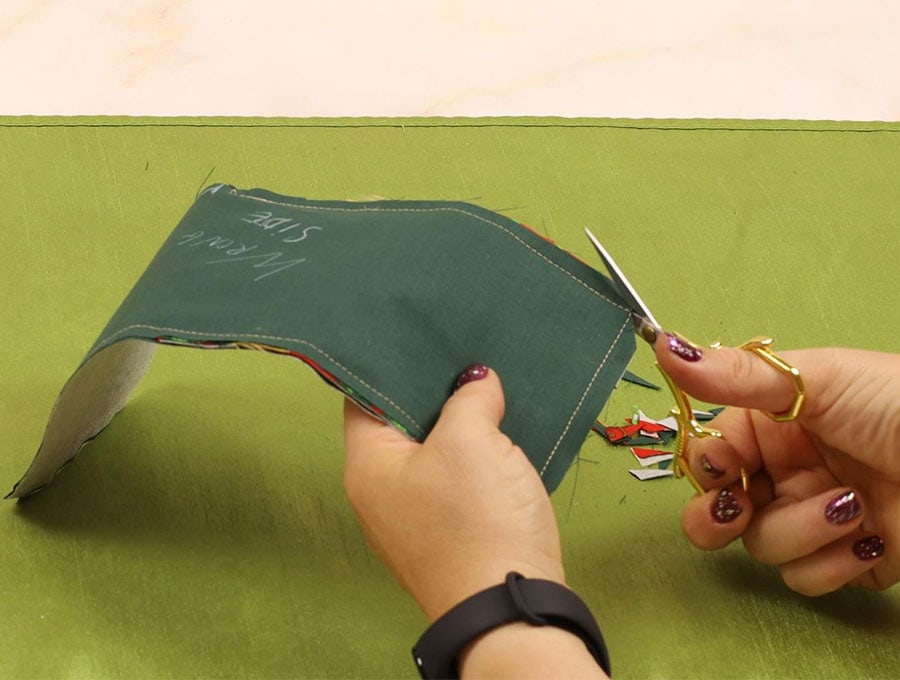
Clip off the four corners but not too close to the sewing. This reduces bulk when turned and gives a better finish.
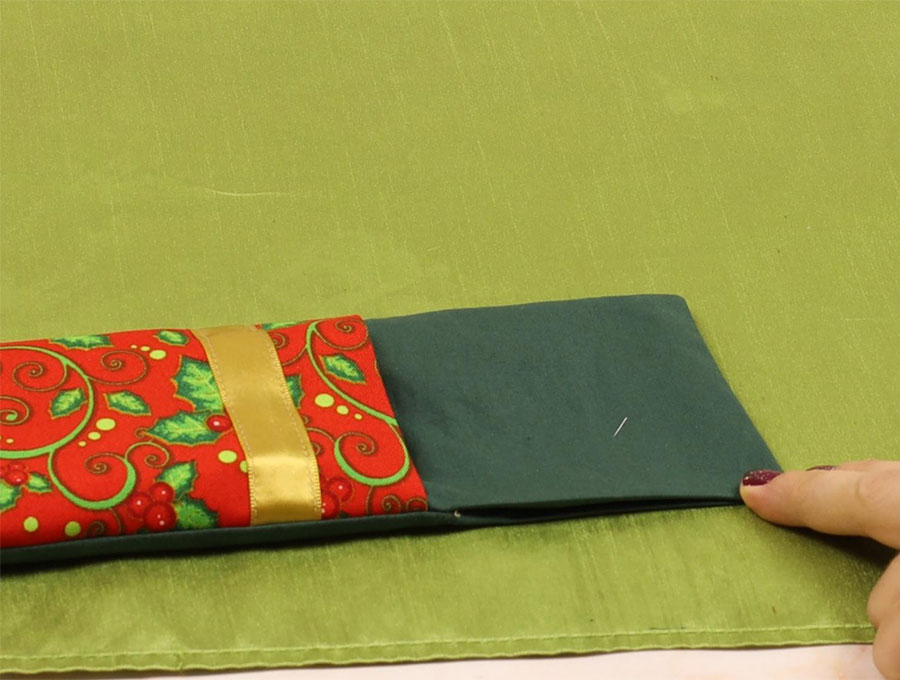
Step 11: Turn RSO
Turn the pocket the right way out, using a chopstick to press out the corners neatly.
Step 12: Pin the gap
Turn in the raw edges along the top in line with the seam allowance of ¼ inch (6mm) and press the whole pocket. Pin the gap.
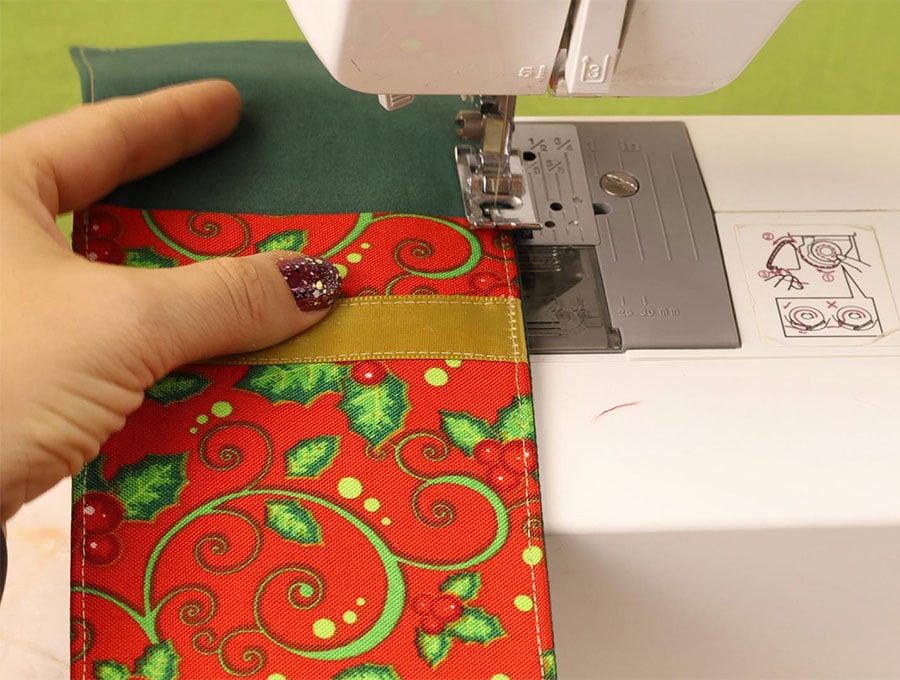
Step 13: Topstitch
Finish off with a top stitch 1/8- inch (3 mm) from the edge all the way around the pocket.
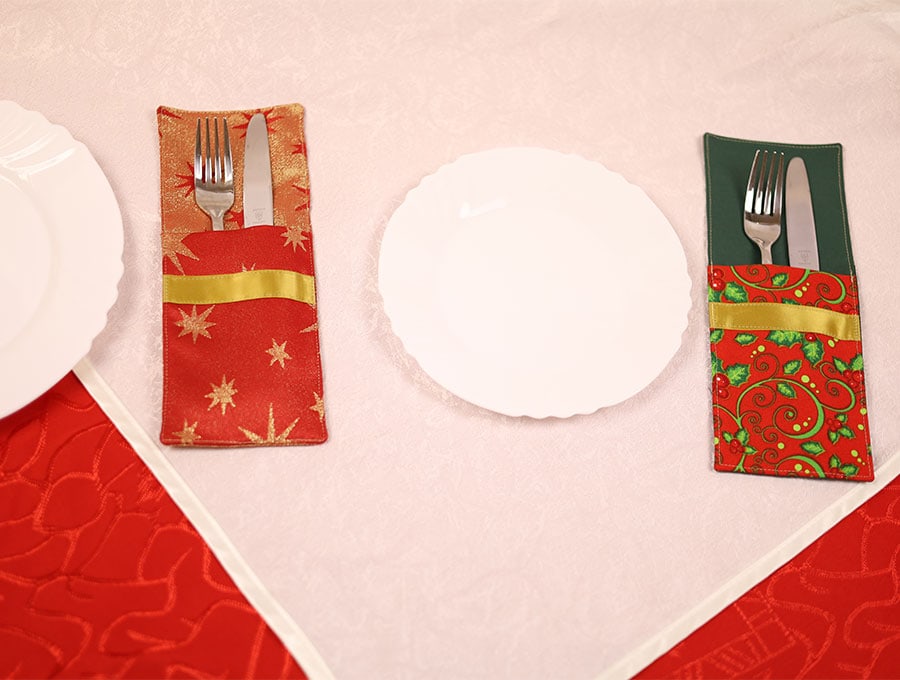
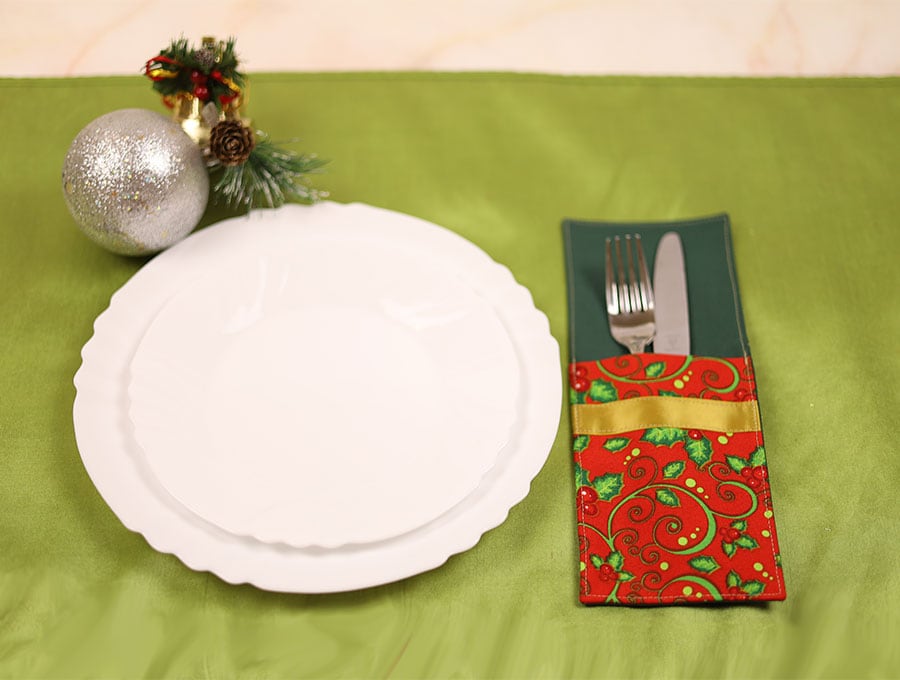
Ta-da!. The DIY Christmas Cutlery pocket is finished! Just add the silverware!
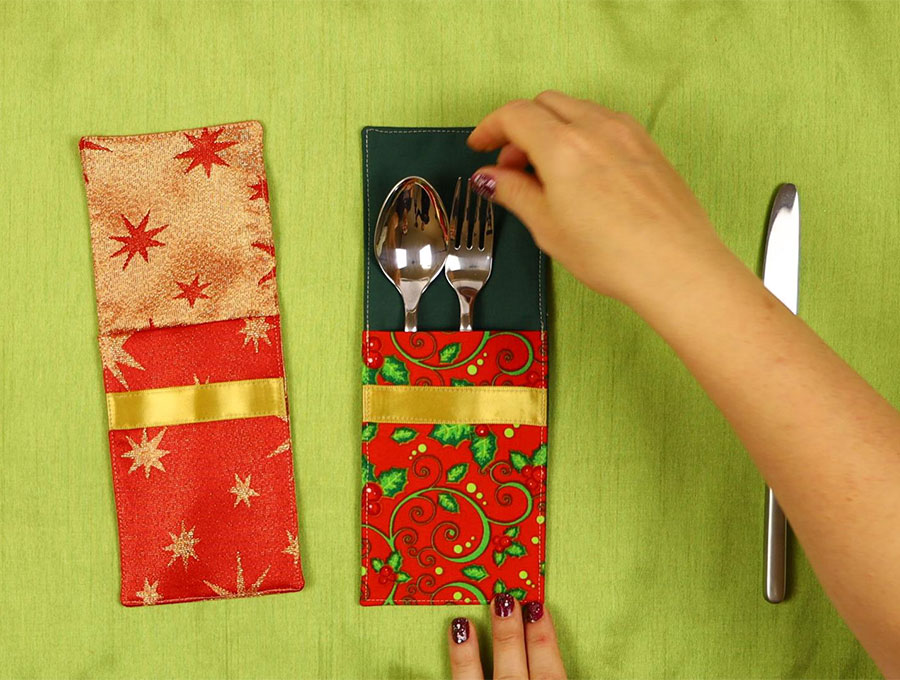
They definitely add some character to the holiday table!
These are Christmas cutlery pockets for the festive season but there is nothing to stop you doing similar pockets for special occasions – birthdays, anniversaries, Halloween, Easter, spring or fall. Just choose appropriate fabrics and have fun creating stunning combinations. If you enjoyed this festive Christmas cutlery pocket tutorial then please send us a photo of your pockets and give us a like. When you hit the subscribe button you will have our easy visual and step-by-step tutorials at your fingertips and never miss out on any of our exciting projects.
Do you like this? Pin for later:
Wanna be friends? Click HERE and follow me on Pinterest
RELATED: