
DIY Corner Bookmark [How to sew a corner bookmark in 3 minutes]
Want to spice up your reading routine with a touch of flair? Why not jazz it up with a DIY fabric corner bookmark! Say goodbye to dog-eared pages and hello to a stylish and practical accessory for your favorite reads. In this article, we’ll walk you through creating your own unique corner bookmark using fabric scraps and a dash of creativity. Whether you’re a seasoned sewing pro or just starting out, this project is a perfect way to unleash your imagination and personalize your reading experience. So, grab your sewing kit and let’s dive into the world of DIY corner bookmarks!
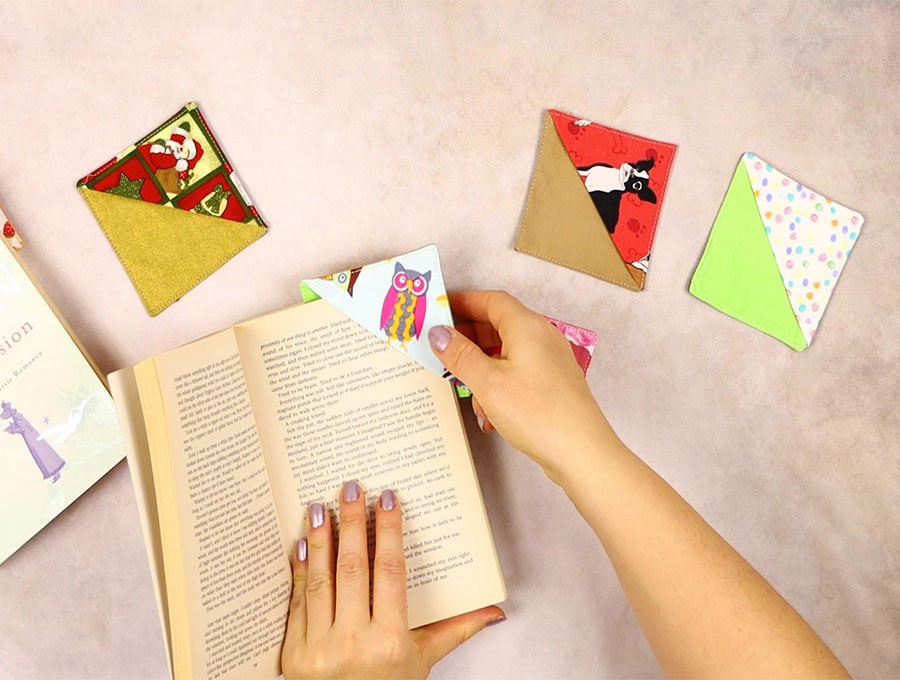
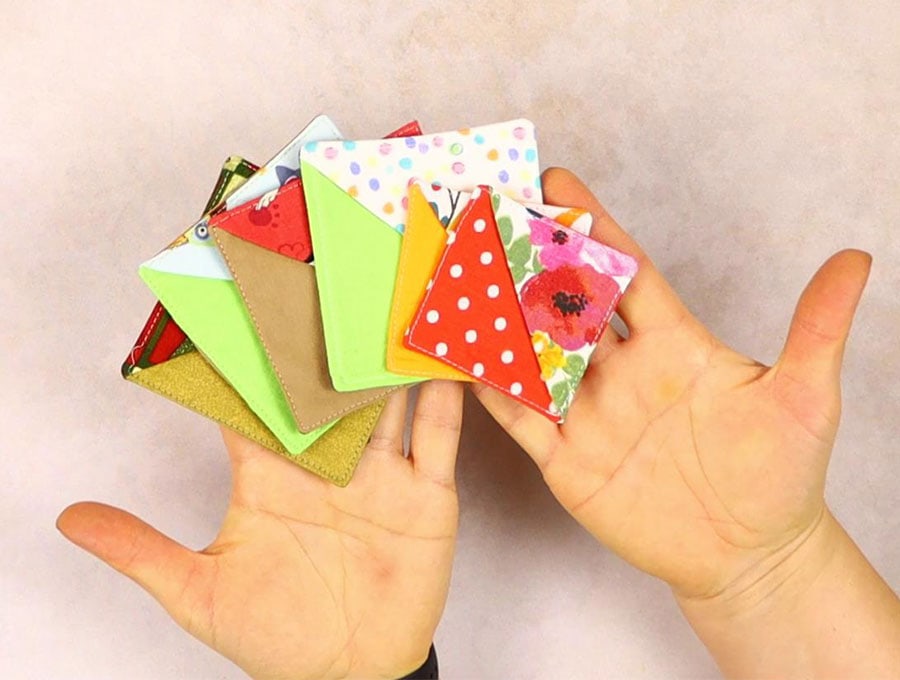
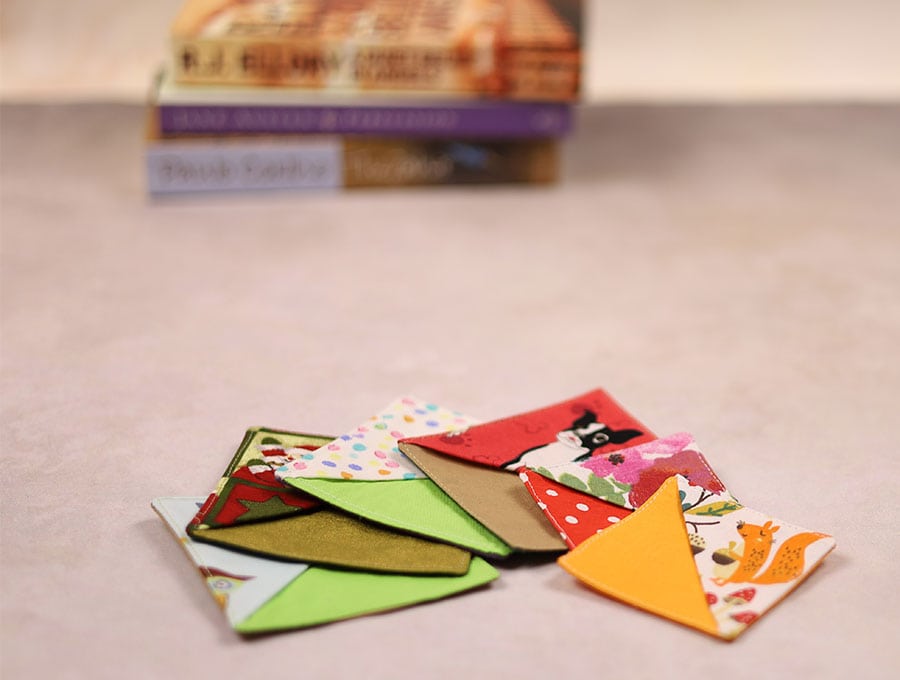
These are so easy you will make a bunch in a matter of minutes
Below you will find my step by step written tutorial with VIDEO instructions for all the visual learners.
We occasionally link to goods offered by vendors to help the reader find relevant products. Some of the links may be affiliate meaning we earn a small commission if an item is purchased.
Table of Contents
How to make a corner bookmark
Supplies and tools
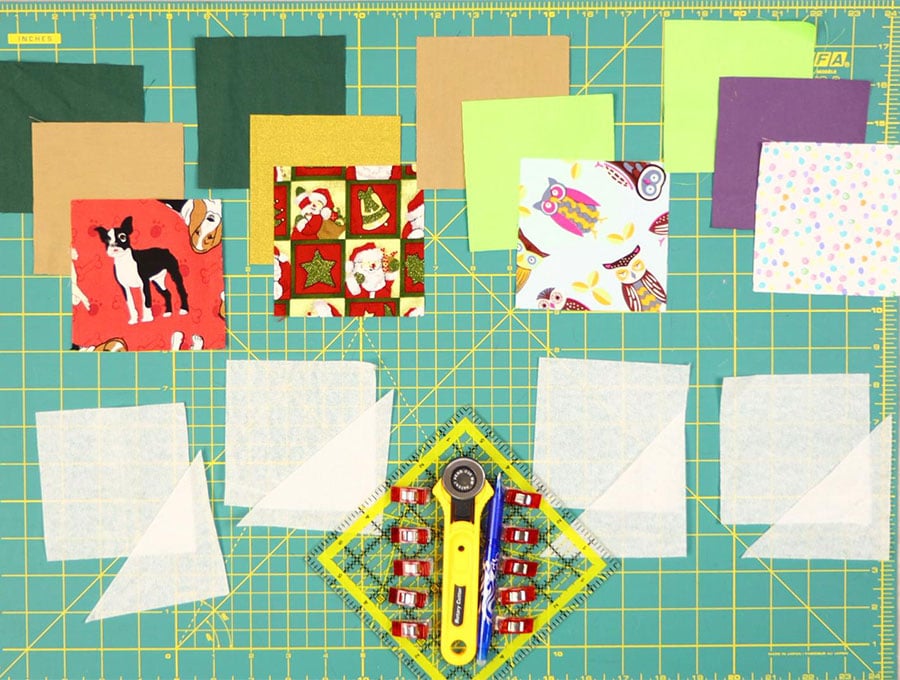
- fabric – 3 pieces of woven cotton (main, back, pocket)
- fusible interfacing
- matching thread
- scissors (or rotary cutter and a cutting mat)
- ruler or measuring tape
- iron and ironing board
- sewing clips or pins
Follow us for free patterns & tutorials! [easy-profiles]
How to Sew a Corner Bookmark
Watch the diy corner bookmark video first and then follow the written step by step instructions below.
Please enjoy and don’t forget to Like and SUBSCRIBE over on YouTube to be kept up to date with new videos as they come out.
Fabric Corner bookmark VIDEO TUTORIAL
INSTRUCTIONS:
STEP 1:
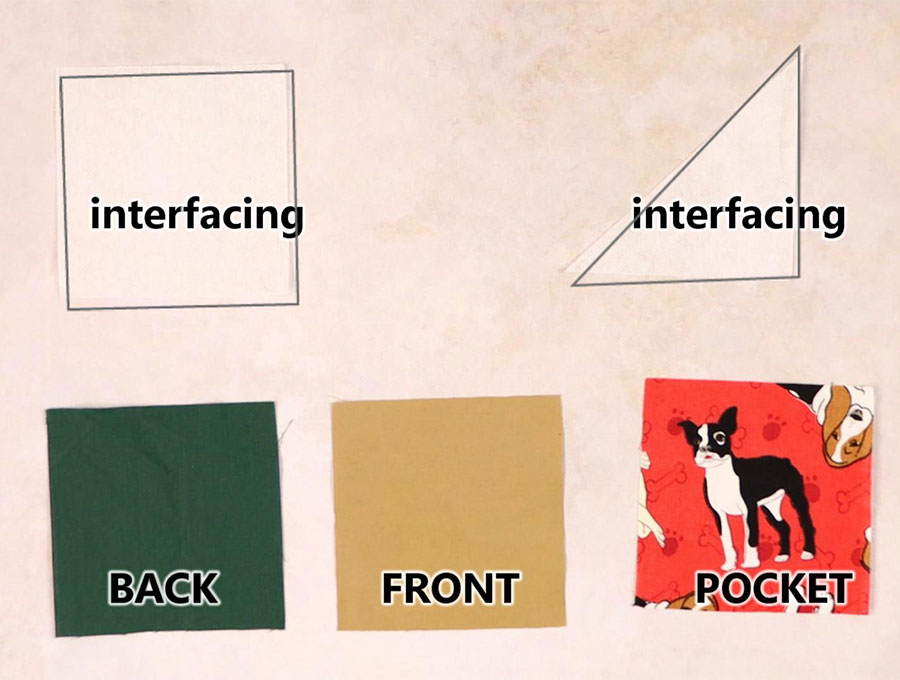
Cut three fabric squares for the top, back, and pocket, each measuring 4″ (10cm). Also, cut a 4″ (10cm) square piece of fusible interfacing and a triangular piece with 4″ (10cm) sides from the interfacing.
Place the fabric pieces WRONG side up
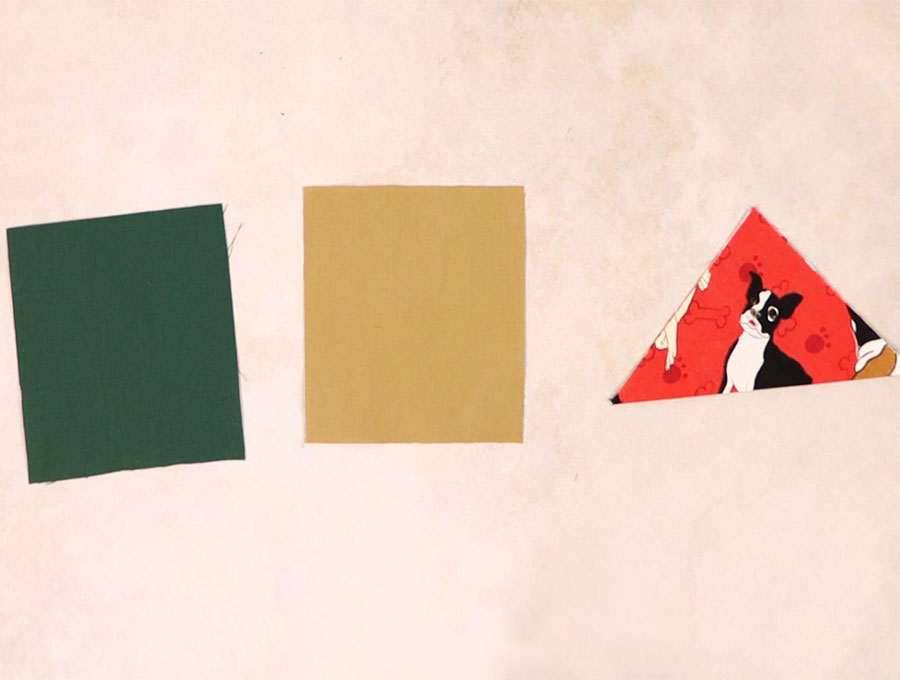
STEP 2:Fuse interfacing to the fabrics

Fuse the interfacing to the fabrics by placing the square interfacing on the back piece and the triangular interfacing on the top of the pocket piece, then press to fuse.
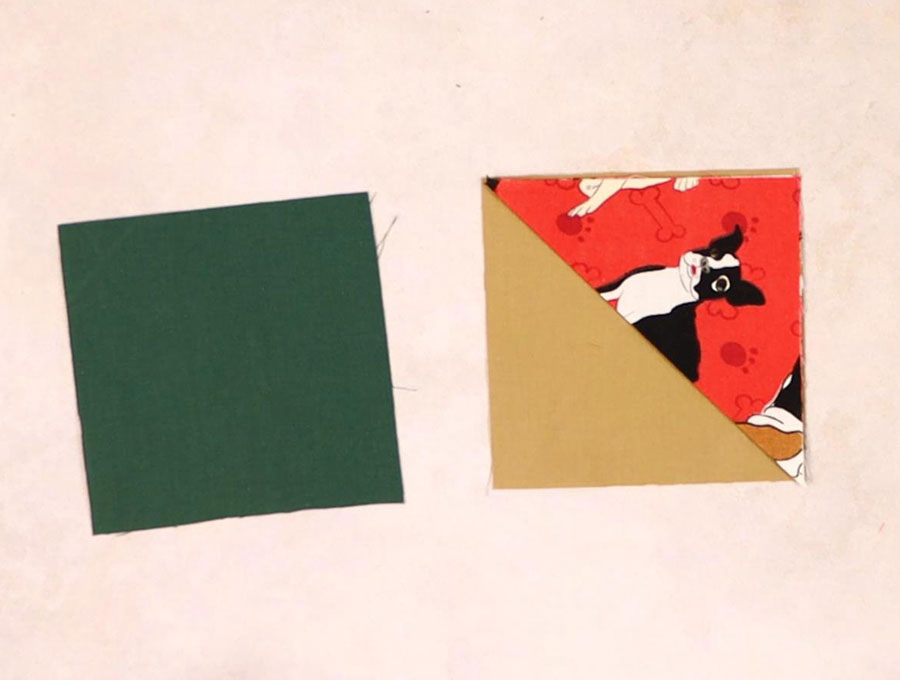
STEP 3:
fold the pocket piece along the long side of interfacing and press
STEP 4:
Layer the corner bookmark by turning all pieces right side up, placing the pocket piece on top of the front piece, and then placing the back piece on top, right side down. Pin the layers together.
- place pocket piece on top of the front piece
- place the back piece on top, right side down
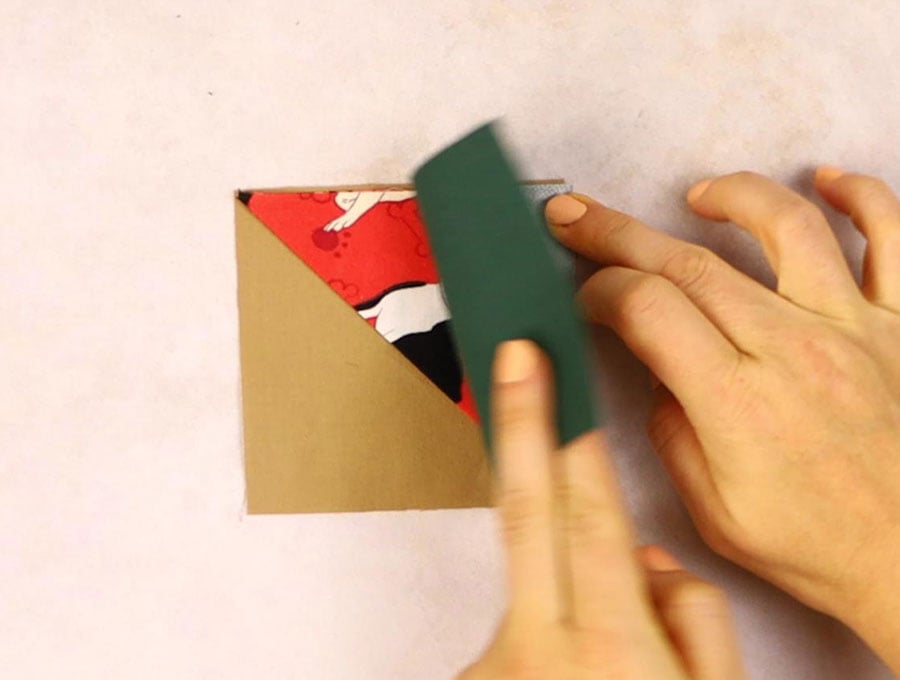
- pin together
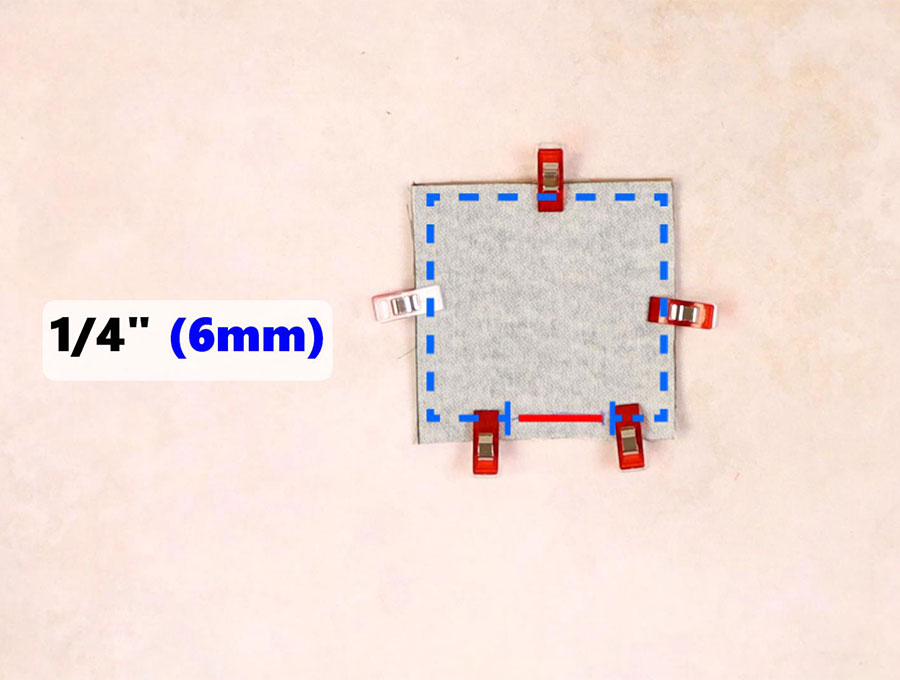
STEP 5:
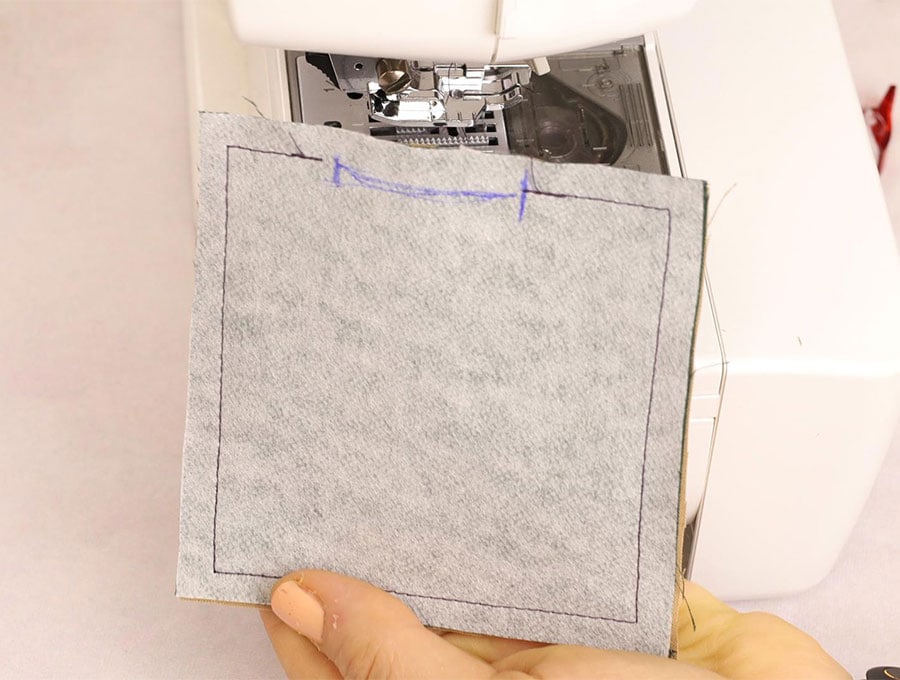
Sew around the layers, leaving a 1.5″ (4cm) gap for turning.
STEP 6:
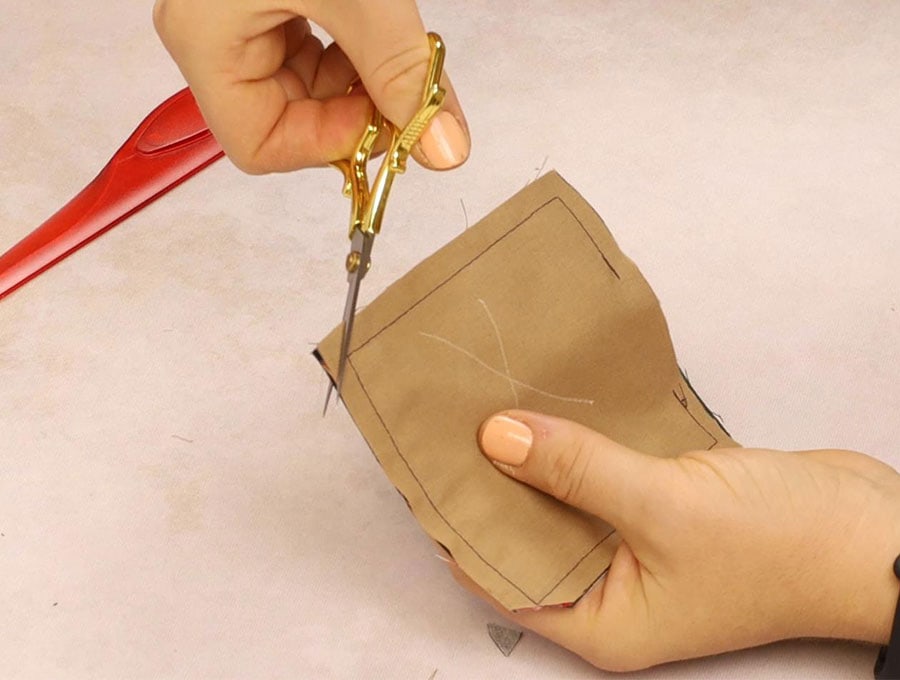
clip all corners
STEP 7:
Press the raw edges of the gap flush with the seam and turn the bookmark right side out.
STEP 8:
Use a blunt tool to push out the corners and then iron the bookmark.
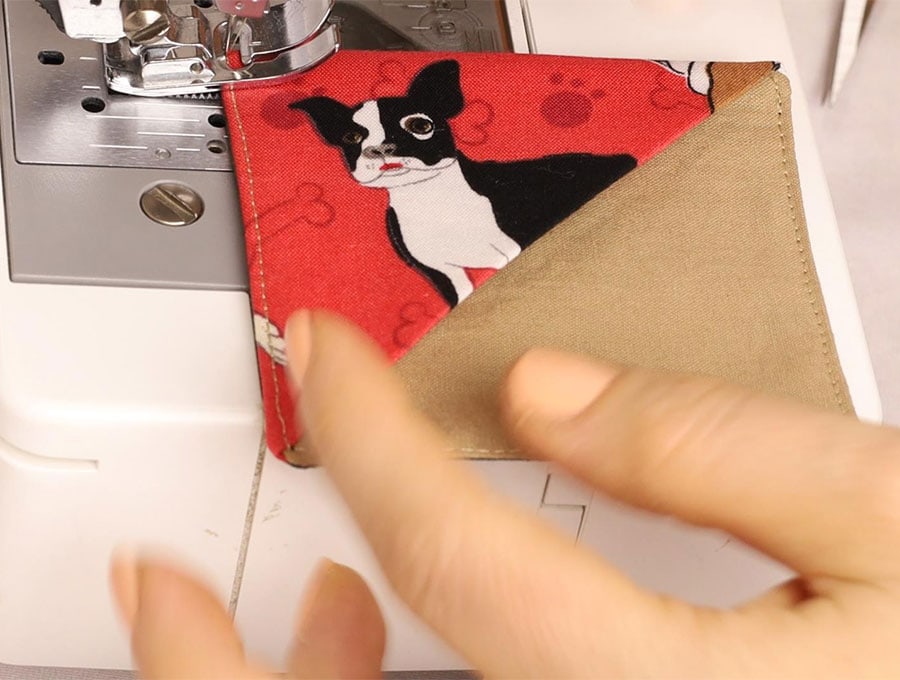
STEP 9:
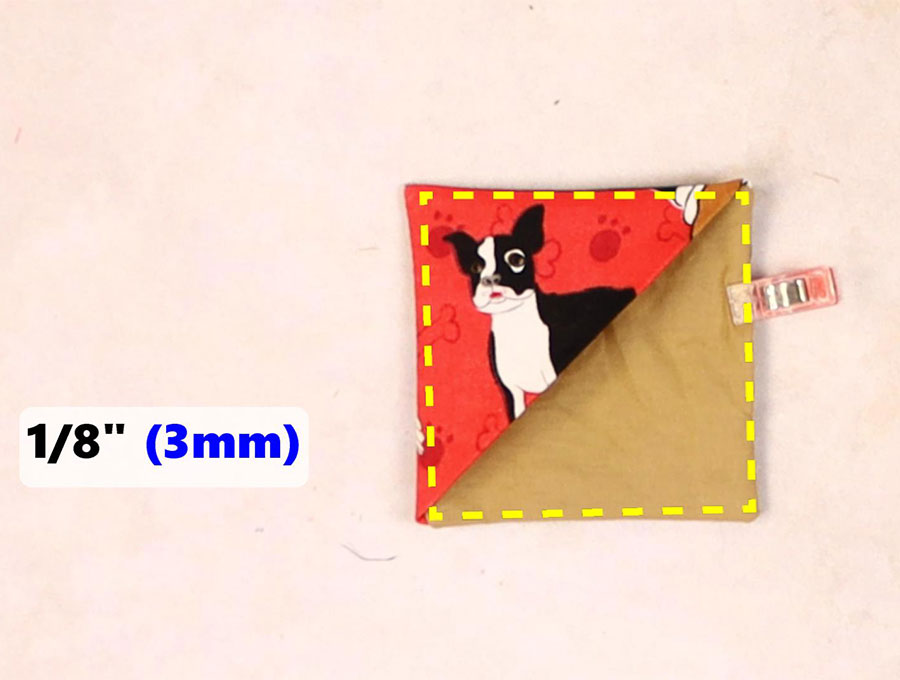
Complete the bookmark by topstitching all the way around 1/8″ (3mm) from the edge.
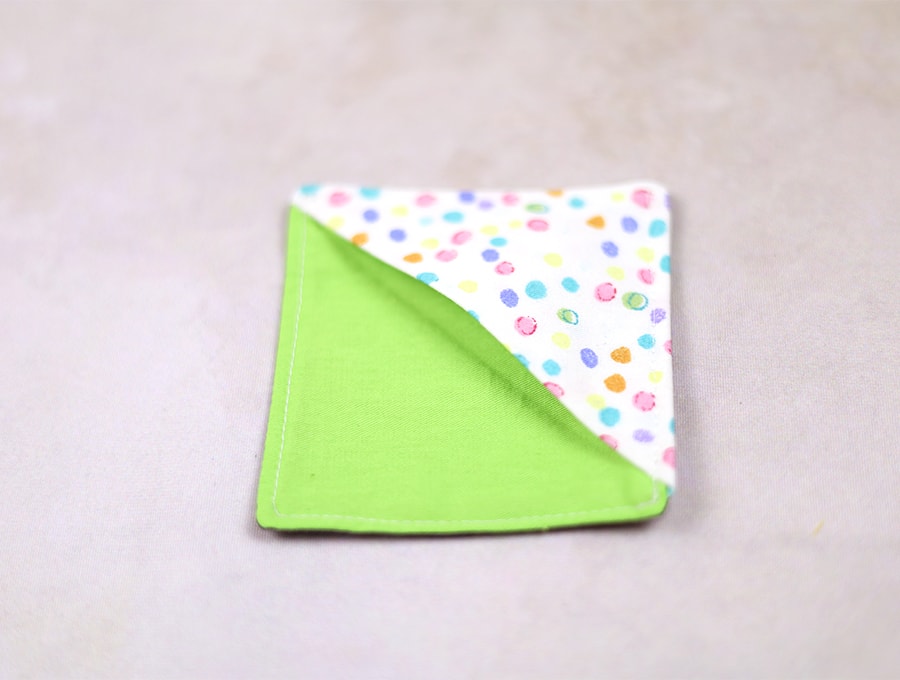
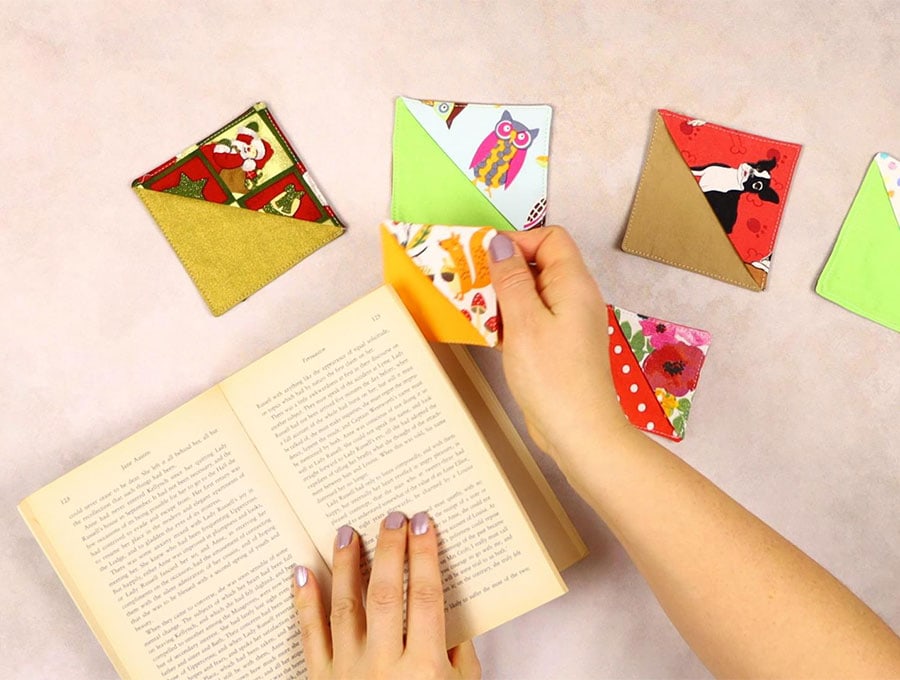
Voila! Your DIY corner bookmark is ready to add a touch of charm to your reading adventures.
Sewing your own fabric corner bookmark is a delightful way to infuse your reading time with a personal touch. By following these simple steps, you can craft a practical and charming accessory that reflects your unique style and creativity. Whether you’re making one for yourself or to share with fellow bookworms, this DIY project is sure to bring joy and functionality to your reading adventures. So, gather your materials, unleash your imagination, and get ready to enjoy a bookmark that’s as special as the stories it holds. Happy sewing and happy reading!
Do you like this? Pin for later:
Wanna be friends? Click HERE and follow me on Pinterest
RELATED: