
How to Make Hanging Door Pockets for Easy Storage of Keys and Small Items
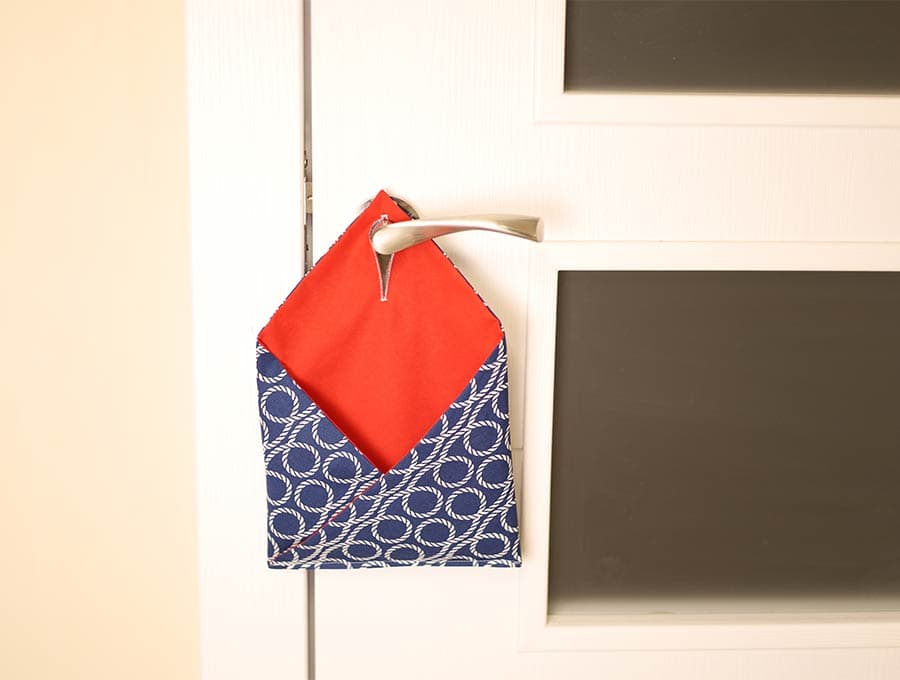
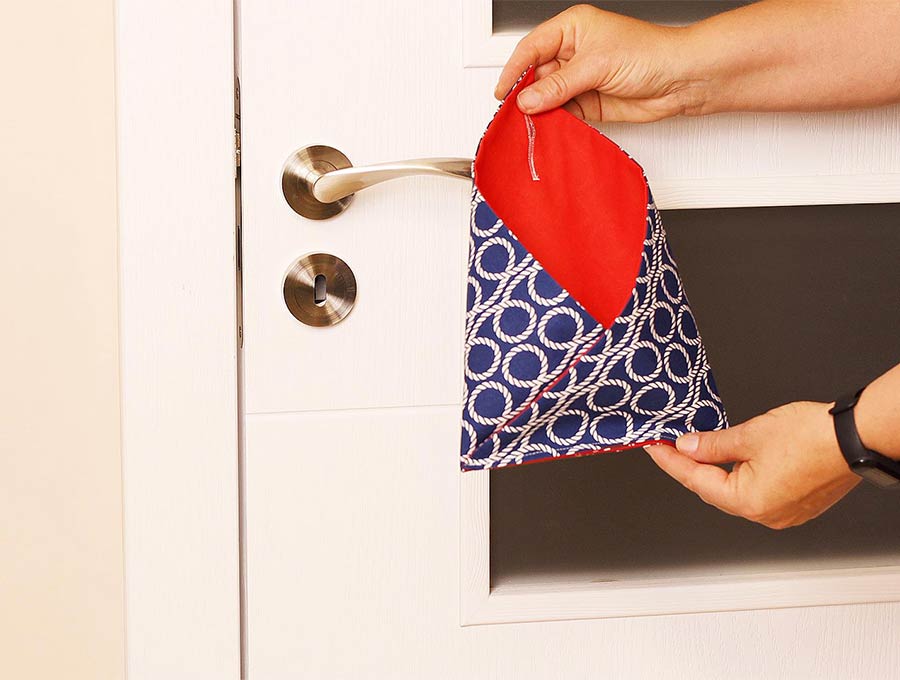
The hanging pocket for a door is an incredibly useful item hung on the inside of a bedroom door that can be used to store items that you would normally spend time looking for – like a pen, sunglasses, chap stick or sun cream. Hung on the outer side of the door it can be a fun place to put items for your child – lunch money, a note to congratulate the child, a note to wish them luck for a big event, or a little sweet treat. It is a really easy project for fabric leftovers, and you can probably sew this up in about 10 minutes flat.
This is just the best way to tidy up all those odds and ends you need to grab in a hurry but don’t want stuffed in a drawer – things like sunglasses, suntan cream, a brush/comb, hand cream, small notebook and pen, small flashlight. With these you won’t have family members constantly asking “Where is the flashlight?”, “Where’s the sun-cream?” or “Who has seen my sunnies?”
Below you will find my step by step written tutorial with VIDEO instructions for all the visual learners. I’m using a buttonhole in the tutorial, but if you find it difficult, scroll to the bottom to read how to make an alternative hanging loop.
We occasionally link to goods offered by vendors to help the reader find relevant products. Some of the links may be affiliate meaning we earn a small commission if an item is purchased.
Table of Contents
- 1 How to make a Hanging Key Pocket
- 2 Hanging Door Pockets Supplies and tools
- 3 How to Sew a Hanging Door Pocket
- 3.1 Hanging Door Pockets VIDEO TUTORIAL
- 3.2 INSTRUCTIONS:
- 3.3 STEP 1: Prepare the fabrics
- 3.4 STEP 2: Cut the fabrics
- 3.5 STEP 3: Prepare the interfacing
- 3.6 Step 4: Cut the interfacing
- 3.7 Step 5: Fuse interfacing to fabric
- 3.8 Step 6: Pin lining and main fabric together
- 3.9 Step 7: Sew
- 3.10 Step 8: Cut the corners
- 3.11 Step 9: Turn inside out
- 3.12 Step 10: Press
- 3.13 Step 11: Mark the buttonhole
- 3.14 Step 12: Create the buttonhole
- 3.15 Step 13: Fold the sides
- 3.16 Step 14: Sew the base
- 4 Hanging Door Pocket FAQs and tips:
How to make a Hanging Key Pocket
Hanging Door Pockets Supplies and tools
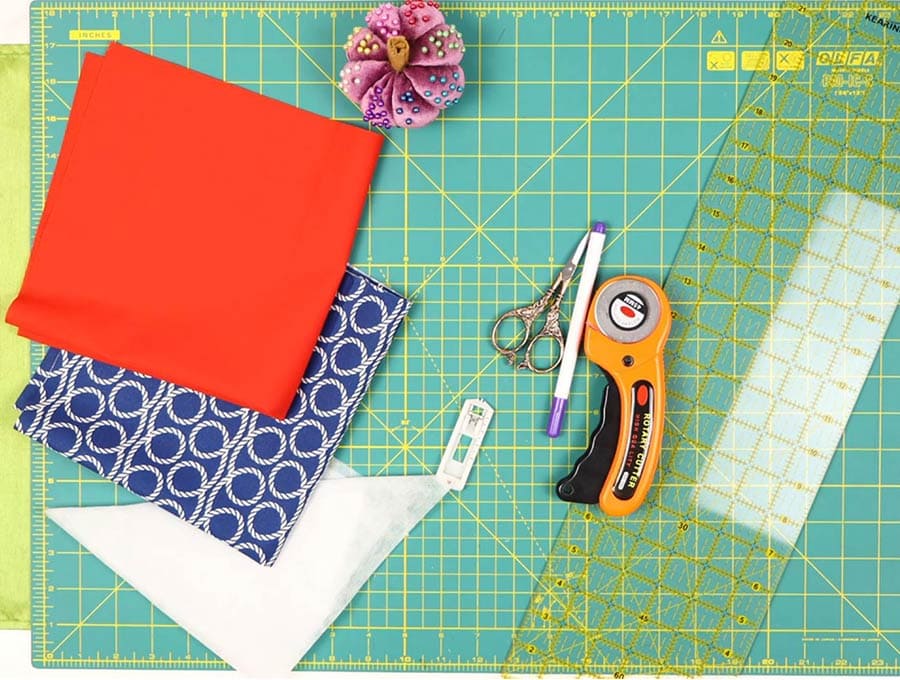
the materials below are enough for 2 hanging door pockets:
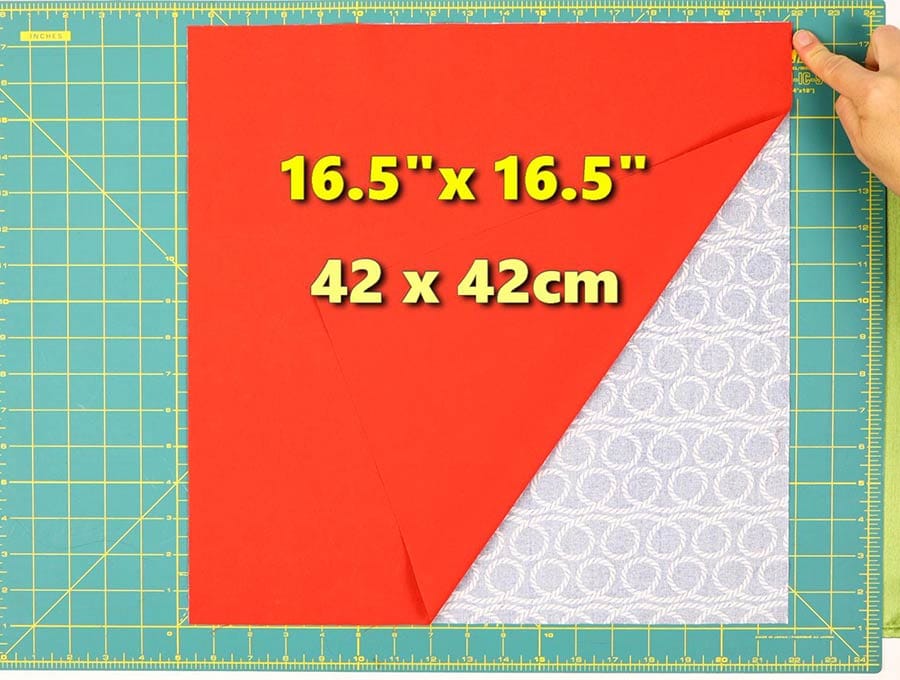
- main fabric – 16.5″ (42cm) square cotton
- lining fabric – 16.5 ” (42cm) square cotton
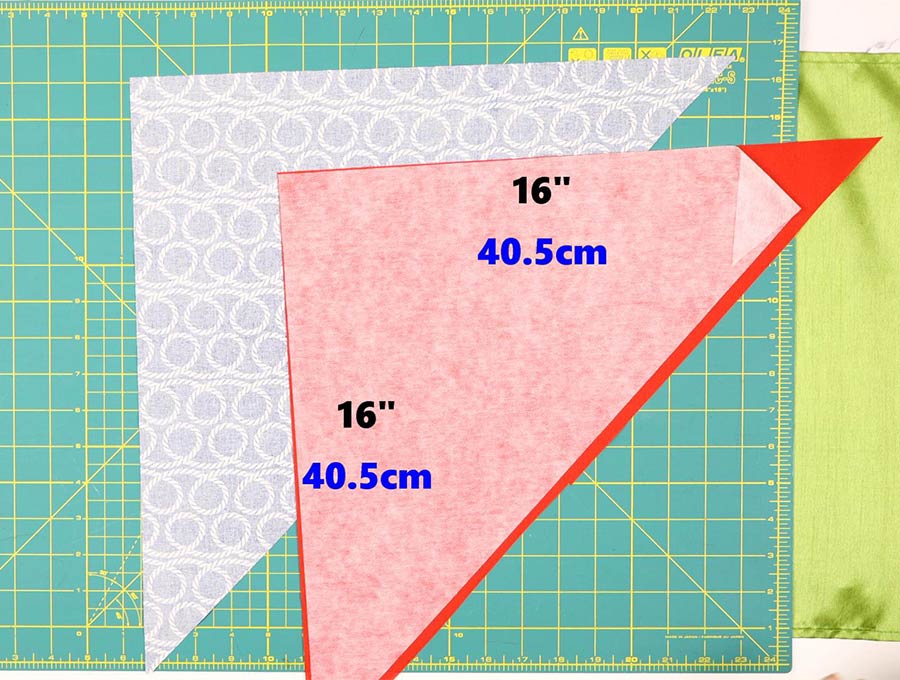
- fusible interfacing – 16″ (40.5cm) square
- matching thread
- scissors (or rotary cutter and a cutting mat)
- ruler or measuring tape
- iron and ironing board
- sewing clips or pins
Follow us for free patterns & tutorials! [easy-profiles]
How to Sew a Hanging Door Pocket
Watch the diy hanging pocket video first and then follow the written step by step instructions below.
Please enjoy and don’t forget to Like and SUBSCRIBE over on YouTube to be kept up to date with new videos as they come out.
Hanging Door Pockets VIDEO TUTORIAL
INSTRUCTIONS:
STEP 1: Prepare the fabrics
Cut two pieces of fabric to 16.5-inch (42cm) squares. One piece should be printed and the other plain – or you can have two prints if you desire. This is sufficient to make two pockets.
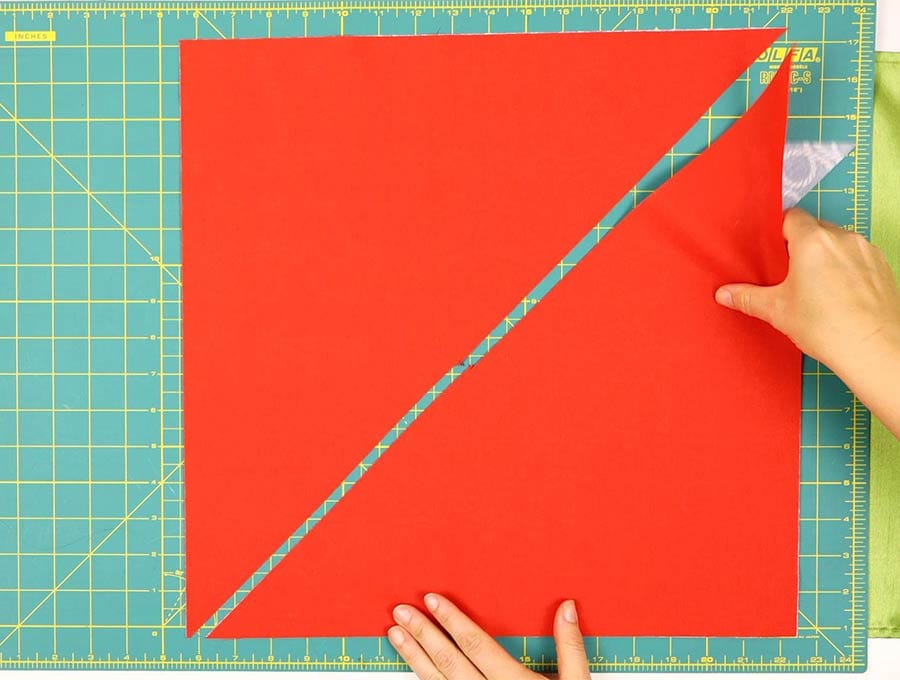
STEP 2: Cut the fabrics
Once you have cut your two squares then take a ruler and line up from one corner to the other corner diagonally opposite it and draw a line, then cut in half.
STEP 3: Prepare the interfacing
Cut one piece of medium weight iron on interfacing just a bit smaller than the fabric. It will be 16 inches x 16 inches (40,5 cm x 40,5 cm) square.
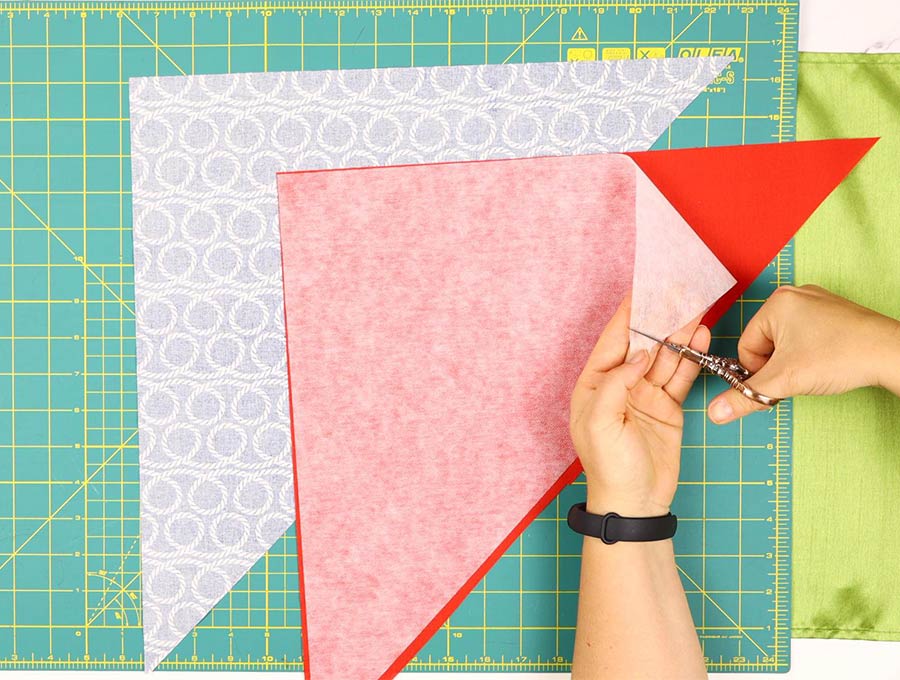
Step 4: Cut the interfacing
Cut the interfacing in half measuring corner to opposite corner diagonally. Then trim off a tiny piece of each of the three corners of the triangular piece. You do this to create less bulk in the corners of the hanging pocket once it is turned right way out.
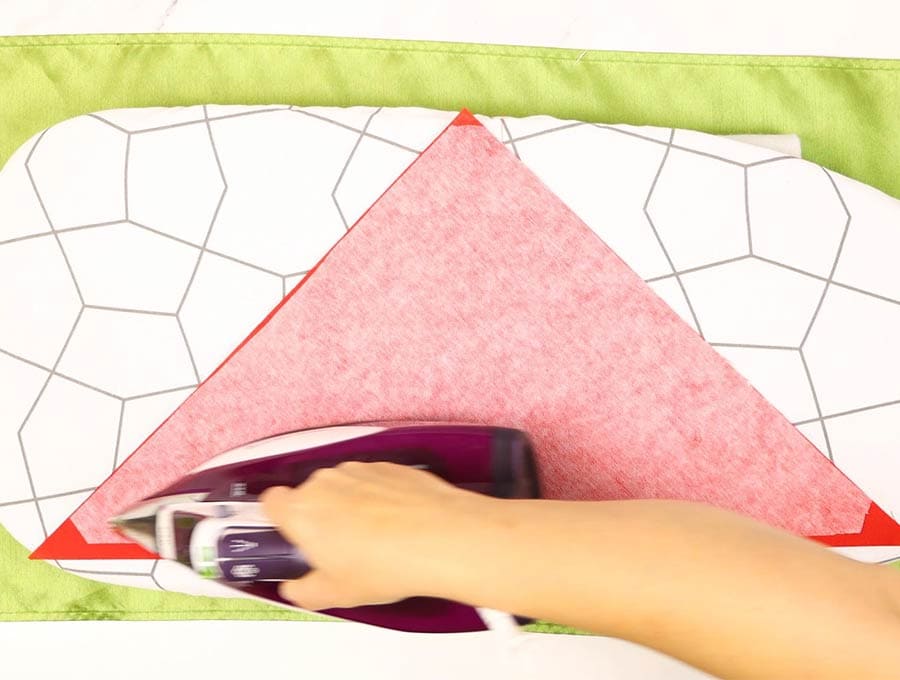
Step 5: Fuse interfacing to fabric
Place the interfacing, adhesive side down, on the wrong side of the lining fabric for the hanging pocket. Line up the edges at the right angle and you will find that the interlining is a little short on the diagonal side – this is fine because it creates less bulk. Iron to attach as per the manufacturer’s instructions.
Step 6: Pin lining and main fabric together
Place the lining, with interlining attached with right side to the right side of the printed fabric. Line up the corners neatly and pin in place.
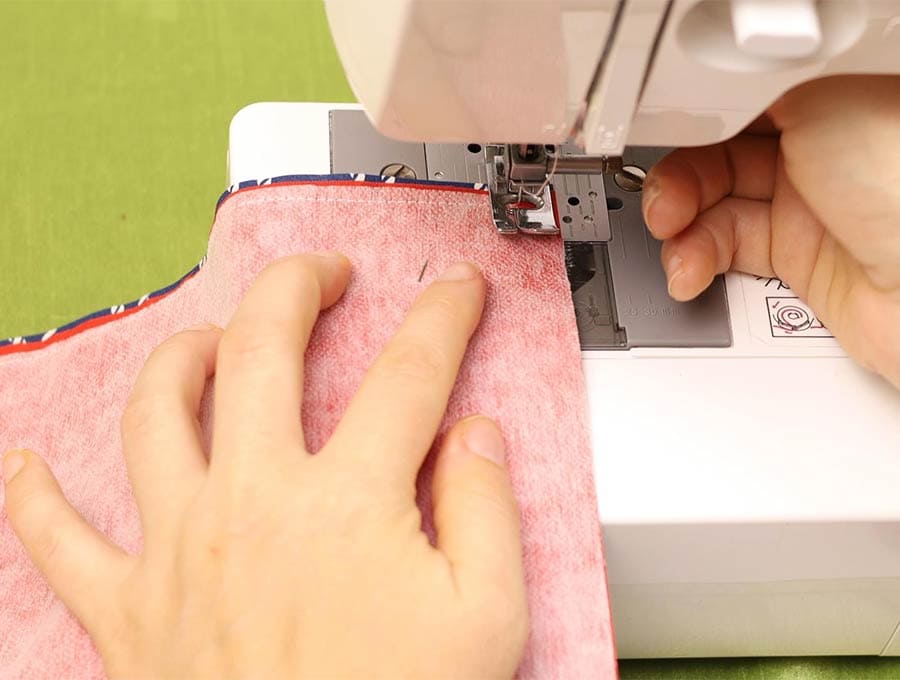
Step 7: Sew
When you stitch around the triangle stitch within the ¼ inch (0.5 inch) seam allowance. When you come to the diagonal side you will see that the interfacing doesn’t come right to the edge – this is fine you will stitch along the edge of the interfacing. Stitch right around the edge, leaving a gap of 2 to 3 inches (5 cm -7 cm) on the diagonal side so you can turn the hanging pocket right way out.
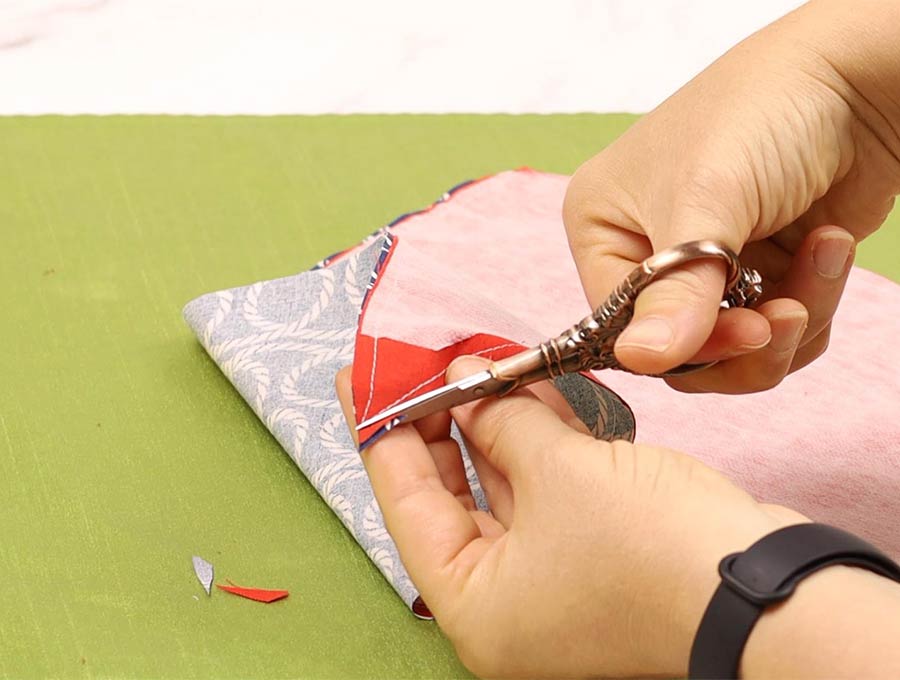
Step 8: Cut the corners
Before turning snip of the extra fabric on the corners, taking care not to cut too close to the stitch line.
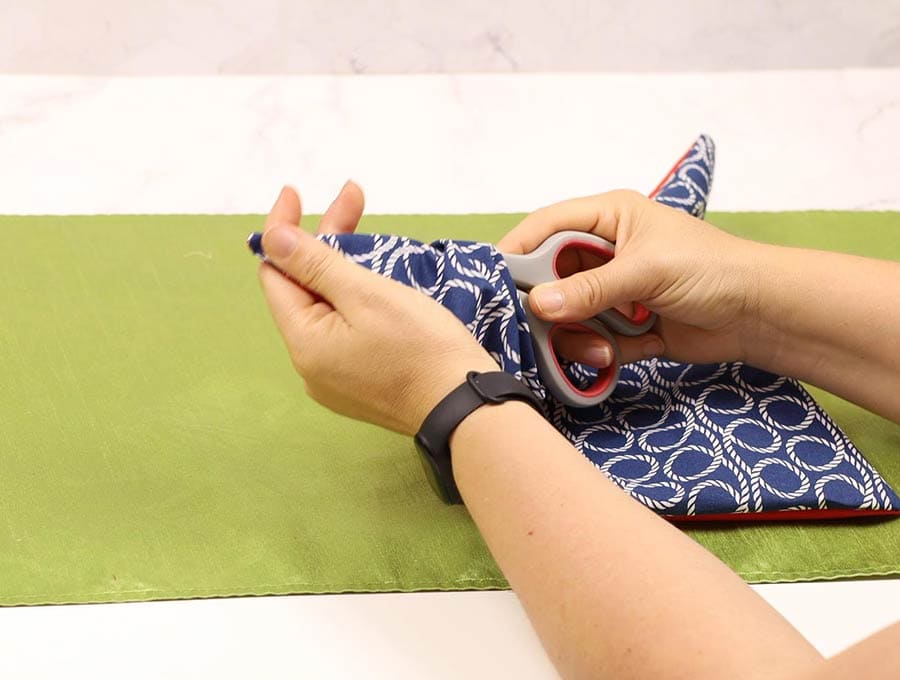
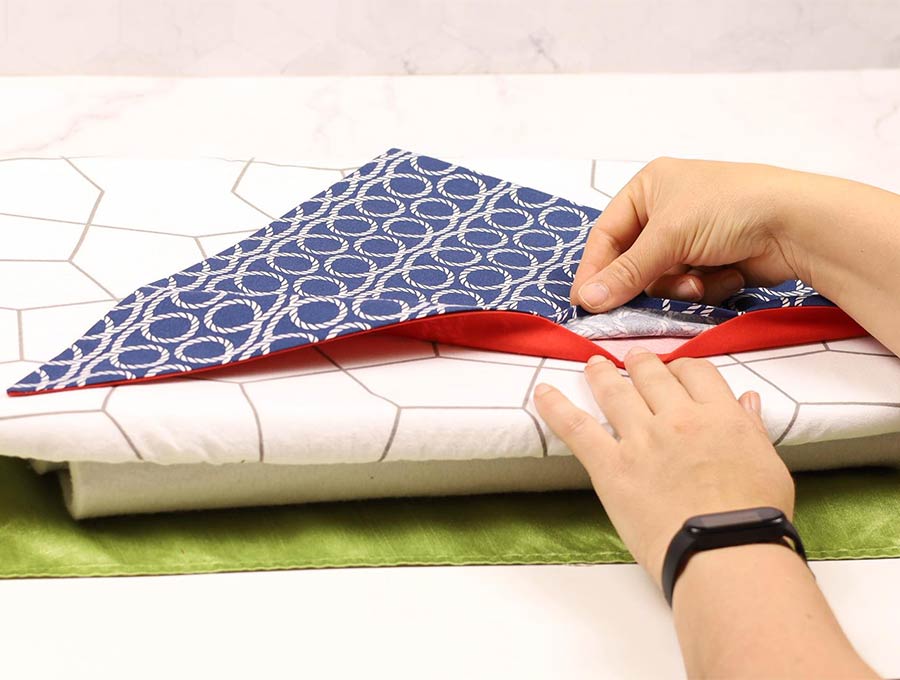
Step 9: Turn inside out
When you turn the fabric poke out the corners gently with a knitting needle or chop stick so they are neat and lie flat.
Step 10: Press
Fold the raw edges of the gap back in line with the interlining and press flat.
You raw edges have already been pressed in for the gap and will be stitched closed right in the last step.
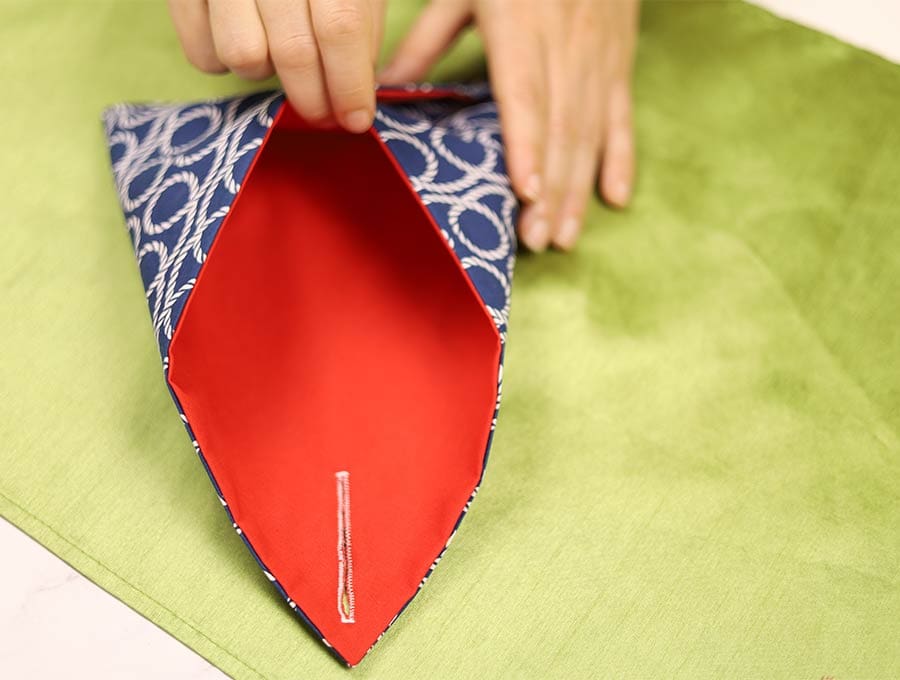
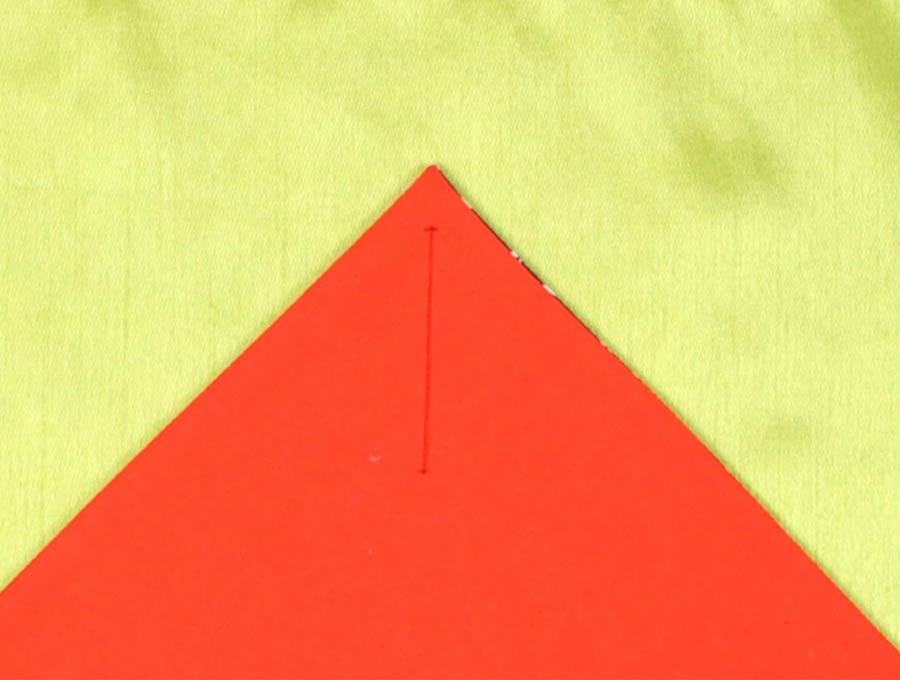
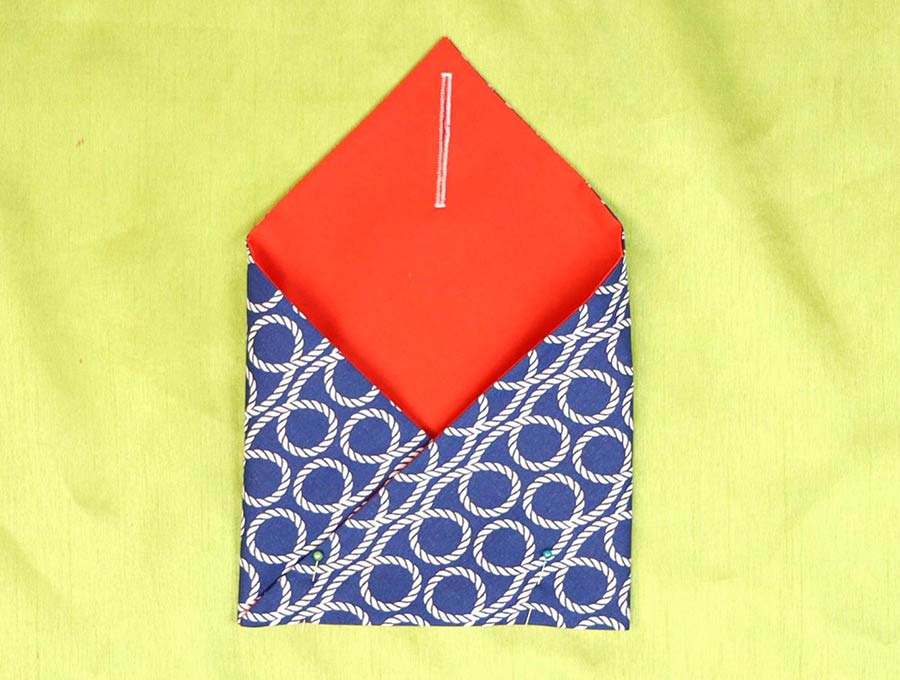
Making the buttonhole. The buttonhole will be placed on a 45 degrees angle from the right angled (90 degrees) corner of the triangle. It will be 2 ½ inches (6.5cm) long to fit over the doorknob – longer if you have a larger doorknob. Start your buttonhole 1/2″ (1,5cm) from the right corner.
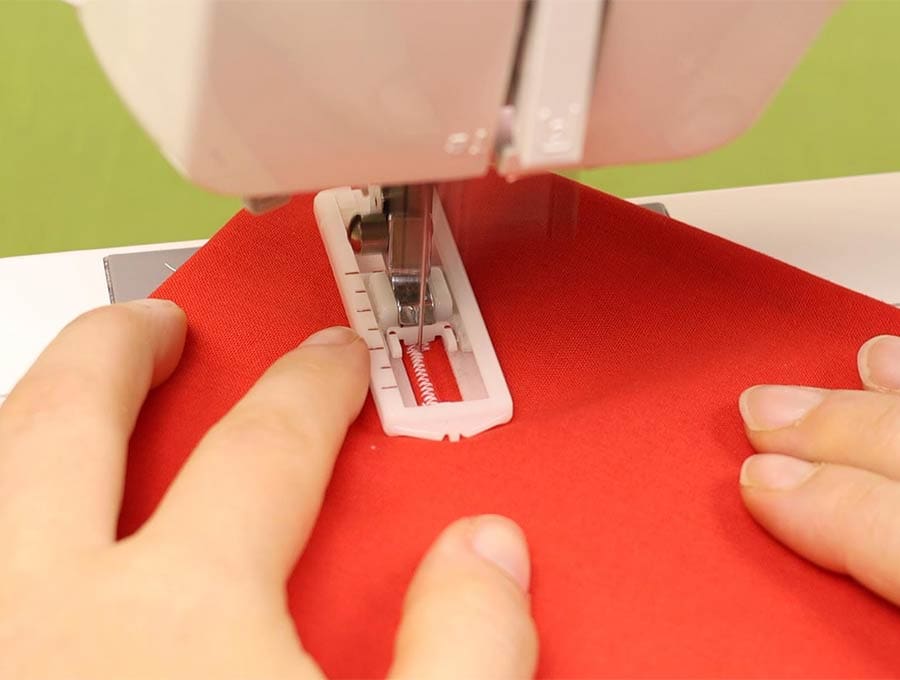
Use the buttonhole attachment on your machine to create the buttonhole. If you do not have a buttonhole attachment you can do a close zig zag up one side, create a bar at the end using a longer stitch, zig-zag back down the side and create a bar at the other end.
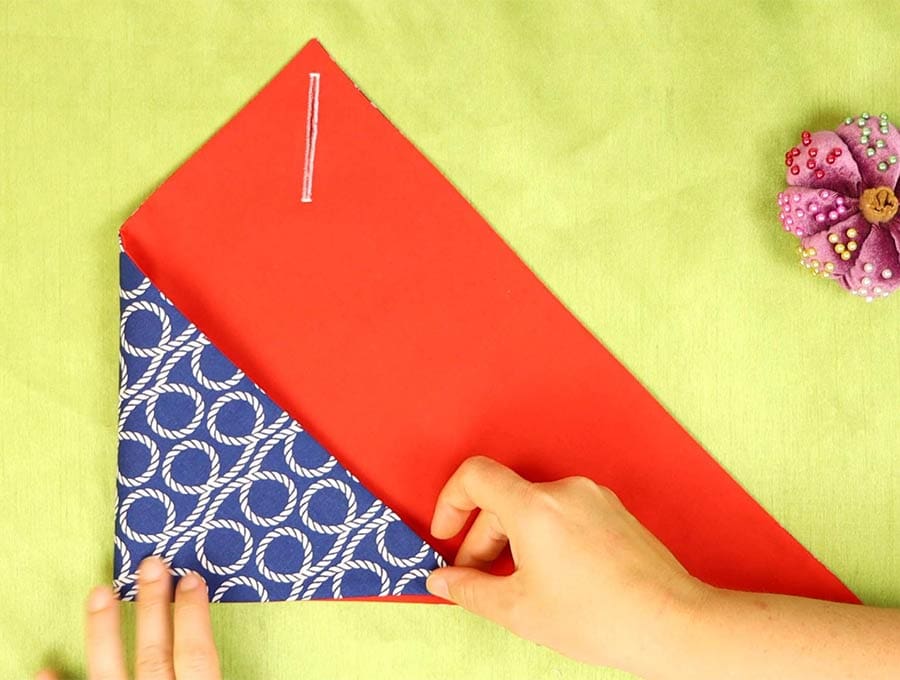
Step 13: Fold the sides
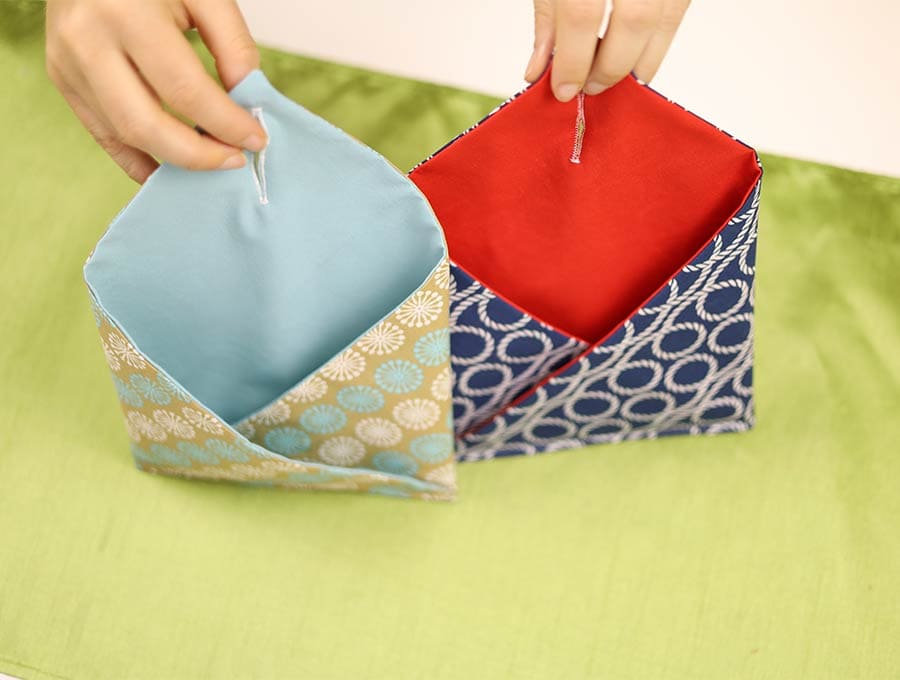
To create the envelope shape fold over one of the bottom points of the triangle, and line it up with the fold over from the other point.
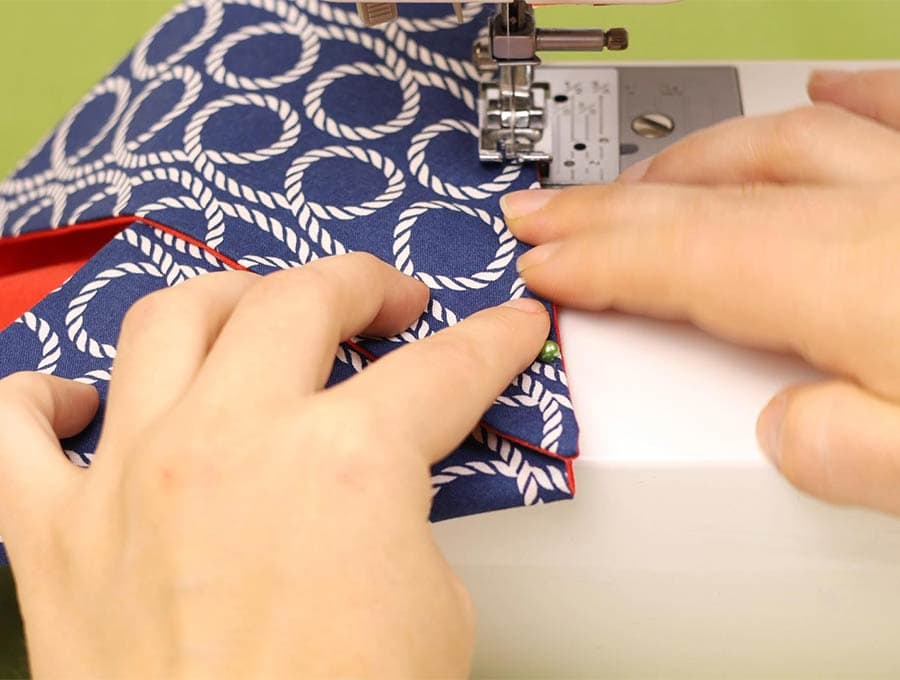
Step 14: Sew the base
Now you may prefer to slip stitch the base closed or you can run a top-stitched seam along the bottom catching all the layers, including the folded in area of the gap which still needs to be stitched shut.
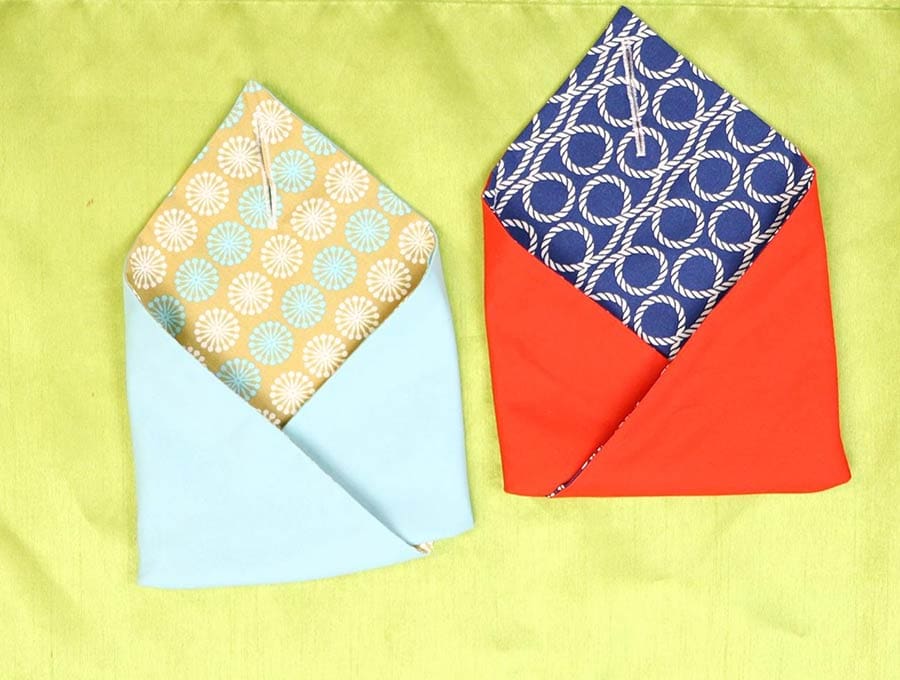
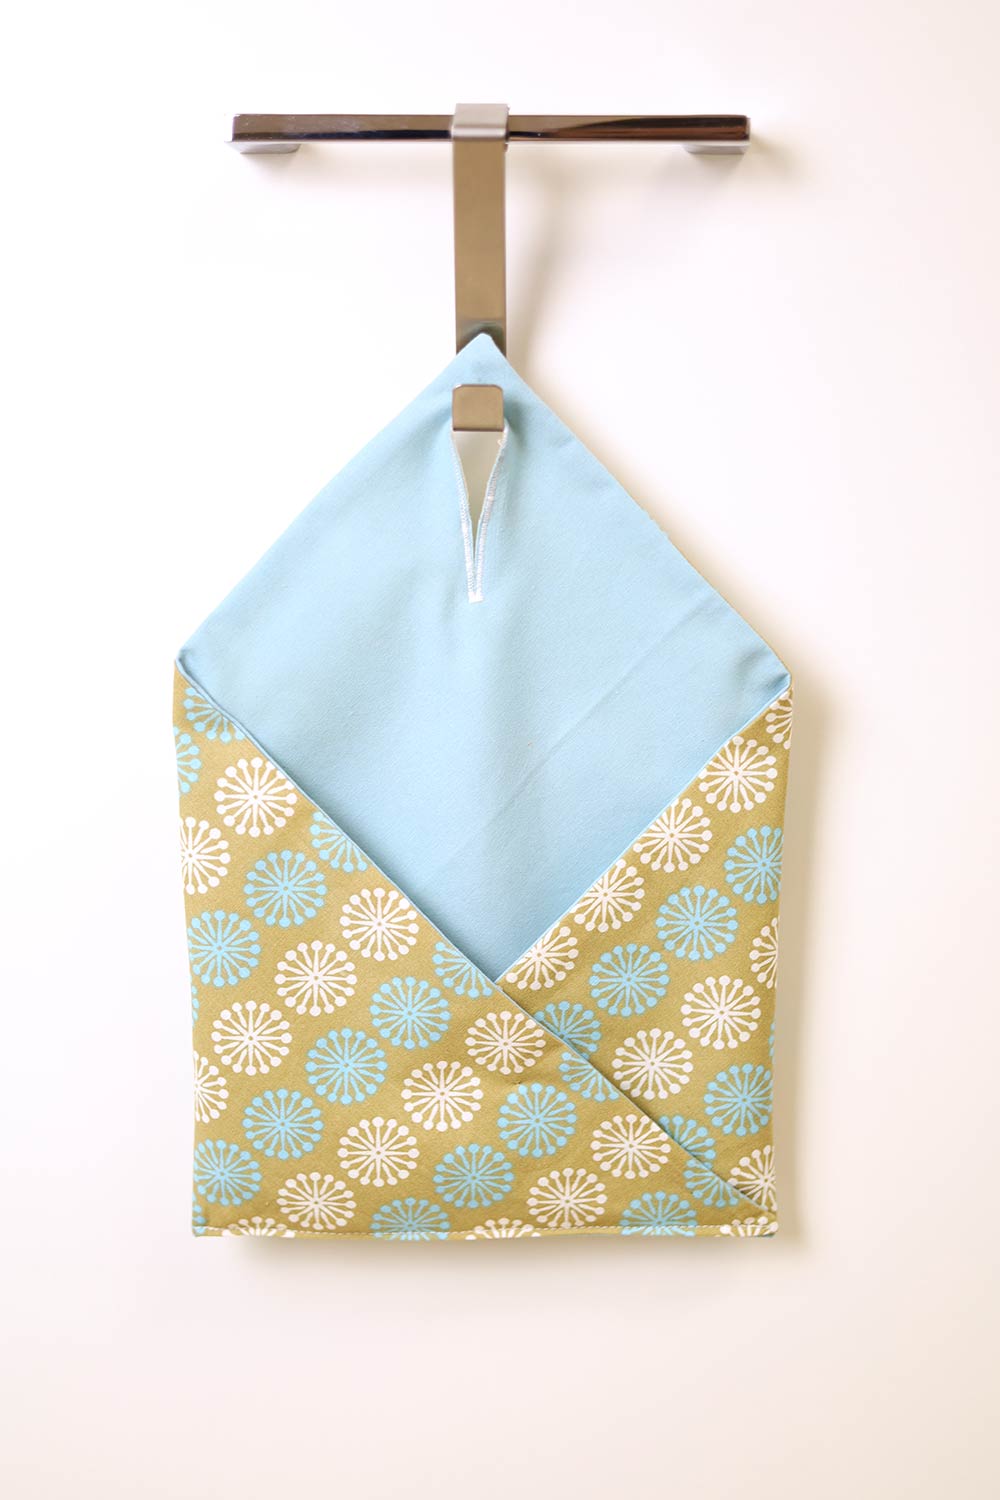
Voila! Your first reversible hanging door pocket is ready
Hanging Door Pocket FAQs and tips:
Q: I can’t do a button hole – is there another option?
A: Yes, you can create a loop that will fit over the doorknob – simply measure a piece of fabric that will comfortably slip over the doorknob then cut a piece 5 cm wide by the length you need plus 2 inches (5 cm) extra length.
- With the wrong side uppermost on your worktop, fold in ½ inch (1 cm) at each short end and press.
- Fold the piece of fabric lengthways, right side out, and press a fold in the middle.
- Open out the fold and with the wrong side uppermost, turn one side of the fabric up to meet the crease and press in place, then the other side needs to be turned up to meet the central fold and pressed.
- Fold over again as you did for the central fold and press and pin.
- Stitch down the ends and the length of the fabric piece.
- Fasten the loop neatly to the 90-degree corner of the triangular piece, top stitching the ends in place.
- The loop should be stitched in place on the lining side of the fabric, about an inch (2.5 cm) from the corner.
- You can also create a loop from cord and attach it.

The hanging pocket for a door is a very useful little item to have that will save time spent looking for things. Hung on the outside of the door of kid’s bedrooms it is useful place to deposit a treat, a reminder note, or a little card before an exam or a big game, telling them how much you love and believe in them. If you liked this step-by-step tutorial with the easy to follow visuals then please subscribe and become one of our happy family of subscribers who get the latest projects delivered straight to their inboxes each week, so they never miss out on projects.
Do you like this? Pin for later:
Wanna be friends? Click HERE and follow me on Pinterest
RELATED: