
DIY Sliding Pencil Case with Free Pattern [Stand up Pen Pouch VIDEO]
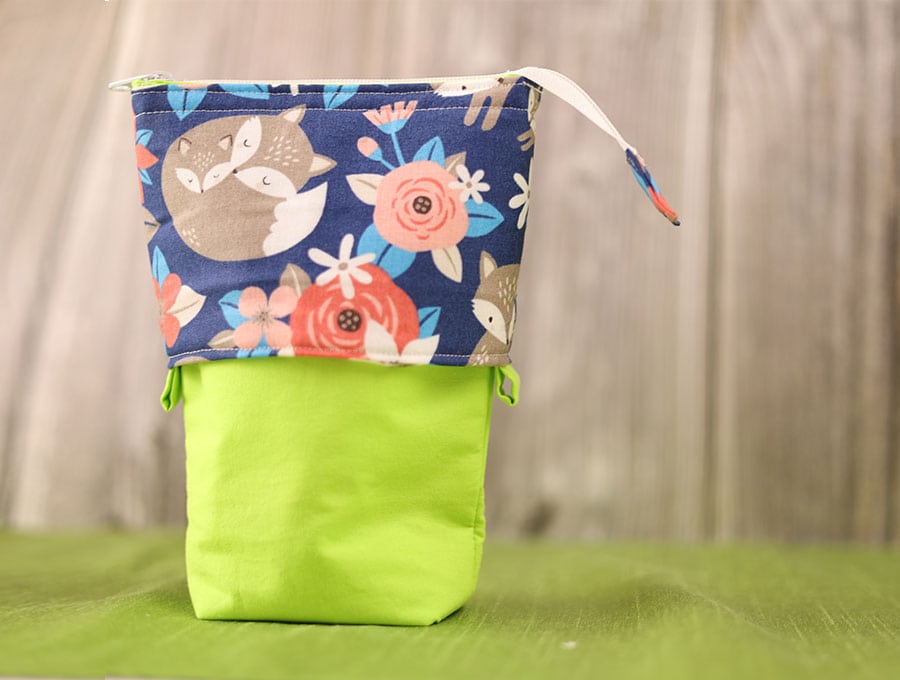
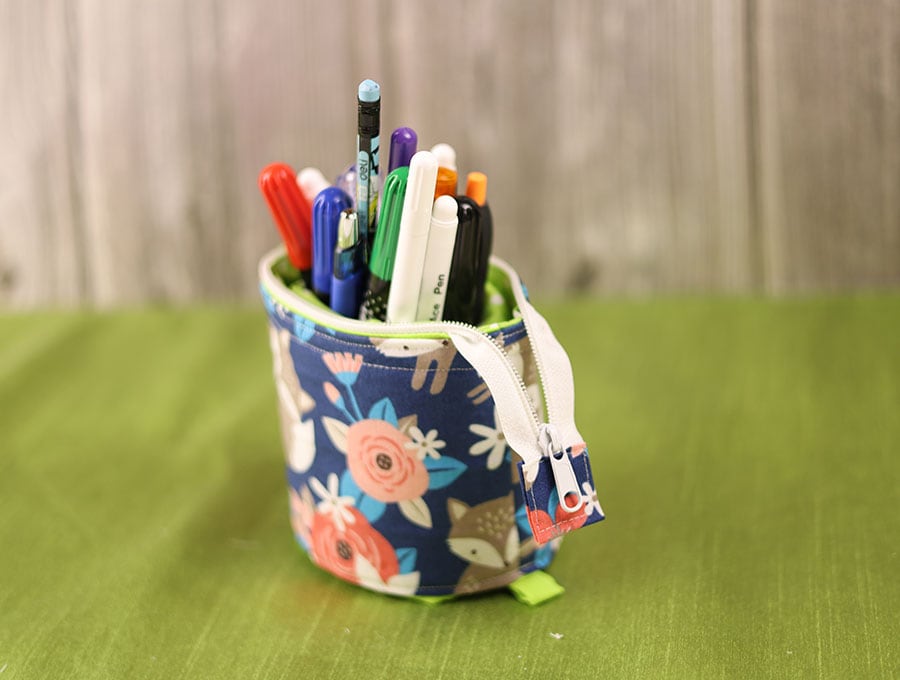
The sliding pen pouch (pop up pencil case or vertical pencil case) is great for keeping your marker pens and other pens together in an upright position with a zip closure at the top. The top slides down so you can easily select the color you want without having to scratch though the interior of a rectangular pencil case where the pens lie on top of each other.
The sliding pencil case makes a perfect gift for all ages, particularly teens and tweens who love stationery! Once you have mastered the method of making these by following our visuals and step by step instructions you will be ready to raid your stash and make loads of them. They work best as a plain and print combo where you can pick up one of the colors of a print with a plain color for a coordinated look. Try to use a silky fabric or a thin cotton for the lining so it slides down easily. The stand up pencil case is an ideal way to create something beautiful and useful from your leftover fabric.
Below you will find my step by step written tutorial how to make a slider pencil case with VIDEO instructions for all the visual learners.
We occasionally link to goods offered by vendors to help the reader find relevant products. Some of the links may be affiliate meaning we earn a small commission if an item is purchased.
Table of Contents
- 1 How to Make a Sliding Pencil Case
- 2 Slide Pen Case Supplies and tools
- 3 How to Sew a Slider Pencil Case
- 3.1 Sliding pen pouch VIDEO TUTORIAL
- 3.2 DIY Sliding Pen Pouch Materials
- 3.3 INSTRUCTIONS how to make the sliding pencil case:
- 3.4 STEP 1: Prepare the slide pencil pouch pattern
- 3.5 STEP 2: Fuse interfacing to the outer pieces
- 3.6 Step 3:
- 3.7 Step 4:
- 3.8 Step 5:
- 3.9 Step 6:
- 3.10 Step 7:
- 3.11 Step 8:
- 3.12 Step 9:
- 3.13 Step 10:
- 3.14 Step 11:
- 3.15 Step 12:
- 3.16 Step 13:
- 3.17 Step 14:
- 3.18 Step 15:
- 3.19 Step 16:
- 3.20 Step 17:
- 3.21 Step 18:
- 3.22 Step 19:
- 3.23 Step 20:
- 3.24 Step 21:
- 3.25 Step 22:
- 3.26 Step 23:
- 3.27 Step 24:
- 3.28 Step 25:
- 3.29 Step 26:
- 3.30 Step 27:
- 3.31 Step 28:
- 3.32 Step 29:
How to Make a Sliding Pencil Case

Slide Pen Case Supplies and tools

- fabric (outer – plain) cotton
- fabric (outer – patterned) – cotton canvas
- fabric (lining) – cotton
- stiff fusible interfacing
- zipper – 8″ (20cm)
- matching thread
- scissors (or rotary cutter and a cutting mat)
- ruler or measuring tape
- iron and ironing board
- sewing clips or pins
DOWNLOAD: sliding pencil case pattern (Free PDF file)
- ALTERNATIVE DOWNLOAD LINK:
Follow us for free patterns & tutorials! [easy-profiles]
How to Sew a Slider Pencil Case
Watch the diy slide pencil case video first and then follow the written step by step instructions below. Please enjoy and don’t forget to Like and SUBSCRIBE over on YouTube to be kept up to date with new videos as they come out.
Sliding pen pouch VIDEO TUTORIAL
DIY Sliding Pen Pouch Materials
You will need:
Outer layer (plain cotton canvas)
- 2 pieces of 7 x 9 7/8-inch (18 x 25 cm) cotton canvas fabric for the exterior of the slide pen pouch.
- 1 piece of plain 4 x 2 ¾ inch (10 x 7 cm) plain fabric for the pull tabs on the sliding section
Outer – Contrast color fabric
- 1 piece of print fabric 13 ½ x 8 ¾ ( 34 x 22 cm) to make the sliding collar for the pouch
- 1 piece of print fabric 2 x 2 ¾ inch (5 x 7 cm) to make the zipper pull tag
Lining fabric
- 2 pieces of 7 x 9 7/8-inch (18 x 25 cm) light cotton print fabric for the lining of the slide pen pouch.
INTERFACING
- 2 pieces stiff interfacing 7 x 6 ¼ inch (18 x 15.5)
- 1-piece mid-weight interfacing 12 ½ x 8 ( 32 x 20 cm)
1 zipper 8″ (20 cm) to match the color of the outer fabric.
INSTRUCTIONS how to make the sliding pencil case:
STEP 1: Prepare the slide pencil pouch pattern
You can either download our free slide pencil pouch pattern (above) or draw your own pattern (see instructions below).
For those who have our printed out our slide pencil pouch pattern you can proceed with the next step.
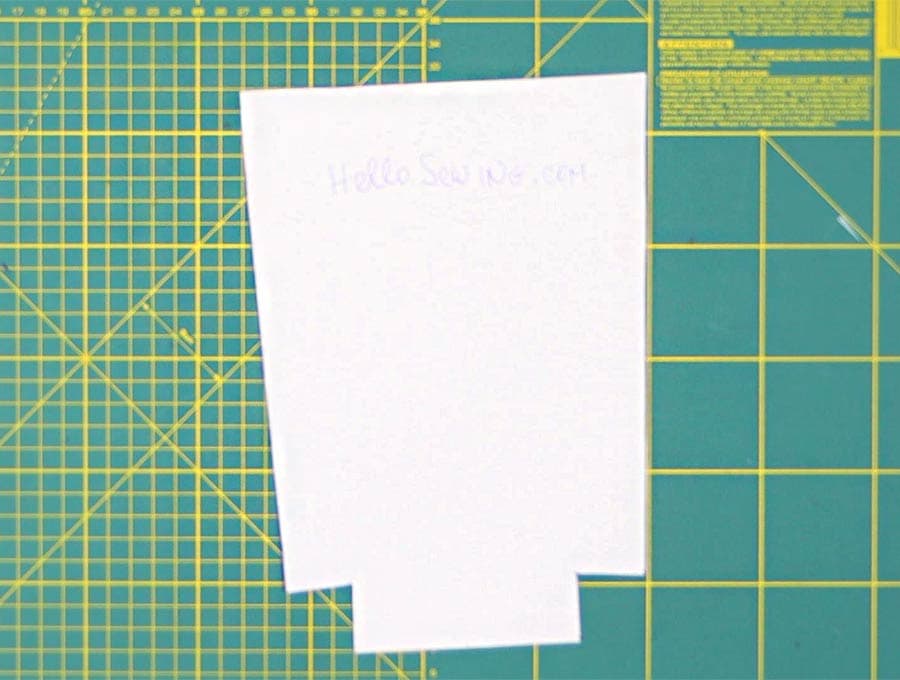
For those who don’t have a printer you will need to measure as follows. Making your own template
- Take a piece of paper 7 x 9 7/8-inch (18 x 25 cm) and place it with the short side facing the bottom of the worktop
- Along the base measure 4 inches (10 cm) that is 2 inches (5 cm) from the center point on each side) and make a mark on either side.
- Along the sides measure upwards 1 1/8 inch (3cm) and make a mark, then join the marks on either side with a light line. Extend the base marks upward to intersect the new line at right angles.
- Next to the 1 1/8-inch (3cm) mark make a new mark 3/8 inch (1 cm) in from the edge on either side.
- Use a ruler to make a slightly diagonal line from the top corner of the fabric to the new mark.
- Below the 1 1/8-inch (3cm) mark make a new mark 0.08 inch (0.2 cm) on the edge of both sides of the cotton canvas fabric and repeat with the second piece.
- Join that mark to the corner where the line coming up from the base and the line across meet.
- Cut out the corners marked and cut off the tapered bit.
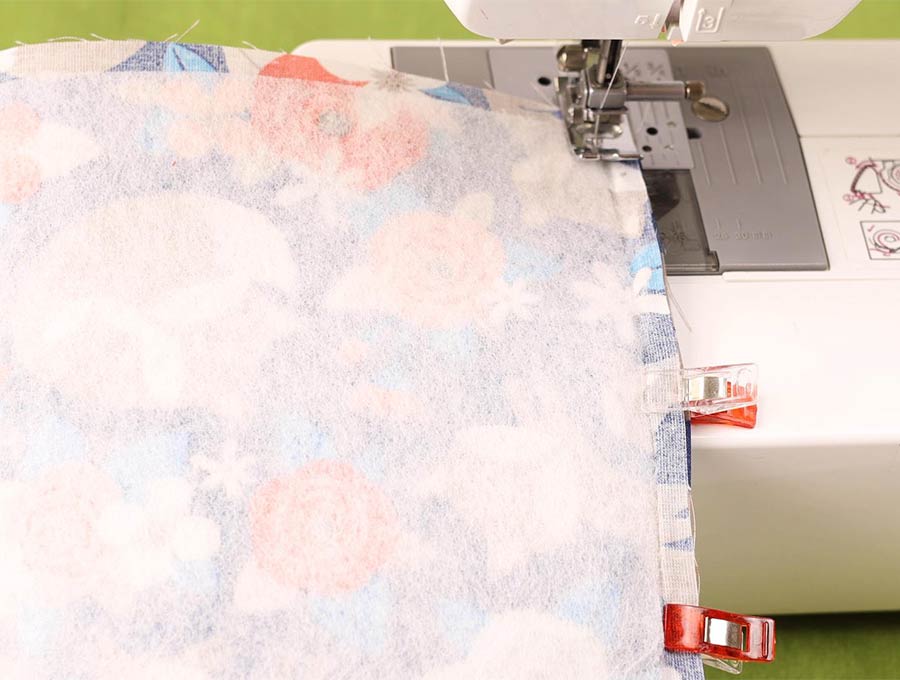
STEP 2: Fuse interfacing to the outer pieces
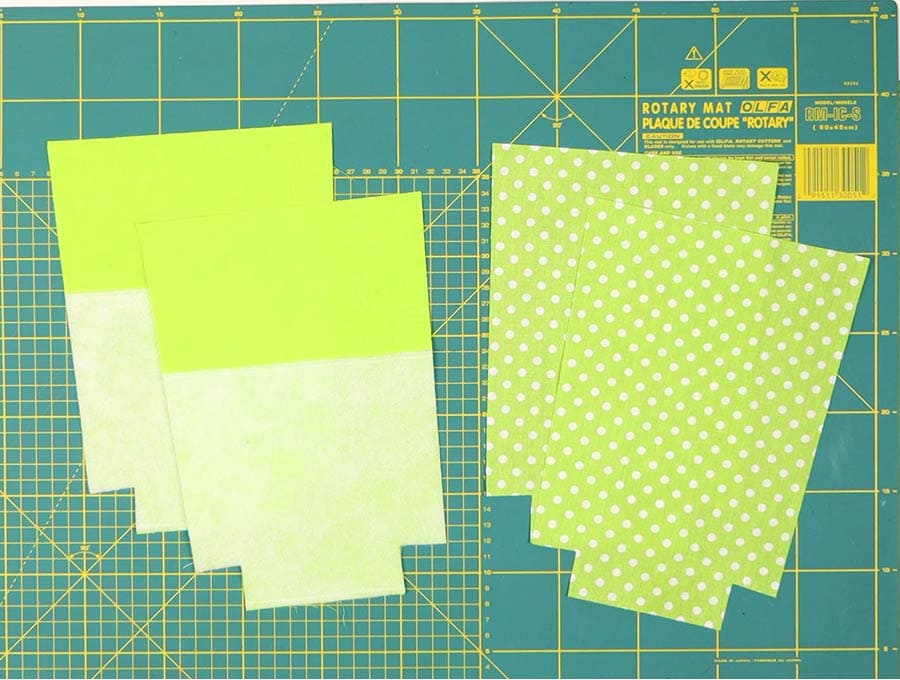
Place both pieces of your cotton canvas measuring 7 x 9 7/8 inch (18 x 25 cm) on your worktop with the wrong side facing upwards. The short side should face the base of the worktop.
Place the interfacing pieces on the two cotton canvas pieces, lining up the short side with the bases. The interfacing will reach around halfway up the cotton canvas – this is so the top can later slide down. Fuse the interfacing as per the manufacturer’s instructions with an iron.
Stitch along the top of the interfacing.
Step 3:
Cut out the main outer fabric pieces and the lining pieces according to the pattern (4 pieces total)
Step 4:
Take one outer piece and one lining piece.
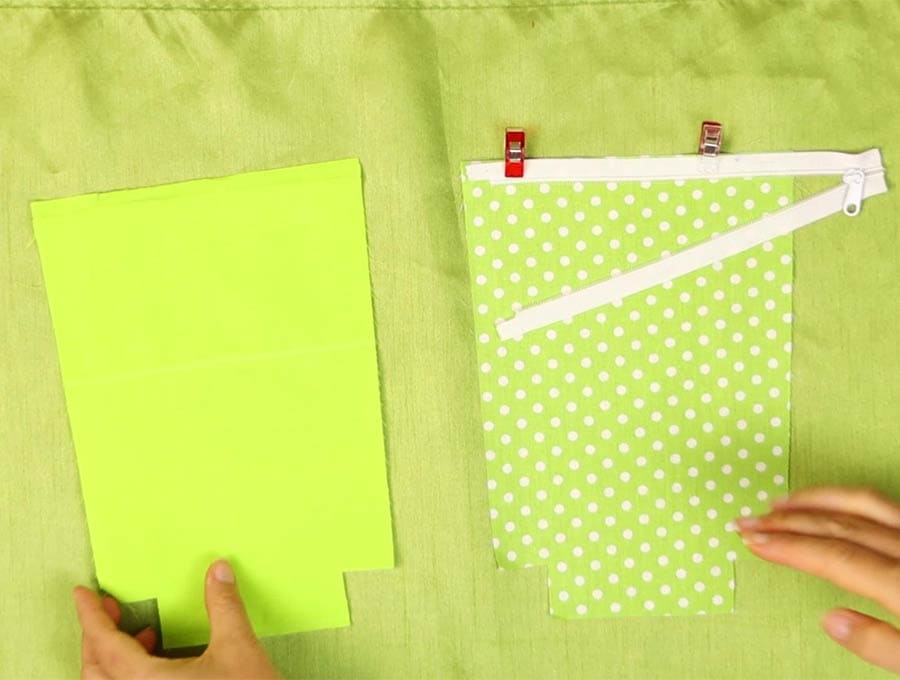
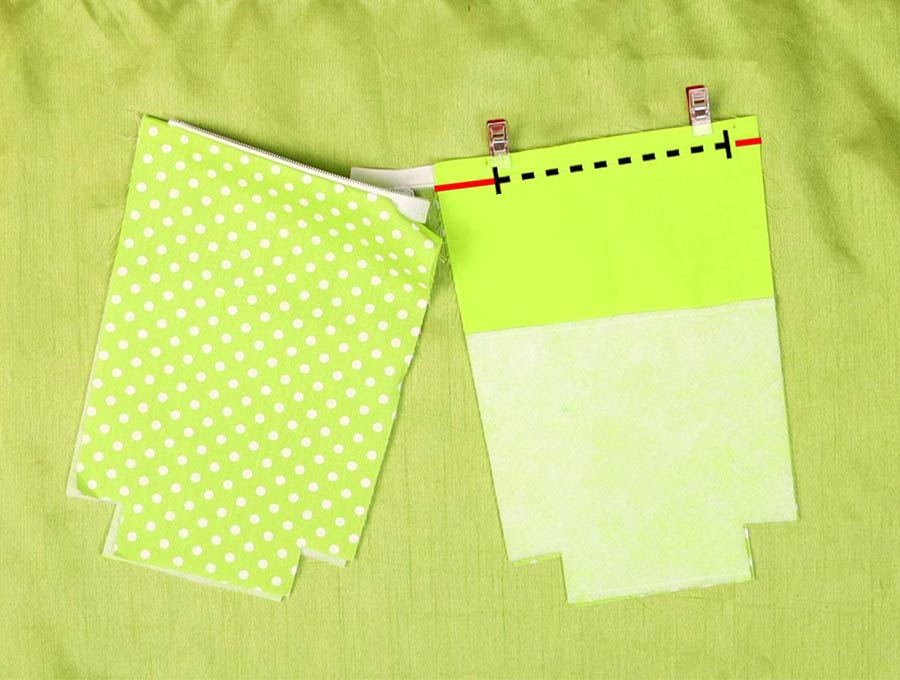
To attach the zipper, place the end where the zipper closes at the edge of the fabric lining piece that is right side up with the zipper pull side upwards too, and line the edge up neatly with the edge of the lining fabric. You will notice there is as extra piece of the zipper extending beyond the fabric on the right-hand side – this is fine as it will be utilized later. Open the zipper and pin the top half in place, making sure to fold in the little rough edge at the end underneath. It will be a short distance in from the edge but this is fine as the seam allowance will take up that gap.
Step 5:
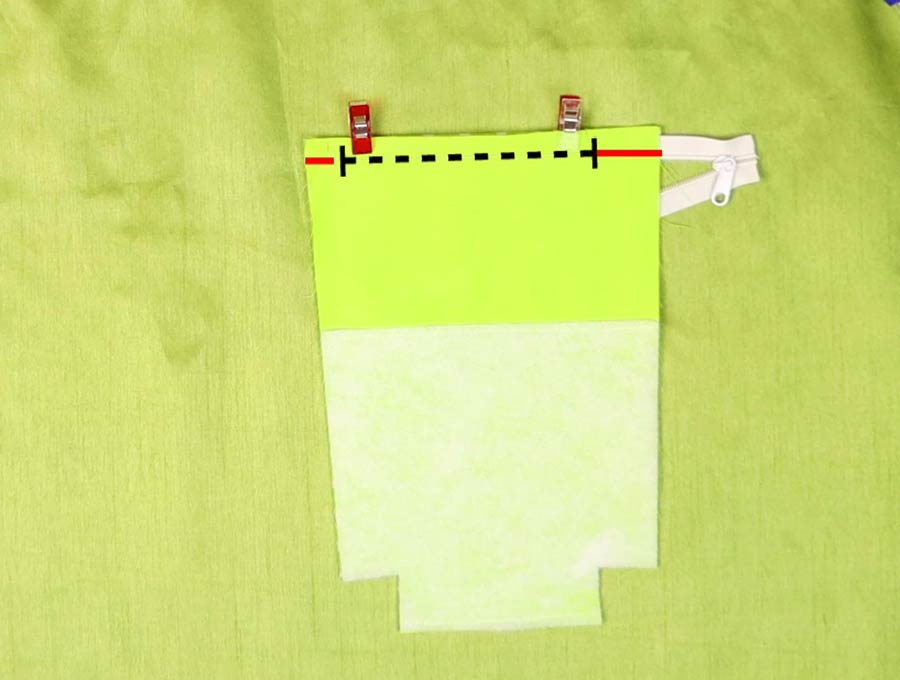
Place the cotton canvas fabric with the edge that doesn’t have the interlining attached right side to right side of the lining fabric and line it up with the edge of the lining fabric, over the zipper piece. Clip in place. Measure 1 inch (2.5 cm) in from the right-hand side edge where the extra piece of zipper sticks out and make a mark. Measure 3/8″ (1cm) from the left-hand side and make a second mark.
Step 6:
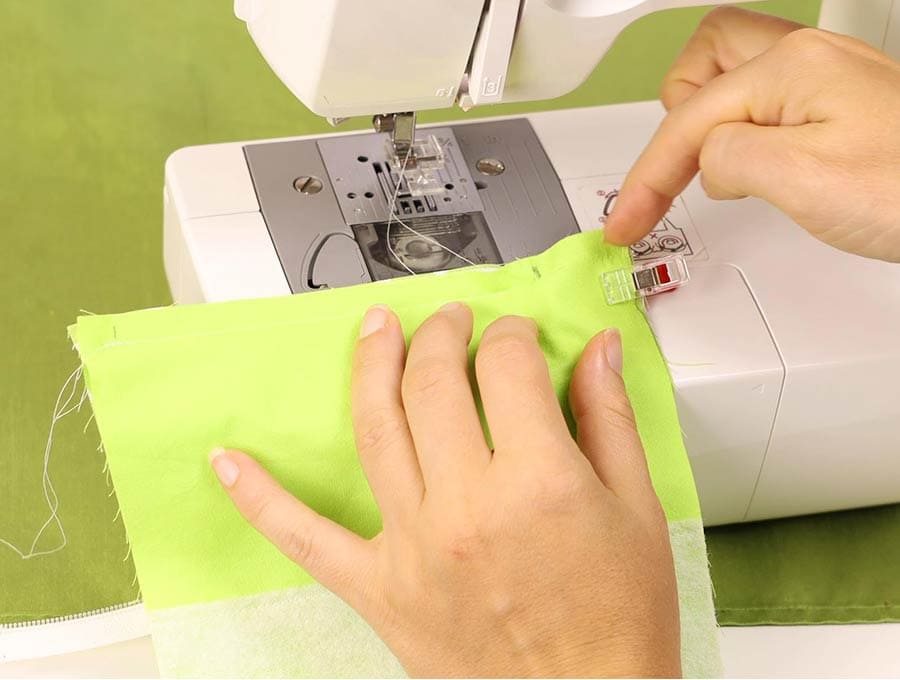
Stitch between the marks you made, close to the zipper teeth.
Step 7:
Open out the fabric and move the extra edge of the zipper out of the way before replacing the fabric and stitch that 1-inch (2.5 cm) piece at the end closed.

Step 8:
To secure the other side of the zipper for the slider pen pouch repeat steps 5 to 7.
Step 9:
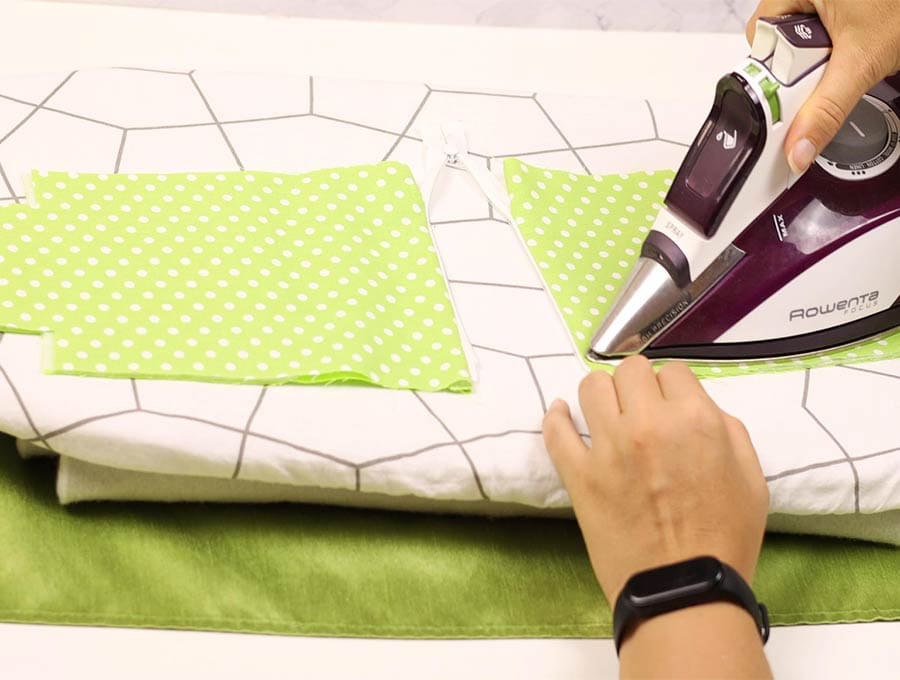
Close the zipper halfway and open out the fabric with the wrong sides facing each other and press the fabric flat on either side of the zipper.
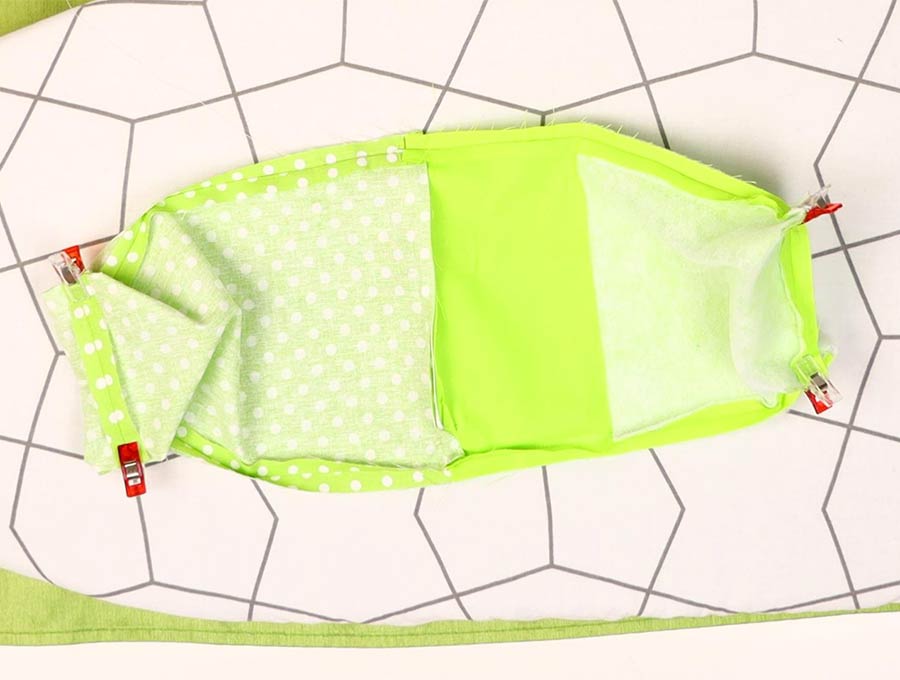
Step 10:
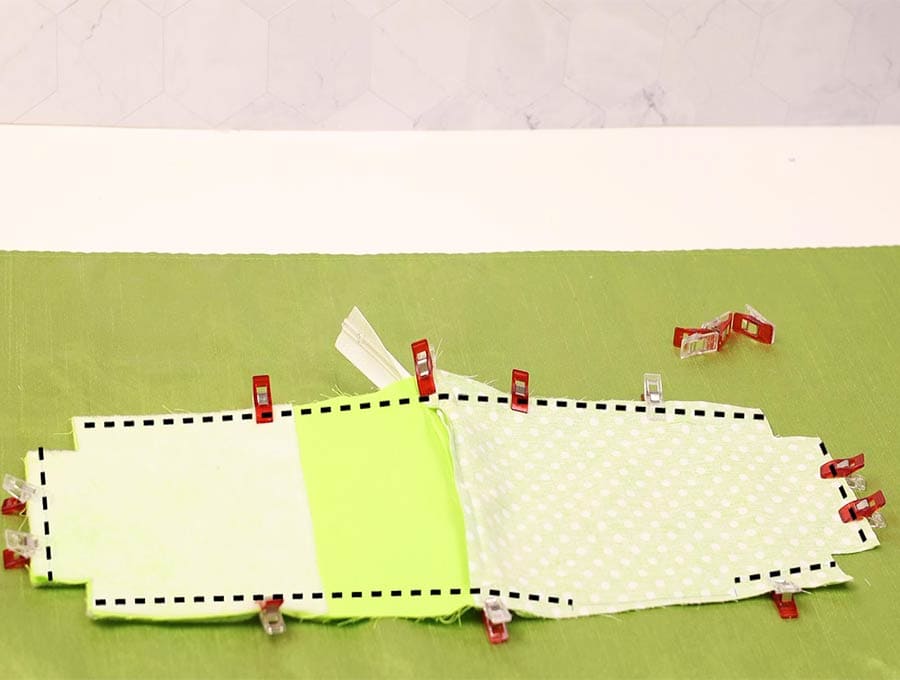
Open out the fabric so this time the right sides are facing each other and pine up the edges of the cotton canvas fabric with the interlining and clip in place. Where the zipper closes fold the edges to the left and clip in place, then where the extra piece of zipper extends, fold that out of the way so the machine does not catch it, then clip the ends of the fabric in place. Clip or pin the lining pieces so they line up neatly.
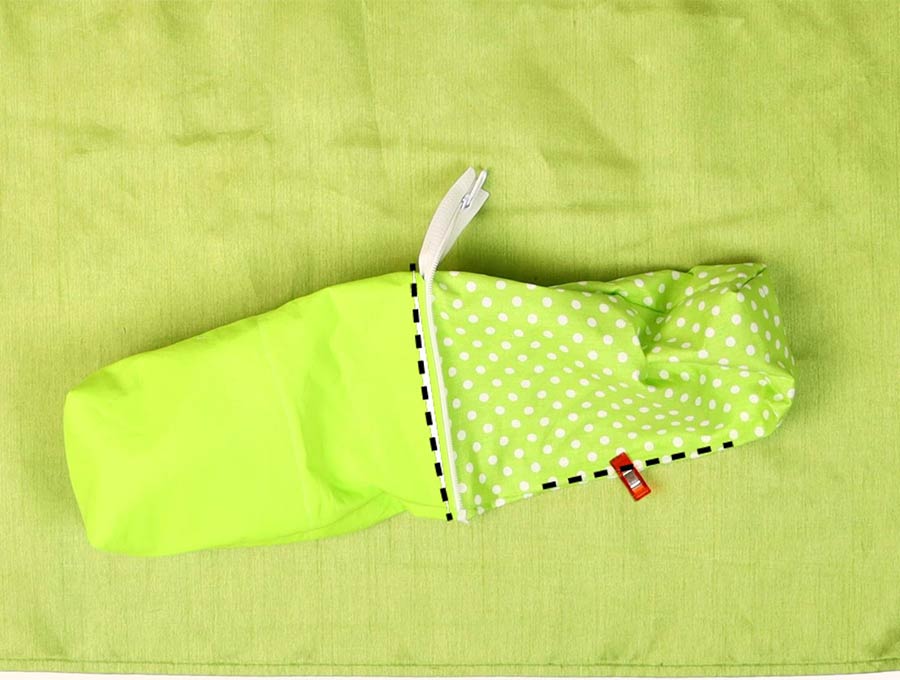
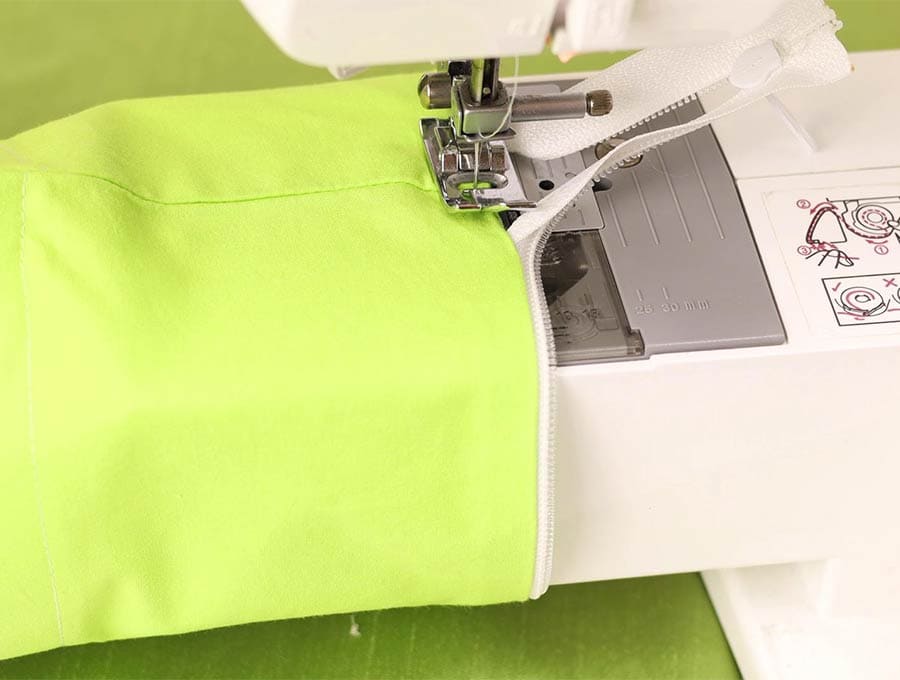
Step 11:
Stitch around the edge of the sliding pen pouch (3/8 inches) 1 cm from the edge, leaving a gap of around 4 inches (10 cm) on one side of the lining fabric. This gap is where you will pull through the fabric to turn the pouch the right way out. Do not stitch into the cut-out corners – only the base and sides of the fabric.
Step 12:
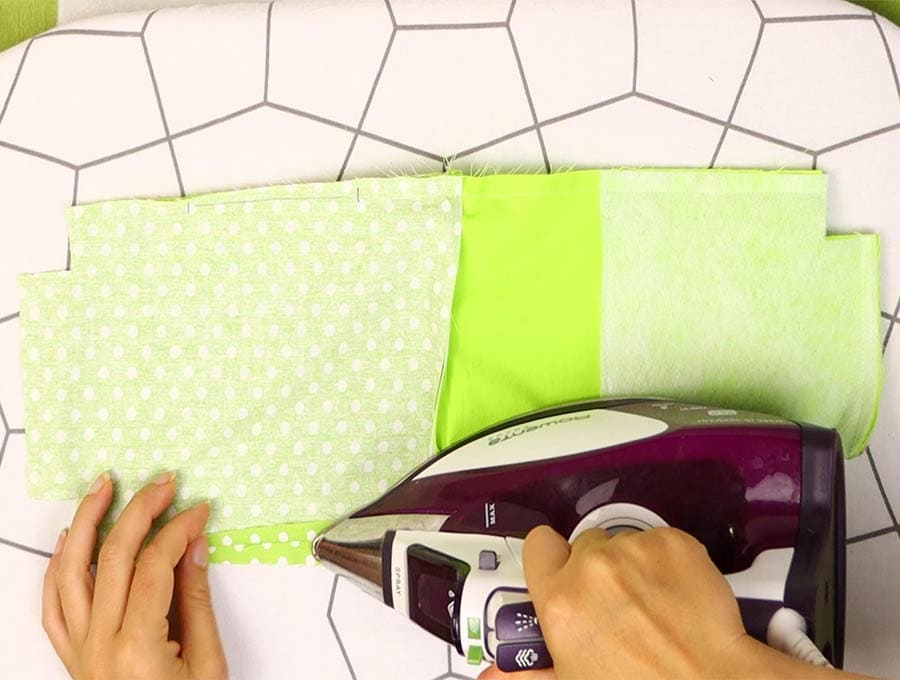
Open out all the seams you have stitched and press them flat with an iron.
Step 13:
Once you have done this pull the four cut out corners you did not stitch and line up the opened-out seams before clipping in place.
Step 14:
Stitch across the cut-out corners.
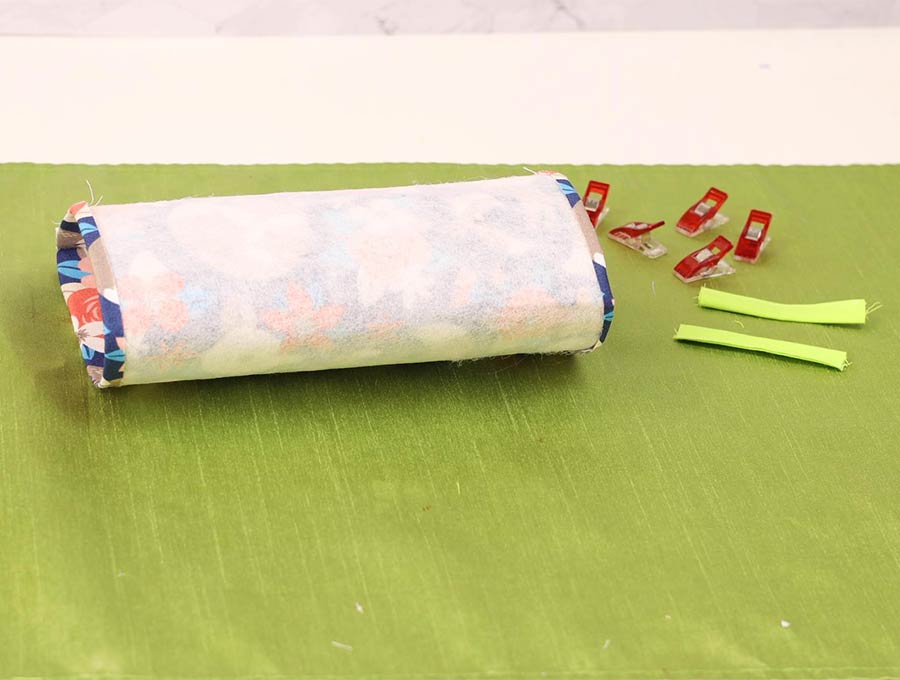
Step 15:
Turn the fabric right way out through the gap you left in the lining, working carefully as the interlining fabric will make it quite stiff to work with. Poke out the corners neatly.
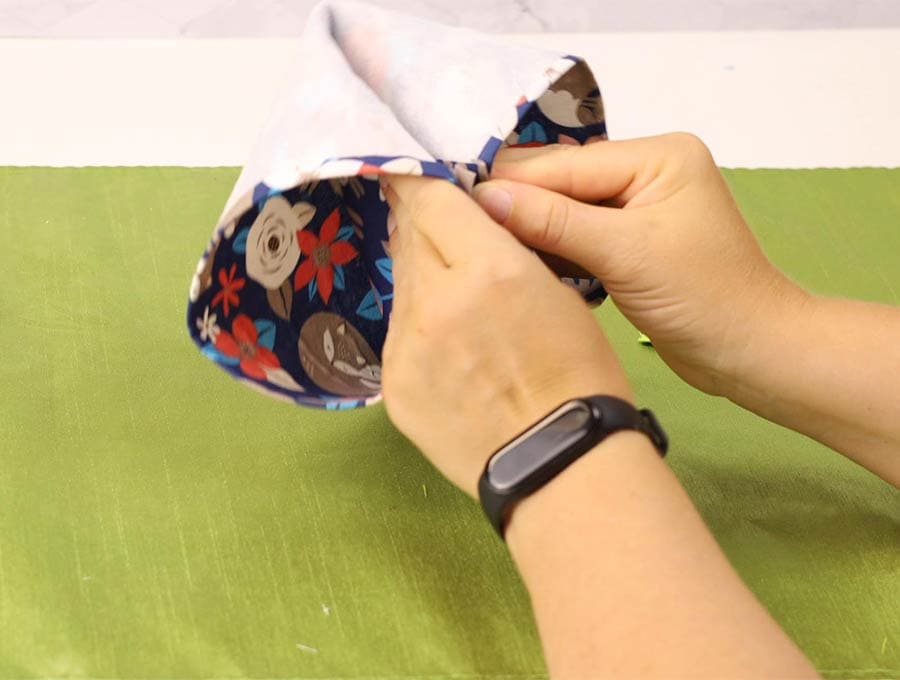
Step 16:
The edges of the gap for turning the fabric can be lined up neatly and blind stitched closed.
Step 17:
Top stitch neatly around the edge of the top of the pouch next to the zipper.
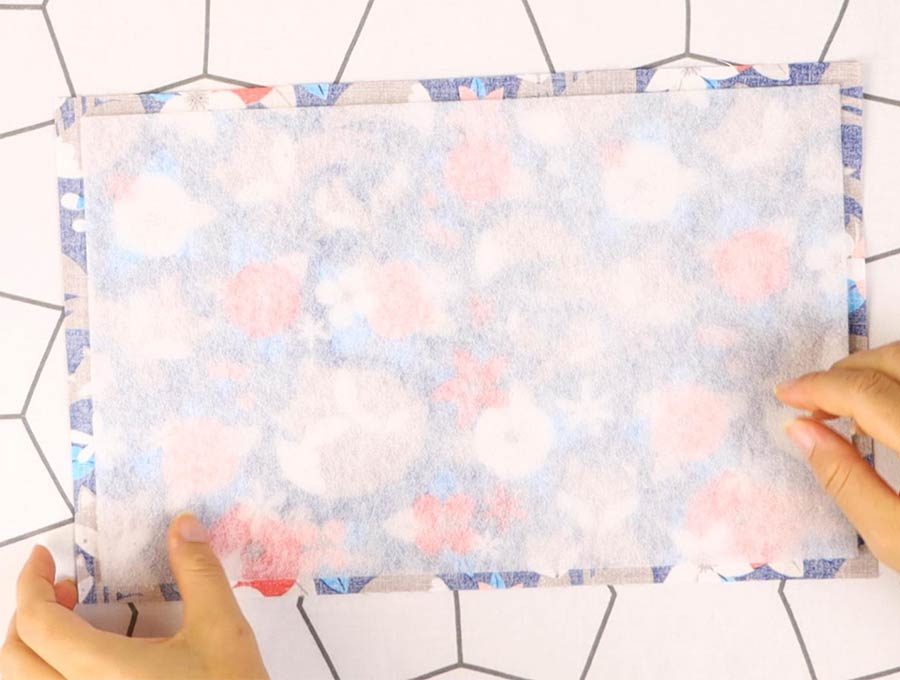
Step 18:
Take the printed outer piece that is 13 ½ x 8 ¾ ( 34 x 22 cm) and apply the interfacing to the wrong side of the fabric according to the manufacturer’s instructions.
Step 19:
Fold the short side across to the other short side and line up the edge before clipping in place.
Step 20:
Stitch the seam to form a cylinder.
Step 21:
Press open the seam, then fold over 3/8 inch (1 cm) all the way around the top pressing place, and repeat for the bottom of the cylinder-shaped fabric. Now fold the top down to meet the bottom and line up the edges, then clip in place
Step 22:
Top stitch all the way around the top leaving a 1 5/8-inch (4 cm) gap at the seam, and one on the opposite side to the seam, as this is where you will insert the tabs for sliding the pen pouch down.
Step 23:
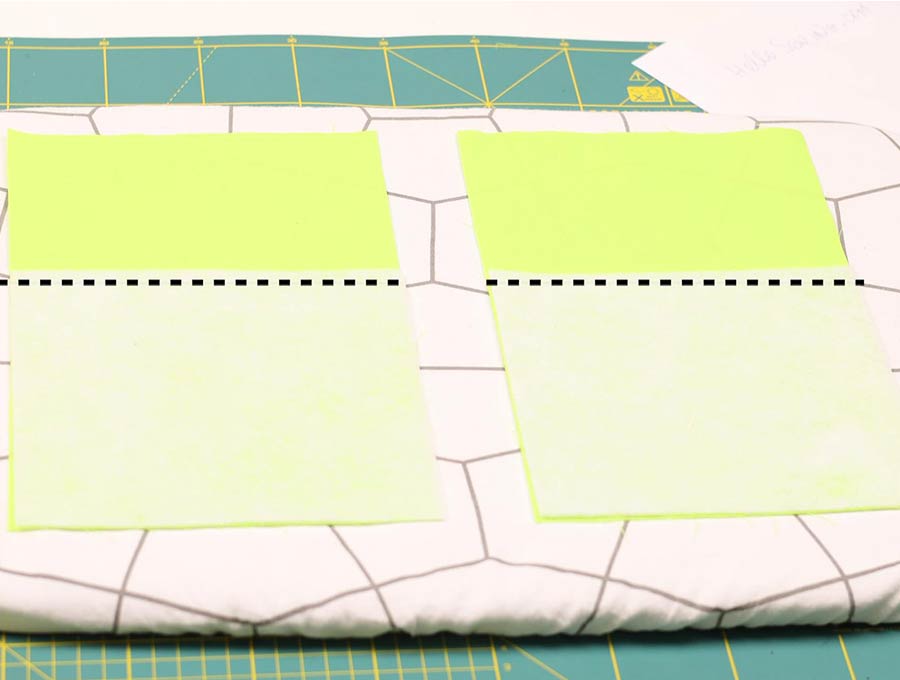
Create the tabs by taking the 4 x 2 ¾ inch (10 x 7 cm) plain fabric, and cutting in half on the longer side so you have two pieces 2 x 2 ¾ inches (5 x 7 cm).
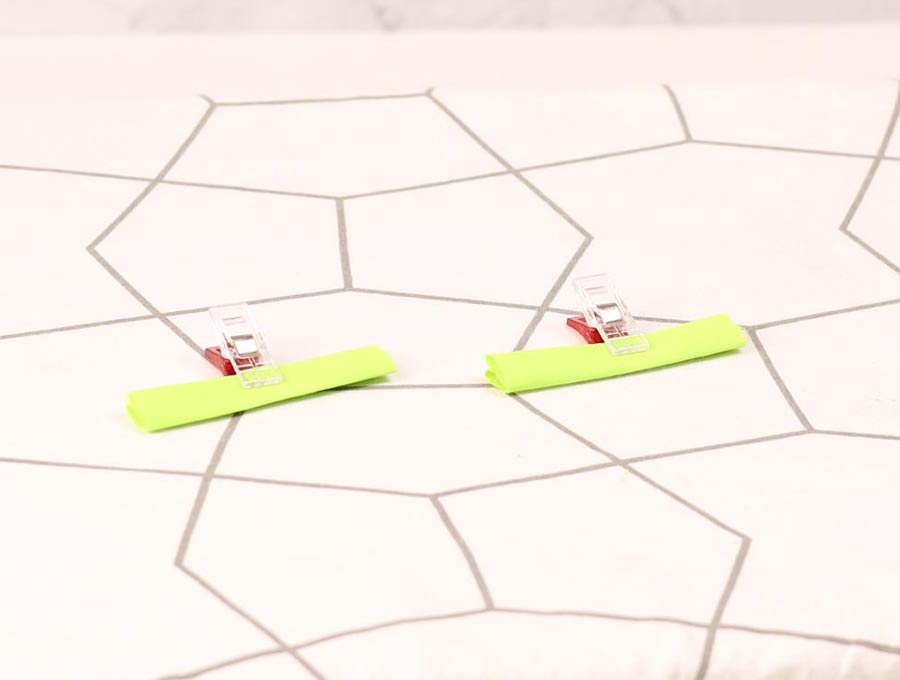
Step 24:
Fold them bias style: fold in half along the length and press flat with an iron. Open up and fold each raw edge towards the middle crease and press. Fold again along the middle crease and clip
Repeat with the other piece.
Step 25:
Insert the tabs into the sliding collar you made in Step 22, ensuring they are exactly in the middle of the seam and exactly on the halfway mark opposite the seam. Stitch in place back tacking at start and finish.
Step 26:
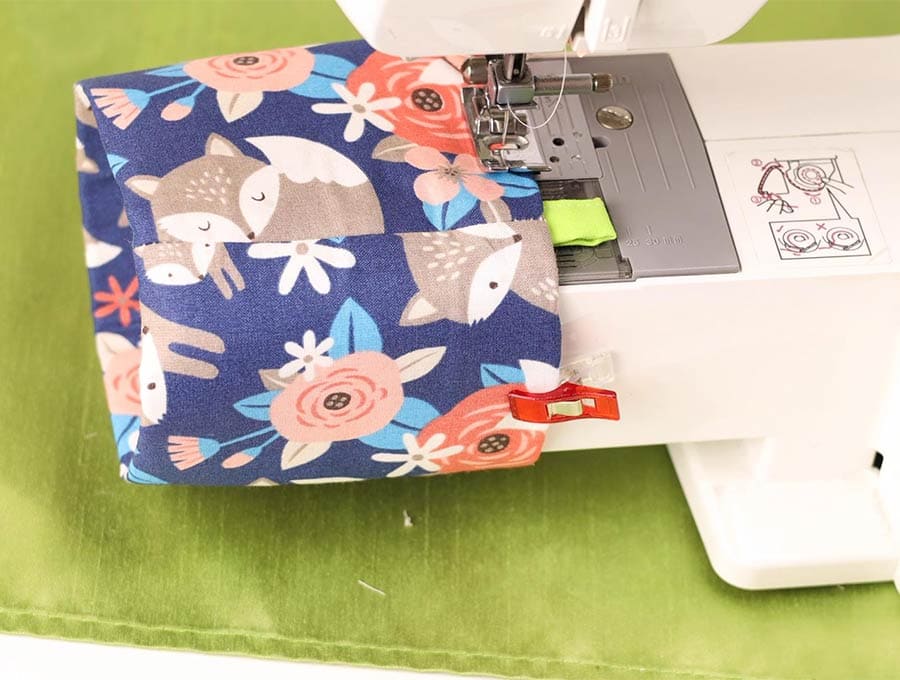
Take the collar with the tabs you have just added facing downward and slide it over the outside of the pen pouch lining up the top of the collar just below the top stitching at the zip edge. Pin in place making sure the tabs are in line with the side seams on the sliding pen pouch and clip in place ready to sew.
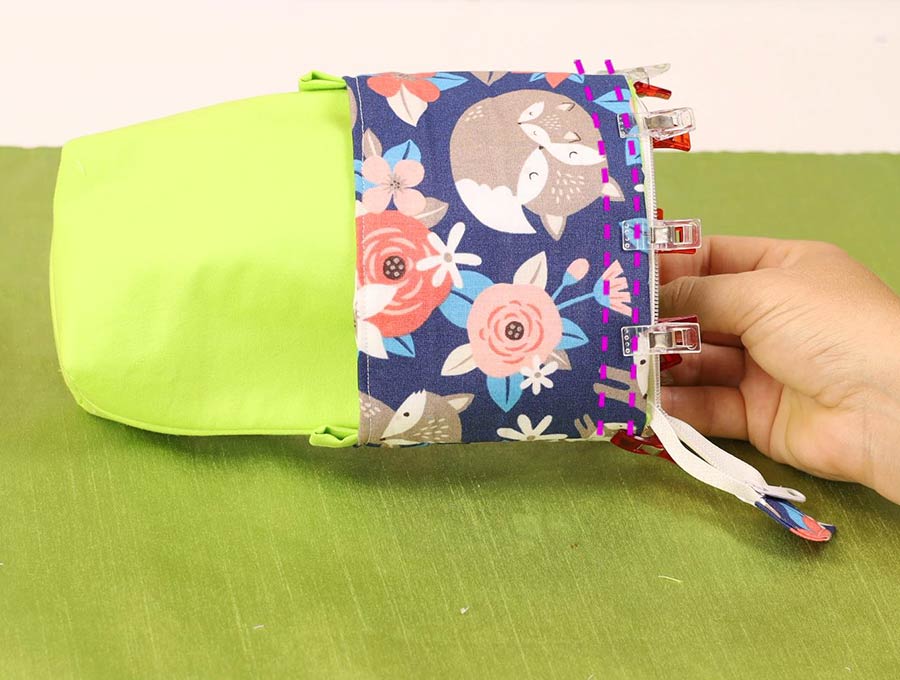
Step 27:
Stitch around the top of the collar with two rows of stitching 3/8 inches (1 cm) apart.
Step 28:
Create a tab for the raw edge of the zipper by taking the 2 x 2 ¾ inch (5 x 7 cm) piece of fabric and folding in all four edges and pressing in place before folding in half and placing over the end of the zipper to cover the raw edge where the zipper ends. Make sure the tab lines up neatly and pin in place on the edge of the zipper.
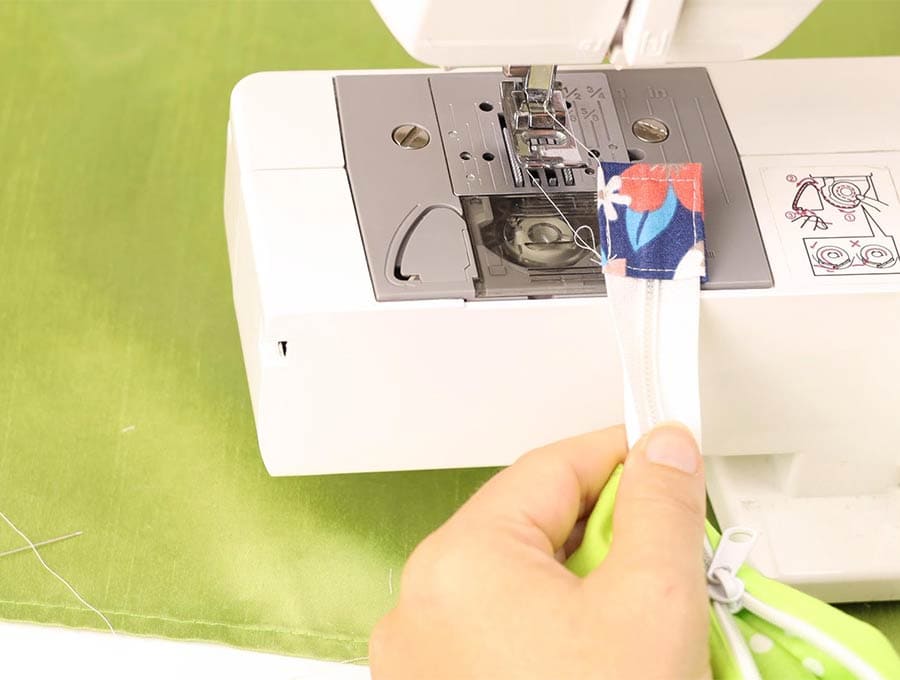
Step 29:
Stitch around three sides of the zipper tab (not the folded edge) to ensure that it sits securely at the end and finishes off the sliding pen pouch neatly.
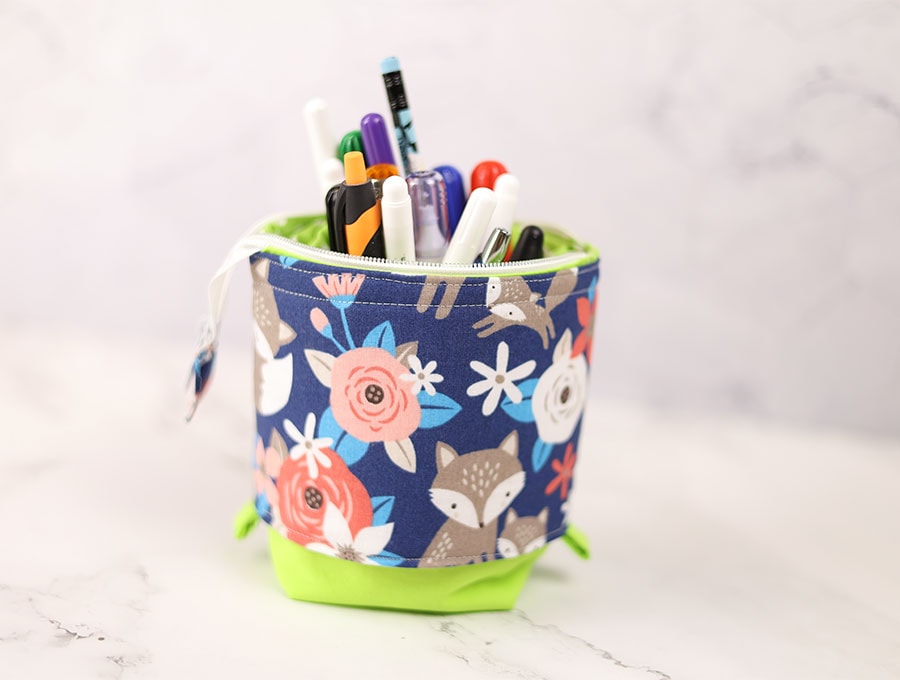
To use the sliding pen pouch fill with pens, pencils and markers, standing with the points upright, and zip closed. When you want to see what you have, open the zipper, pull the side tabs of the collar downwards and you can see exactly which colors you want to use. The interfacing makes this quite firm and sturdy for keeping pencil tips safe from harm.
We do admit it takes longer to explain the steps than to actually make this sliding pen pouch. Once you have made one you will be able to turn out these sliding pen pouches quite quickly. If you enjoyed this tutorial then hit the subscribe button to have more neat ideas delivered straight to your inbox.
Do you like this? Pin for later:
Wanna be friends? Click HERE and follow me on Pinterest
RELATED: