
DIY socks – How to Sew Easy Socks with Free Pattern
DIY socks in three to four minutes? Yes, seriously. All you need is enough fabric to cut four pieces the size of the sole of your slippers. Use slim fitting slippers as a pattern. You can also use flip-flops, thongs or slops. Depending in which country you live, these ubiquitous beach sandals with a strap that goes between the toes, have different names. Whenever you have stretchy fabric over from a project you can make the DIY socks in psychedelic colors, paisley prints, plains or beachy prints, or whatever print takes your fancy. Just avoid slippery fabrics – unless you actually plan on going skating across the floor in your DIY socks.
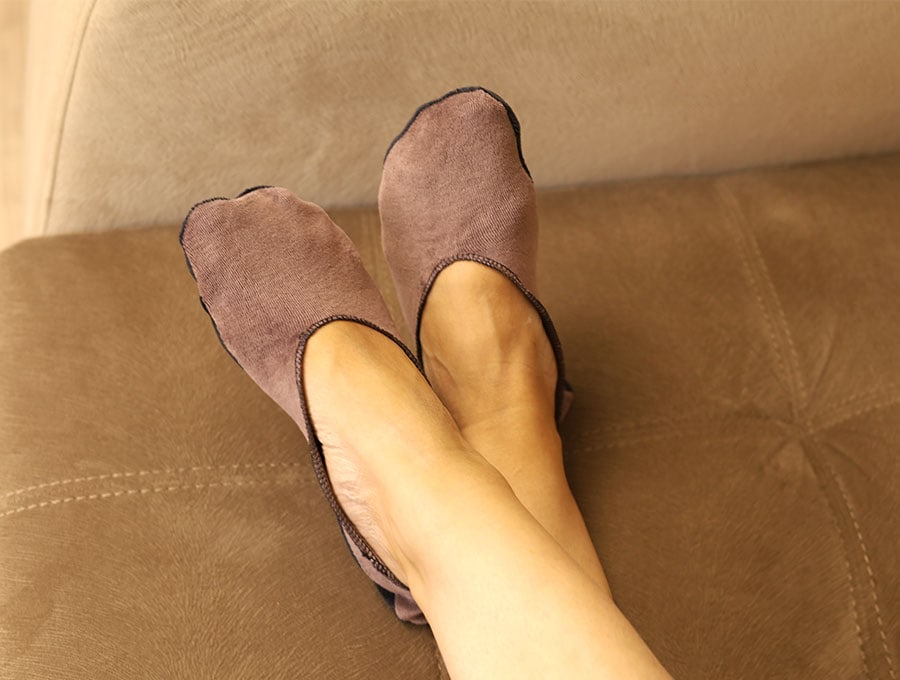
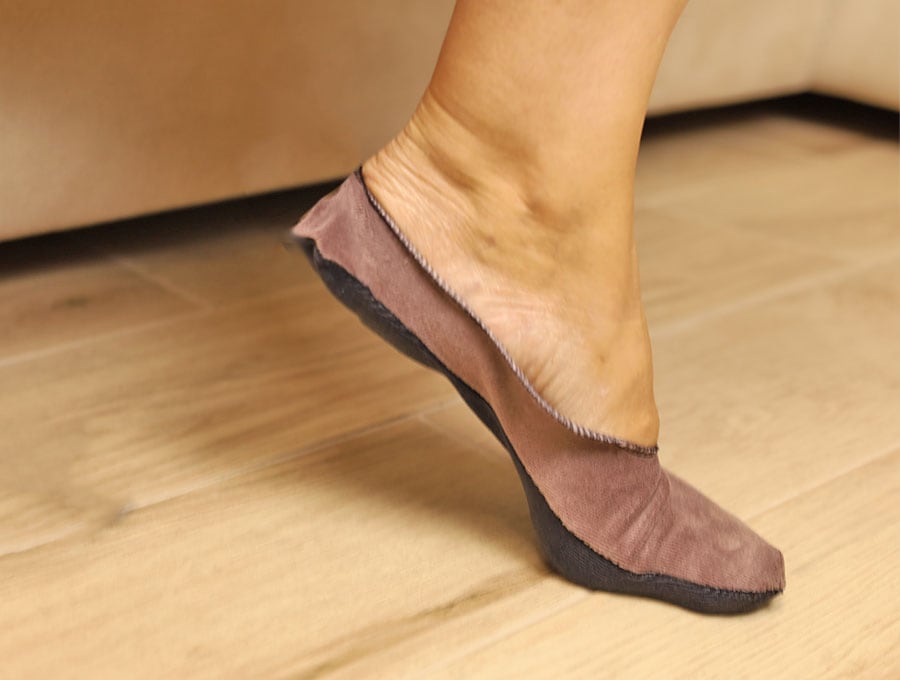
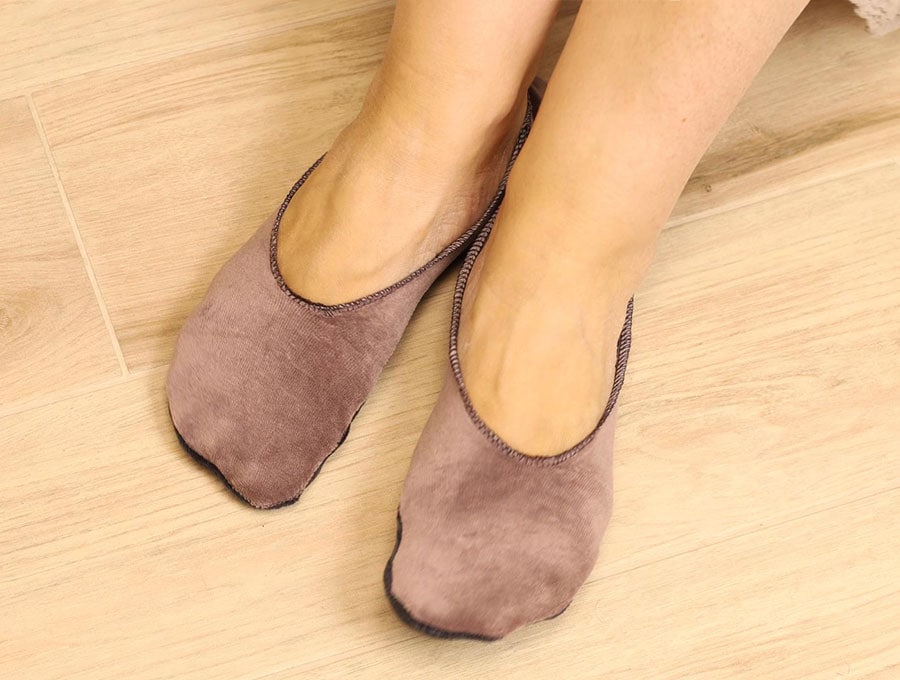
Watch the visuals and follow the step-by-step instructions to make our one-seam DIY socks in around three minutes. Yes, you read that right – just three minutes from start to finish. All you need is some plush stretchy fabric and a pair or your own slippers or sandals to serve as a pattern. It’s the easiest way to make socks that look like the secret socks we’re all so fond of. Wear these comfy and cute socks around the house to keep feet clean and warm, or curl up on the couch with them. You can also wear them out, slipped on under your boots or sneakers.
Below you will find my step by step written tutorial how to make socks with VIDEO instructions for all the visual learners.
We occasionally link to goods offered by vendors to help the reader find relevant products. Some of the links may be affiliate meaning we earn a small commission if an item is purchased.
Table of Contents
How to Make Socks
DIY Socks Supplies and tools
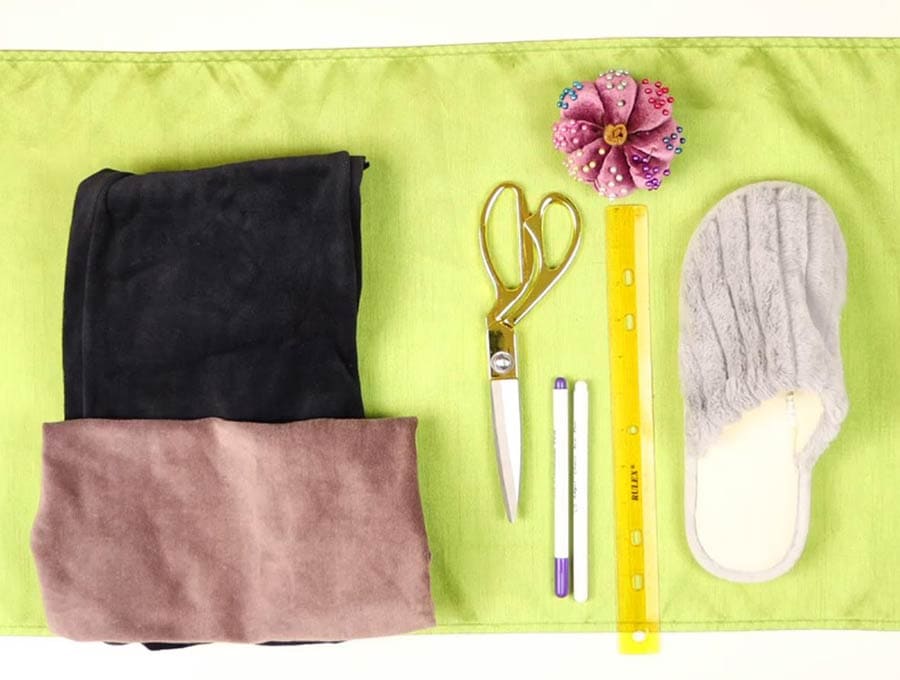
- plush stretchy fabric (avoid slippery fabrics!)
- (optional) non-slip fabric OR this No products found. – for the sole of the socks if you want to make them anti-slip!
- matching thread
- scissors (or rotary cutter and a cutting mat)
- ruler or measuring tape
- sewing clips or pins
DOWNLOAD: socks pattern [Free pdf file] I’ll make mine into a printable pattern EU 39/US 8 / UK 6
Follow us for free patterns & tutorials! [easy-profiles]
How to Sew Socks
Watch the diy socks video first and then follow the written step by step instructions below.
Please enjoy and don’t forget to Like and SUBSCRIBE over on YouTube to be kept up to date with new videos as they come out.
DIY Fabric Socks VIDEO TUTORIAL
INSTRUCTIONS:
STEP 1: Make the socks pattern

Grab your stretchy fabric and place it right side down on your worktop. Then grab a slipper in your size and place it on the fabric, making sure it is placed across the stretch, not lengthwise with the stretch. This way the sock will mold better to your foot.
Draw around the base of the slipper with a fabric pen. Make sure you draw close to the edge as you don’t want socks that are too loose.
STEP 2:
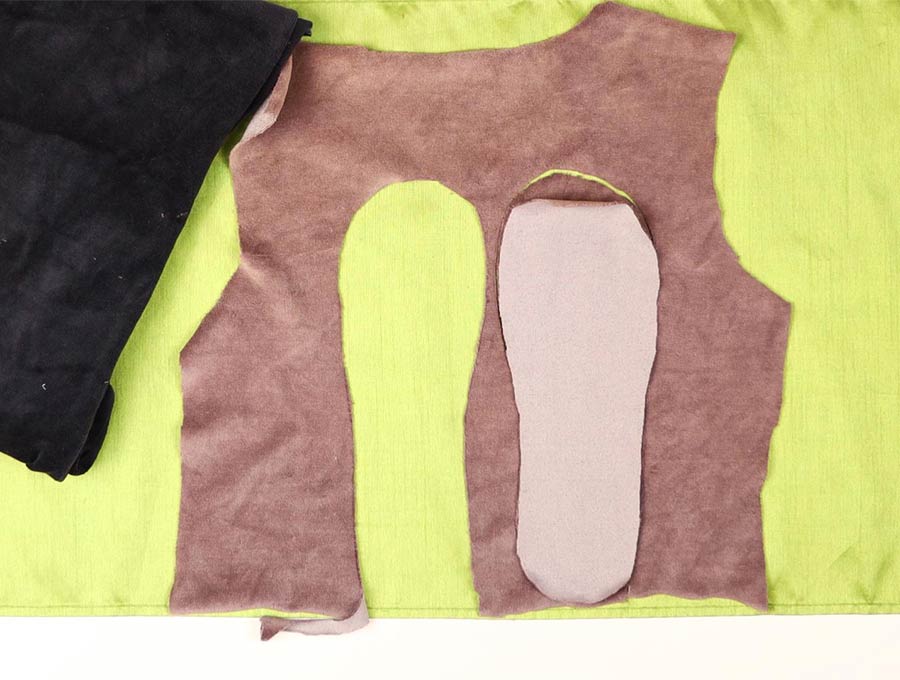
Either cut the sole, flip it over and draw around it to make a second sole OR place the other slipper on the fabric and draw around that one too.
Be careful that you don’t get muddled and cut two left or two right feet!
STEP 3:

Cut around the soles of the shoe shapes you have drawn. To ensure they are equal after cutting place right side to right side on top of each other, lining up the edges and trimming where necessary.
Step 4:
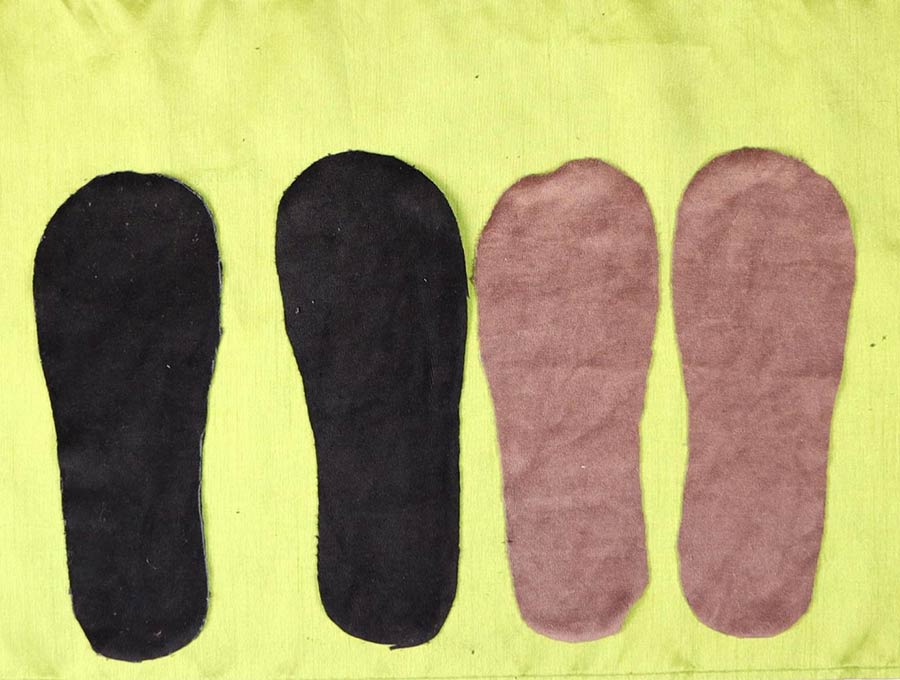
Now place those two sole pieces you just cut right side up on the material still on your worktop – which is wrong side up, and cut out another two bases.
Step 5:
Turn the top pieces so the wrong sides are outermost and pin together with the soles down the middle of the sole.
Step 6:
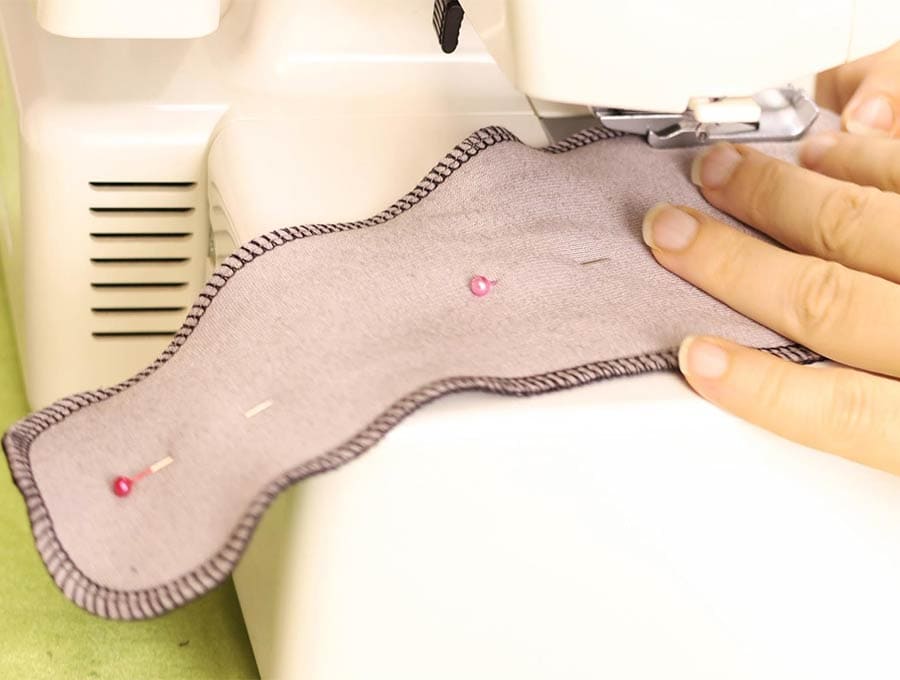
Serge (overlock) or zig zag, right around the edge of the sole – you will not be leaving any gap to turn the socks – you’ll see why in the next step. If you are working with a zig zag stitch you will need to follow up with a straight stitch around ¼ inch (0.5 cm) from the edge to form a seam. The serger (overlocker) will have a safety stitch so there will be no need to follow up with another seam.
take a large eye needle and bury the thread tails in the seam
Step 7:
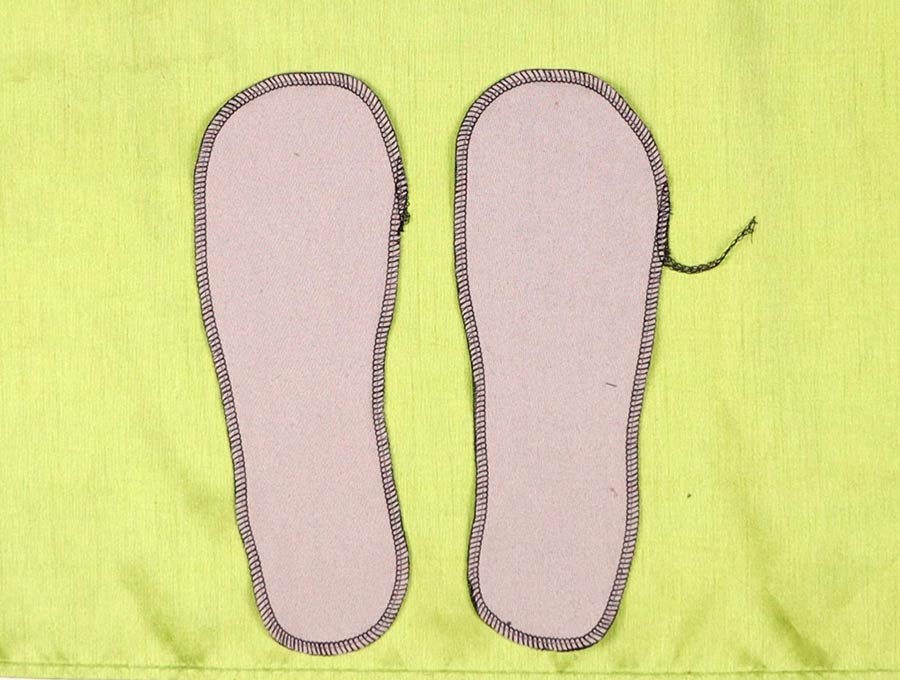
Place your fabric soles next to each other as you would place a pair of shoes
Find the middle of the heel and the middle of the toe box.
Draw a line from heel to toe with your fabric pen, once you have judged where the middle of the sole is.
Step 8:
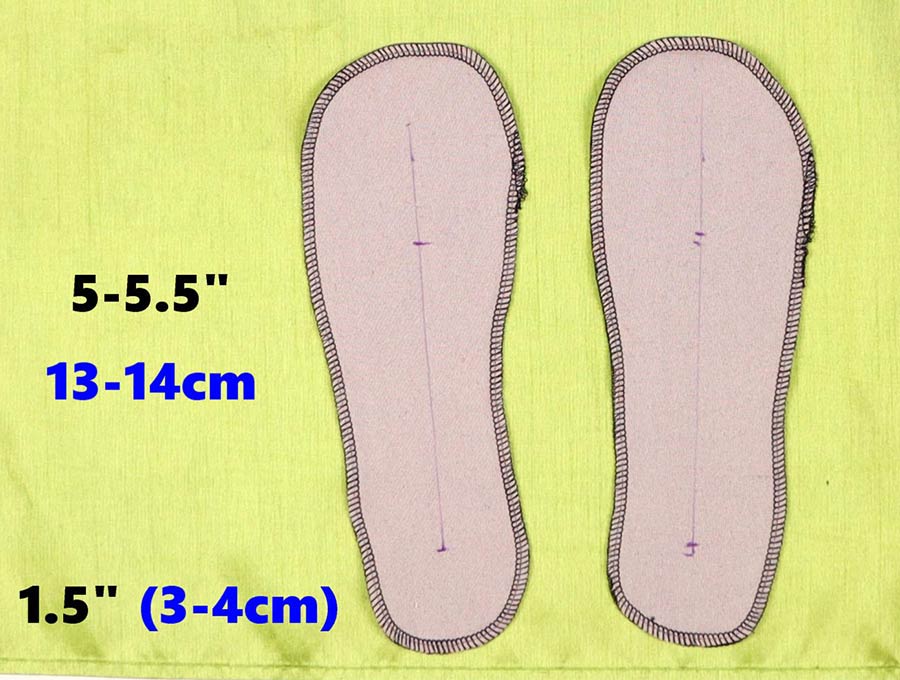
Now measure 1.2 to 1.6 inches (3 to 4 cm) upwards from the heel towards the toe and make a mark on the central line you drew. Measure 4.75 to 5.5 inches (12 to 14 cm) upwards from there along the line and make another mark. The distance from the heel and length of the mark will depend on your shoe size – smaller for size 5 and under and bigger for size 6 and over.
Cut a slit along the line between the mark near the heel and the upper mark. The slit will be 4.75 to 5.5 inches (12 to 14 cm) long.
Step 9:
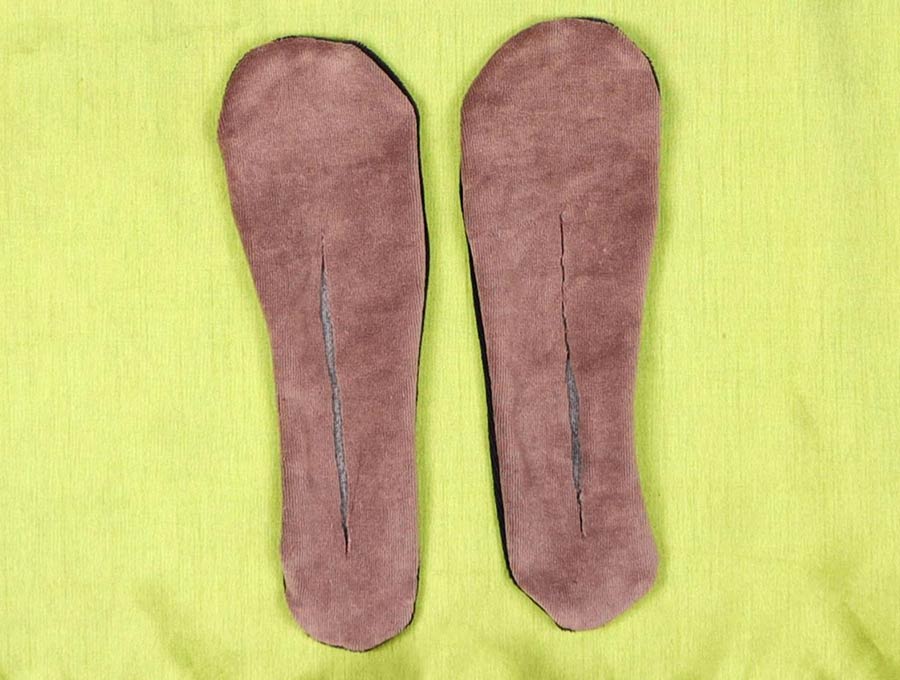
Turn the socks around
Step 10:

Serge (overlock) or zig zag around the edge of the slit, easing the stretchy fabric around the ends of the slit as you sew, so they are more rounded than pointed
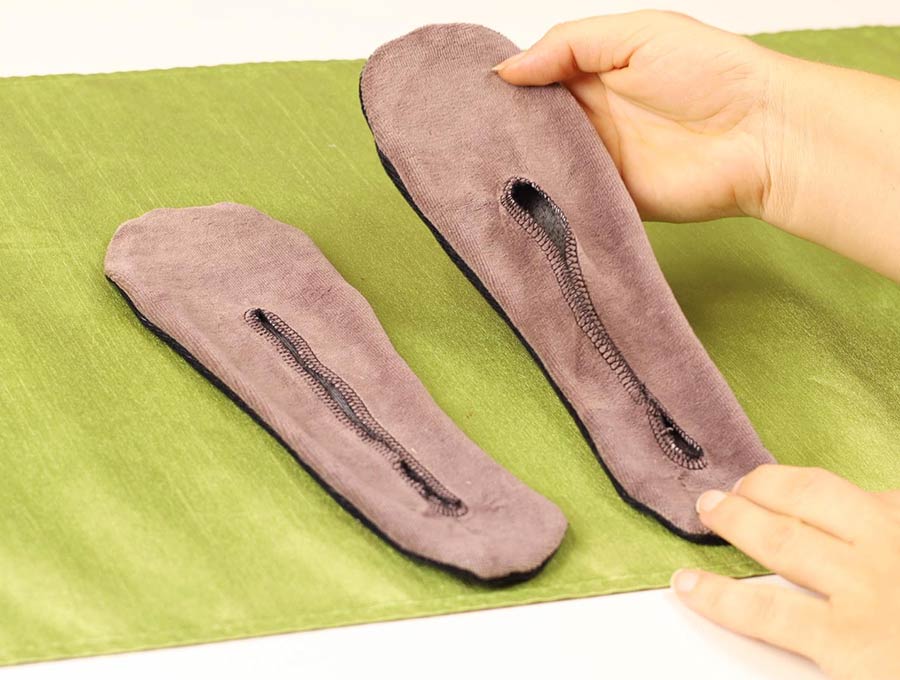
And that’s it! All you need to do it to try on your DIY socks for size. How easy is that? If you enjoyed this really quick project then do hit our subscribe button to have similar projects delivered straight to your inbox. We have loads of quick projects you’re going to love.
Do you like this? Pin for later:
Wanna be friends? Click HERE and follow me on Pinterest
RELATED: