
How to Sew a Turtle Mop [Free Turtle Mop pattern]
Below you will find my step by step written tutorial with VIDEO instructions for all the visual learners.
We occasionally link to goods offered by vendors to help the reader find relevant products. Some of the links may be affiliate meaning we earn a small commission if an item is purchased.
Table of Contents
How to make a Turtle Mop
They make great gifts as well!

Supplies and tools
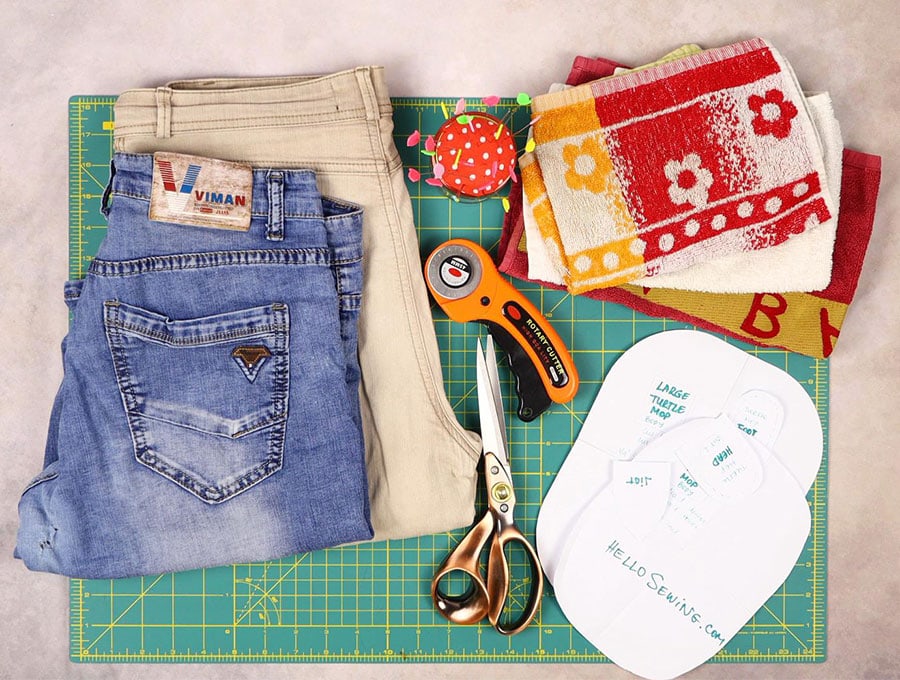
- denim or a pair of old jeans
- terry cloth or a hand towel
- matching thread
- scissors (or rotary cutter and a cutting mat)
- ruler or measuring tape
- iron and ironing board
- sewing clips or pins
DOWNLOAD: Turtle mop pattern (v.1.2) [Free pdf file]
Follow us for free patterns & tutorials! [easy-profiles]
How to Sew Turtle Mops
Watch the diy turtle mops video first and then follow the written step by step instructions below.
Please enjoy and don’t forget to Like and SUBSCRIBE over on YouTube to be kept up to date with new videos as they come out.
Turtle Mop VIDEO TUTORIAL
DIY TURTLE MOP INSTRUCTIONS:
STEP 1: Get the FREE turtle mop pattern OR make your own
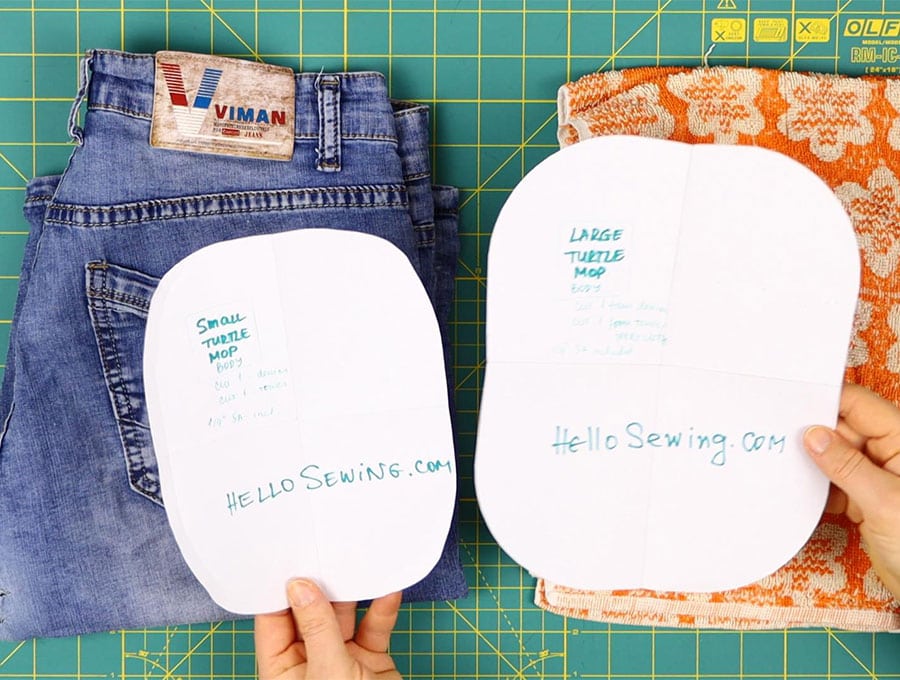
to make the larger turtle, simply print at 120-125%
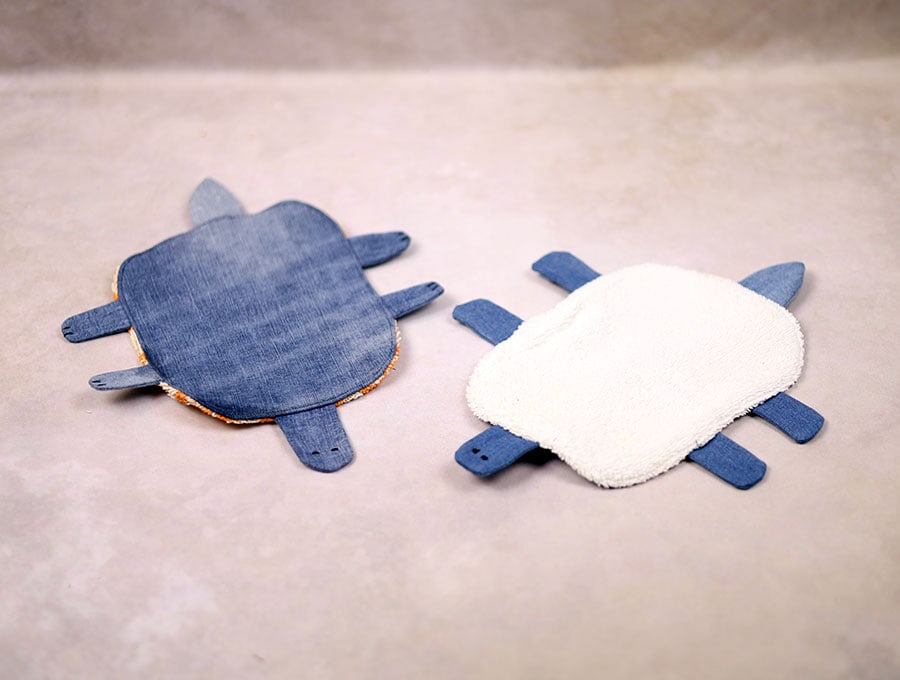
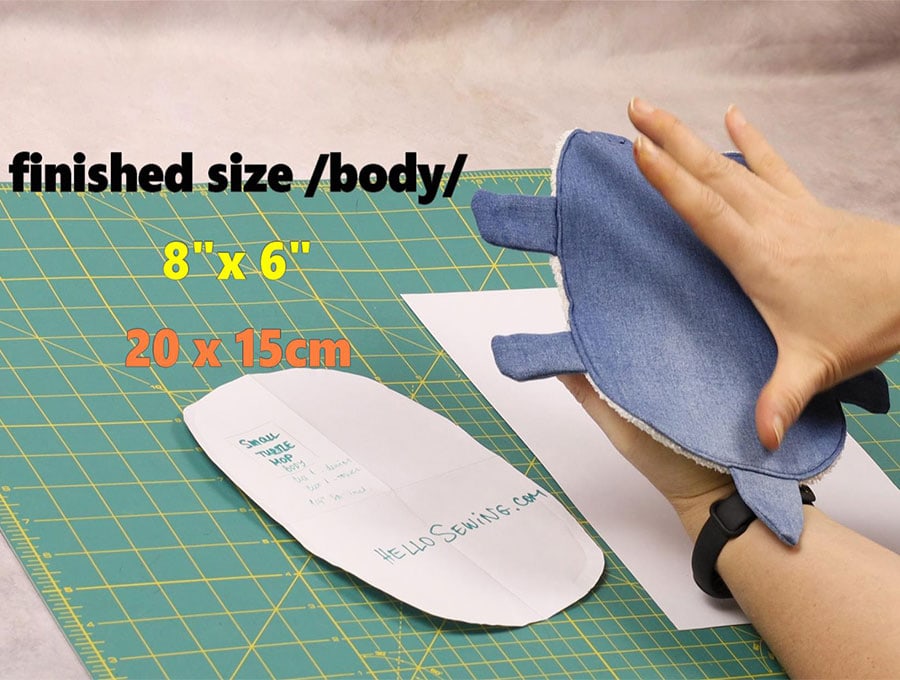
For this tutorial I chose to make the small turtle. It’s still large enough to clean small spills around the kitchen. The finished size of the body of the small turtle is 8 x 6″ (20 x 15cm), this is not including the head, tail or the legs.
STEP 2:
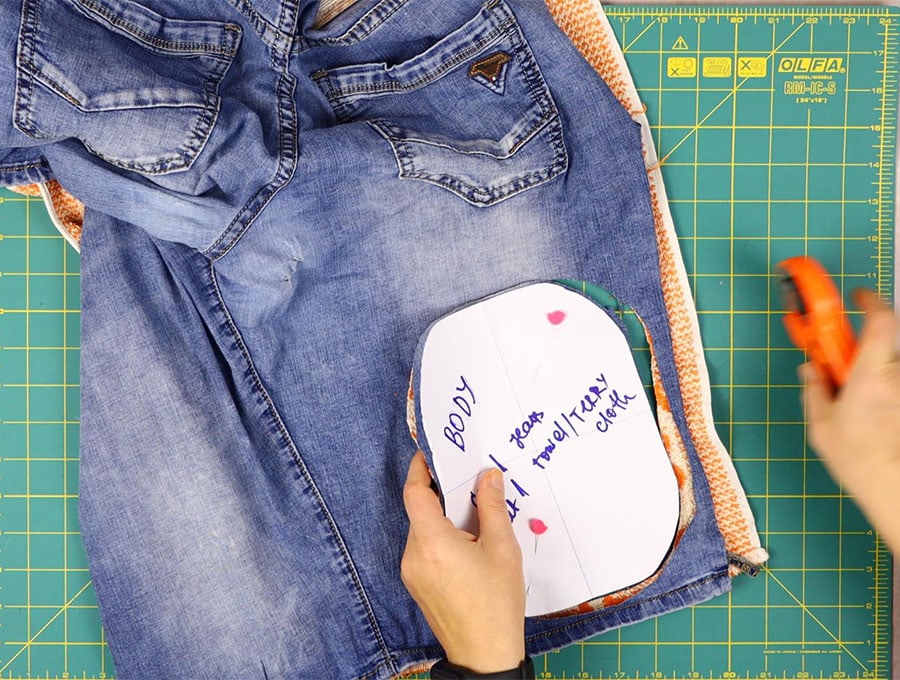
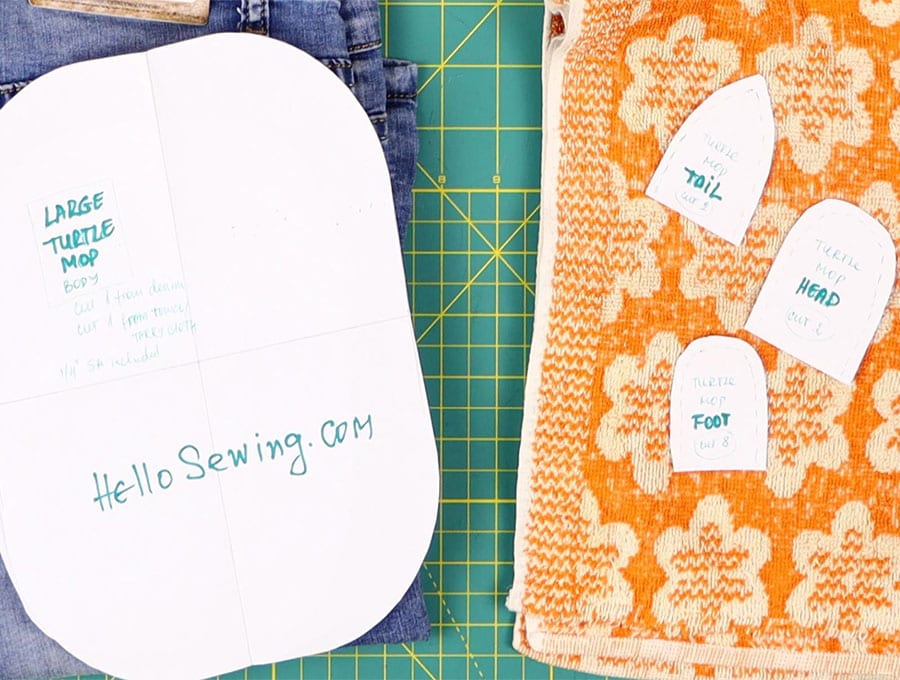
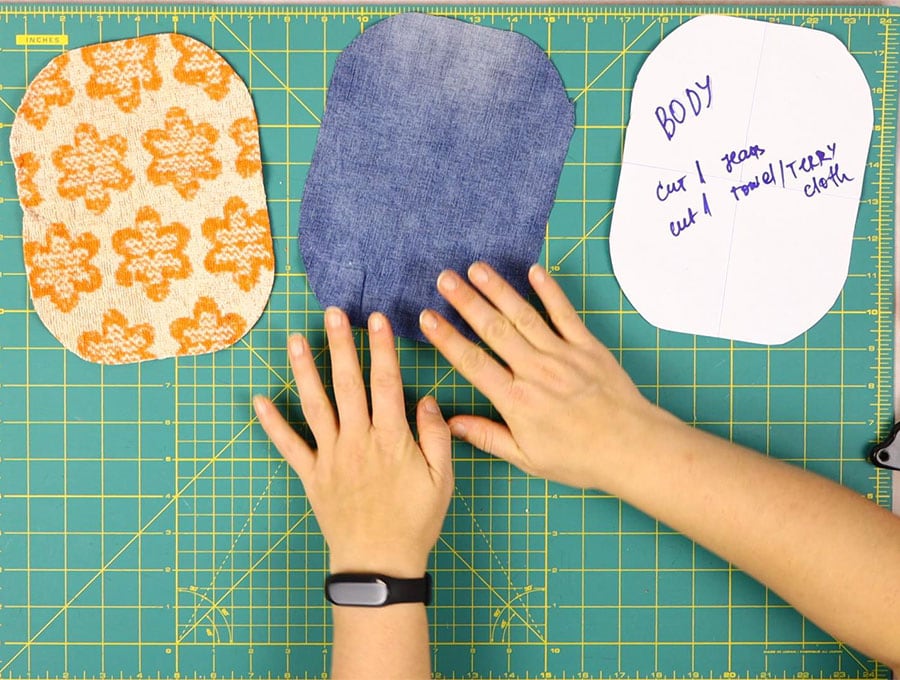
pick a pair of old jeans and a hand towel and place the jeans on top of the towel. Pin the pattern on top and cut it out
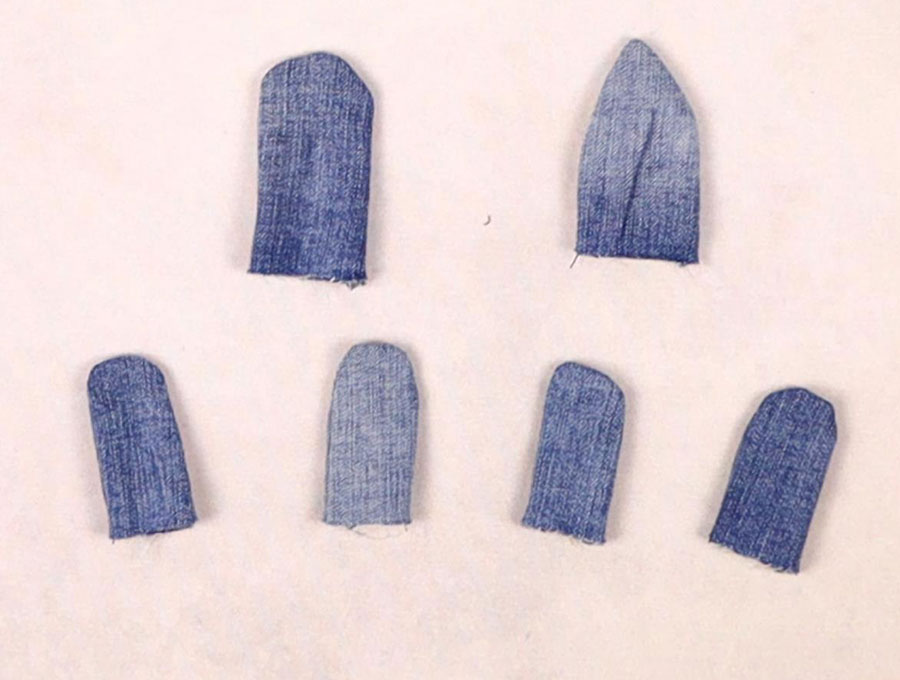
cut out the pieces for the head, tail and feet out of the denim fabric.
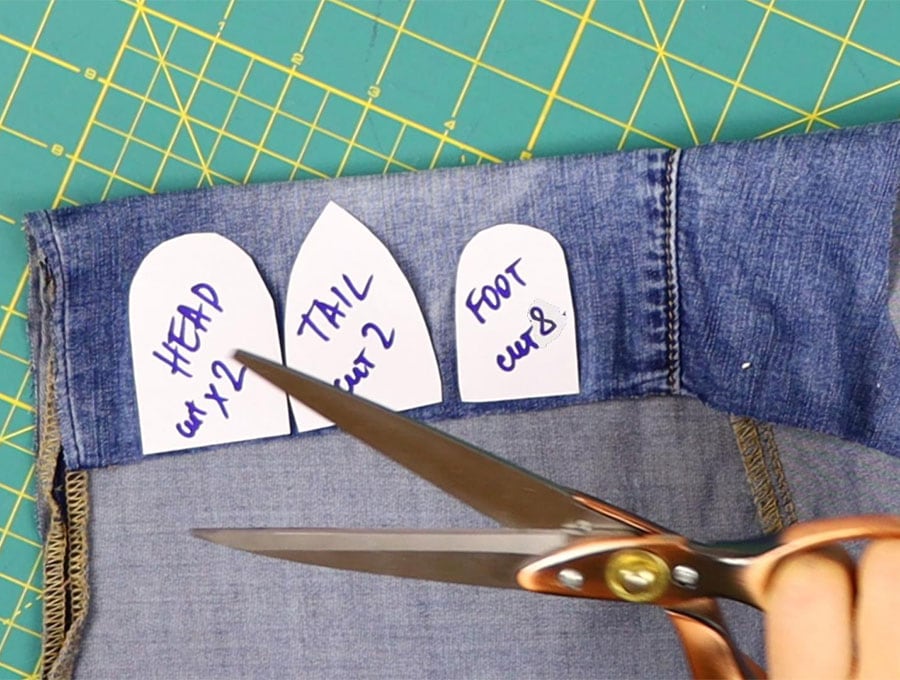
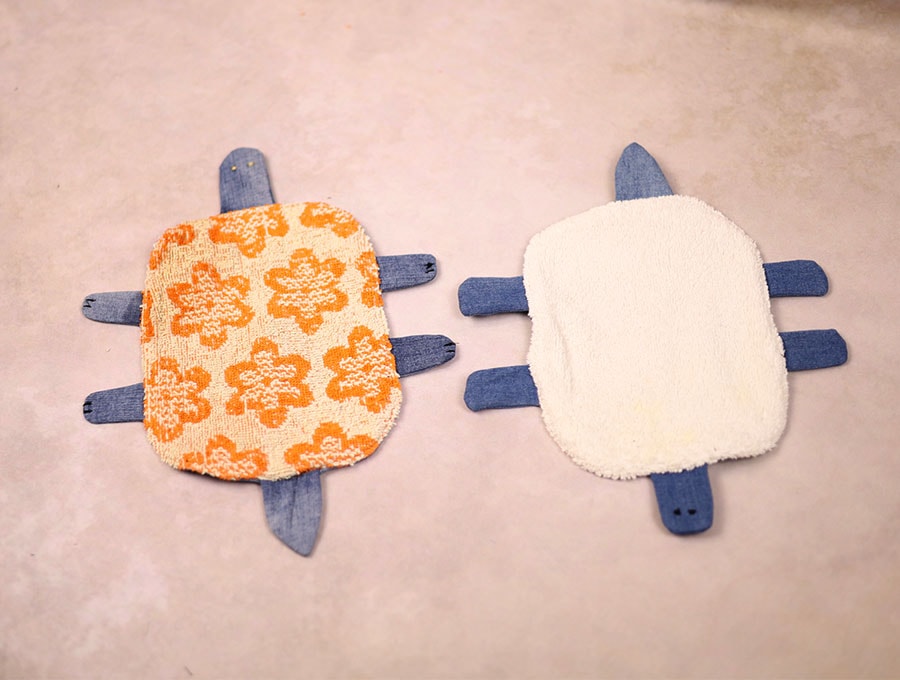
and cut them out. You will have 14 pieces total: 2 body pieces, 2 head pieces, 2 tail pieces and 8 legs/feet/

STEP 3:
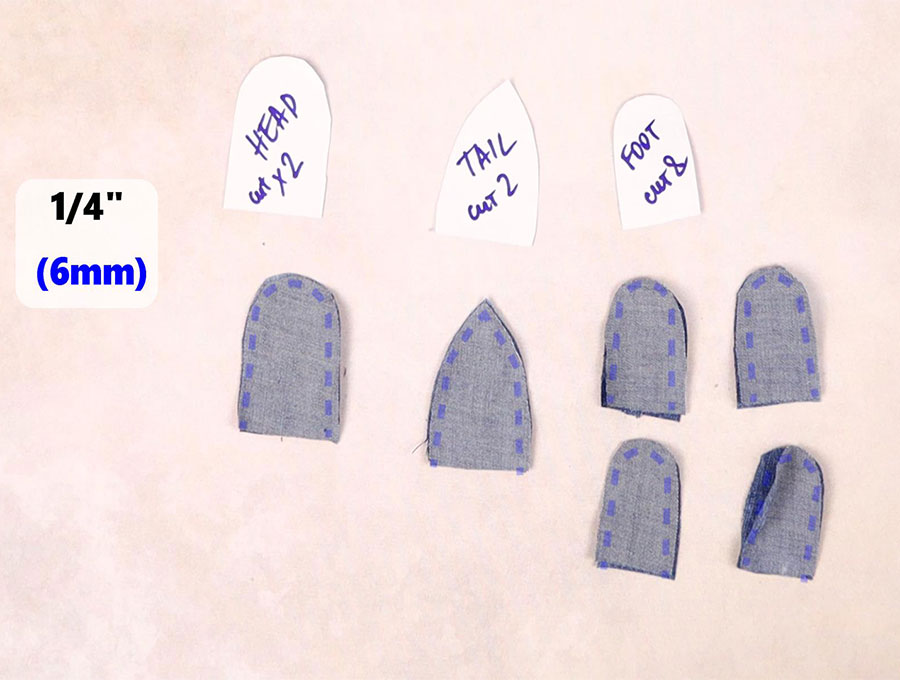
place the head, tail and feet pieces right sides together
STEP 4:
sew around using a 1/4″seam allowance
STEP 5:
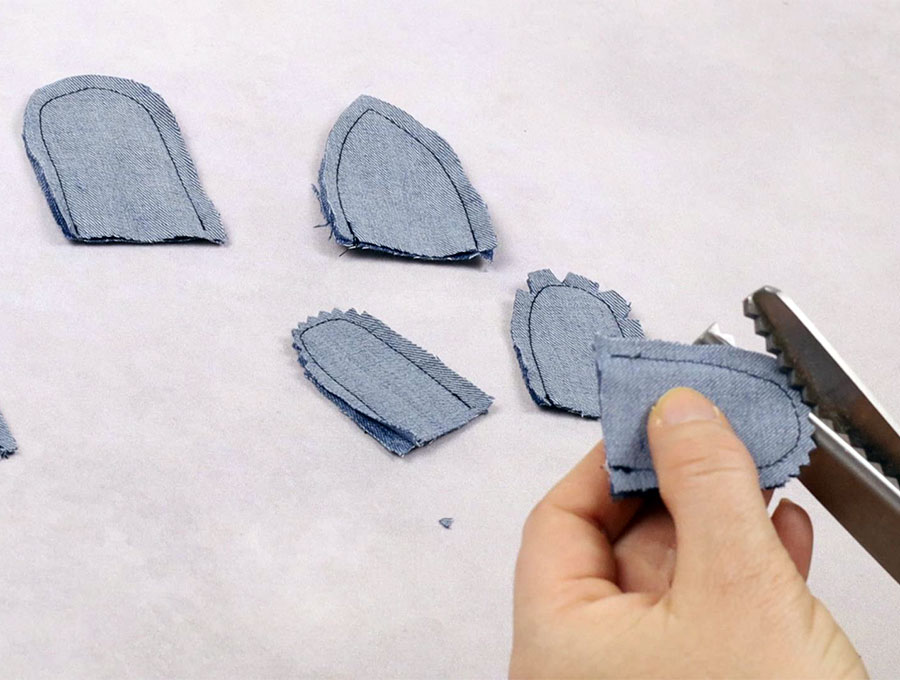
cut out notches or use pinking shears on the curves
STEP 6:
turn all pieces right sides out
STEP 7:
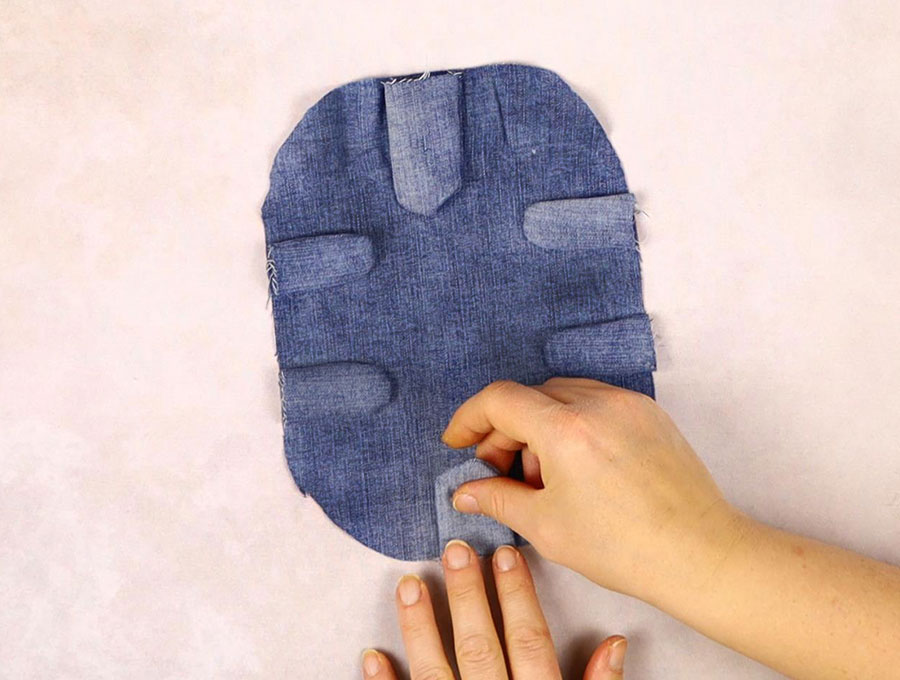
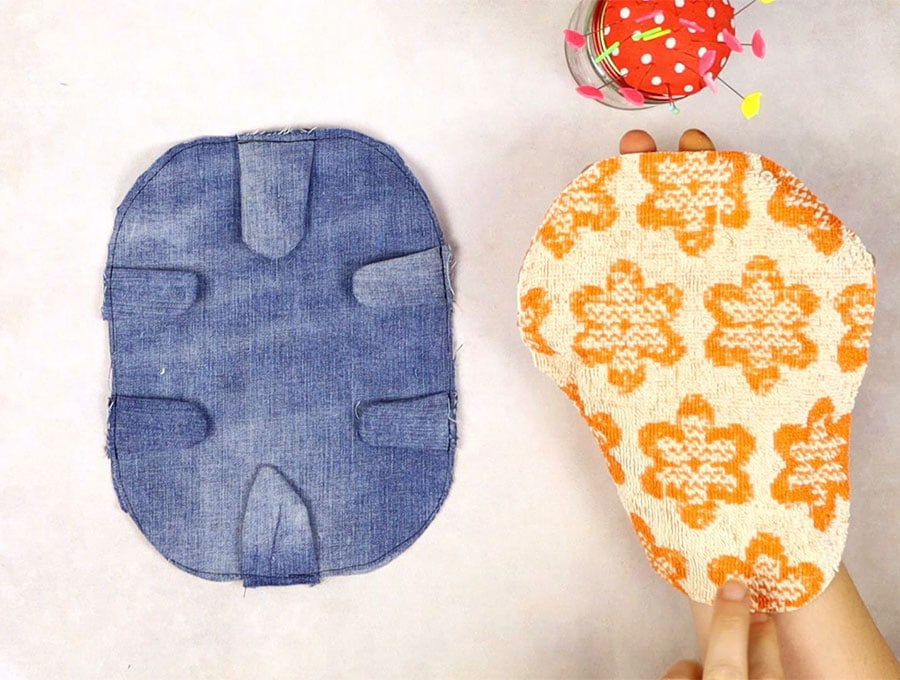
place the jeans body piece with right side up, then place the head, tail and feet on top of the jeans body piece and pin in place
STEP 8:
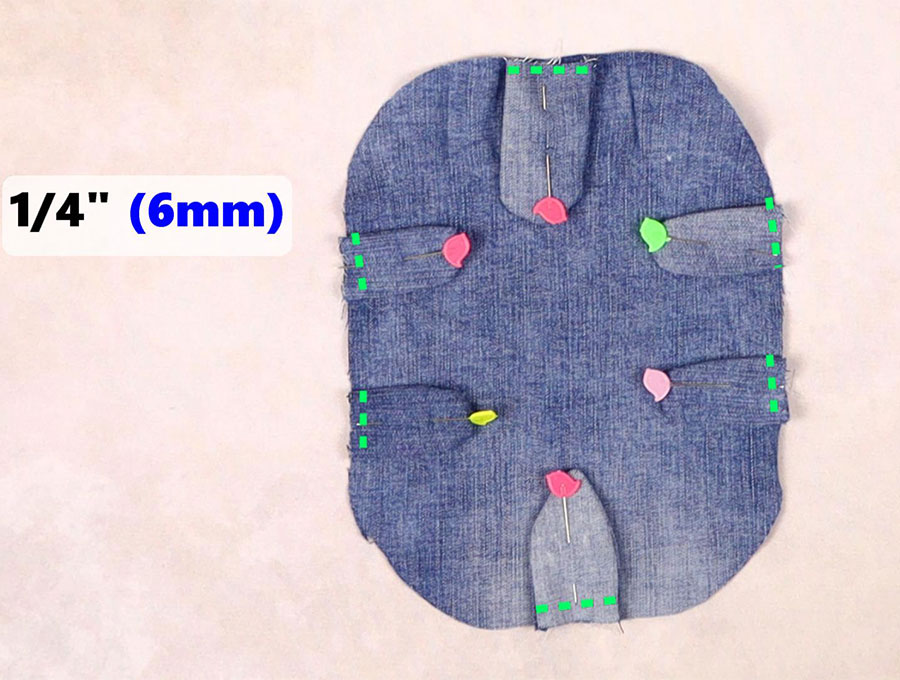
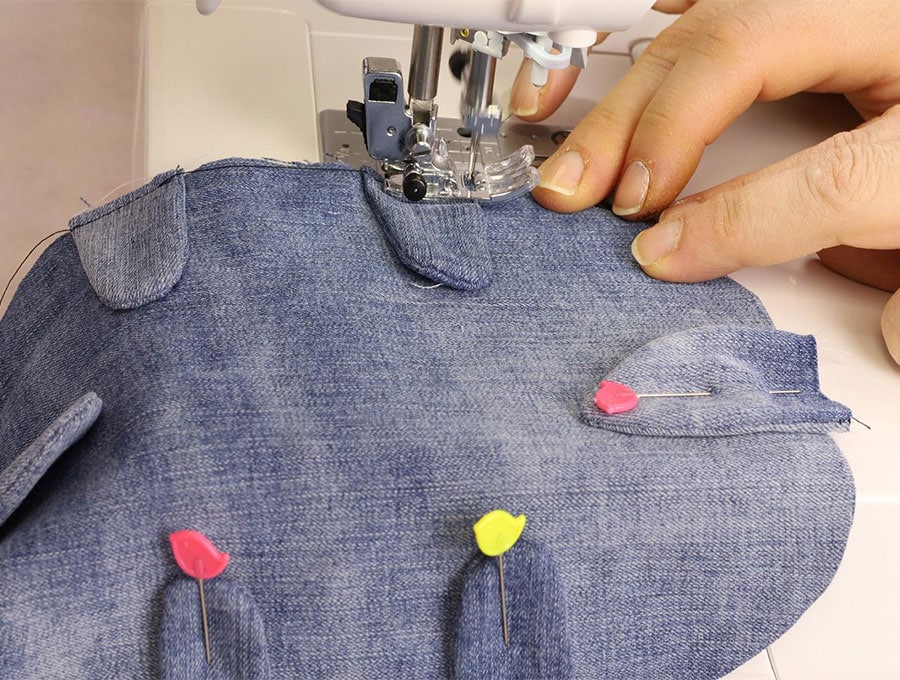
sew/baste to keep the parts from moving
STEP 9:
place the body pieces right sides together, leaving a 2″ (5cm) gap for turning
STEP 10:

sew around using a 1/4″seam allowance
STEP 11:
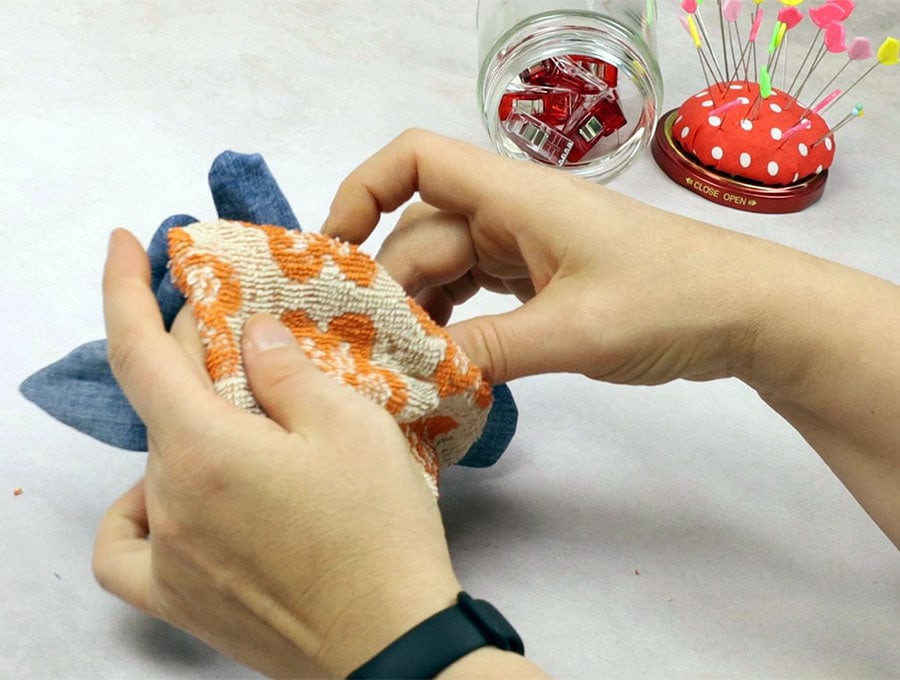
turn the turtle mop around and push out the fabrics. Press
STEP 12:
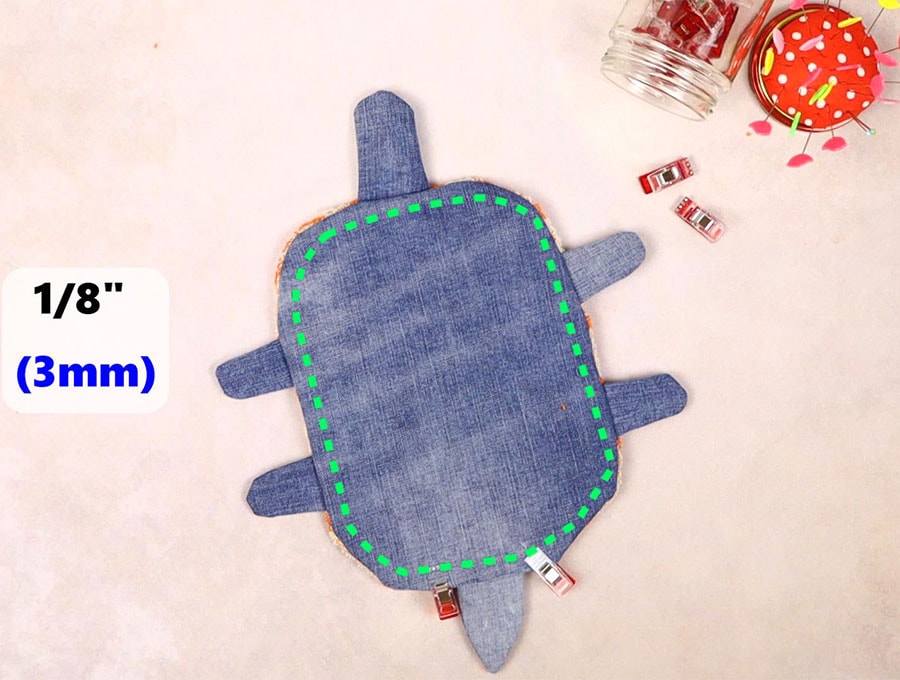
turn in the raw edges of the gap and pin it in place
STEP 13:
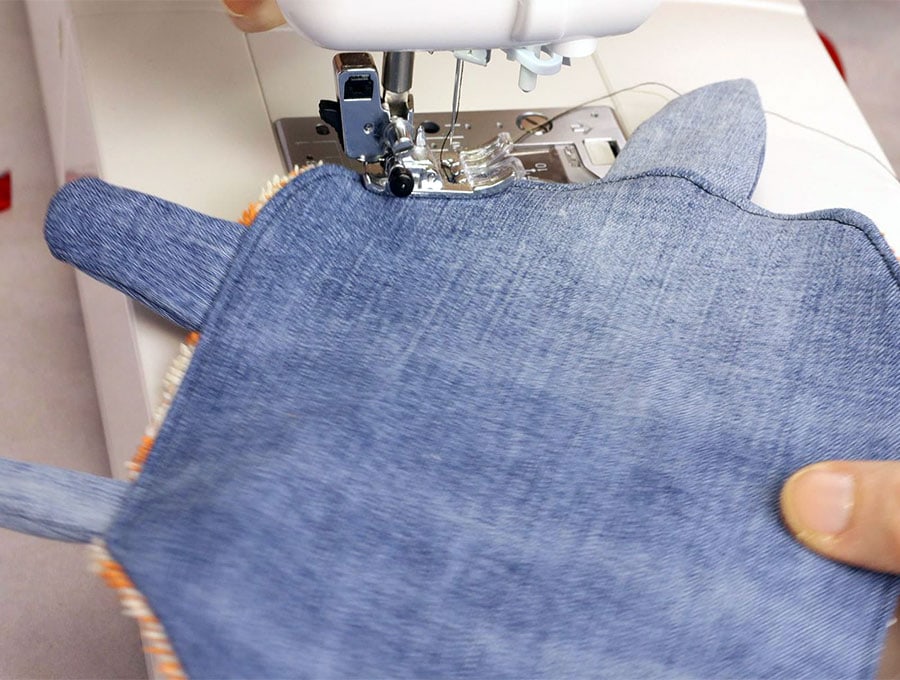
topstitch all around
STEP 14: (optional) add details
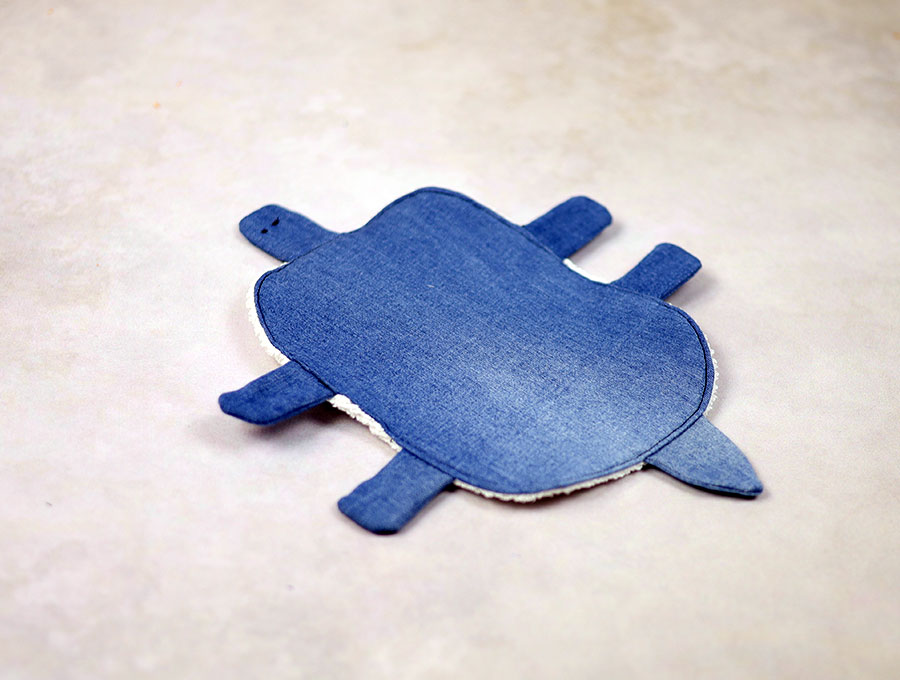
the basic DIY turtle mop is now ready.
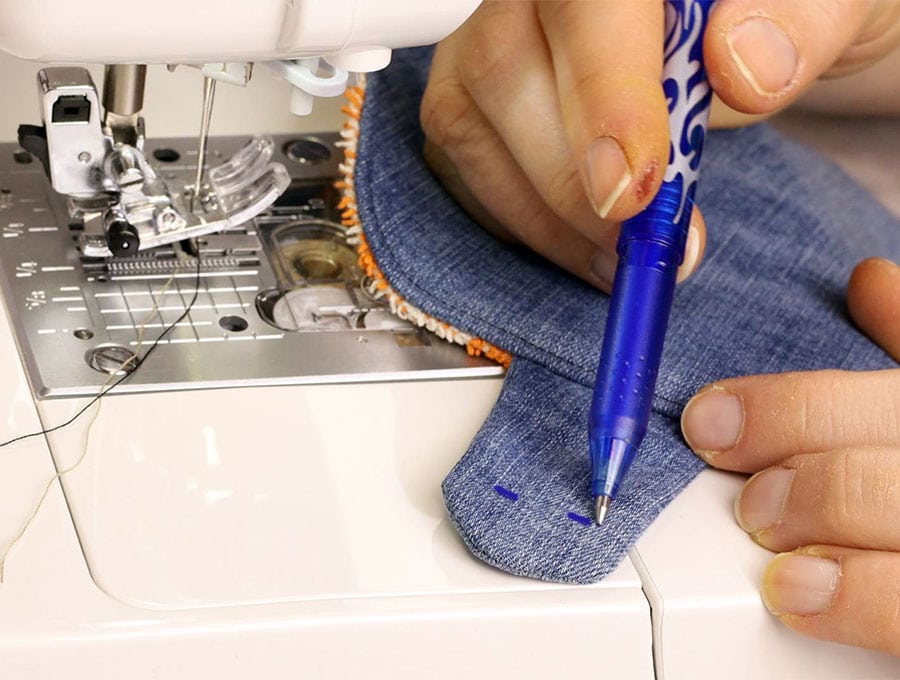
You can add details: eyes and nails. Roughly mark where these details would be using a fabric marker.
Choose the zig zag stitch on your machine, I’m using stitch width 4, stitch length 0

For one of my turtle I did the eyes and skipped the nails. For the other one I did both the eyes and the nails. I love them both and I had some free time, but you can definitely skip them altogether.

Turtle Mop FAQs and tips:
Do you like this? Pin for later:
Wanna be friends? Click HERE and follow me on Pinterest
RELATED: