
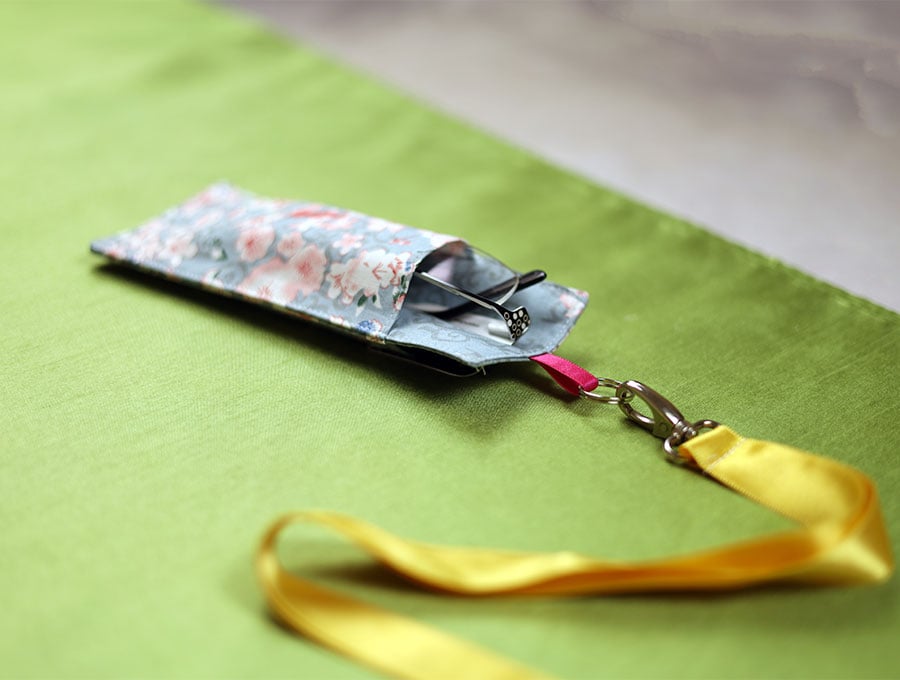
Double Sided Lanyard Glasses and Pen Holder
It’s incredibly useful to have a lanyard with your glasses and a pens handy for making notes when you’re at meetings or in class. Our DIY holder keeps your glasses protected from scratches, and you pens close to your heart. At meetings you often need to view something further away like a PowerPoint presentation, then view spreadsheets and take notes – often necessitating putting on and taking off glasses. Amidst all the papers and people you want to keep glasses and pens to hand, especially when asked to break into smaller groups. Follow our easy-peasy step-by-step instructions to make the double sided lanyard holder for glasses and pens.
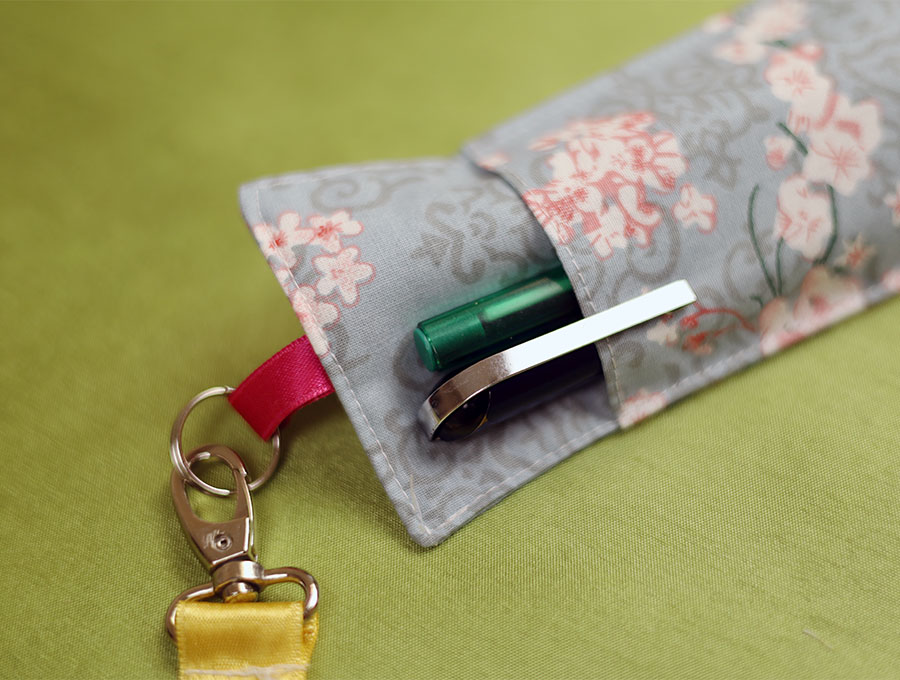
People need to keep their glasses and pens easily accessible when they’re on the move. With the double sided lanyard glasses and pen holder you no longer have to search through bags or pockets to find them. This makes you look super cool and organised – perfect for students and professionals. Our visuals and step-by-step instructions make creating this protective holder super easy. Choose fabric colors and designs to suit the person who will be receiving the double sided lanyard holder. It’s practical, convenient and personalised – the perfect gift.
Below you will find my step by step written tutorial with VIDEO instructions for all the visual learners.
We occasionally link to goods offered by vendors to help the reader find relevant products. Some of the links may be affiliate meaning we earn a small commission if an item is purchased.
Table of Contents
How to make a double-sided lanyard glasses and pen holder
Supplies and tools
- fabric – 2 pieces of 100% tightly woven cotton (one main, one lining)
- fusible interfacing
- Ready-made lanyard with clip (or you can make your own)
- Keyring
- One piece of ribbon or thin braid to match or contrast ¼ of an inch wide (6mm)
- matching thread
- scissors (or rotary cutter and a cutting mat)
- ruler or measuring tape
- iron and ironing board
- sewing clips or pins
DOWNLOAD: double sided lanyard glasses and pen holder pattern[Free pdf file]
Follow us for free patterns & tutorials! [easy-profiles]
How to Sew a double-sided lanyard glasses and pen holder
Watch the diy lanyard glasses and pen holder video first and then follow the written step by step instructions below.
Please enjoy and don’t forget to Like and SUBSCRIBE over on YouTube to be kept up to date with new videos as they come out.
DIY lanyard glasses and pen holder VIDEO TUTORIAL
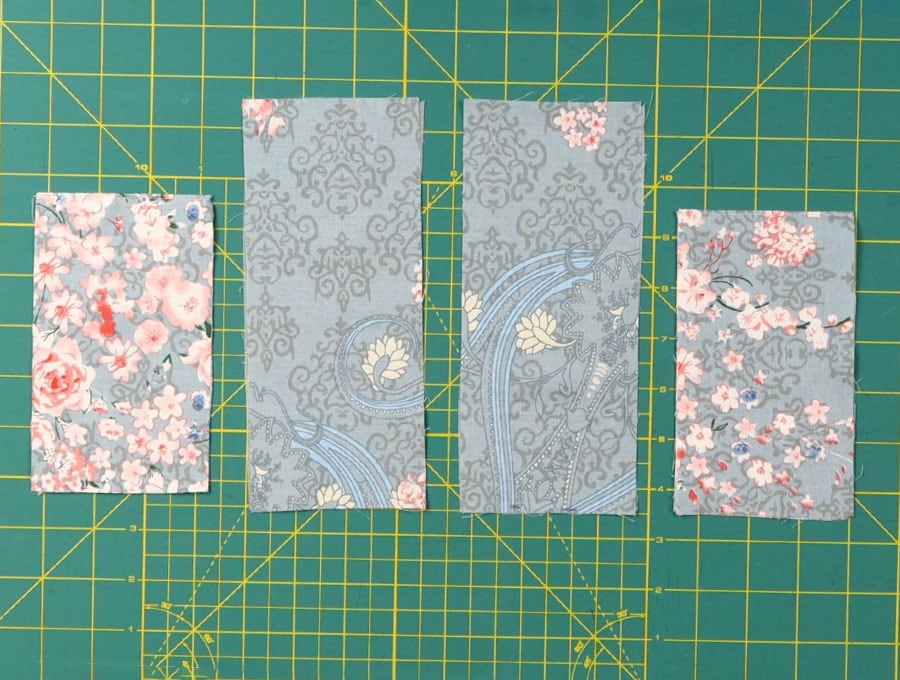
MATERIALS:
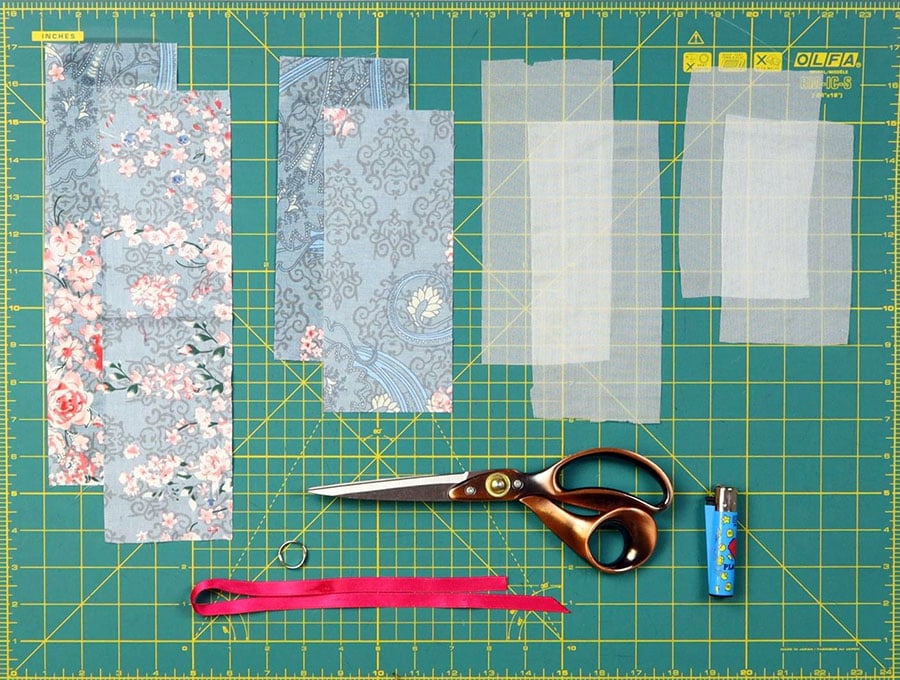
a) 2 pieces of printed fabric cut to 12 x 3.5 inches (30 x 9 cm) for the pockets
b) 2 pieces of printed fabric cut to 8 x 3.5 inches (20 x 9 cm) for the backs
c) 2 pieces of fusible interfacing cut to 8 x 3.5 inches (20 x 9 cm) for the backs
d) 2 pieces of fusible interfacing cut to 6 x 3.5 inches (15 x 9 cm) for the pockets
ribbon 1.5″ (4 cm) long to make a hanging loop
Finished size: 7.5 x 3 inches (19 x 7.5cm)
INSTRUCTIONS:
STEP 1:
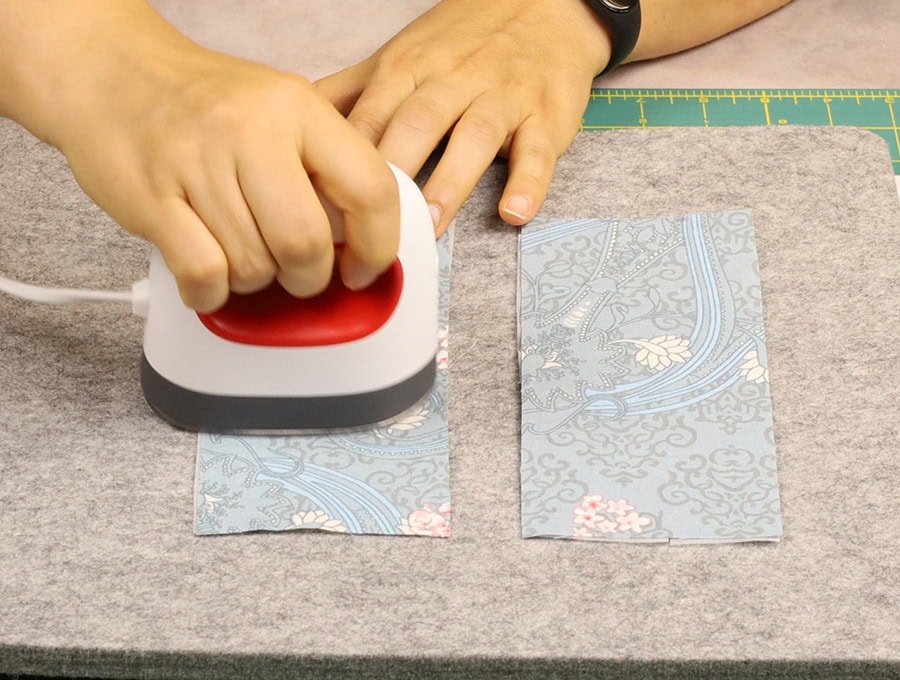
Take the smaller printed fabric pieces (b) of 8 x 3.5 inches (20 x 9 cm) and lay then down on your ironing board wrong side up, near each other. Over the top lay the fusible interlining of the same size (c) with the glue side facing the wrong side of the fabric and iron to attach as per the manufacturer’s instructions.
STEP 2:
Turn the pieces over and give a quick press on the right side to ensure the fabric is smooth.
STEP 3:
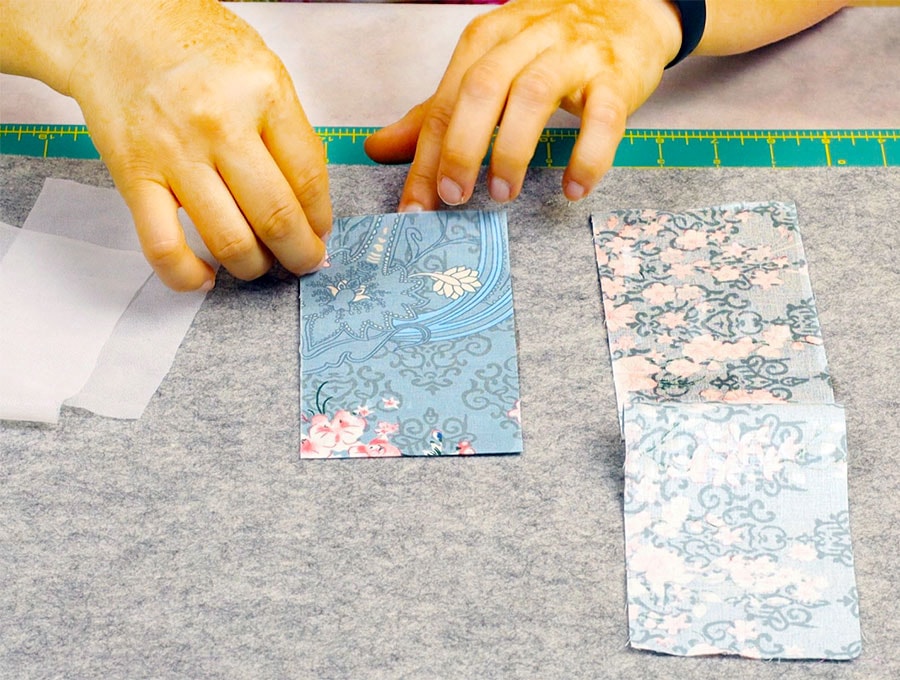
Take the larger fabric pieces (a) of 12 x 3.5 inches (30 x 9 cm) and lay then down on your ironing board wrong side up, near each other. Fold over in half lengthwise and iron in the fold to create a folded piece of 6 x 3.5 inches (15 x 9 cm)
STEP 4:
Open up the fabric then lay the fusible interlining pieces (d) of 6 x 3.5 inches (15 x 9 cm) with the glue facing the wrong side of the bottom half, flip the fabric down to close on the fold and use the iron to attach the interfacing.
STEP 5:
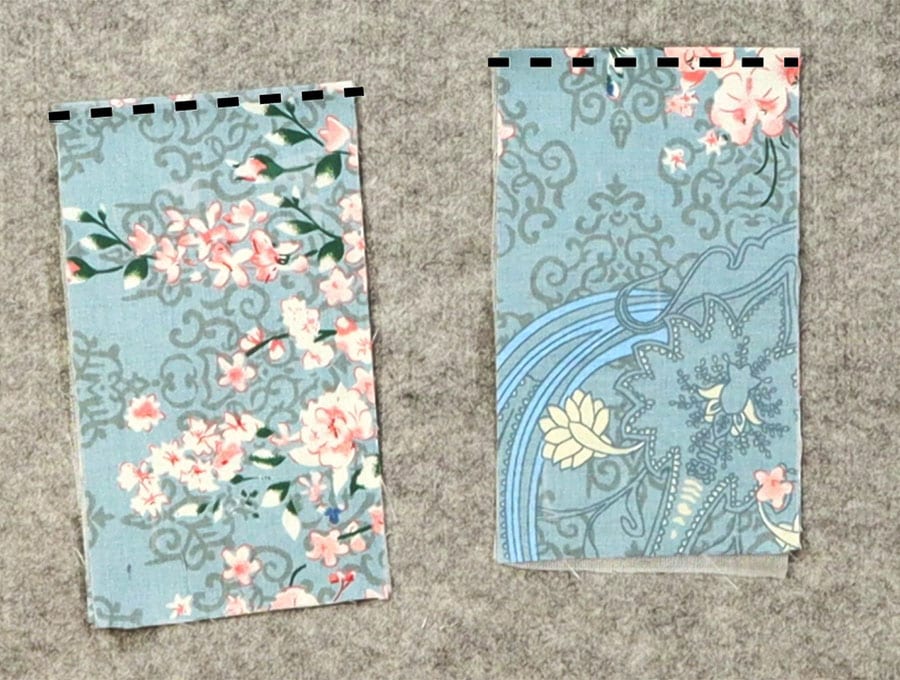
Run a line of stitching across the fold on each piece 1/8 of an inch (3mm) from the edge to create the pockets.
This will create the top of the pocket where the glasses and pens will slip in later.
STEP 6:
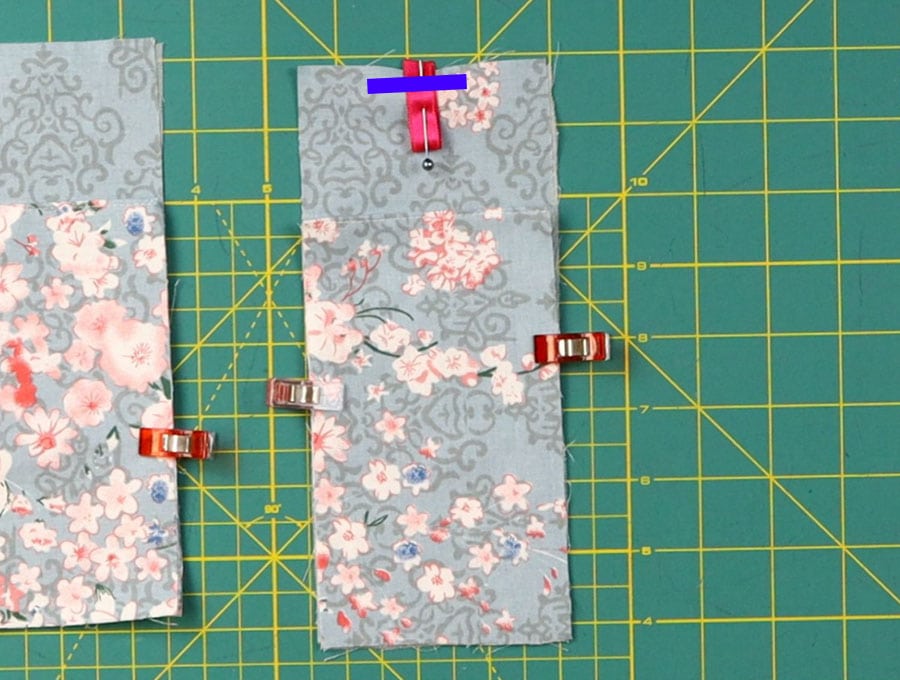
Now place each of the backing pieces side by side right side up on your worktop with the short sides parallel to the top and bottom of the worktop.
STEP 7:

Over these backing piece place the pocket piece with the fold facing the top. The raw edges of the bottom and sides will line up with the bottom and sides of the pocket and the fold with be around 2 inches (5cm) lower than the top raw edge. Clip in place.
STEP 8:
Fold the top of the piece on the right in half to find the center and finger press.
Take a short piece of ribbon 1.5″ (4 cm) long. Run a lighter along the ends of the ribbon or braid to make sure it does not fray. Be careful – you don’t want to set the ribbon on fire!
STEP 9:
Fold the ribbon in half to make a loop and line up the center of the ends of the ribbon with the fold you finger pressed into the fabric. The raw edges of the ribbon must line up with the raw edge of the fabric with the loop facing to the bottom of the fabric. Pin in place.
STEP 10:
Run a few machine stitches across the ribbon 1/8 of an inch (3mm) from the edge, backtacking at the start and finish to fasten the ribbon to the top of the main piece of printed fabric
STEP 11:
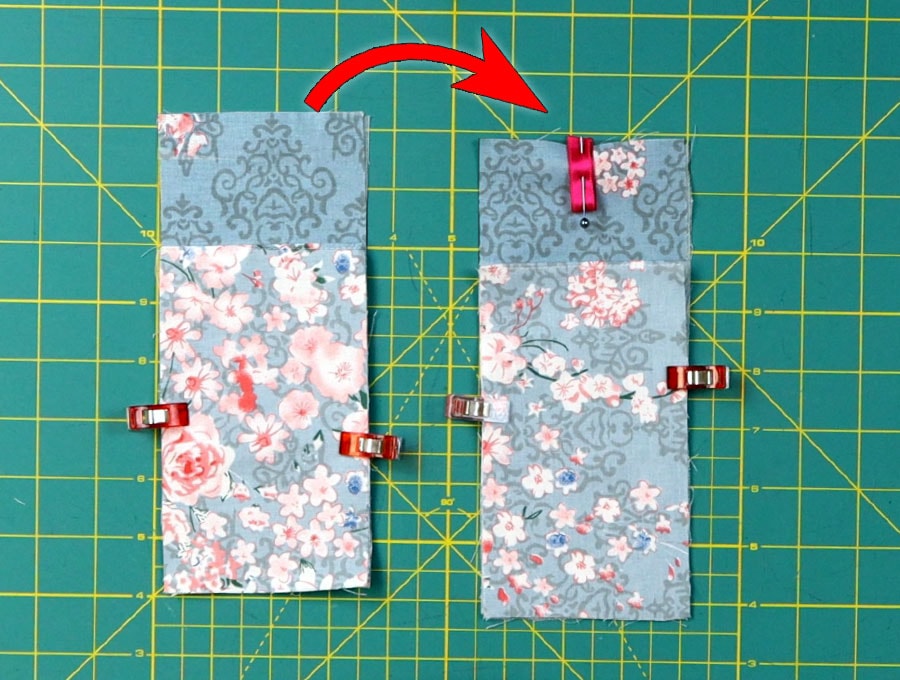
Take the left hand side piece with the pocket clipped in place and place it over the fabric with pocket to its right, so right sides face right sides. Carefully clip all the layers together.
STEP 12:
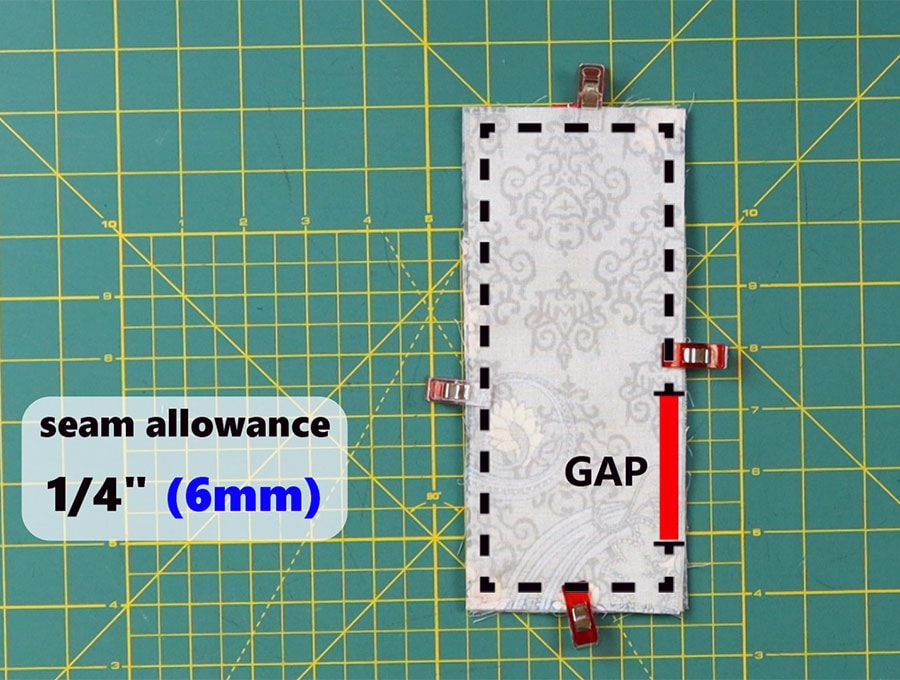
Run a line of stitching ¼ inch (6mm) in from the edge right around the fabric rectangle, except for an area on one side where you will leave a gap of around 2 inches (5 cm).
When you come to the corners stitch to within ¼ inch (6mm) from the edge, leave the needle in the fabric, lift the presser foot and swing the fabric 90 degrees before engaging the presser foot. This will give you neat 90 degree corners. When you come to the gap make sure to backtack at the beginning and end of the gap.
STEP 13:
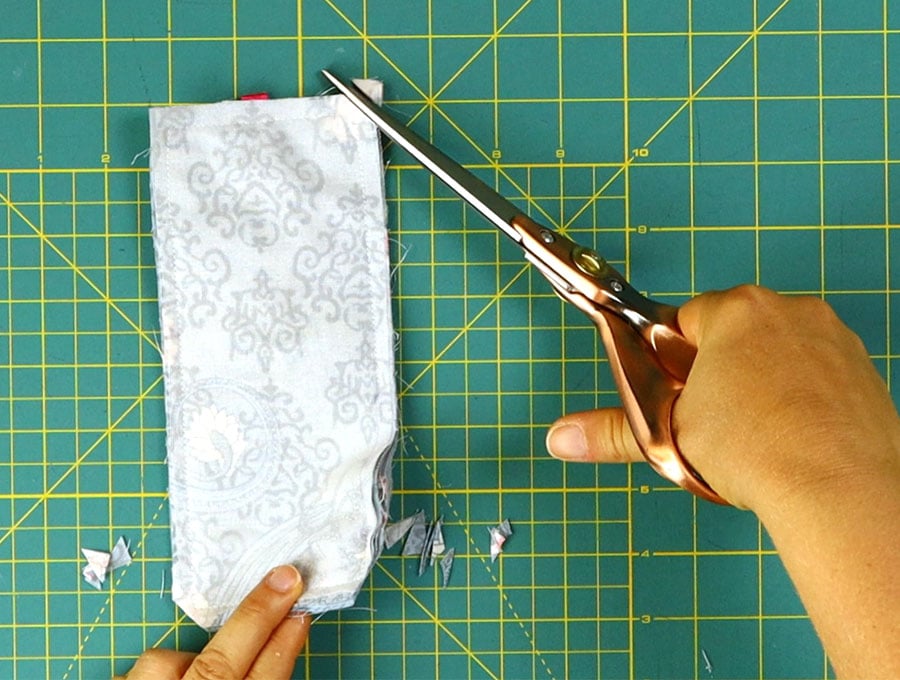
Cut across the four corners of the rectangles, just be careful about going too close to the stitch line. This reduces bulk when the item is turned the right way out.
STEP 14:

Turn the double sided glasses and pen holder the right way out by pulling the fabric gently through the gap. Push out the corners neatly and make sure the seams are open before pressing. When you press make sure the edges where the gap is are folded in line with the rest of the stitching before pressing.
STEP 15:
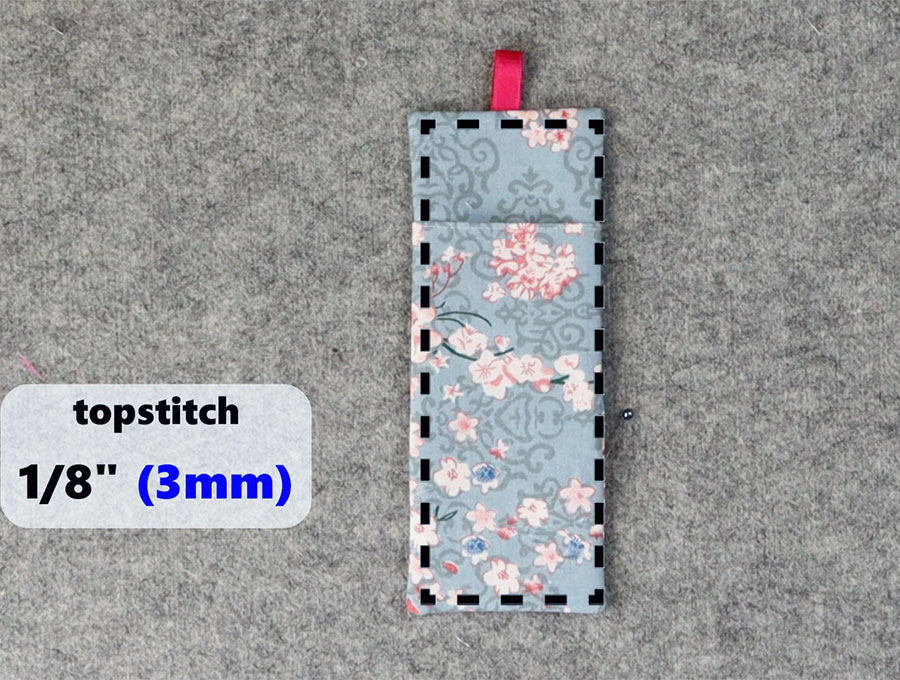
Stitch right around the edge of the glasses and pen holder 1/8 of an inch (3mm) from the edge, stitching the gap closed. Make sure the ribbon is facing upwards and free from the stitching because this ribbon is where you will attach the clip from the lanyard.
STEP 16:
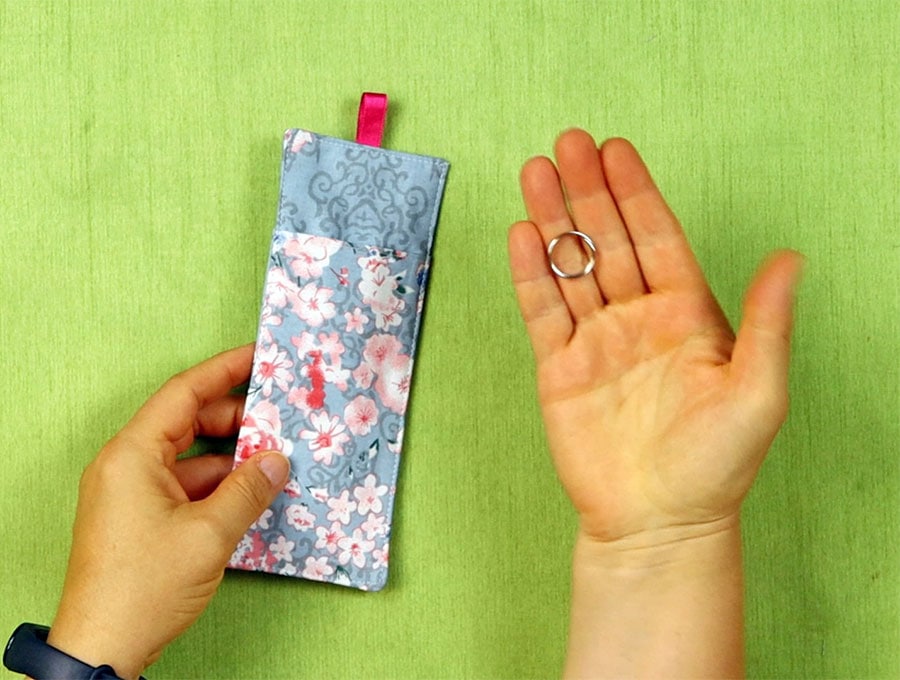
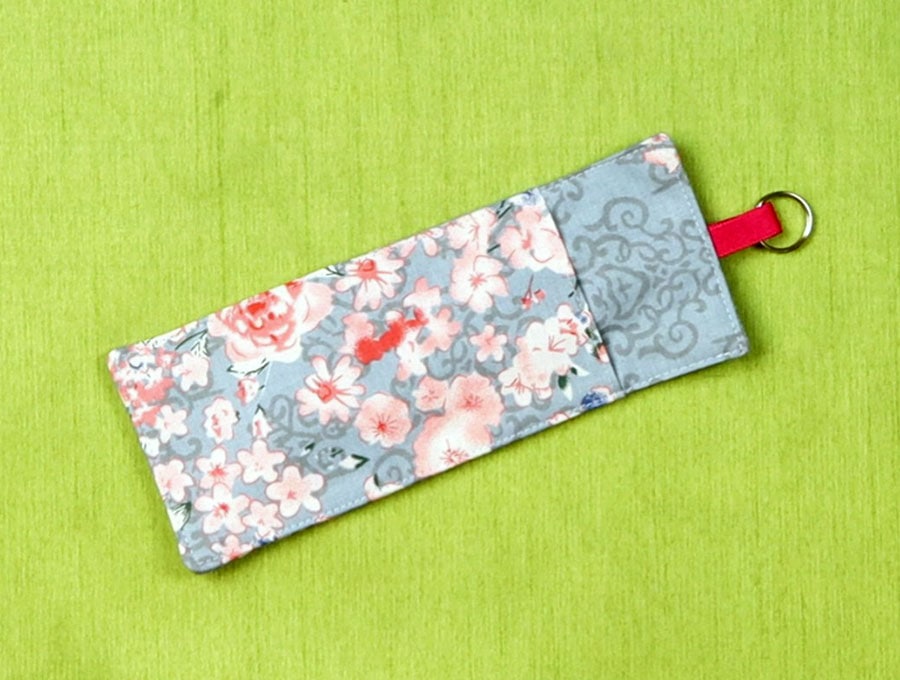
Attach the keyring to the ribbon loop.
STEP 16:
Remove any extra threads and attach you pre-bought lanyard with the clip through the keyring.
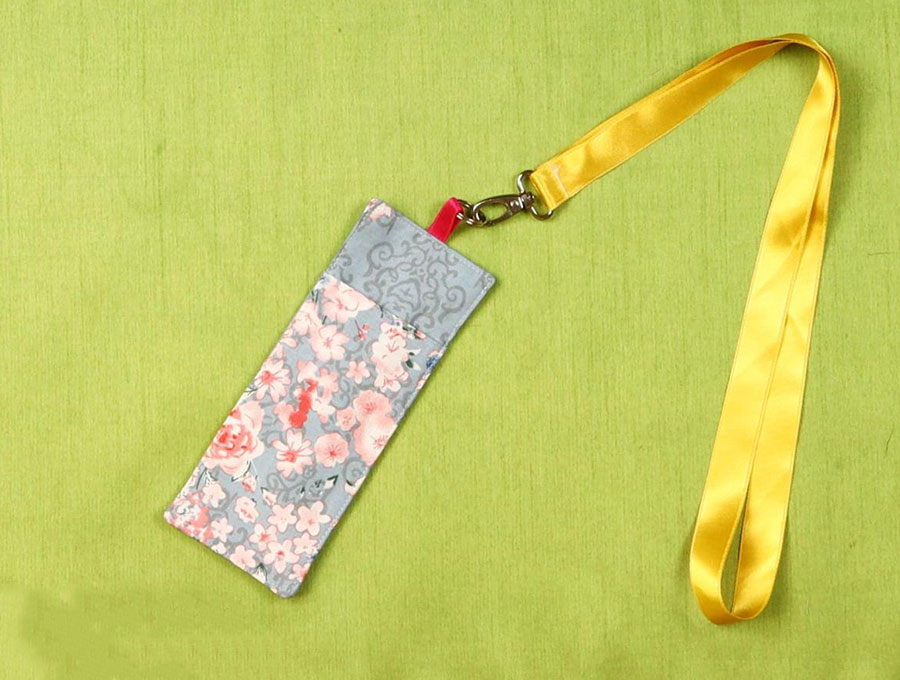
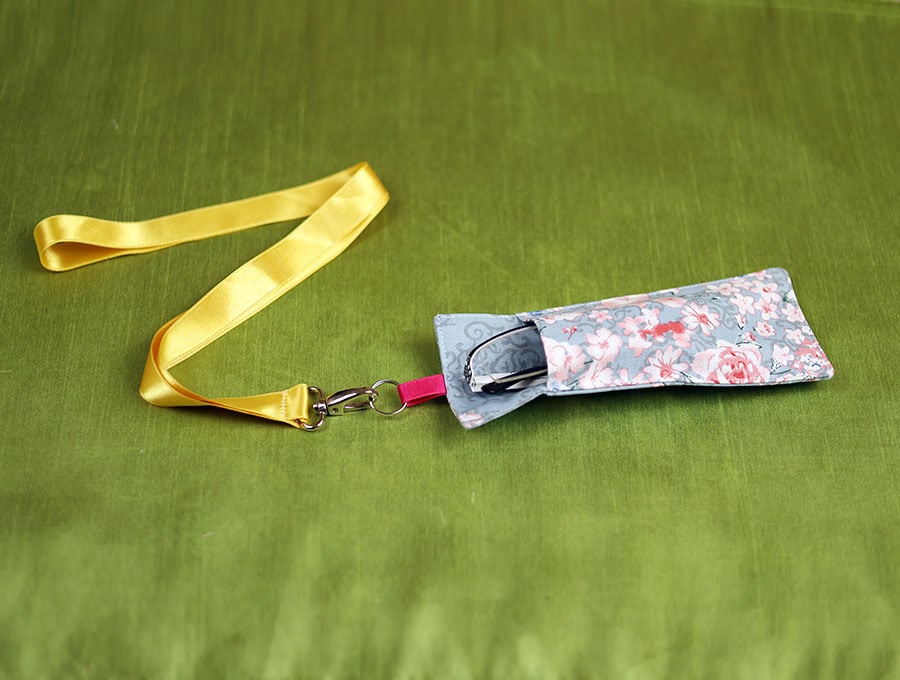
All that remains now is to load your double-sided lanyard glasses and pen holder with your eyewear and stationery. If you enjoyed making this DIY glasses and pen holder lanyard then give us a like and subscribe to have more projects like this that use up the scraps in your fabric collection. Why not turn those gorgeous bits of fabric into something practical that you can gift? Christmas is coming and you’ll need plenty of practical stocking fillers.
Do you like this? Pin for later:
Wanna be friends? Click HERE and follow me on Pinterest
RELATED: