")
How to Make a Lanyard out of Fabric (Quick and Easy)
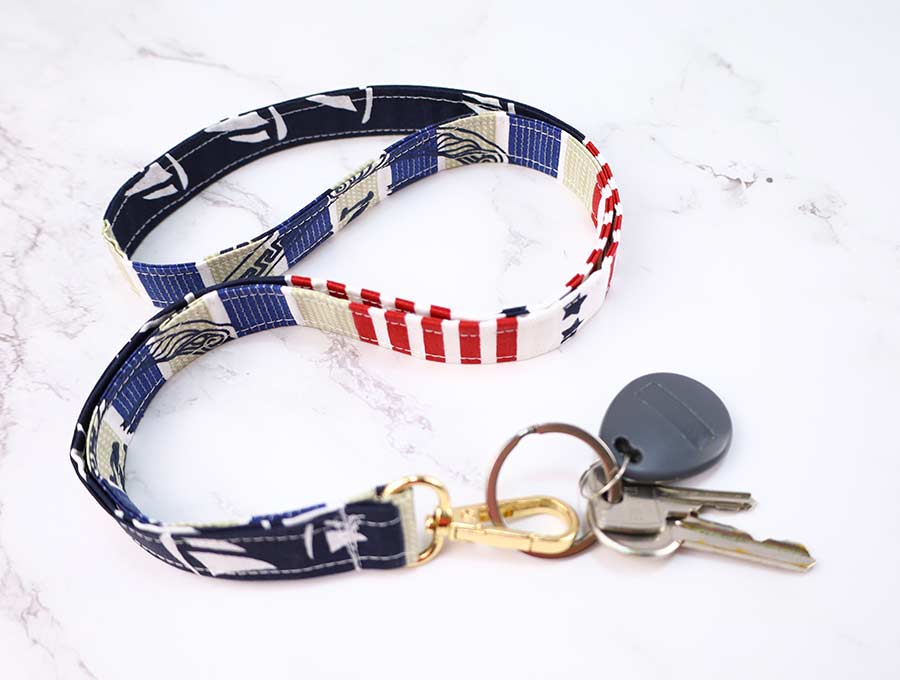
I needed to replace a lanyard that I had and I decided to whip up a fabric lanyard instead of buying it. It’s such a quick and easy project that you’ll probably spend more time choosing the fabric than making the actual fabric lanyard.
In this project, you’ll learn how to make a lanyard fast and with ease. This DIY lanyard is great for using your leftover fabric scraps in a practical way instead of throwing them out. Plus, you’ll save some money you’d otherwise waste on buying a finished lanyard. Here’s an explanation of how to make lanyards.
Below you will find my step by step written tutorial with VIDEO instructions for all the visual learners.
We occasionally link to goods offered by vendors to help the reader find relevant products. Some of the links may be affiliate meaning we earn a small commission if an item is purchased.
How to make a lanyard
DIY lanyard Supplies and tools
- fabric -36.5″ x 3″ long strip of cotton
- matching thread
- 3/4″ (2cm) swivel clamp (lobster clamp)
- scissors (or rotary cutter and a cutting mat)
- ruler or measuring tape
- iron and ironing board
- sewing clips or pins
- sewing machine
Follow us for free patterns & tutorials! [easy-profiles]
How to Sew a Lanyard
Watch the diy fabric lanyard video first and then follow the written step by step instructions below.
Please enjoy and don’t forget to Like and SUBSCRIBE over on YouTube to be kept up to date with new videos as they come out.
Lanyard VIDEO TUTORIAL
INSTRUCTIONS:
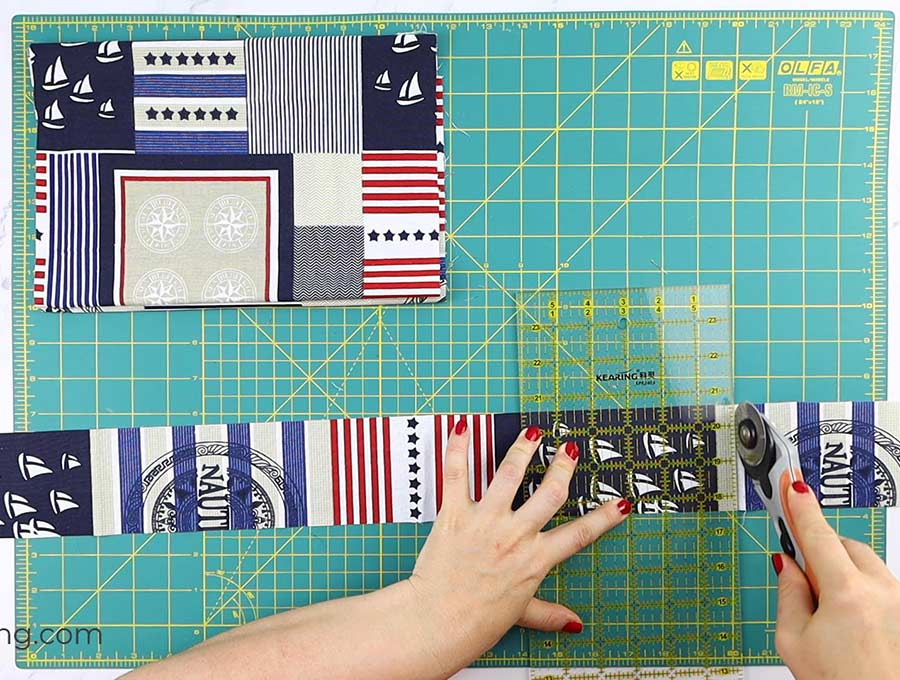
STEP 1: Form the DIY lanyards base
Start this homemade lanyards project by cutting out a fabric strip 3 inches wide by 36.5 inches long (93cm x 7.5cm). You can adjust the length to your preferences though.
STEP 2: Prepare the fabric for sewing
Fold the fabric in half along its length with the wrong side in, and press it. Open it up and you’ll notice the fold line. Fold each side up to it and press the whole thing again.
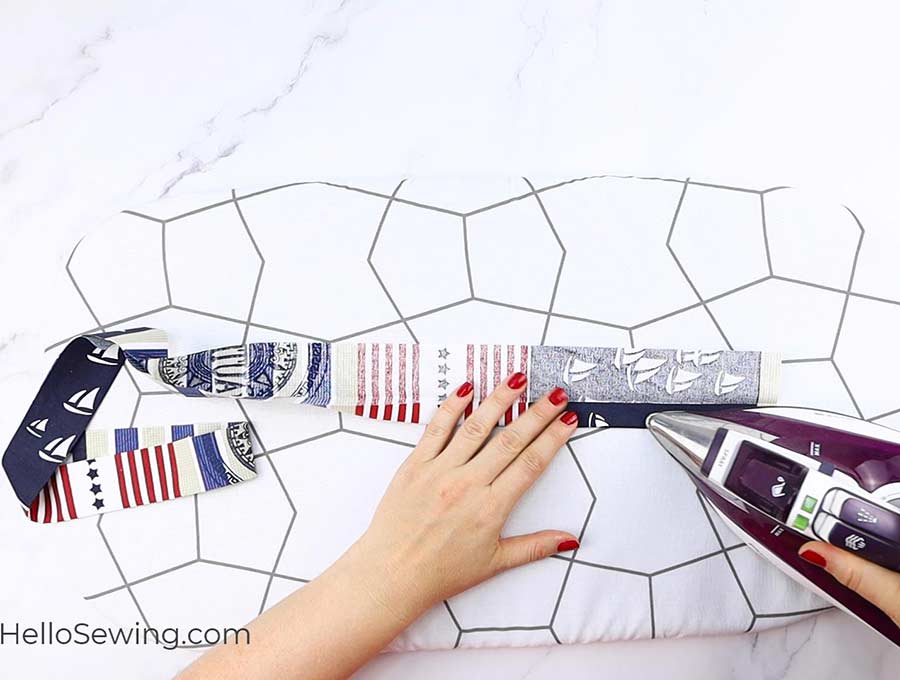
It will now look like this:
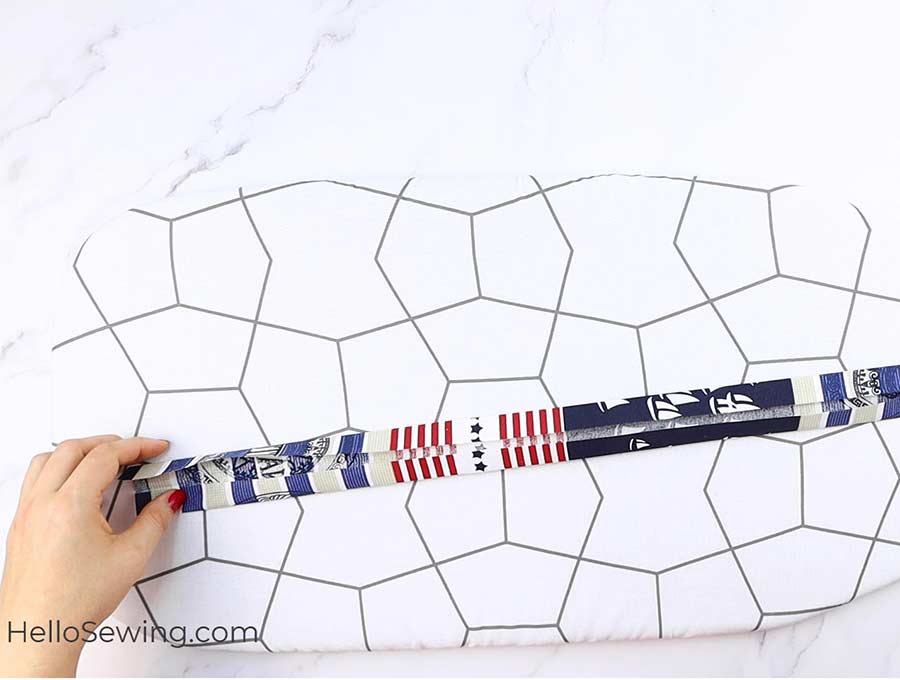
Fold the fabric in half along its length again, as if you were making a bias tape, and secure the whole thing with clips or pins.
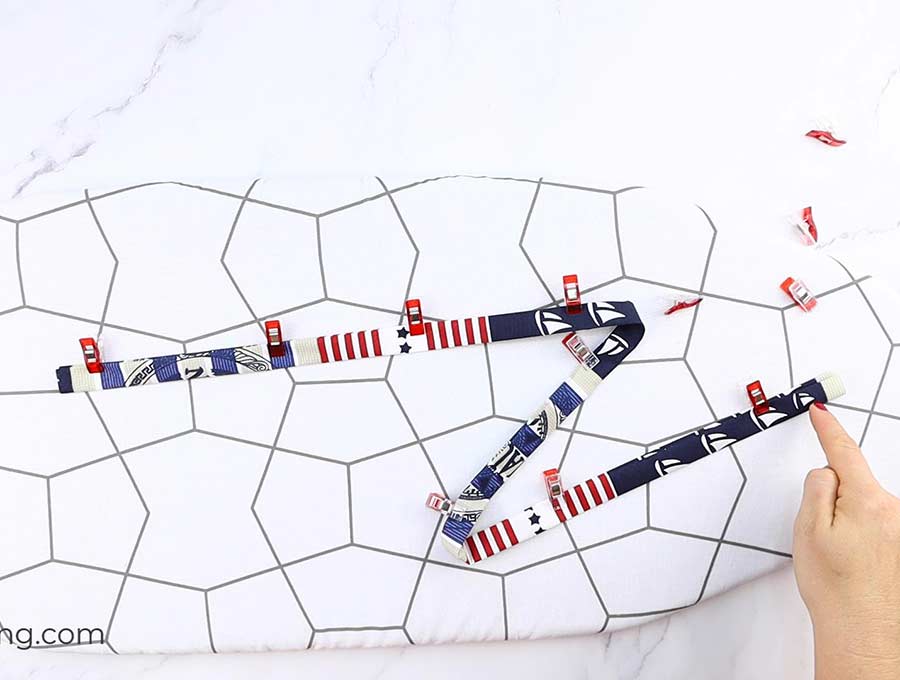
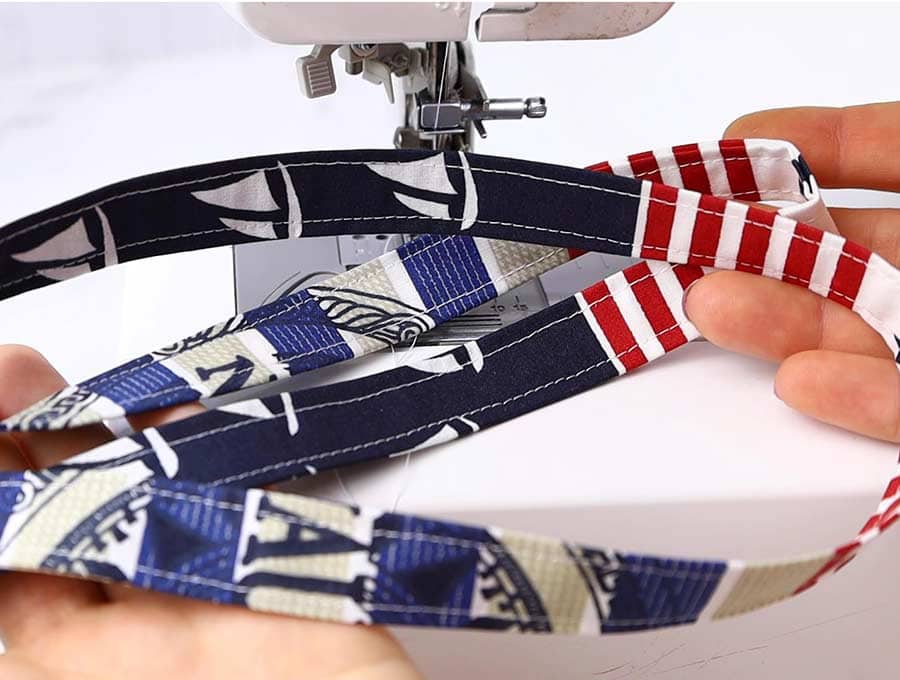
STEP 3: Sew the fabric lanyard
Topstitch along both sides of the lanyard DIY with a 1/8 inch seam allowance.
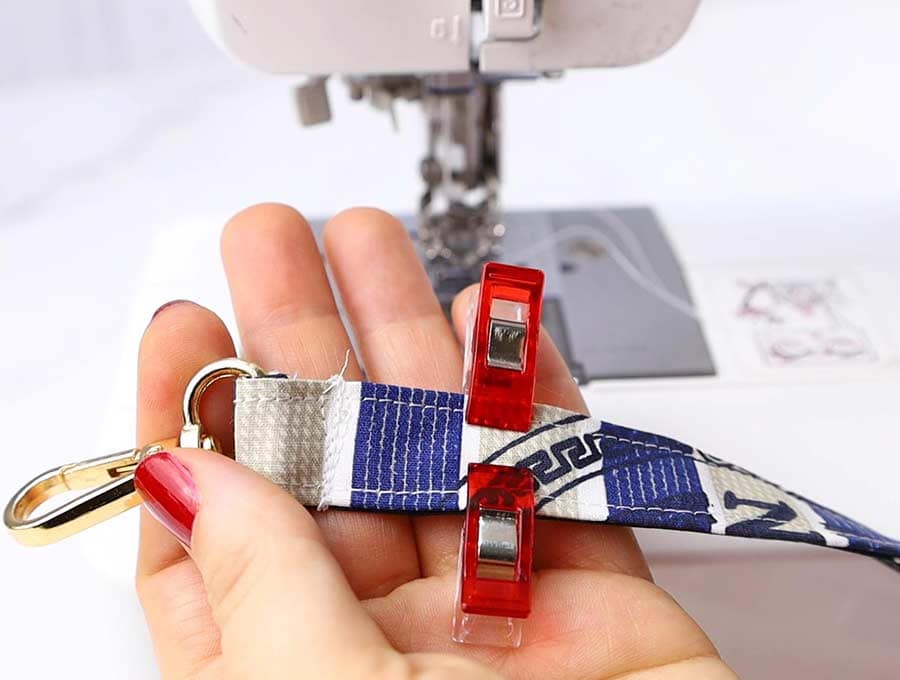
STEP 4: Insert the clamp and stitch
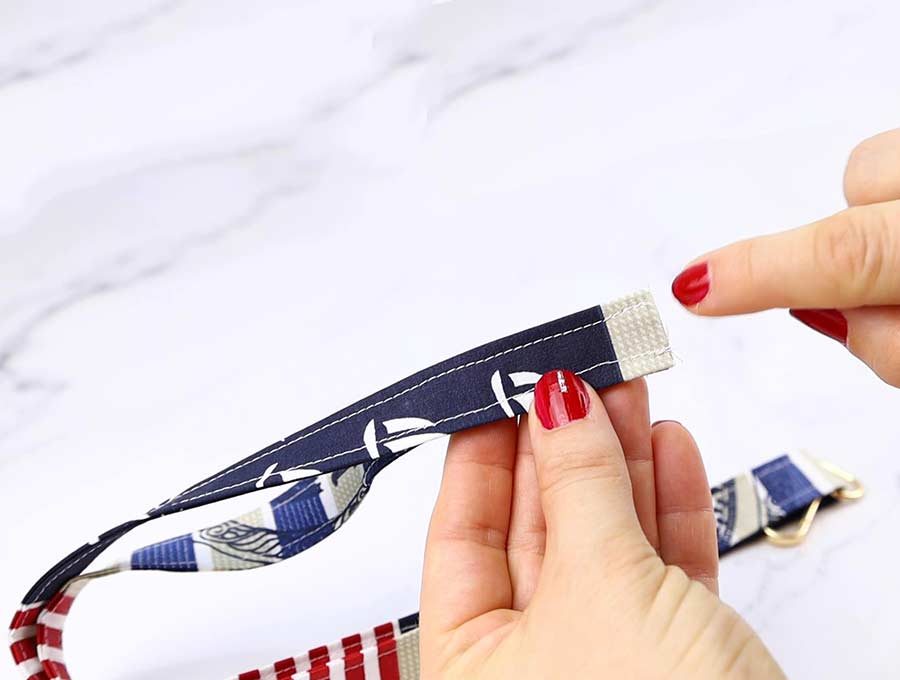
Slide the hardware onto the lanyard and fold the whole lanyard in half so that the short ends meet. Check the fabric, make sure that the edges are aligned, and see if there are any twists that need to be straightened.
Stitch the loose ends together with a quarter-inch seam allowance a few times over for extra durability.
STEP 5: Finish making lanyard
Flip the lanyard inside-out. The raw edge needs to be on the inside of the strap.
Check if the hardware is facing the right direction and if it sits properly in its place. Slide the hardware down to the bottom of the strap. Sew back and forth just above the hardware a few times to secure the metal bit in place and ensure that the seam is strong enough.
(Optional) Square finish on the lanyard
If you like to add a bit of funk to your projects, this section is for you.
Instead of sewing a straight seam across the lanyard just above the hardware, you can do something a bit more stylish and slightly more durable.
Stitch a rectangle that’s about an inch wide just below the hardware. You can go over it two or three times if you plan on hooking something with a bit of weight to the lanyard. Then, stitch an X mark inside the rectangle to give it extra strength.
I usually go with this method because this kind of finish is not as plain as a regular straight stitch and I like how it looks. It’s also a bit more durable so I suggest you opt for it if you don’t mind a bit of additional work.
Safety measures
Before you start using your new DIY lanyard keychain, you’ll need to pay attention to safety precautions. Since you’ll be wearing it around your neck, you need to make some sort of a safety system on the lanyard.
The best choice for this is to just cut the lanyard at the middle, behind the neck, and join it with a piece of velcro. With this, the lanyard will simply detach if it gets caught in something and it won’t pose a security risk.
You can also just use some sort of safety system like those easily detachable buckles or something similar. I prefer the cheapest and the simplest method though, so I use the velcro method.
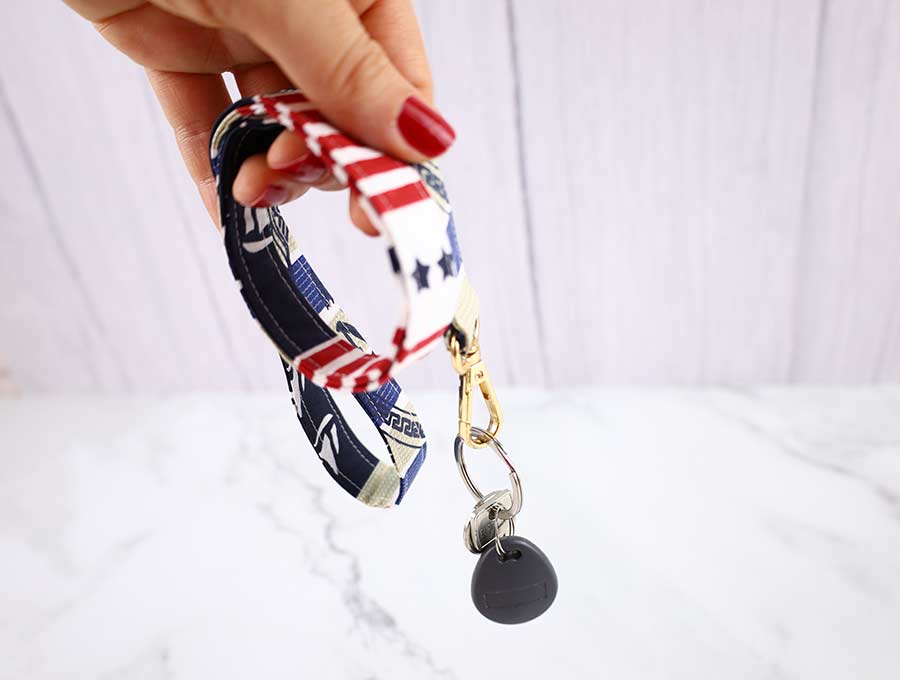
Congratulations, now you officially know how to make lanyards keychains!
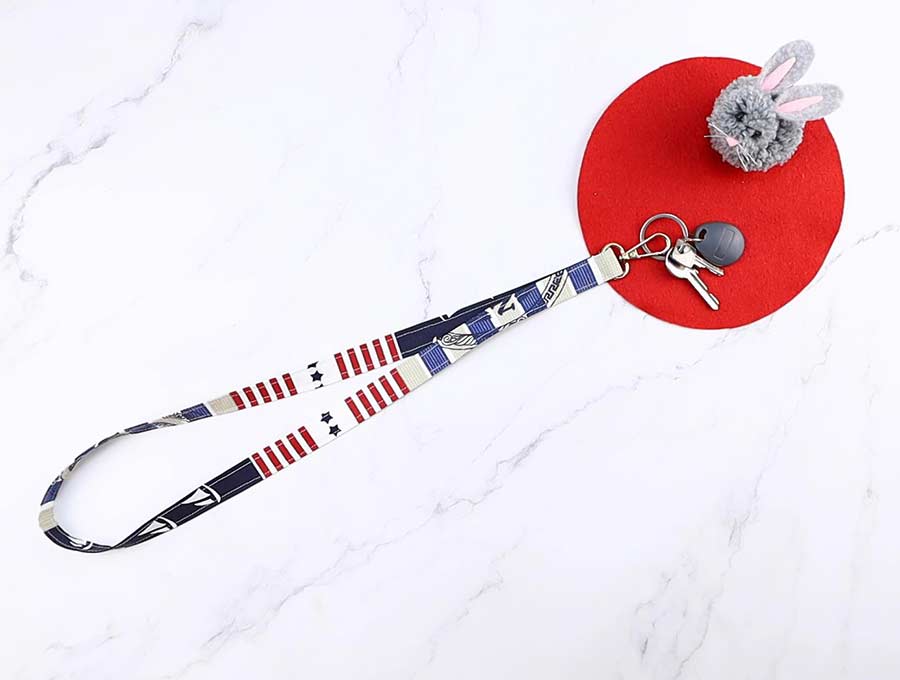
I hope you liked this lanyard tutorial and that you found it fun and useful! Feel free to leave your thoughts on it in the comment section below, we love hearing our readers’ opinions, they’re valuable for our growth! Now that you know how to sew a lanyard, you can go ahead and make some for your friends and family. Enjoy your new custom lanyards and all those music festivals you’ll go to this summer!
Do you like this? Pin for later:
Wanna be friends? Click HERE and follow me on Pinterest
RELATED:
- How to make a keyfob – easy wristlet tutorial
- DIY cord keeper
- Vaccination card holder