
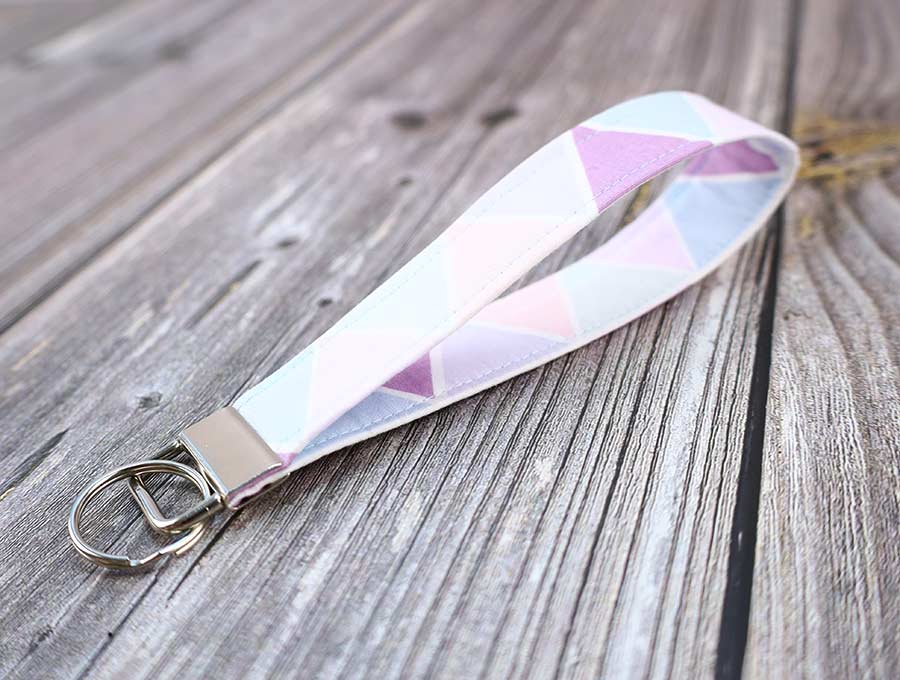
How to Make a Key Fob Wristlet in 3 minutes
Making your own fabric key fob wristlet using our key fob pattern allows you to find your keys easily in your purse, plus you get to use up those little bits of fabric you can’t bear to throw away, and you can personalize your creations. All you need to create a wristlet keychain is a piece of fabric measuring 4 inches by 12 inches, some interfacing and the key fob hardware, which by the way, is easily obtainable and quite inexpensive. The wristlet keychain hangs up, and can be made in bright neon colors so you can find it easily in a purse, or dark colors for a masculine looking key fob. Teen girls might like ones with a few glitzy bits attached once you have completed the fabric keychain wristlet. After a grocery shopping trip it’s so easy to slip the DIY key fob onto your wrist so you have your car keys ready when you reach the vehicle, without having to dig in your purse, while juggling grocery bags and children. Read on to learn how to make a key fob wristlet in 3 minutes flat!
Below you will find my step by step keychain wristlet written tutorial with VIDEO instructions for all the visual learners.
We occasionally link to goods offered by vendors to help the reader find relevant products. Some of the links may be affiliate meaning we earn a small commission if an item is purchased.
Table of Contents
How to make a Key Fob Wristlet
DIY Fabric Key Fob Supplies and tools
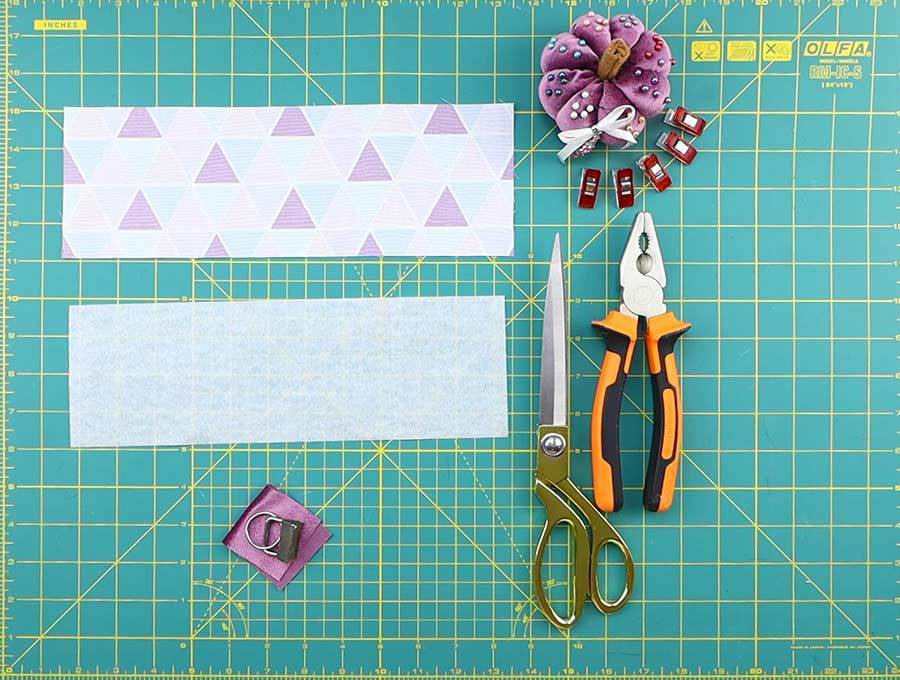
- fabric – woven cotton – 12 x4″
- fusible interfacing – 12 x4″
- 1″ (2.5cm) keyfob hardware
- matching thread
- scissors (or rotary cutter and a cutting mat)
- ruler or measuring tape
- iron and ironing board
- sewing clips or pins
- sewing machine
Follow us for free patterns & tutorials! [easy-profiles]
How to Sew a Fabric Key Fob
Watch the diy keychain video first and then follow the written step by step instructions below.
Please enjoy and don’t forget to Like and SUBSCRIBE over on YouTube to be kept up to date with new videos as they come out.
Fabric Keychain Key fob VIDEO TUTORIAL
DIY Key Fob INSTRUCTIONS:
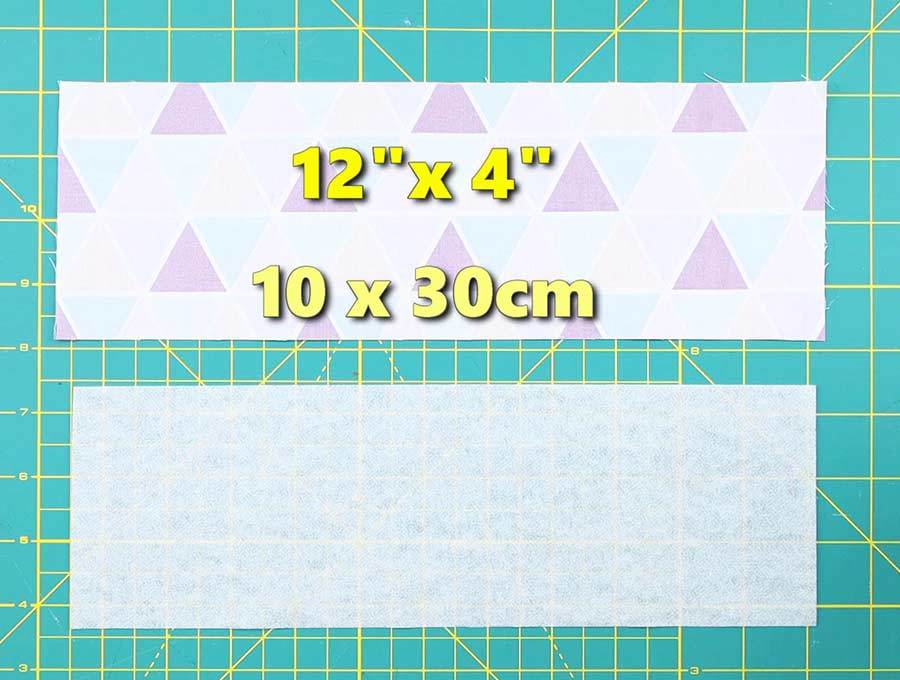
STEP 1: Cut your fabrics
For a finished wrislet size 5.5″ long and 1″ wide (14cm x 2.5cm) cut as follows:
- Cut your piece of fabric to size – 4 x 12 inches (10 x 30cm), by using our pattern, or measuring it out.
- Cut the fusible interfacing, just a bit smaller than the outer piece. Using a medium weight fusible interfacing allows for the correct amount of stiffness and adds to the durability of the fabric.
Because wrist sizes vary we have some inside circumference dimensions to guide you for the finished key fob wristlet, so it fits comfortably over your hand. I would always suggest using the 12 inch strip and cutting down to size – it should slip comfortably over your wrist to keep your keys securely ‘at hand’ while you perform other tasks – you don’t want to wrestle it onto and off your wrist. To get an idea of the circumference place your thumb over your pinkie finger, kind of folding your hand and measure the widest point towards the base of your hand.
These are a general guide to the size of hands:
- Large – 12 inches
- Medium – 11 inches
- Small (kids) – 10 inches
Now, the sizes above are for women’s hands. If you are making for a man you would need to measure the person’s hand to see how much longer your initial strip for the DIY key fob chain should be. As a general guideline 13-16 inches would work fine and will give you a wrislet that is 7 to 8 inches long.
STEP 2: Fuse interfacing to fabric
On your ironing board place the outer fabric wrong side up, then place the fusible interfacing over it with the fusible side down (that’s the side that’s a bit rough and seems slightly sticky), positioning so there are no edges overlapping the outer fabric, then apply the heat from the iron to fuse the lining to the fabric, according to the manufacturer’s instructions – with some fusing you apply heat from the back, and with others it’s from the front.
STEP 3: Fold and press
- You are now going to press your fabric ready for sewing, so fold it in half along the 12 inch side so you have a piece measuring 12 inches by 2 inches and press along the fold.
- Open out the fabric on the wrong side, then fold along the length to the middle fold you have just pressed, and press. Repeat with the other side.
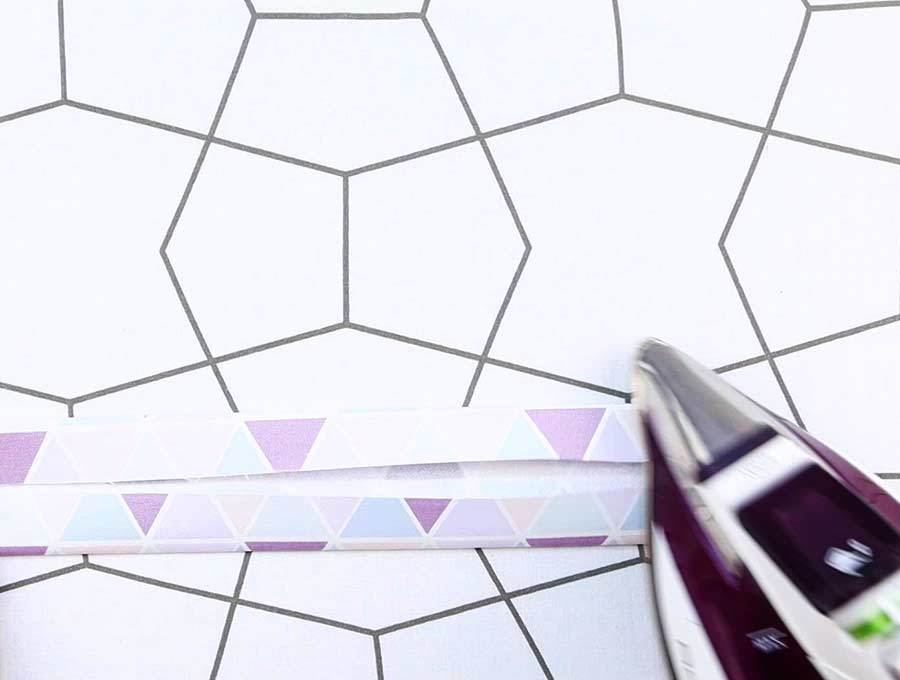
- Fold over again and press so you have a piece that is 12 inches by 1 inch.
STEP 4: Topstitch the wristlet keyfob
Stitch along the sides, allowing a 1/8 inch seam allowance on either side.
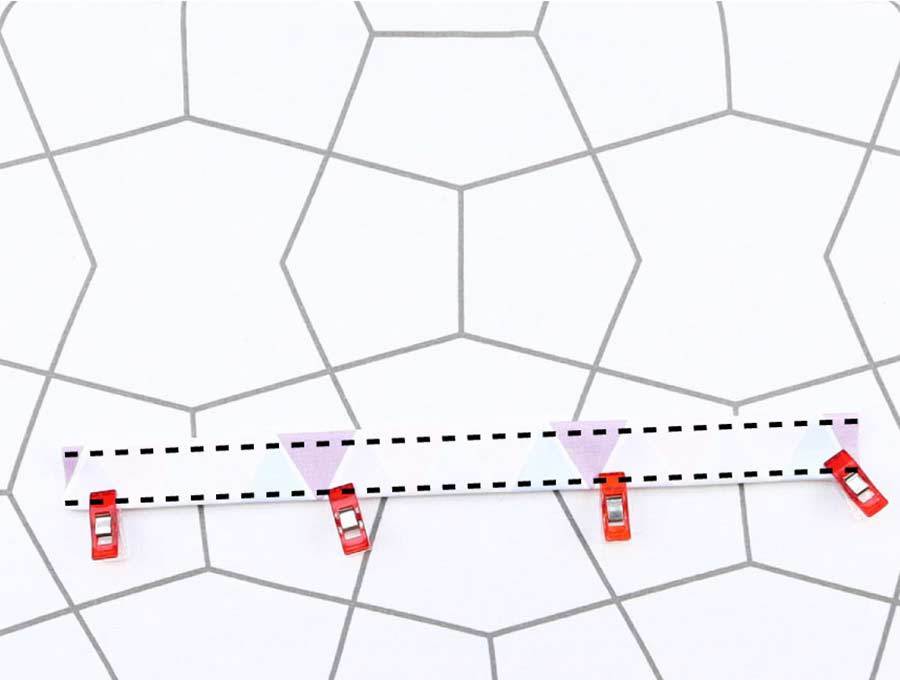
OPTIONAL: Across the raw ends on either side you need to use the zigzag stitch to ensure it does not fray. If you have an over locker you can overlock the ends.
STEP 5: Attach the hardware
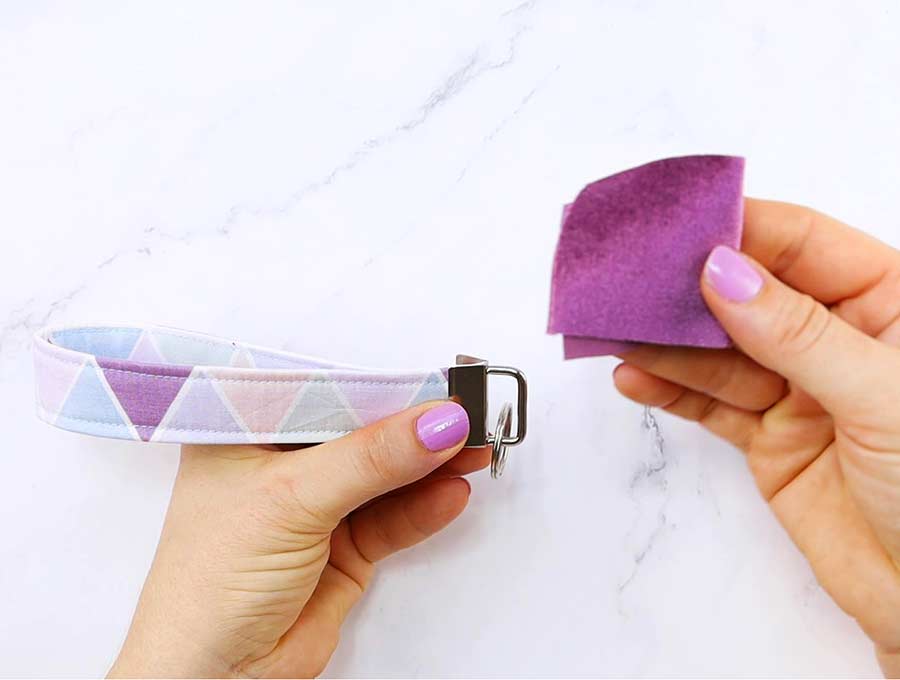
Time to apply the hardware. Match the two short ends up so you have a piece of material that is folded over and starting to look more like a key fob.
You can use normal pliers but will need a thick piece of fabric to place over the hardware ends to ensure the pliers don’t scratch the metal of the hardware. Take the hardware and place it over the ends of the fabric and use the pliers to press so the serrated edges clamp into the fabric, securing the key fob hardware lock into place.
Attach the split ring of the key chain to the bar of the key chain fob and you are done. One down and a whole lot more to go, because once you see how easy it is you are going to want to make up a whole lot of these for everyone who needs to keep their keys together.
That’s it your DIY fabric key fob is ready!
DIY Wristlet Keychain FAQs
Q: Can I make a keychain fob using two contrasting pieces of fabric?
A: You certainly can and the contrasting use of fabric will certainly use up those narrow leftover strips and provide you with a good looking key chain fob but your method will be slightly different. Instead of cutting one piece of fabric to 4 inches by 12 inches you will cut two pieces of fabric each 2 inches by 12 inches. Then, follow these steps tomake a keychain fob using two contrasting pieces of fabric :
Step 1: Cut two pieces of fusible interlining just a tiny bit smaller than each piece, and place in position on the wrong side of the fabric, then iron on.
Step 2: Take each 2 x 12 inch piece and fold in half and iron along the fold.
Step 3: Open out the fabric and place wrong side up on the ironing board then fold in the side towards the middle creased seam and press, repeat with the other side so you have a piece that is one inch wide, then repeat this process with the contrasting piece of fabric.
You then proceed to Step 4 in the original diy key fob tutorial and complete the DIY wristlet key fob.
Q: Can I make the keychain fob out of braid?
A: It is fun to use different pieces of braid as long as they are around an inch wide and are quite firm. You won’t need the fusible lining– just fold over the braid, zigzag the ends so it doesn’t fray, and attach the key fob hardware. If the braid is flimsy then you will need a piece of fabric as a backing. Follow these steps to complete the DIY key fob out of braid:
Step 1: Cut a piece of fabric to double the width of the braid and 12 inches long.
Step 2: Cut the fusible interlining just slightly smaller than the backing piece and iron onto the wrong side.
Step 3: Fold the fabric in half along the 12 inch length and press. Open out and place wrong side up on the iron board and fold in each side to meet the middle crease and press.
You then proceed to Step 4 and complete the key chain wristlet with the braid on the outer side.
Do you like this? Pin for later:
Wanna be friends? Click HERE and follow me on Pinterest
RELATED:
- Fabric lanyard tutorial (VIDEO)
- DIY chapstick keychain