
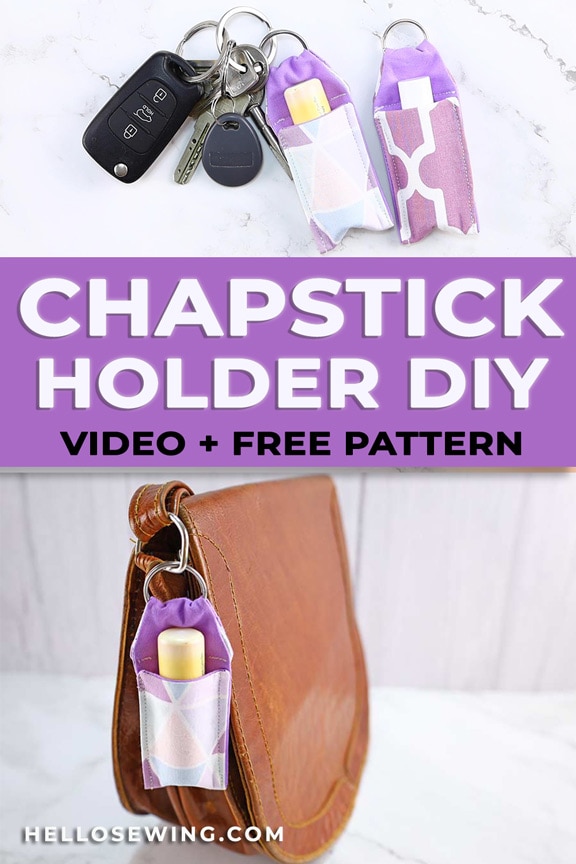
DIY Chapstick Holder Keychain / Lip Balm Holder Tutorial
I love winter and everything about it. Except for one thing. Cracked. Lips.
I hate when my lips crack so I always carry my chapstick with me. The problem with it is that the darn thing always gets lost in my bag when I need it. It’s like it jumps to a different dimension right when I’m searching for it.
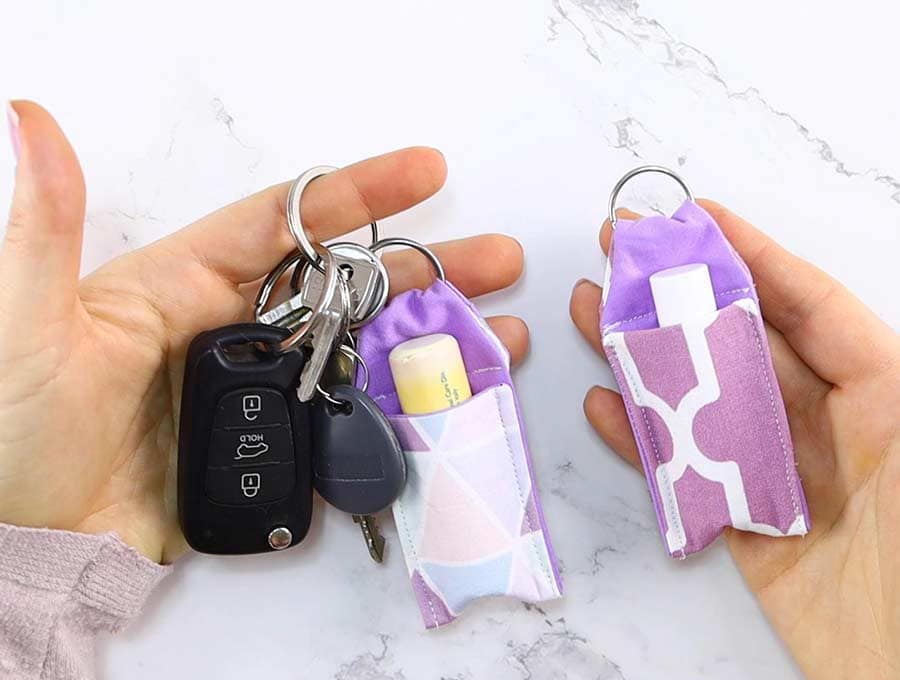
The solution is pretty ingenious: DIY chapstick holder keychain.
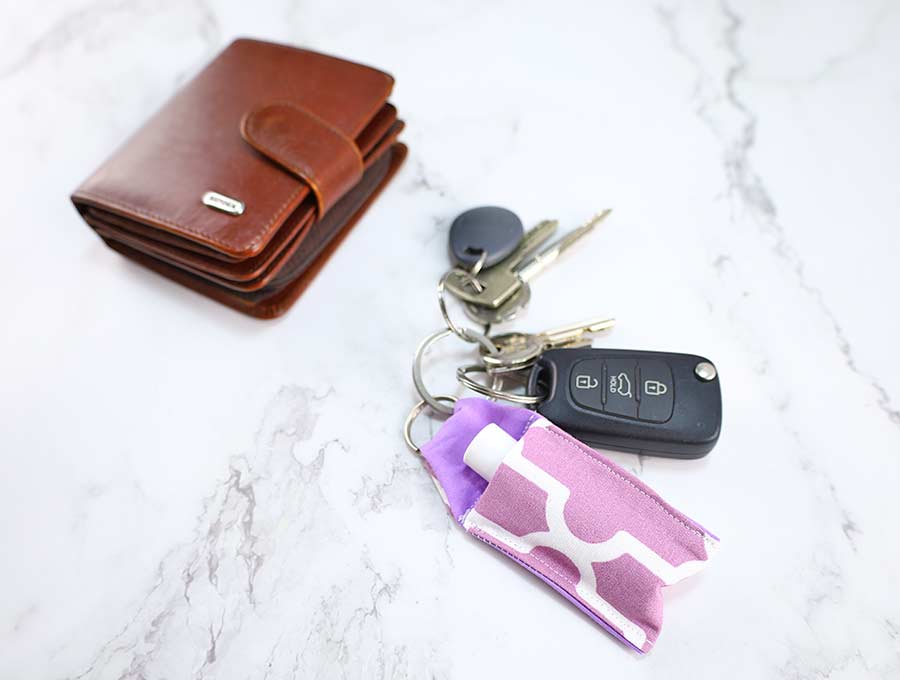
This lip balm keychain will keep your chapstick easily accessible yet safe whenever you’re out of the house. And since it’s easy and fun to make, there’s no reason why you shouldn’t give it a go!
Here’s a step-by-step tutorial that will show you how to make your own chapstick holder keychain that you can clip to your purse.
Below you will find my step by step written lip balm holder tutorial with VIDEO instructions for all the visual learners.
We occasionally link to goods offered by vendors to help the reader find relevant products. Some of the links may be affiliate meaning we earn a small commission if an item is purchased.
Table of Contents
- 1 How to Make a Chapstick Holder Keychain
- 2 Supplies and tools
- 3 How To Sew Lip Balm Holder Keychain
- 3.1 DIY LIP BALM HOLDER DIY VIDEO TUTORIAL
- 3.2 CHAPSTICK HOLDER KEYCHAIN INSTRUCTIONS:
- 3.3 STEP 1: Prepare the chapstick holder pattern
- 3.4 STEP 2: Cut the fabric and interfacing
- 3.5 STEP 3: Fuse interfacing to fabric
- 3.6 STEP 4: Pin the chapstick holder
- 3.7 STEP 5: Sew
- 3.8 STEP 6: Turn the lip balm keychain inside-out
- 3.9 STEP 7: Fold the chapstick holder
- 3.10 STEP 8: Finish the chapstick holder
- 4 FAQ: Chapstick or lip balm?
How to Make a Chapstick Holder Keychain
Supplies and tools
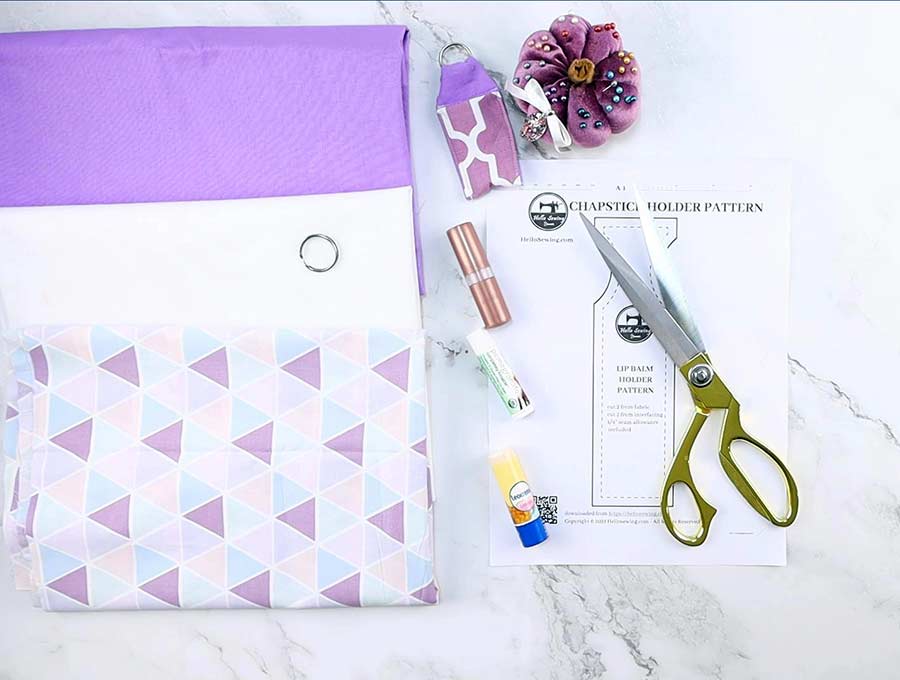
- 2 coordinating fabrics – quilting cotton (one main, one lining)
- matching thread
- fusible interfacing
- scissors (or rotary cutter and a cutting mat)
- ruler or measuring tape
- iron and ironing board
- sewing clips or pins
- sewing machine
DOWNLOAD:
diy chapstick holder pattern(Free PDF file)
Follow us for free patterns & tutorials! [easy-profiles]
How To Sew Lip Balm Holder Keychain
Watch the diy chapstick holder video first and then follow the written step by step instructions below.
Please enjoy and don’t forget to Like and SUBSCRIBE over on YouTube to be kept up to date with new videos as they come out.
DIY LIP BALM HOLDER DIY VIDEO TUTORIAL
MATERIALS:
- outer fabric: 22 x 8cm (8.5 x 3″)
- lining fabric: 22 x 8cm (8.5 x 3″)
- fusible interfacing: 22 x 15cm (8.5 x 6″)
Finished size: 4.5 x 9.5cm or 1.75″ x 3.75″
CHAPSTICK HOLDER KEYCHAIN INSTRUCTIONS:
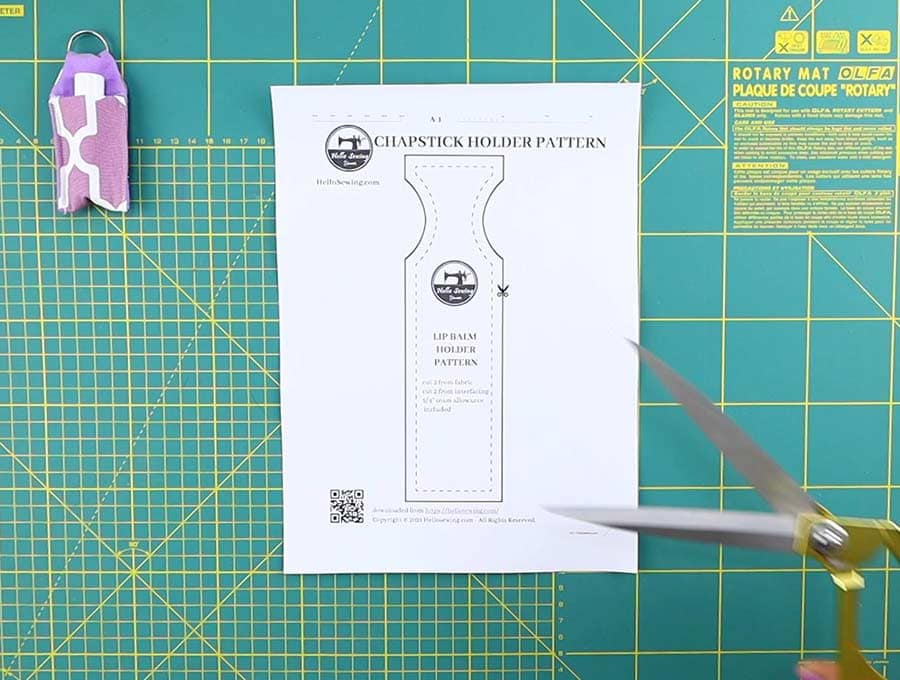
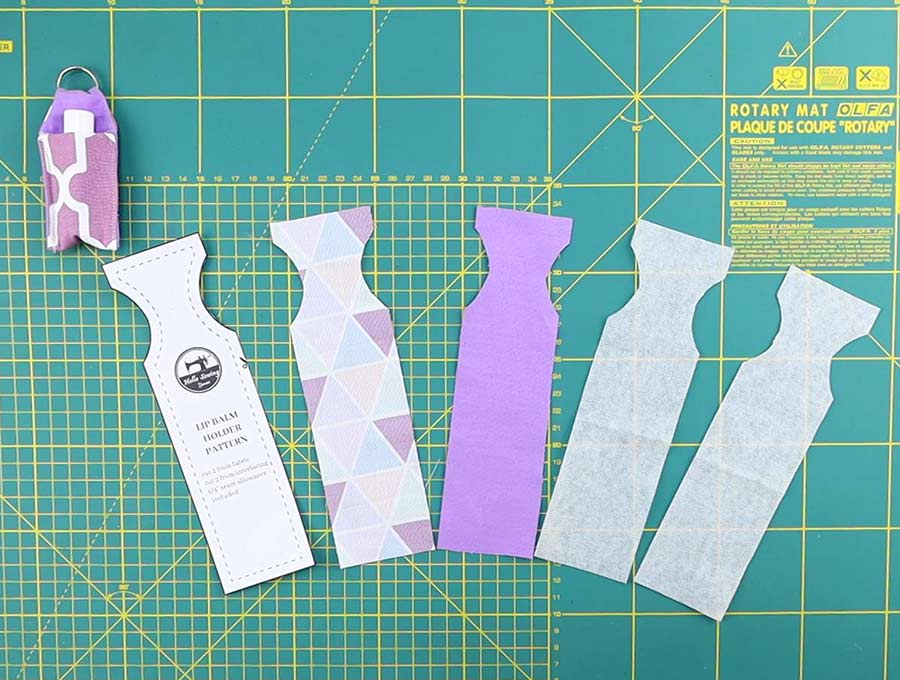
STEP 1: Prepare the chapstick holder pattern
You’ll be starting this project off by preparing the pattern first. It’s pretty simple, just download our free chapstick case pattern and print it out in full size. Do not print it directly from the browser though, download it on your computer and open it with Adobe reader or a similar PDF reader program, then print it without any scaling.
Cut out the chapstick holder template and get rid of excess paper.
STEP 2: Cut the fabric and interfacing
Use your lip balm holder template as a guide and cut out four identical pieces. One from each fabric and two from the interfacing.
I suggest you use colorful fabrics for the outer side to give the holder that spring vibe and spirit and use plain fabrics to make the main color pop.
TIP: Remember to wash and iron the fabric before you do anything with it. This will prevent any unwanted deformations later on when the chapstick holder keychain is finished.
STEP 3: Fuse interfacing to fabric
Now you’ll need to apply the interfacing to both pieces of the DIY chapstick holder main fabric.
If you used a heavyweight fabric for the main body, you will need to trim down the interfacing pieces a bit. Cut about a quarter-inch all around the edges. This will keep the interfacing fabric out of the seam allowance and allow you to make a smooth turned seam.
Don’t worry about trimming the interfacing if you used standard quilting cotton as the main fabric as I did.
When the interfacing pieces are ready, place the bumpy side of each one of them onto the wrong sides of the two main fabric pieces. Press them with a hot iron to join the main fabrics and the interfacing. Be sure to follow the instructions provided with the fusible interfacing. If you use too much or too little heat, you won’t apply the interfacing properly.

STEP 4: Pin the chapstick holder
Place the two fabric pieces onto each other with their right sides facing inward. Pin the two in place to secure them together.
STEP 5: Sew
Sew all around the chapstick keychain with a 6mm (1/4″) seam allowance. When you reach the curves and corners, stop and pivot, then keep sewing. Leave an opening of about 2-3 cm (1 inch) unstitched at the long side of the lip balm holder, for turning the whole thing inside-out.
Reinforce the beginning and the end of your seam by backstitching.
STEP 6: Turn the lip balm keychain inside-out
Clip the curves and trim the corners a bit first. Then turn the whole thing inside-out and push out all edges and corners.
Press the chapstick holder with an iron.
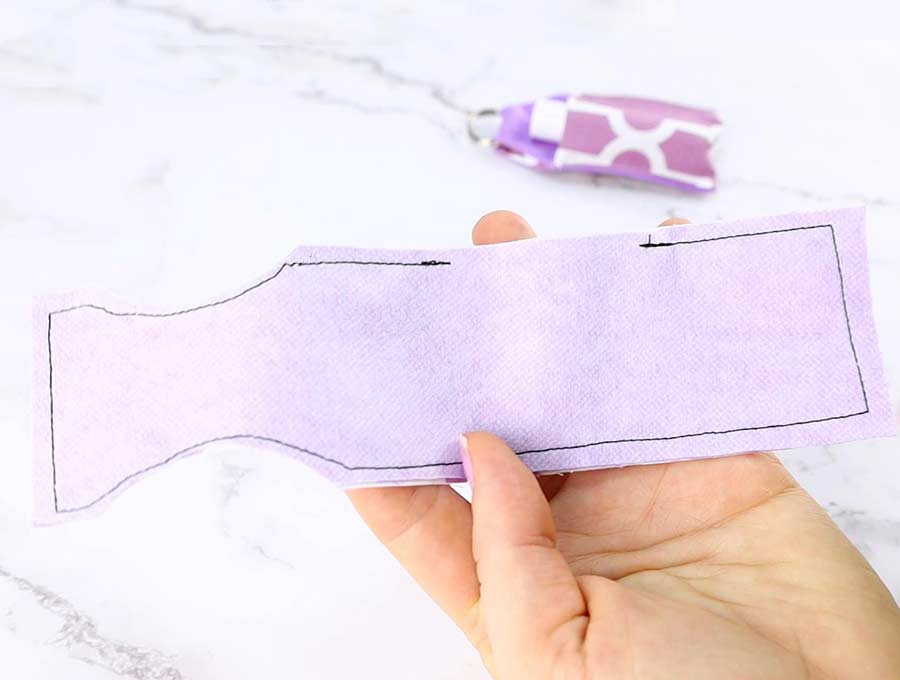
STEP 7: Fold the chapstick holder
Transfer the fold line from the template onto the holder. Fold the top edge of the holder to the fold line and press.
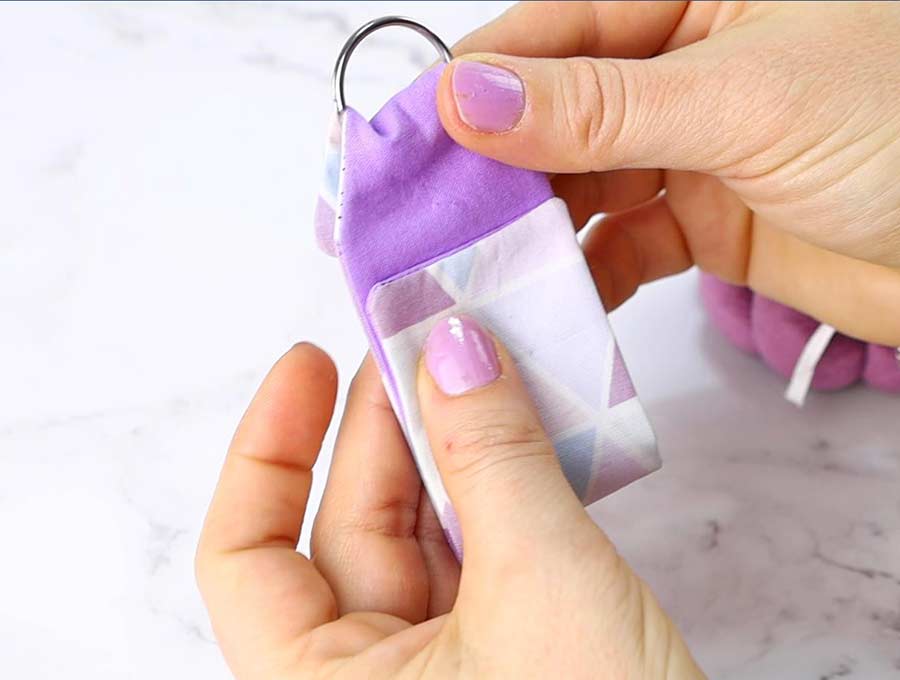
Insert the keychain ring inside the fold, next to the top folded edge. Pin fabrics in place. Make a stitch as close to the bottom edge of the fold as possible.
Grab the bottom edge of the holder and fold it just below the fold line you transferred from the pattern earlier. Do not overlap the top and the bottom sides you folded. Press the holder flat with your iron. Secure the folded section in place with pins or clips.
STEP 8: Finish the chapstick holder
To form the pocket for the chapstick, stitch through all layers on both sides of the holder as close to the edge as possible.
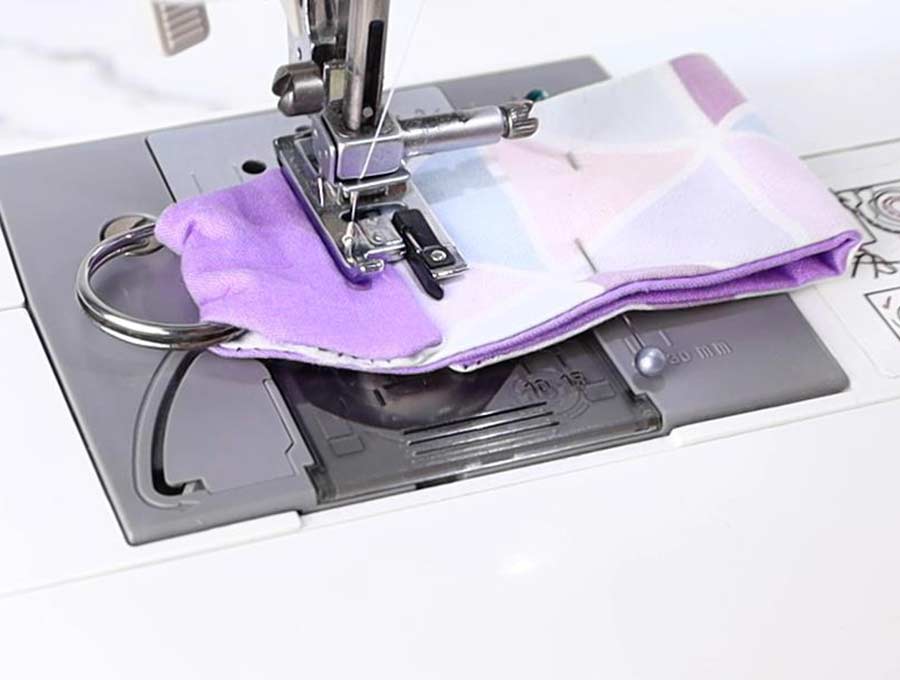
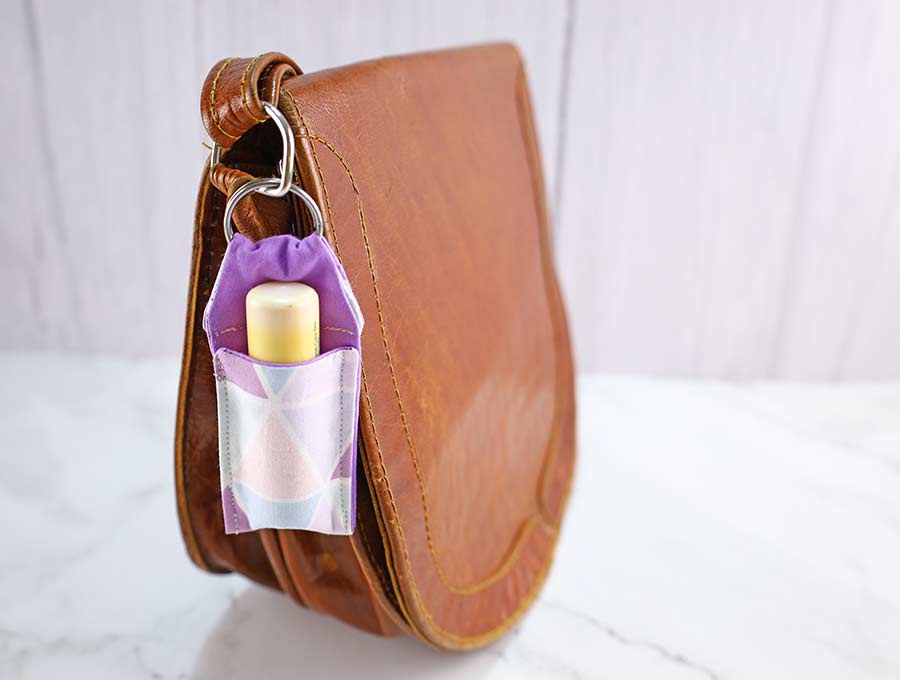
Your new DIY chapstick holder is complete!
All you need to do is to attach it to your key ring or your purse and you are good to go.
FAQ: Chapstick or lip balm?
Is there a difference between chapstick and lip balm?
It’s simple actually, they’re almost the same thing. Lip balm is a waxy product used to treat dry lips. Chapstick is the brand name of a lip balm made by Pfizer.
What do you think about our chapstick holder tutorial tutorial? I hope you found it useful and fun! Now that you know how to make a chapstick holder, try sewing a few for your friends as well. Then let us know how they turned out and if your friends liked it, down in the comment section below! Enjoy having perfect lips from here on out!
Do you like this? Pin for later:
Wanna be friends? Click HERE and follow me on Pinterest
MORE SCRAPBUSTERS:
- Hand sanitizer holder keychain
- Face mask keychain case pattern
- DIY cable holder wraps – say goodbye to the cable clutter in your home
- Bar soap saver in 5 minutes out of wash towel
- Made to measure face mask – for a great custom fit. With nose wire and filter pocket
- How to make a microwave bowl cozy keep your hand safe from hot bowls of soup. Fun to make and functional