")
DIY Soap Saver Pouch out of Washcloth (VIDEO)
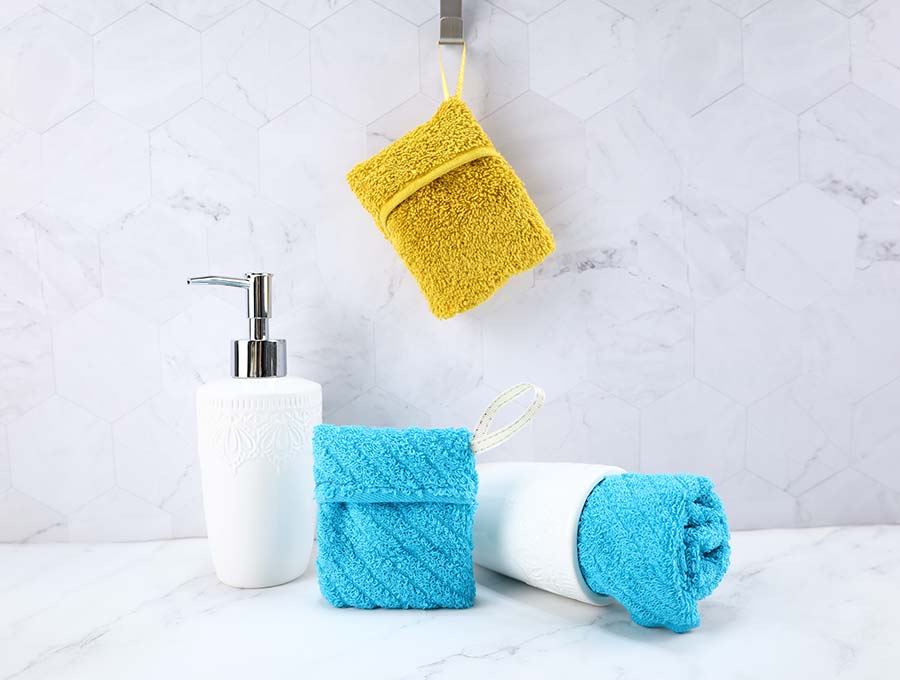
Make your own soap pouch quickly and easily! Why you may ask?
It’s eco-friendly, it’s cute and it sews up so quickly that you have no reason not to make this soap saver for shower today. After all it only takes 5-10 minutes to sew up once you gather the essentials. Just see how cute these DIY soap savers are. All you need is a wash cloth and few spare minutes to make them.
Below you will find my step by step diy soap pouch written tutorial with VIDEO instructions for all the visual learners. Learn how to make a soap saver in a flash either by hand or with your sewing machine!
We occasionally link to goods offered by vendors to help the reader find relevant products. Some of the links may be affiliate meaning we earn a small commission if an item is purchased.
Table of Contents
How to make a soap saver
Making a soap saver is easy. You don’t need a pattern, and you can even upcycle an old washcloth to make these
Soap saver pouch supplies and tools

- wash cloth (hand towel or any other towel you happen to have)
- thin ribbon (1/8″ or 3mm works best)
- matching thread
- scissors (or rotary cutter and a cutting mat)
- ruler or measuring tape
- iron and ironing board
- sewing clips or pins
- sewing machine
Follow us for free patterns & tutorials! [easy-profiles]
How To Sew a Soap Pouch
Watch the diy soap saver pouch video first and then follow the written step by step instructions below.
Please enjoy and don’t forget to Like and SUBSCRIBE over on YouTube to be kept up to date with new videos as they come out.
DIY SOAP SAVER VIDEO TUTORIAL
DIY SOAP POUCH INSTRUCTIONS:
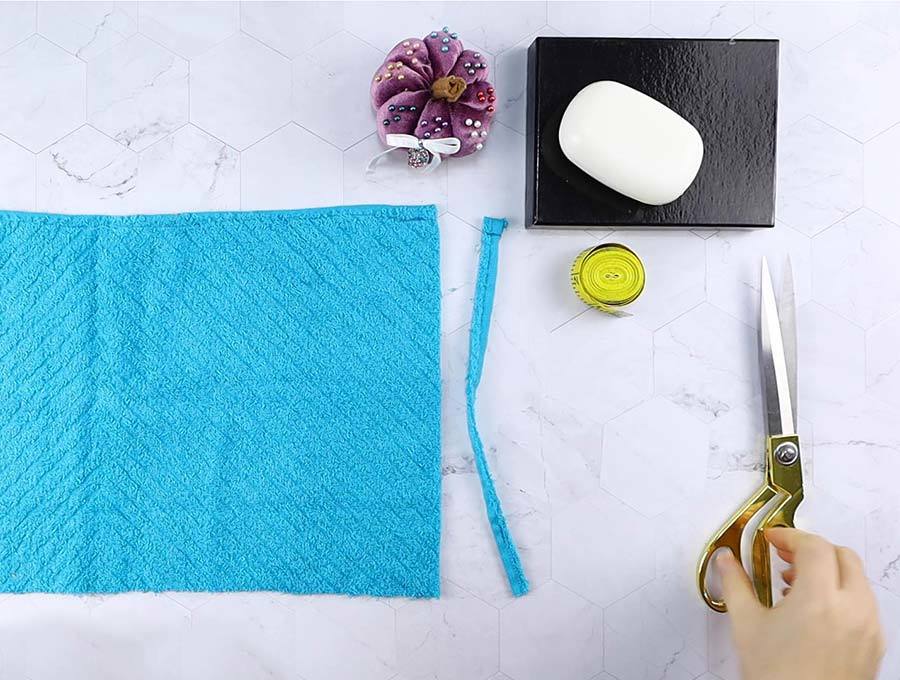
STEP 1: Cut out the washcloth
You don’t need a pattern to make the washcloth soap pouch. Actually making this wash cloth soap pouch is so easy that you can sew a bunch of soap savers and give them and gifts!
First, remove the hemmed side of the washcloth like so
Cut a piece of the washcloth that is 4 inches wide by 11 inches long (10 x 28cm).
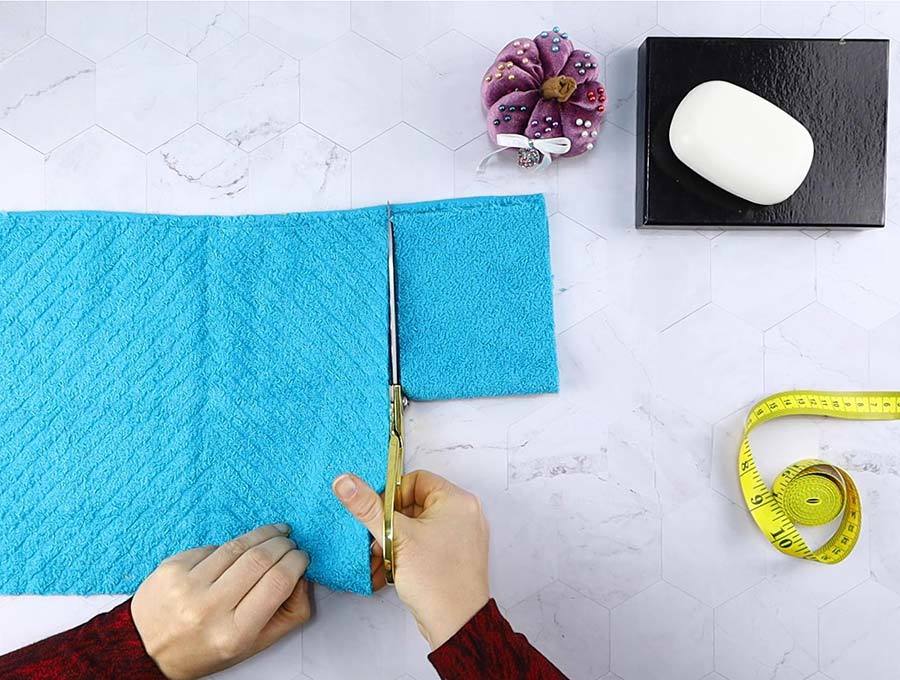
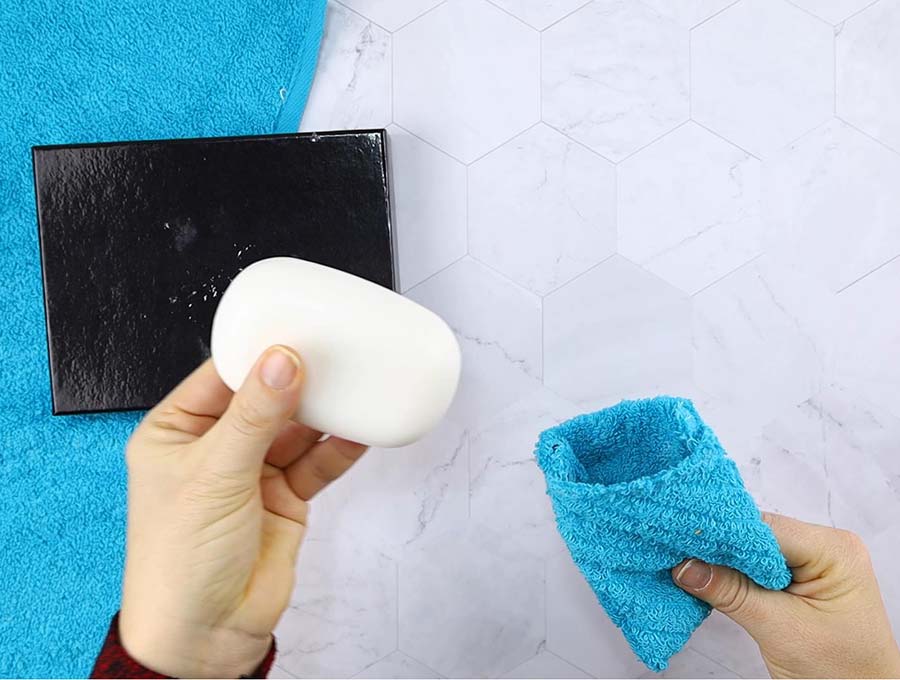
TIP: Before you cut the washcloth, I’d like to make sure that the soap will actually fit inside the soap bag, so measure it now
STEP 2: Hem the bottom edge
Hem the shortest raw edge of the washcloth
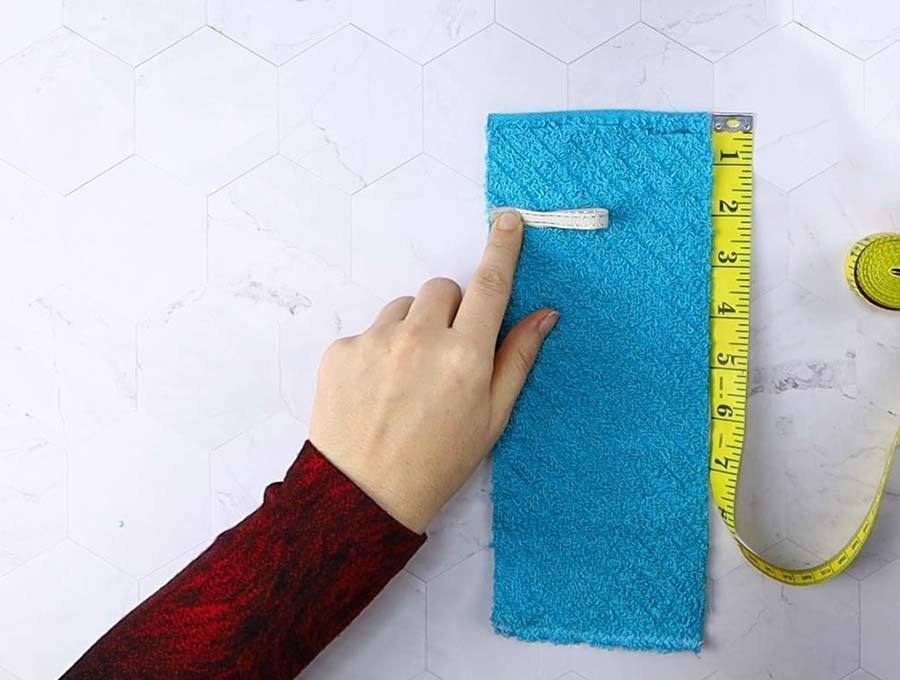
STEP 3: Add loop holder
Cut a piece of ribbon 5in long.
Fold ribbon in half and pin it about 2in (5cm) from the top.
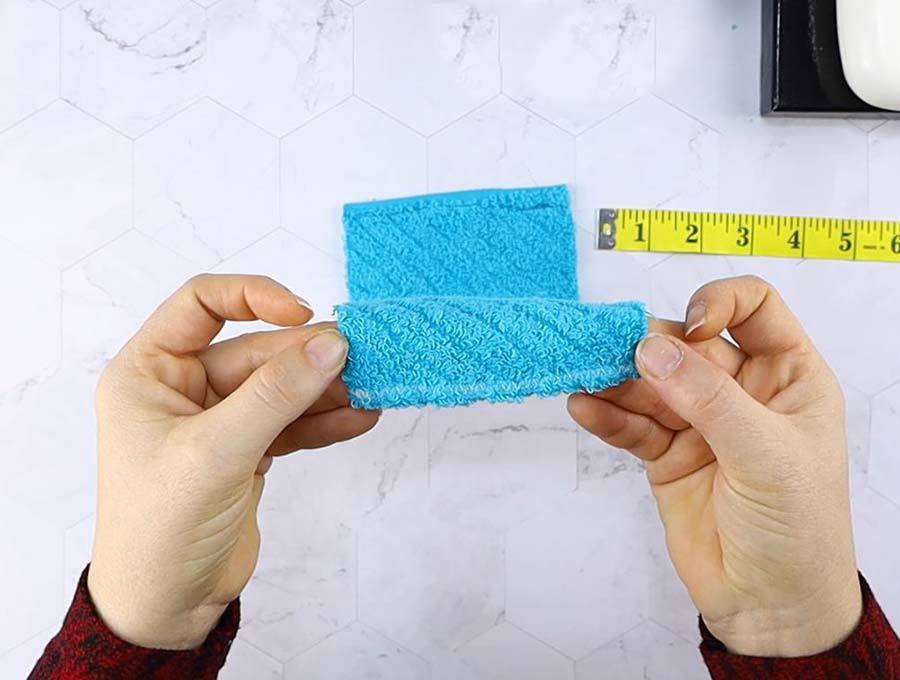
STEP 4: Fold down and pin
Fold the top down so that the fold is just above the ribbon holder. Then fold the bottom up almost to the edge of the fold.
Pin both sides in place to keep them from moving. Just few pins on each side are enough.
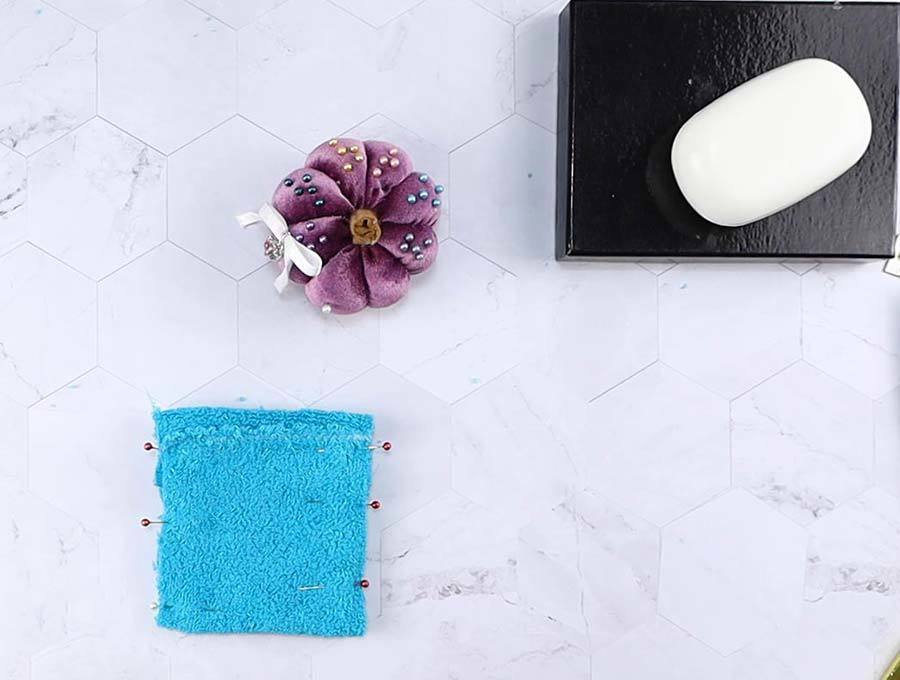
STEP 5: Stitch the sides
Sew both sides of the DIY soap holder either by hand or with a machine.
METHOD #1: Handsew using a backstitch
METHOD #2: Use a zig zag stitch
Here’s how each sewing method looks like
Handsewn (right) VS machine sewn (left) soap saver
TIP: Depending on your machine, sewing through the thick washcloth may be a bit difficult. Use your hands to help guide the washcloth through. If you have a walking foot – definitely use it as it makes sewing through such fabrics a breeze.
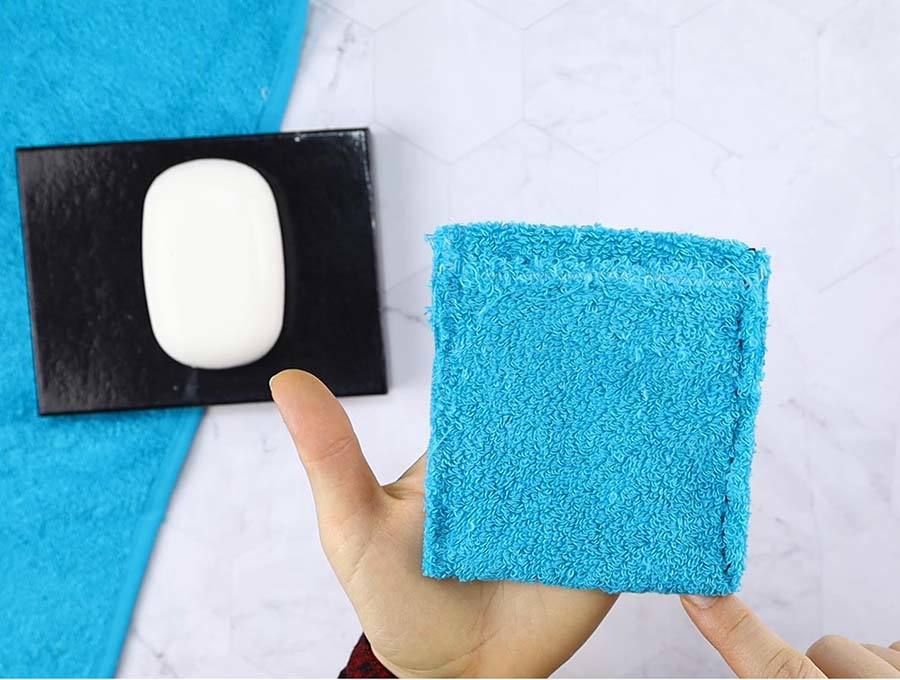
That’s it your diy bar soap holder is ready!
STEP 6: Use bar soap saver and enjoy
Insert soap in the washcloth soap pouch, fold the top down and use
Now that you know how to make a soap pouch, why don’t you make a bunch of soap savers and use them as gifts for friends and family! They are great small gifts you can sew for neighbors, too!
Also – they are great for camping. If you have a kid that is going camping – make sure to make a few of these cute little soap pouches – they’ll be used plenty!
DIY SOAP POUCH OPTIONS:
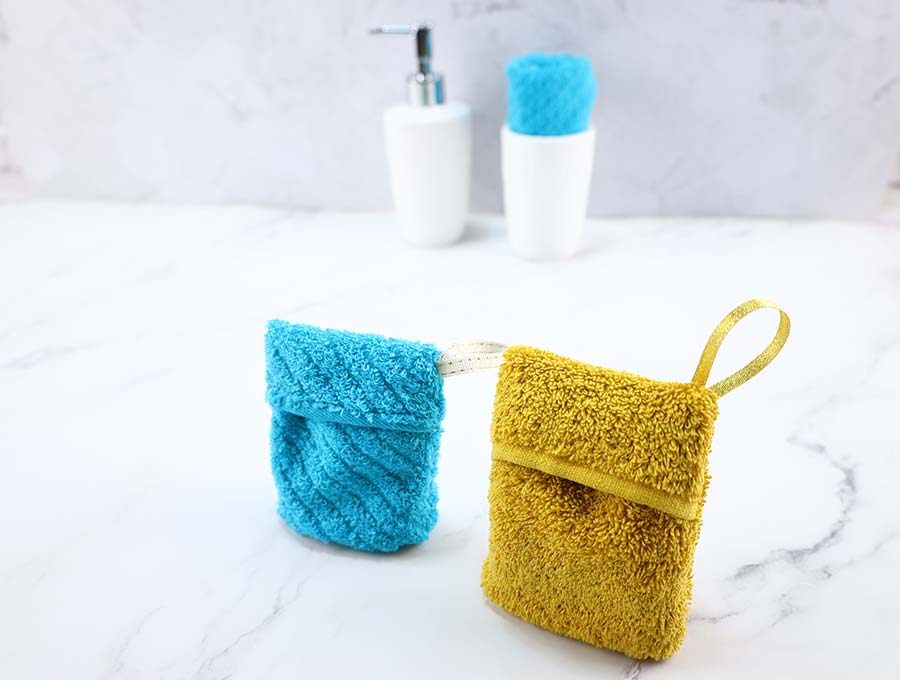
- With or without a hanging loop. I prefer adding the loop just in case you need to hang it in the future – it is almost no extra effort but you may find it really useful.
- Small or large size bar soap saver – small size is 4 x 11 inches for the standard bar soap, large size is 5 x 12 inches and holds larger bar soaps
Do you like our soap saver pouch tutorial? Pin for later:
Wanna be friends? Click HERE and follow me on Pinterest
RELATED TOWEL SEWING PROJECTS:
- Hooded towels for kids
- Hanging dish towel patterns
- DIY kitchen towels
- Swiffer wet pads out of old towel
- How to make a shower cap (with satin lining)
- Head wrap sewing pattern
- diy bath mat – one of the most practical ideas we have worked on