 | How to Make Swiffer Pads")
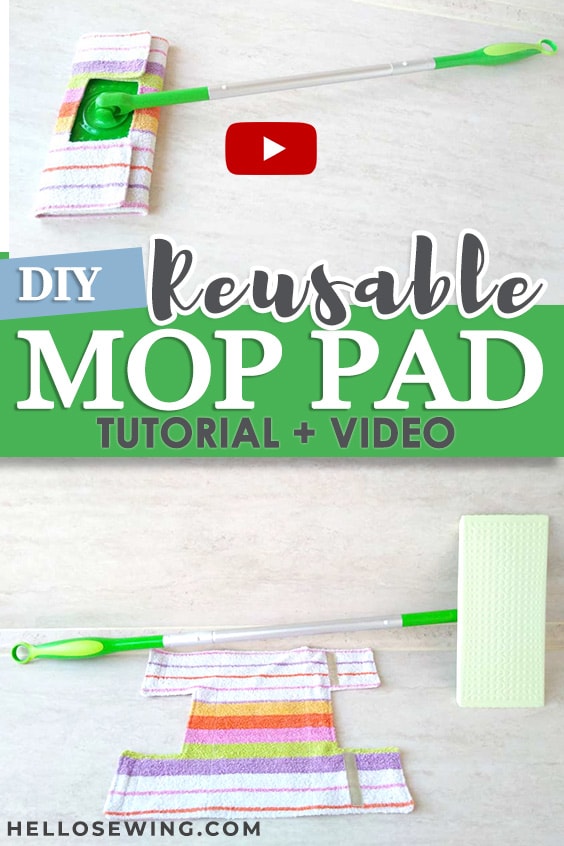
DIY Reusable Swiffer Mop Pads (Wet or Dry) | How to Make Swiffer Pads
Forget about buying swiffer pads from the store and just make your own DIY swiffer pads. These reusable swiffer pads are easy to make, don’t require a lot of time, and they are very affordable. Dirt cheap when you compare them to the ones from the store.
Not to mention that they are the way more environmentally friendly option. You’ll reduce the waste you leave behind and make your contribution to discouraging the industry that harms the environment. This project is simple enough for almost anyone to make it, so there’s no real reason why you shouldn’t try it out if you’re using swiffer pads.
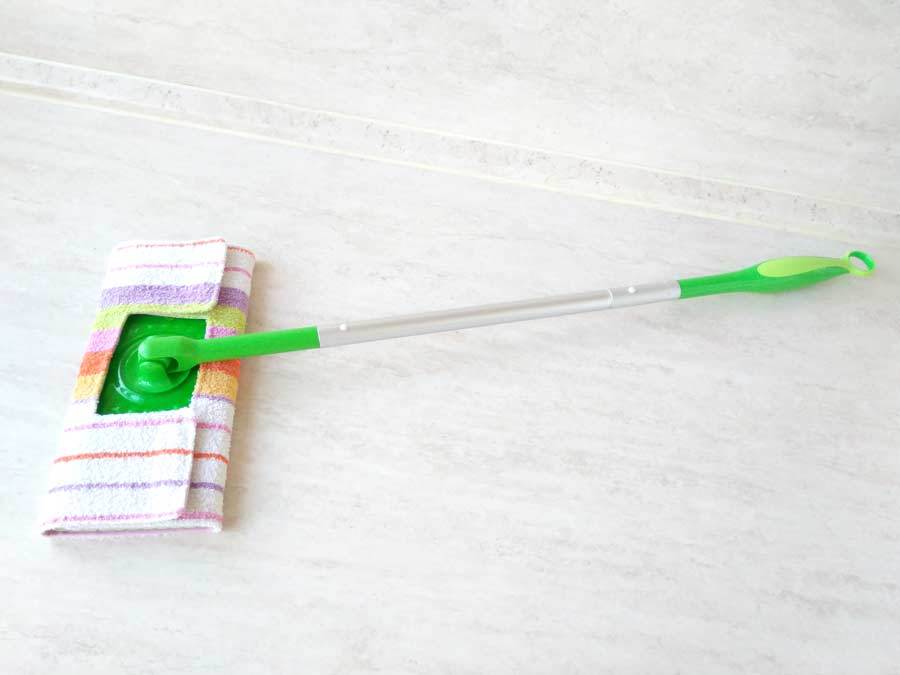
Just follow this step by step tutorial and you’ll have your DIY swiffer pads in no time. First, I’ll show you how to make the standard wet or dry pads, and then I’ll show you how to make the super easy 1 minute wet swiffer pads.
We occasionally link to goods offered by vendors to help the reader find relevant products. Some of the links may be affiliate meaning we earn a small commission if an item is purchased.
Table of Contents
- 1 How to make swiffer pads
- 2 Supplies and tools
- 3 How To Sew Reusable Mop Covers
- 3.1 DIY Reusable Swiffer Pads VIDEO TUTORIAL
- 3.2 INSTRUCTIONS:
- 3.3 STEP 1: Prepare the pattern for using (or make one)
- 3.4 STEP 2: Cut out the fabrics
- 3.5 STEP 3: Start sewing the DIY reusable swiffer pads
- 3.6 STEP 4: Turn around
- 3.7 STEP 5: Press
- 3.8 STEP 6: Sew around
- 3.9 STEP 7: Secure the layers in place
- 3.10 STEP 8: Sew on the velcro
- 4 Bonus: DIY solution for the wet pads
- 5 Other Easy OPTIONS:
How to make swiffer pads
Supplies and tools
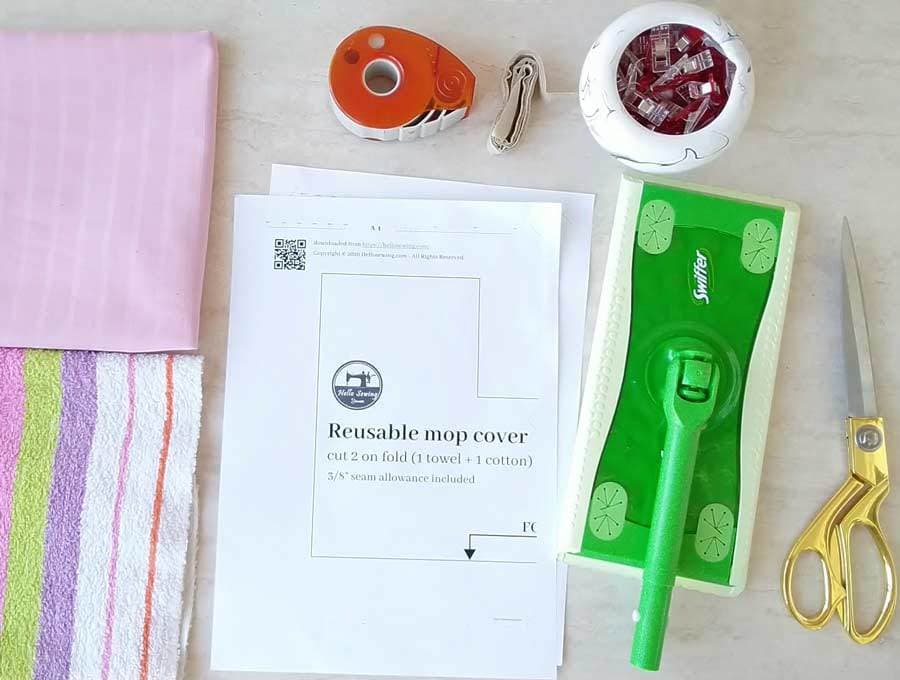
- Downloadable pattern for the DIY swiffer wet pads /link below/.
- Towel fabric
- Cotton fabric. You can use what you have leftover from your other projects.
- Two pairs of 3″ long velcro straps.
- matching thread thread
- scissors (or rotary cutter and a cutting mat)
- iron and ironing board
- sewing clips or pins
- sewing machine (it’s an easy sew, even a child sewing machine or a mini stitching machine can handle this)
DOWNLOAD: Reusable Mop pad pattern (Free PDF file)
Follow us for free patterns & tutorials! [easy-profiles]
How To Sew Reusable Mop Covers
Watch the diy swiffer pads video first and then follow the written step by step instructions below.
Please enjoy and don’t forget to Like and SUBSCRIBE over on YouTube to be kept up to date with new videos as they come out.
DIY Reusable Swiffer Pads VIDEO TUTORIAL
INSTRUCTIONS:
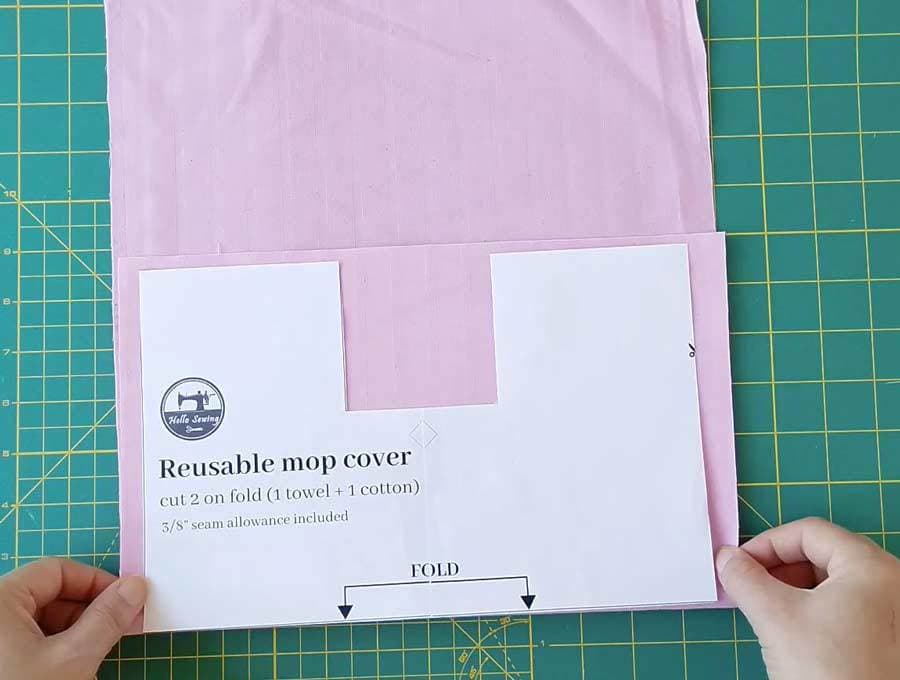
STEP 1: Prepare the pattern for using (or make one)
Download the reusable swiffer pads pattern and then print it out at 100% size. Tape the 2 sheets together as indicated. Trim the excess paper.
TIP: How to make your own pattern – If you don’t have a printer, don’t worry. You can make it from scratch very easily. All you need is a mopper head, a large piece of paper, a pen, a ruler, and a pair of scissors.
Spread out the paper and place the mopper head in the center. Draw around it. Then measure out about a half an inch around the box you just drew. This will represent the seam allowance. Now mark where the moper pole is located with two dots, on the longer edge of the outer box you drew. The dots should be apart from each other as much as the pole is thick. Do this on both sides of the box. Add about half of an inch more to those markings, both up and down from each dot. This is where the flaps of the swiffer wet pads will start.
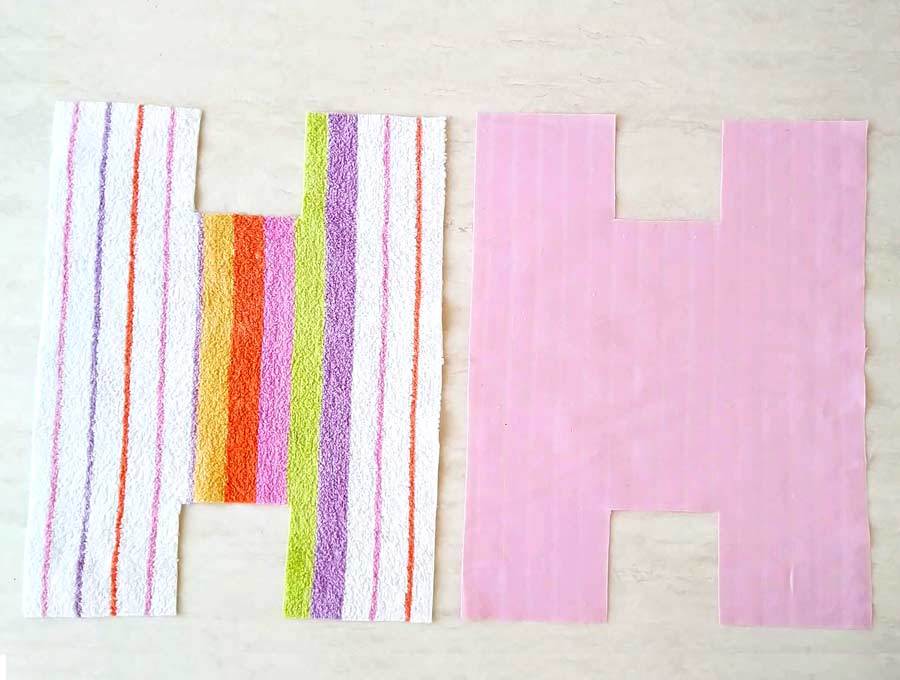
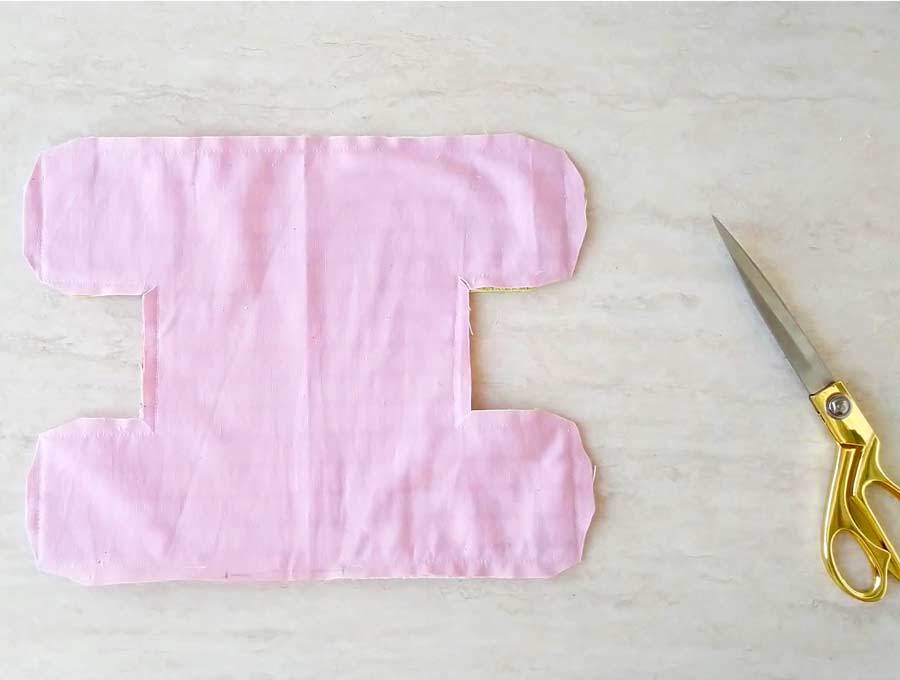
Draw two lines perpendicular to the outer box you drew, connecting the flap markings with the edge of the paper. Make this on both sides of the box. Cut out the paper between those lines, on both sides. Your pattern should look like a big letter H once you finish. Fold the pattern in half lenghtwise.
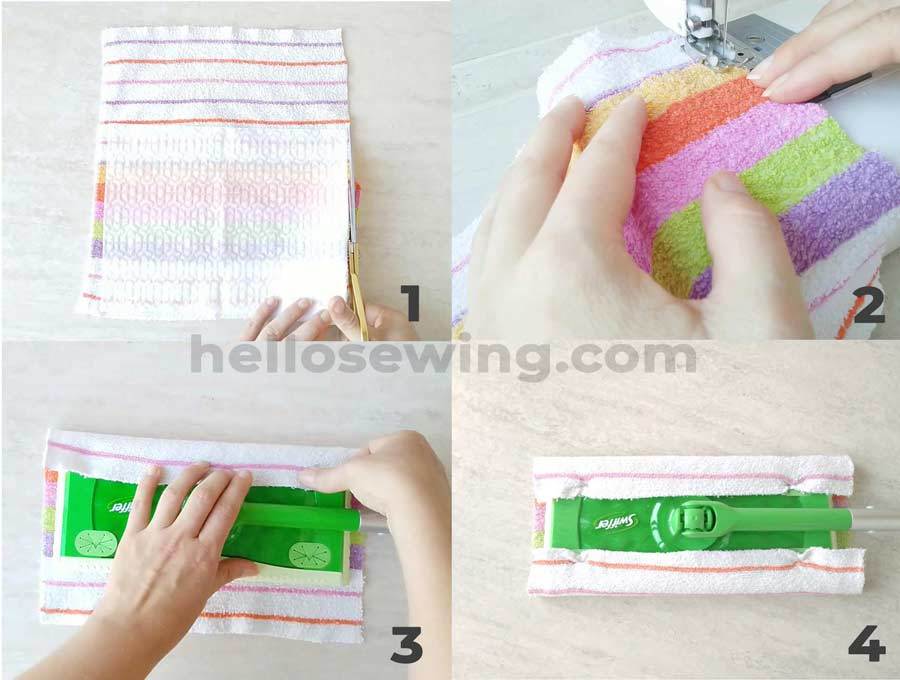
STEP 2: Cut out the fabrics
Fold the fabric in half and place the pattern on the fold. Now cut out both the towel and the cotton fabric piece you have prepared.
Put them on top of each other, right sides together. Align the edges and secure the fabrics with pins or clips. Leave a 2-3 inch opening for turning the swiffer cover inside out later.
STEP 3: Start sewing the DIY reusable swiffer pads
Sew all around the swiffer pad with a 3/8 inch seam. Leave a 3 inch opening unstitched on one of the sides of the pad to turn the whole thing through.
STEP 4: Turn around
Clip the corners and cut slits to allow the whole thing to lay flat
After that, turn the pad inside-out through the opening you left. Push the corners out as well.
STEP 5: Press
Fold the unstitched edge inwards a bit. Press the entire pad well with your iron.
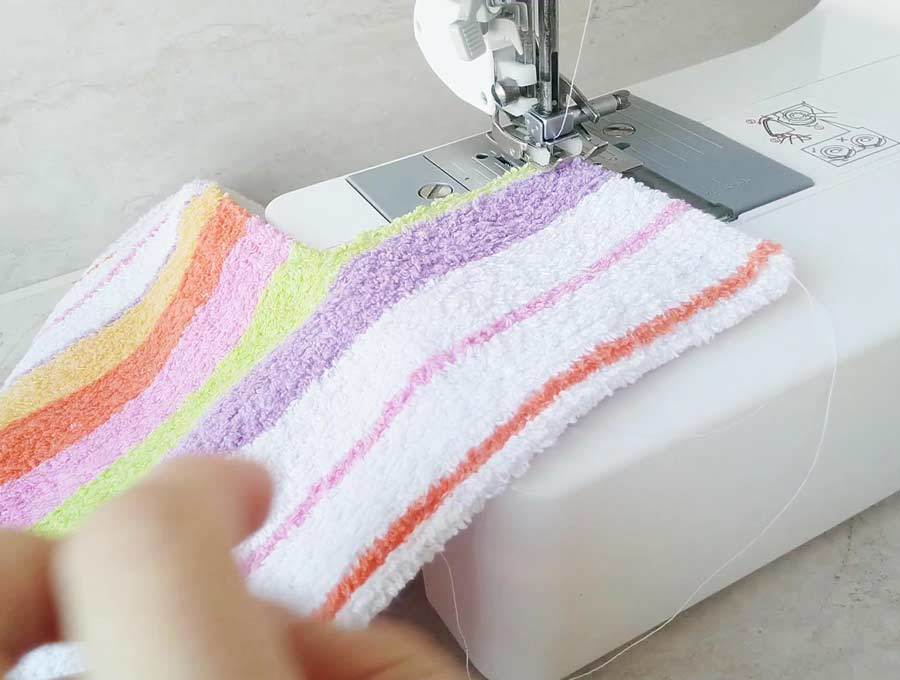
STEP 6: Sew around
Sew all around the pad one more time. Make sure to catch the unstitched edge in the process to close it shut. You can also stitch a rectangle in the middle of the pad to secure the layers in place.
STEP 7: Secure the layers in place
You can also stitch a rectangle in the middle of the pad to secure the layers in place.
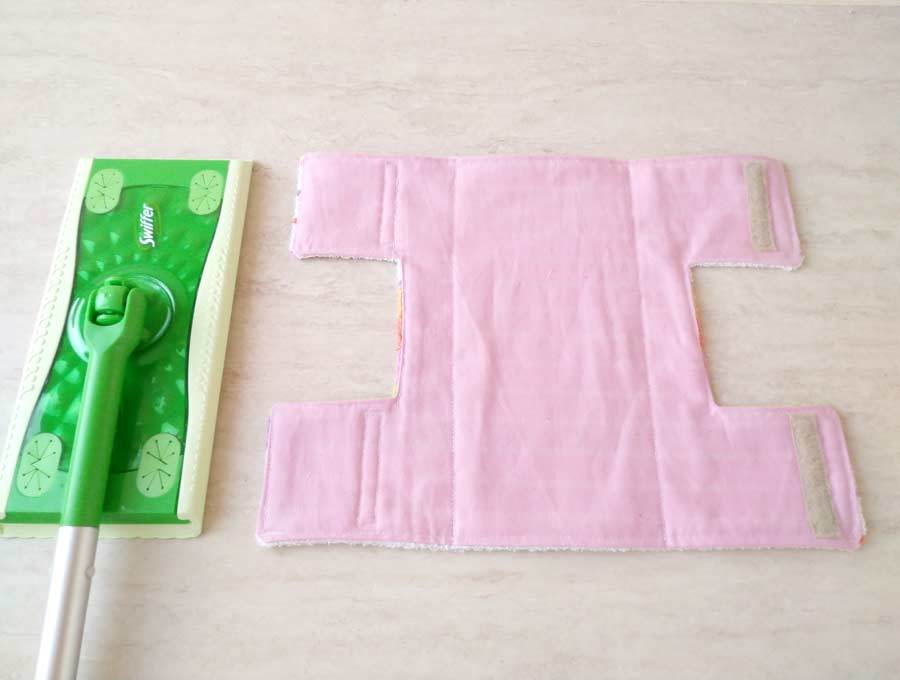
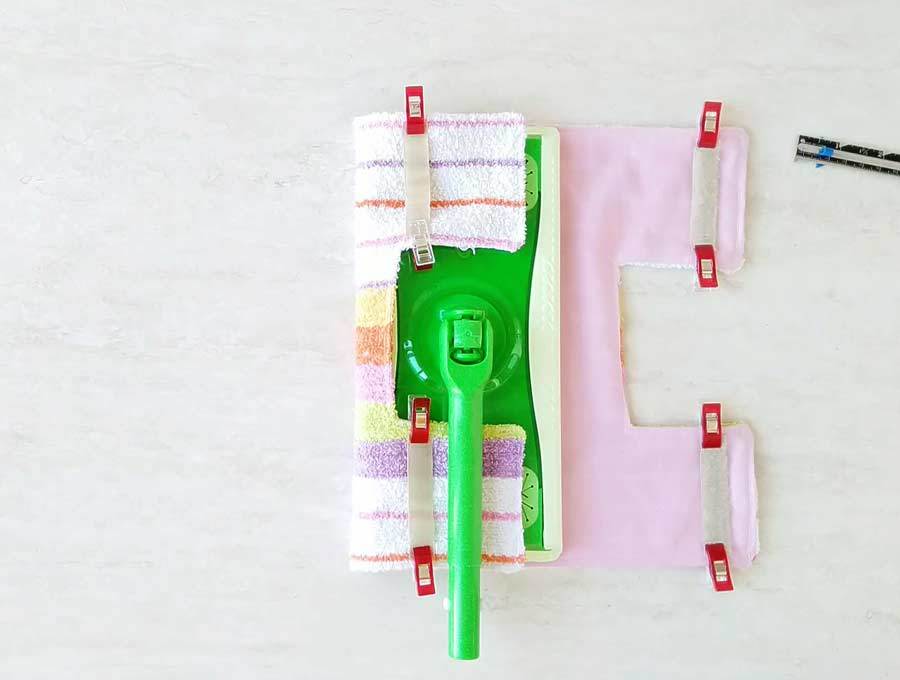
STEP 8: Sew on the velcro
All that remains is to sew on the velcro straps. Put a pair or each of the flaps. Don’t forget, the flaps overlap! Two straps go on the right side of the pad while their corresponding pairs go on the opposite wrong side. I’d like to place to top velcros about 1/2 from the tostitching seam and then just estimate the placement of the corresponding velcros
Bonus: DIY solution for the wet pads
I like to keep my pads in top form with this little recipe. Mix 1 cup of water, 1 cup of vinegar, 4 drops of lemon essential oil, 1 tablespoon of dish soap, and soak the pads a bit in them.
You can use this solution to clean your bathroom floors or kitchen tiles with the pads beautifully.
Other Easy OPTIONS:
- Super easy 1 minute wet mop pad:Another alternative is to make a DIY reusable pad that’s almost identical to the disposable ones. Take your old disposable pad and place it on top of the towel. Then cut out the towel according to the dimensions of the disposable. You can use fleece, cotton, or an old towel. Zig-zag stitch all around the pad. This will prevent the edges from fraying so you can use it multiple times. I like stacking these in a container and pouring the solution on top of them. I just grab one from the container when I need to mop.
- No-sew alternative Get a piece of fleece fabric that won’t fray. Then print out or make the pattern for the swiffer pads.Use our pattern as a guideline and cut out the fleece. Then just glue the velcro straps instead of sewing them on. You can also get those stick-on velcros for fabric. Make sure to align the pairs well or your pad won’t stay on tightly.
What do you think about this tutorial? Were you able to make your own DIY swiffer pads with its help? If you have any ideas for improving this project, let us know in the comment section. Have fun cleaning with your new environmentally friendly swiffer pads!
Do you like this? Pin for later:
Wanna be friends? Click HERE and follow me on Pinterest
RELATED ECO-FRIENDLY PROJECTS:
- How to make reusable duster cloth
- DIY Unpaper towels tutorial
- DIY reusable cloth napkins
- DIY Jar opener
- DIY Cotton Rounds
- Reusable produce bags
- How to make a shopping bag
MORE TOWELS TUTORIALS: