
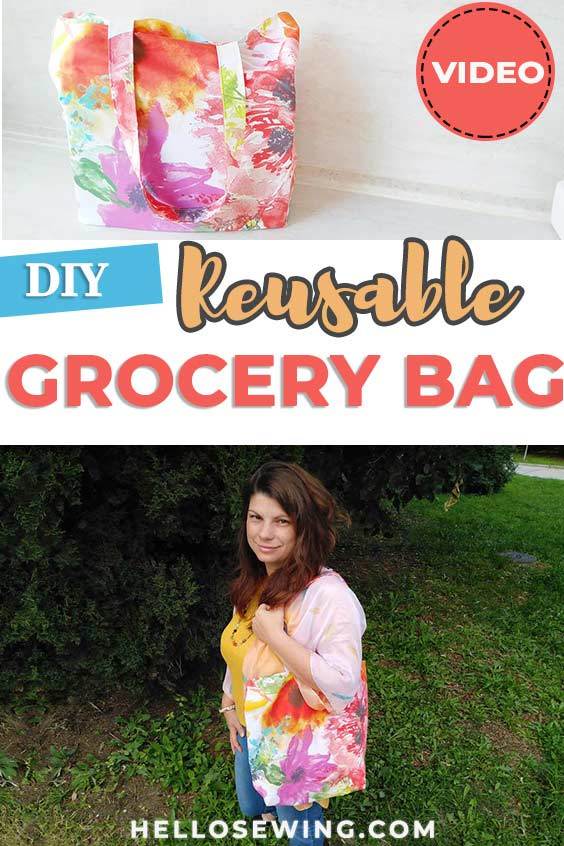
DIY Reusable Grocery Bag Tutorial + FREE Pattern
Are you looking for a project that is environmentally friendly, fun, and simple? I got one for you, this DIY grocery bag.
If you don’t like using paper, or some other kind of disposable bags, you probably already own a tote bag for groceries. This one, however, is different because it isn’t made with one of those plain grocery bags patterns.
Instead, it’s made with a folding grocery bag pattern. That means it can be neatly folded up and as such, you can even fit it into your pocket. Then just unpack it and you can easily carry groceries, books, or some nice fabrics you stumbled upon accidentally on your way back home from work!

Useful, stylish, and versatile. Foldable shopping bag!
Below you will find my step by step written tutorial how to make a grocery bag with VIDEO instructions for all the visual learners.
We occasionally link to goods offered by vendors to help the reader find relevant products. Some of the links may be affiliate meaning we earn a small commission if an item is purchased.
Table of Contents
- 1 How to make a shopping bag
- 2 Supplies and tools
- 3 How to Sew a Grocery Bag
- 3.1 DIY Grocery BAG VIDEO TUTORIAL
- 3.2 DIY Reusable grocery bag INSTRUCTIONS:
- 3.3 STEP 1: Prepare the shoulder straps
- 3.4 STEP 2: Prepare the main fabric
- 3.5 STEP 3: Set the interfacing
- 3.6 STEP 4: Sew the shoulder straps
- 3.7 STEP 5: (Optional) Reinforce the handles
- 3.8 STEP 6: Make a French seam
- 3.9 STEP 5: Box the corners of the shopping bag
- 3.10 STEP 8: (Optional) Sew the folded corners to the bottom
- 3.11 STEP 9: (Optional) Sew a button and a loop for easier storage
How to make a shopping bag
Supplies and tools
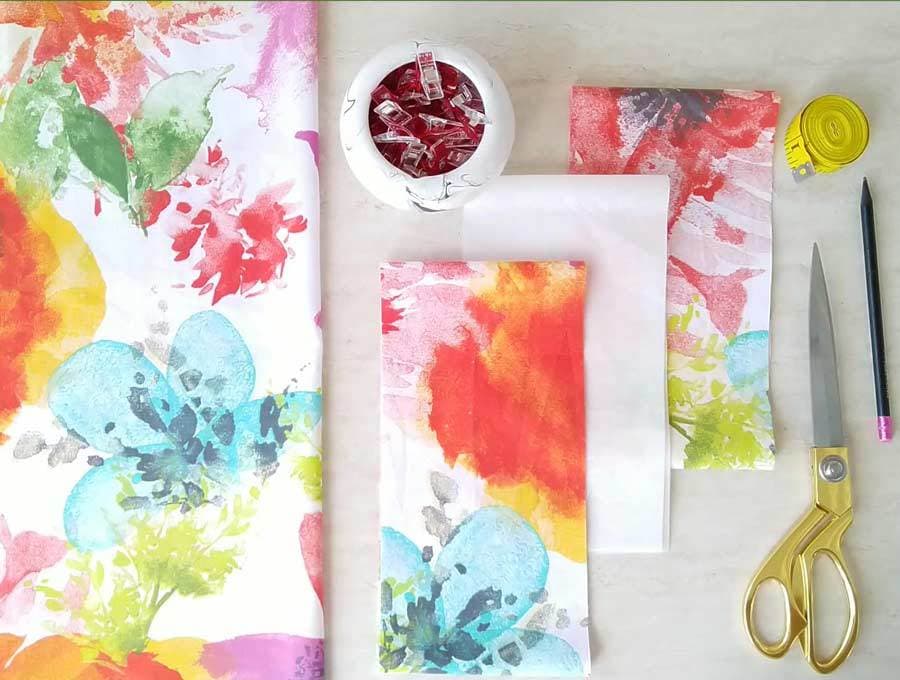
- fabric (main) – 40 x 19″ cotton fabric or canvas
- fabric (handles) (2) 5 x 30″ each – same as the main fabric
- lightweight interfacing
- matching thread thread
- scissors (or rotary cutter and a cutting mat)
- ruler or measuring tape
- iron and ironing board
- sewing clips or pins
- sewing machine (a heavy duty machine is recommended, especially if you are going to sew a heavier weight fabrics)
Follow us for free patterns & tutorials! [easy-profiles]
How to Sew a Grocery Bag
Watch the diy reusable grocery bag video first and then follow the written step by step instructions below.
Please enjoy and don’t forget to Like and SUBSCRIBE over on YouTube to be kept up to date with new videos as they come out.
DIY Grocery BAG VIDEO TUTORIAL
DIY Reusable grocery bag INSTRUCTIONS:
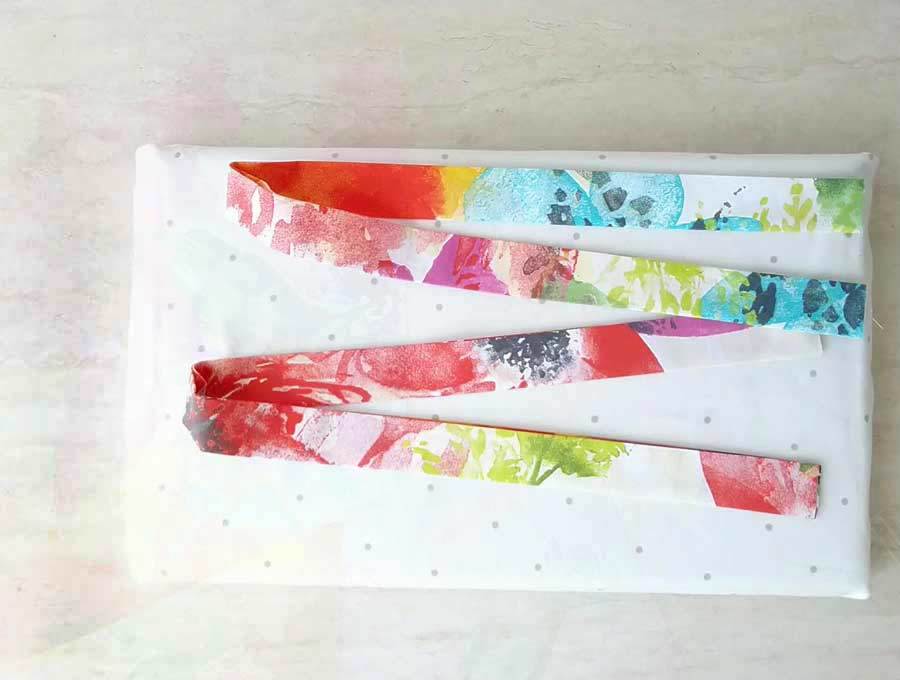
STEP 1: Prepare the shoulder straps
Cut two strips of fabric 5 x 30 inches (12.5 cm x 76cm). Fold the straps in half lengthwise and press with an iron. Unfold.
Then fold again from the top and bottom to the crease along the middle. Press flat with the iron again. Here’s how making the straps of the grocery bag looks in action:
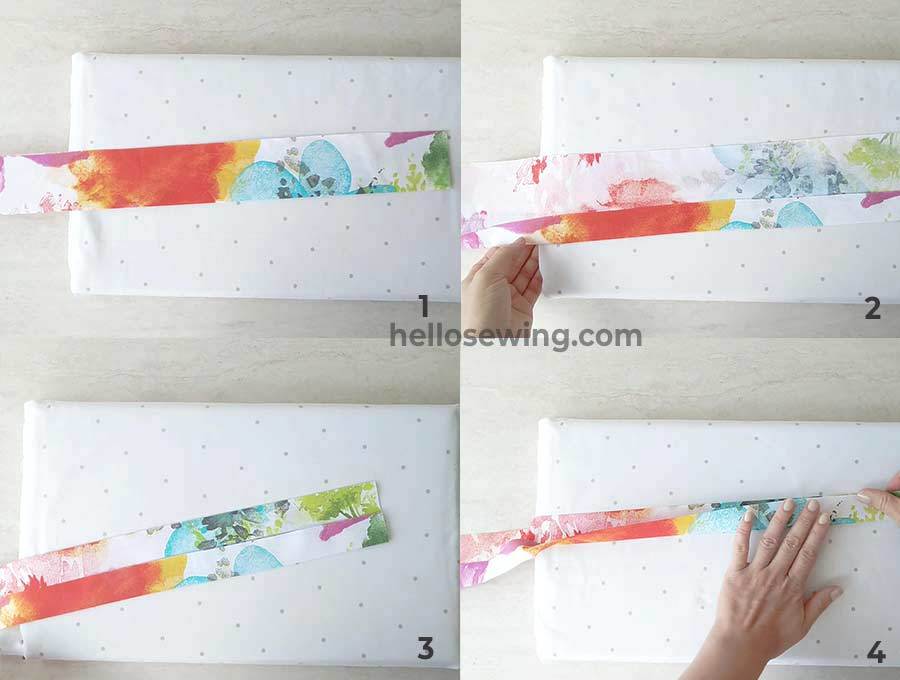
Sew around the straps using about 1/8″ (3mm) from the edge.
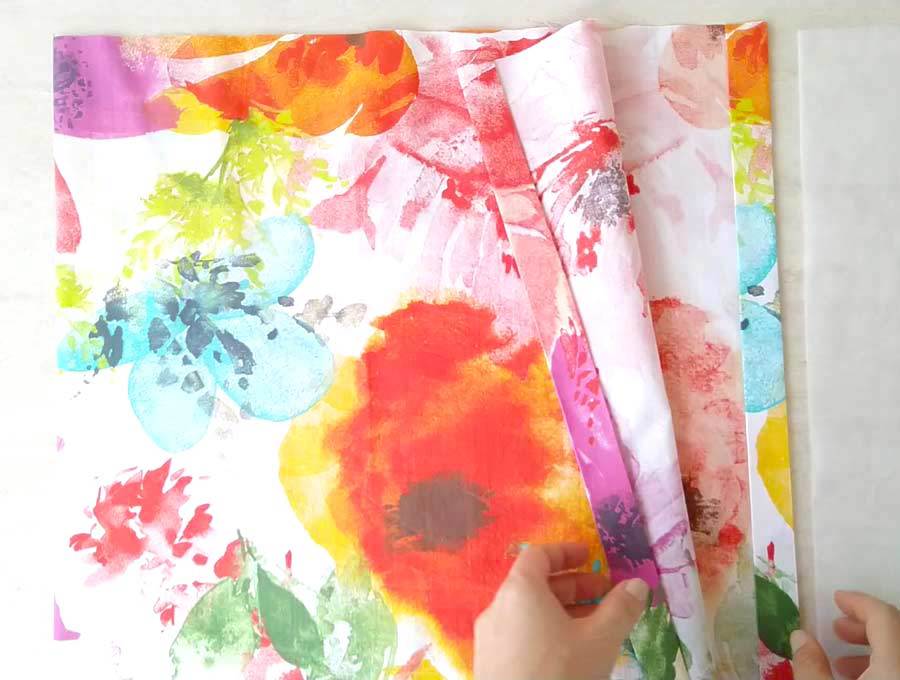
STEP 2: Prepare the main fabric
Before you do anything, wash the fabric thoroughly and iron it. Cut a rectangle that measures 40″ x 19″ (102 cm x 48 cm).
Then fold it so that the short edges meet and iron again. You will need that crease later on.
Fold the shorter edge of the fabric 1 inch (2.5cm) towards the wrong side twice, and press flat with an iron.
STEP 3: Set the interfacing
Cut a piece of interfacing that measures 5 x 19 inches (12.5 x 48cm). Take it and fold it in half lengthwise so that the long edges meet. Press flat with your hand, or a book.
Unfold and put in the middle of the fabric, on the wrong side. Align the crease on the fabric with the one on the interfacing. Press with an iron to fuse the interfacing to the fabric. Then stitch two lines along on the either long edge of the interfacing.
The interfacing will give some extra strength to your bag so that you can carry more weight without tearing the foldable grocery bag.

STEP 4: Sew the shoulder straps
Measure and mark 7 inches (18cm) in on either side of the top hem (use sewist chalk or a washable pen). Insert the shoulder strap under the top hem fold and position each end at the corresponding mark.
Repeat for the other shoulder strap. Pin or clip to keep the straps in place.
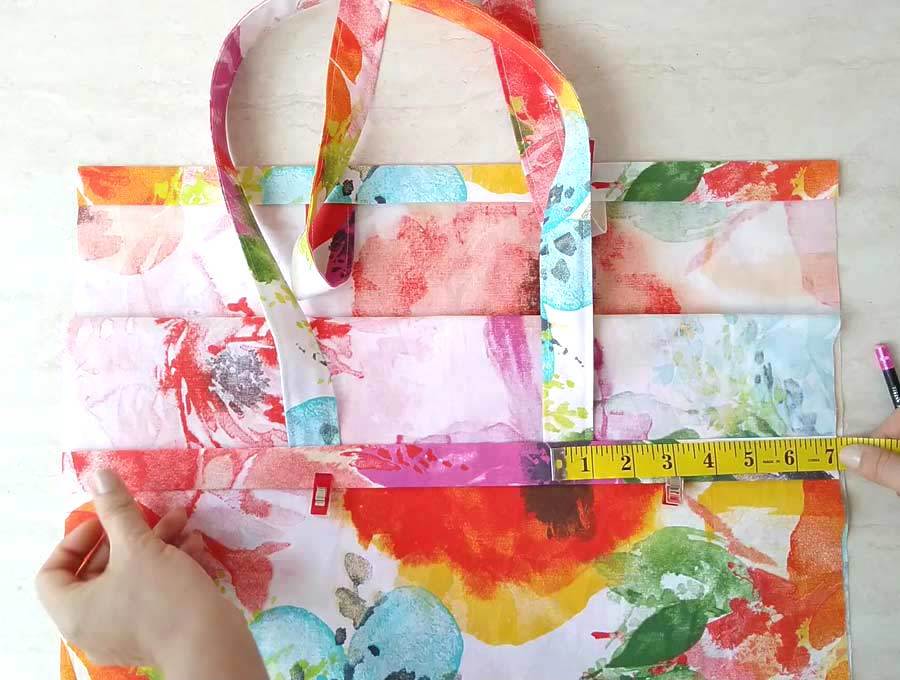
Sew along the bottom edge of the hem to stitch the straps in place.
Lift the shoulder straps and pin or clip them in place.
Stitch along the top edge of the hem to secure the straps in the upward position.
Turn the bag inside-out and iron it.
STEP 5: (Optional) Reinforce the handles
Sew an X on the folded hem to reinforce the handles.
STEP 6: Make a French seam
Fold the fabric in half crosswise, with WRONG sides together, aligning the short edges. Stitch along each side, using a 1/4 inch (6mm) seam allowance.
Turn the bag inside-out and press it flat.
Now stitch along the sides again. This time, use a 1/2 inch (12mm) seam allowance to enclose the first seam. Make sure to reinforce all your seams by backstitching at the beginning and the end. Ta-da! You’ve just made French seams

STEP 5: Box the corners of the shopping bag
With the wrong side of the bag out, fold the bottom as shown. Measure 2.5 inches (6.5cm) from the corner, at a 45-degree angle. Mark it. Now draw a line going through that marking. If you did everything right, that line you drew will form a 45-degree angle with the side edge of the bag.
If you don’t have a ruler with a 45-degree angle, just use a square piece of paper. Fold it in half to make a triangle and you’ll get the 45-degree angle.
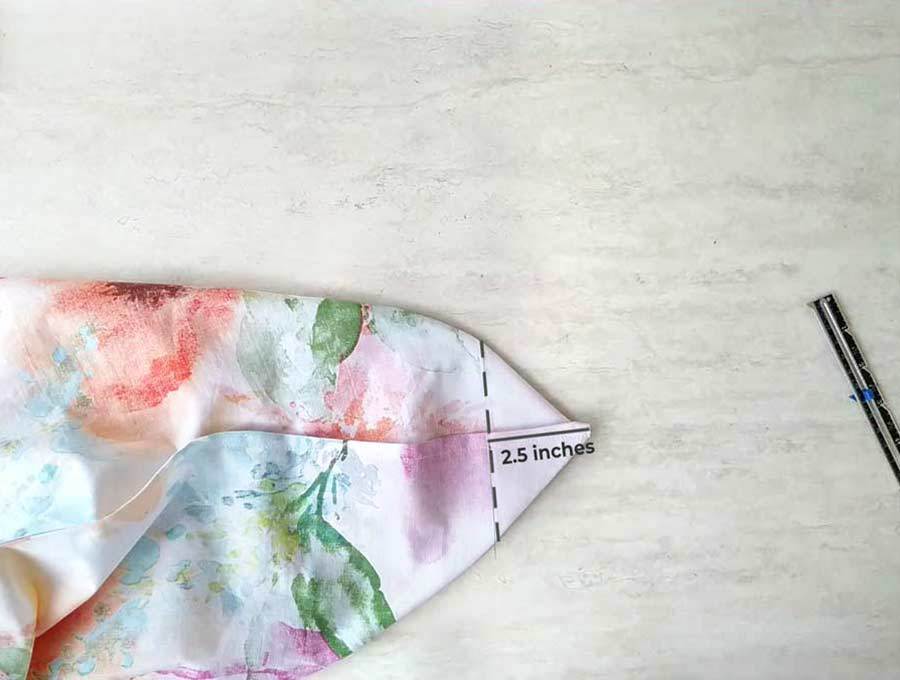
Stitch across the line.
Repeat for the other corner.
You can then trim off the corners or leave them to give the bag extra stability. When I’m leaving them I’d like to stitch them down to keep them in place.
STEP 8: (Optional) Sew the folded corners to the bottom
Again , completely optional, but this additional step gives the bag a more polished look. Plus they won’t mess with your groceries.
All that’s left to do is put on a button and make a loop that will attach to it. First up is the loop.
Find the center on the open end of the bag and mark it. Cut the elastic down to about 4 inches (10cm) long. Make a loop with the elastic and stitch it to the mark you made.
Measure out about 5 inches (13cm) from the bottom of the bag, on the same side where the elastic is, and mark it. Try to keep it in line with the loop.
Hand-stitch the button onto the marking.
The grocery shopping bag is now complete!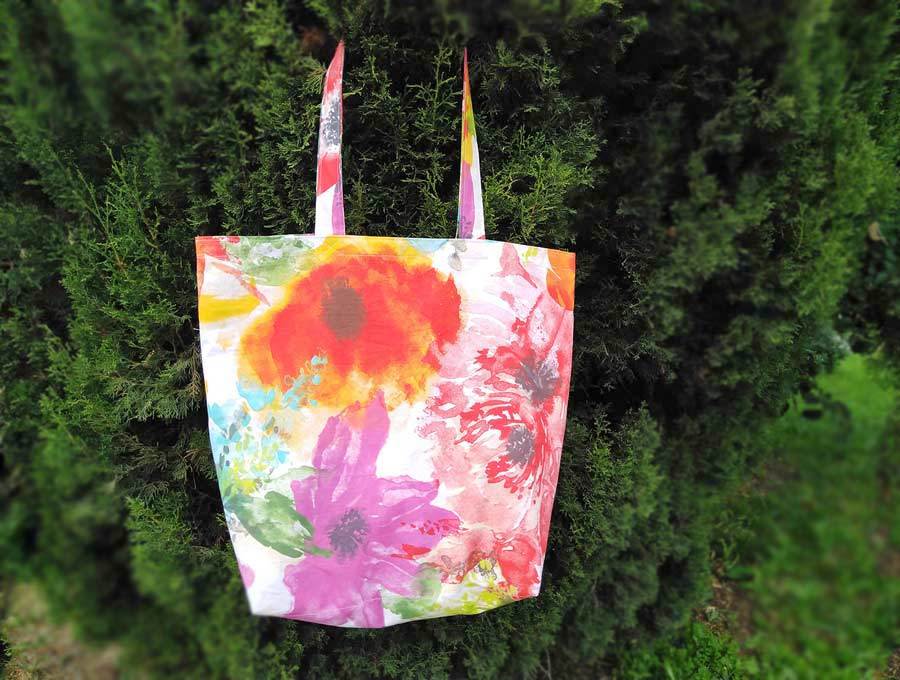
I hope you enjoyed reading this diy grocery bag tutorial. Now that you know how to make grocery bags, you can go ahead and make some for your loved ones as well. If you have some suggestions for improvement, tell us in the comment section, your feedback is precious to us. Have fun shopping!
Do you like this tutorial how to make a grocery bag? Pin for later:
Wanna be friends? Click HERE and follow me on Pinterest
OTHER REUSABLE PROJECTS TO SEW:
- DIY produce bags
- Plastic bag holder pattern
- Reusable cotton rounds
- DIY Jar opener
- How to make unpaper towels
- Reusable cloth napkins DIY
OTHER AWESOME BAG PATTERNS: